Keep the Same Face Across Lighting Changes in AI Video
A character can look like someone else when a video moves from daylight to lamplight or neon. This tutorial shows how to preserve facial identity with a character sheet, controlled reference images, lighting-specific prompts, and a review focused on facial structure rather than color.

Table of contents
Keep the face; change the light
A lighting change should alter how a character’s face is illuminated, not who the character is.
That distinction matters when an AI video cuts from a sunny street to a warm interior and then to a night scene. Skin color and shadow placement can legitimately change, while eye spacing, nose shape, jawline, and other identifying features should remain recognizable. To maintain character consistency, define those features first, select references that show them clearly, and give each shot its own lighting instructions without rewriting the character.
This is a practical workflow for one recurring fictional character across several lighting setups. The sequence matters: you need a stable identity before you can judge whether a new lighting treatment has preserved it.
Step 1 — Build a character sheet that separates identity from lighting
Choose one approved portrait with an unobstructed face. Record features that should survive every scene, such as face shape and the placement of permanent marks. Put lighting, exposure, and color cast in a separate category. A bright window may soften a cheek shadow; a red sign may tint the skin. Neither should become a new facial feature.
Copy this character sheet template and fill it in before making shot references:
CHARACTER ID: [short identifier]
Approved identity portrait: [file or asset name]
Face shape and jaw: [specific description]
Eyes and brows: [shape, spacing, defining details]
Nose and mouth: [stable proportions]
Hairline and hairstyle: [what must remain stable]
Permanent marks: [location and appearance, or none]
Wardrobe visible in these shots: [fixed details]
Allowed lighting changes: [daylight, warm lamp, colored night light]
Never change: [three to five most recognizable identity traits]
Review frames: [opening, midpoint, closing frame of each shot]
Keep descriptions observable. “A narrow jaw with a rounded chin” is easier to check than “a memorable face.” If a hairstyle or garment intentionally changes, note when it changes rather than silently altering the master sheet.
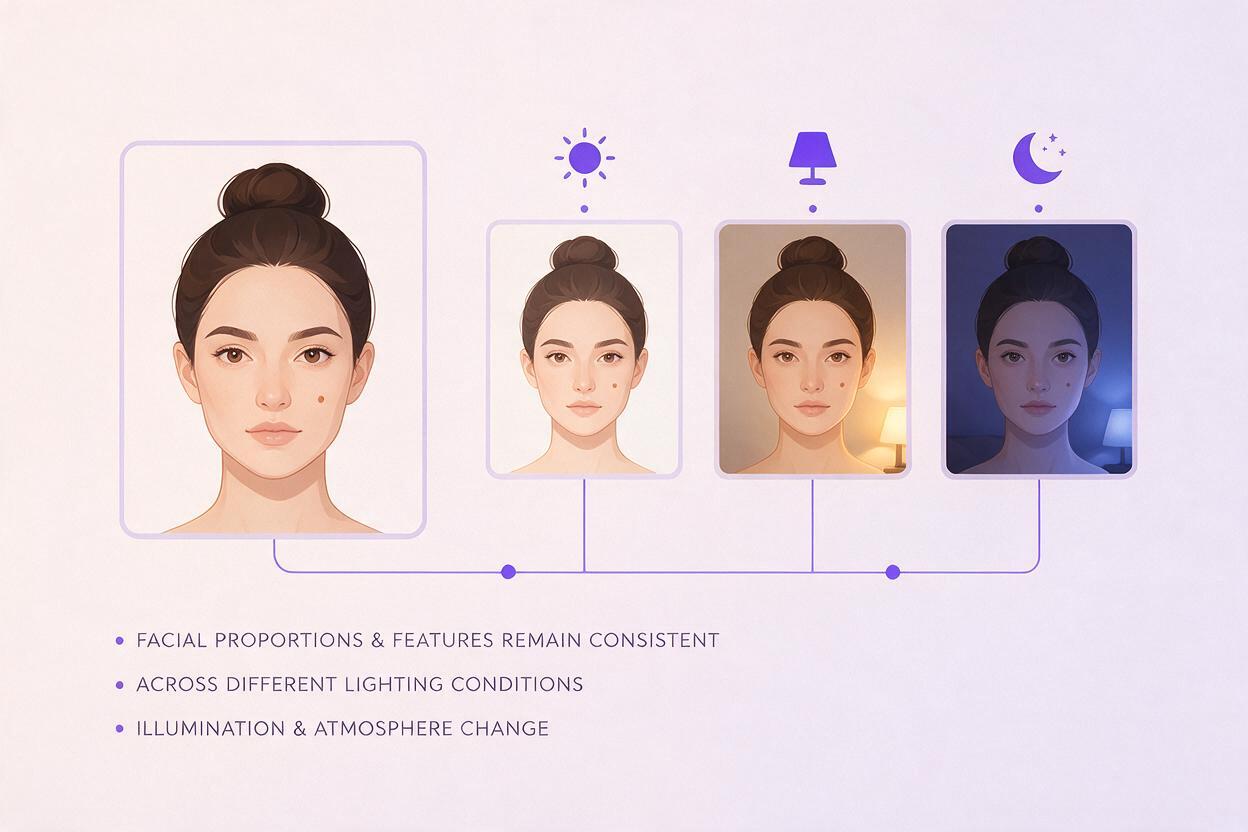
Step 2 — Prepare references that reveal the same facial structure
Start with the approved portrait as the character reference. If you need another angle or expression, select it only after checking that its facial proportions agree with the portrait. Use clear, evenly lit images for identity assessment; a heavily shadowed face can hide precisely the details you need to preserve.
Then make a small storyboard reference for each planned shot. Record the location, framing, light source, and intended color cast. These shot notes describe the scene, not a replacement identity. For example, the night shot can call for blue light on one side of the face without changing the character’s eye shape or adding a new mark.
Reference rule: Keep one approved identity source for the sequence. Treat lighting-specific images as scene guidance only after confirming they still depict that identity.
If your chosen video workflow accepts image references, supply the approved portrait wherever its reference controls allow. If it does not, use the sheet’s concrete feature descriptions in every shot prompt. Do not assume a reference image will be carried from one generation to the next automatically.
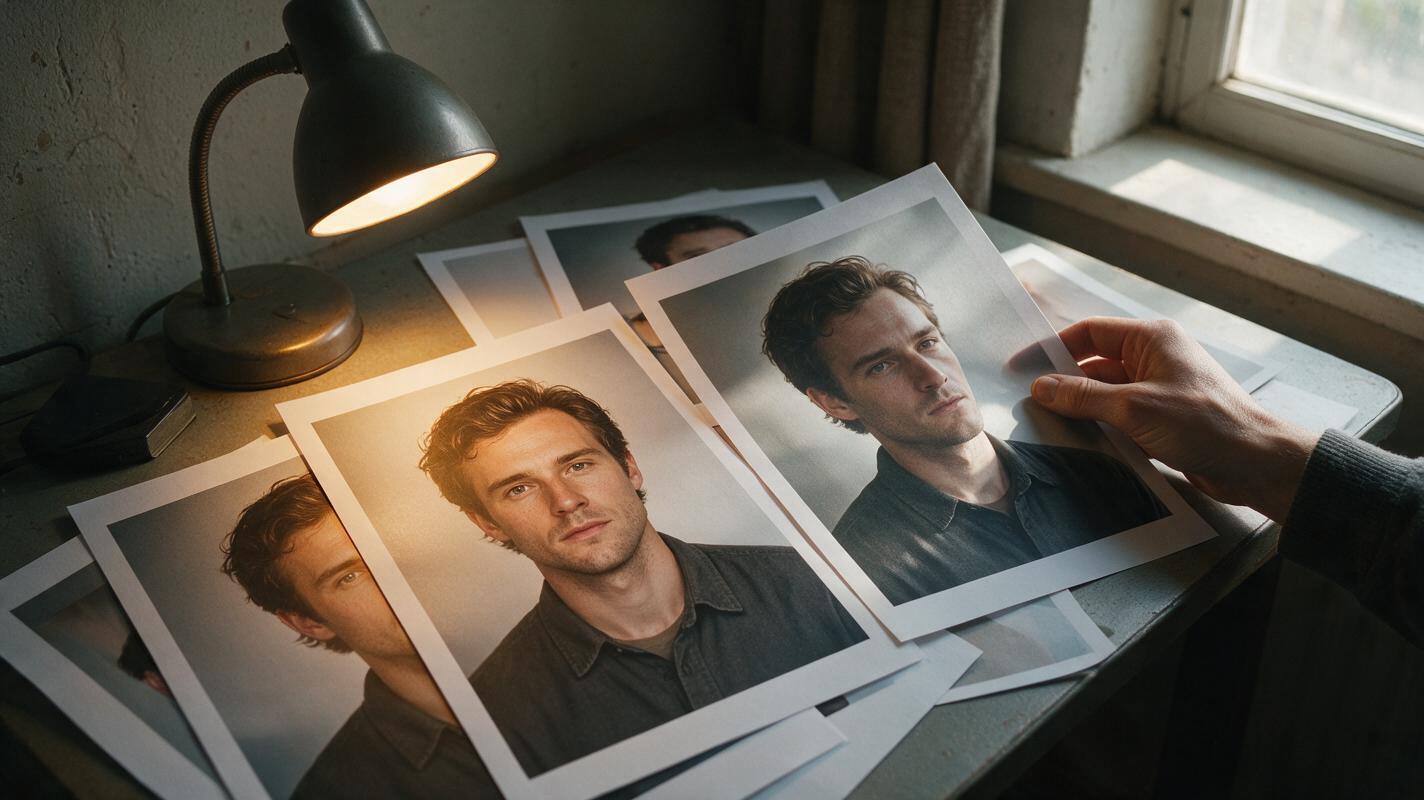
Step 3 — Write shot prompts that change illumination, not anatomy
Reuse the same identity block across all shots. Edit the scene and lighting block separately. This makes a multi-shot sequence easier to troubleshoot: when a face drifts, you can compare what changed in the instructions.
IDENTITY — reuse without rewriting:
The same fictional character from the approved reference: [face
shape], [eye and brow details], [nose and mouth proportions],
[hairline], [permanent marks]. Preserve these facial features.

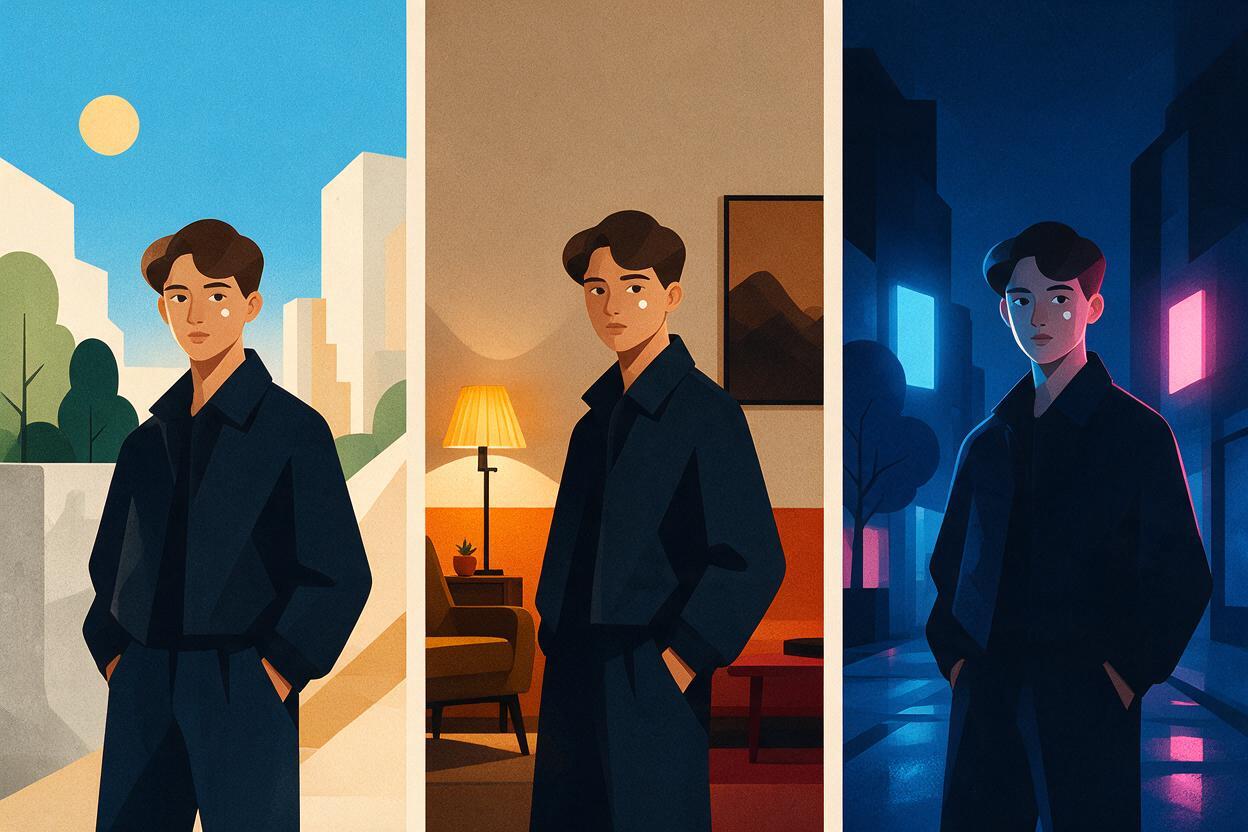
SHOT A — daylight street:
[IDENTITY]
Medium close-up outside in open daylight. Soft shadows,
neutral-looking skin tones. The character turns toward a doorway.

SHOT B — warm interior:
[IDENTITY]
Medium close-up just inside the doorway. One warm table lamp
lights the character's left cheek; the other side falls into
soft shadow. Preserve facial proportions and permanent marks.

SHOT C — colored night light:
[IDENTITY]
Medium close-up outside at night. A blue light grazes one side
of the face while a distant warm light outlines the hair.
Preserve facial proportions and permanent marks.
For each shot, keep the camera distance reasonably comparable while checking identity. Once the face holds together, you can attempt more dramatic framing. Avoid instructions such as “give the night version a sharper face”: they invite an anatomical change when you only want harder shadows.
Lighting color and a camera’s white balance affect the colors you perceive. That is why matching skin hue across differently lit scenes is not, by itself, a reliable identity test. Look for stable structure beneath the color cast.
Step 4 — Review the cuts at matching moments
Place the opening, midpoint, and closing frame of each shot side by side. Compare the face at similar sizes. Look first at eye spacing, brow line, nose width, jaw contour, hairline, and the position of any permanent mark. Only then judge whether the lighting transition feels plausible.
A face that matches at the start but shifts by the last frame is still a continuity problem. If that happens, shorten or revise the affected shot in your chosen workflow, then check its boundary against the neighboring shot again. Save the accepted frames alongside the character sheet so later scenes have a clear point of comparison.
When you are ready to assemble the sequence, create a short lighting-transition draft and inspect those boundary frames before extending it into a longer video.
Common failures and targeted fixes
| What you see | Likely confusion | What to change |
|---|---|---|
| The night face looks narrower. | A hard shadow is being mistaken for a new jawline, or the generated structure has changed. | Compare the lit side and silhouette against the approved portrait. If the structure changed, reinforce the jaw description and revise the shot. |
| Eyes or brows differ in the warm interior. | A lighting-specific image has displaced the identity reference. | Return to the approved portrait and restate the eye and brow details; use the interior image only for light direction. |
| A freckle or scar vanishes in one scene. | Shadow or low visibility hides the mark, or the character has drifted. | Check a frame where the mark should be visible. If absent, specify its exact location in the identity block. |
| Skin looks different under colored light. | Color cast is being treated as identity drift. | Check proportions before adjusting color. Correct the lighting description only if the cast itself is wrong. |
FAQ
Should every shot use an identically lit reference image?
Use the same approved identity source when possible, but the finished shots do not need identical lighting. The point is to keep the reference for facial structure distinct from each shot’s lighting plan.
Can I judge continuity by matching skin color?
Not reliably across daylight, warm lamps, and colored night light. Compare stable facial landmarks first, then assess whether each scene’s color and shadows make sense.
What if the face changes within one shot rather than at a cut?
Inspect the opening, midpoint, and closing frames. Identify where the change begins, revise that shot, and compare its new boundary frames with adjacent shots.
Sources
- Wikipedia: White balance — background on how lighting and color adjustment affect image appearance.
- Wikipedia: Color temperature — background on warm and cool light descriptions.
Final checklist
- One approved portrait defines the character’s facial identity.
- The character sheet separates permanent features from lighting effects.
- Every shot reuses the same identity description and has its own lighting instructions.
- Opening, midpoint, and closing frames have been checked for structural drift.
- Any intentional appearance change is documented before it reaches the next scene.
Keywords
character consistency, keep the same face across video, consistent character across scenes, character reference, character sheet, multi-shot continuity, storyboard reference