Keep One AI Video Character Consistent Across Flashbacks
A time jump should change a character’s apparent age without making them look like a different person. This tutorial builds an identity sheet, age-specific references, and a shot plan for checking flashback-to-present continuity.
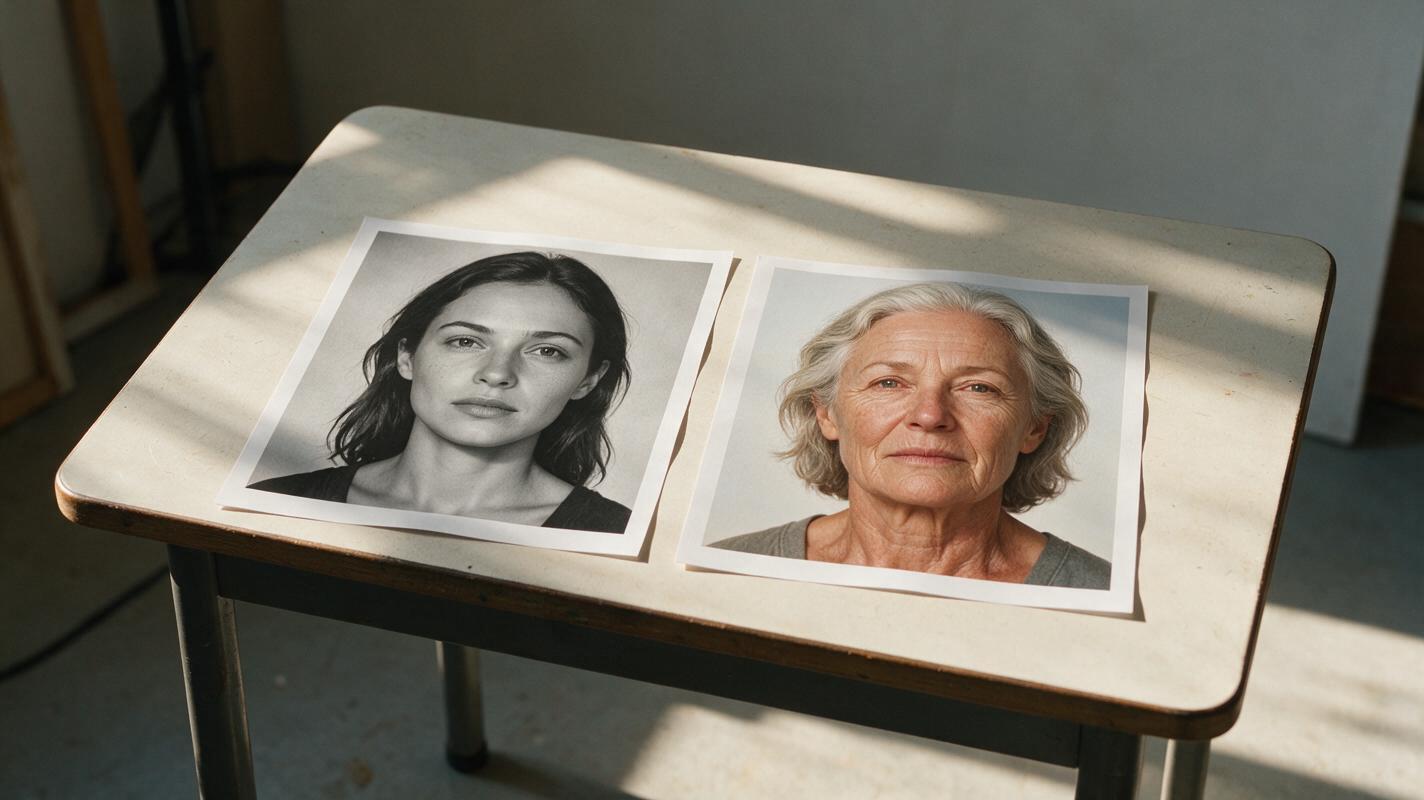
Table of contents
Make the time jump clear without losing the character
A convincing flashback needs two things at once: viewers must recognize the person, and they must believe time has passed. The practical solution is to lock a few distinctive identity traits, create separate references for each age, and check the finished shots in story order.
This workflow is for a single fictional character appearing at different ages—for example, at 24 in a flashback and 44 in the present. It focuses on age continuity, not matching action across cuts or preserving one outfit through changing locations. Use an image or video tool only where its documented workflow accepts the references you plan to provide; otherwise, use the same sheet and prompts as a manual comparison guide.
Step 1 — Write one identity sheet before making either age
Begin with traits that should still identify the character after their hairstyle, clothing, and skin texture change. Choose a small set of visible anchors rather than a long list of generic adjectives. A gently arched left eyebrow, a broad nose bridge, and a small chin cleft are more useful than “attractive face.”
Keep age-dependent details separate. A younger character may have fuller cheeks; an older version may have softer jaw definition and fine lines. Neither change should silently remove the chin cleft or alter the underlying nose shape.
CHARACTER ID: Mara
Story ages: 24 in flashback; 44 in present
Identity anchors: gently arched left eyebrow; broad, straight nose bridge; small chin cleft; closely set dark eyes
Age 24: fuller cheeks; smooth forehead; shoulder-length dark hair
Age 44: natural forehead and eye lines; subtly softer cheeks; dark hair with a few gray strands
May change: hairstyle, clothing, expression, lighting, setting
Must not change: eyebrow asymmetry, nose structure, chin cleft, eye spacing
Storyboard note: both ages are the same fictional person
Use the same sheet when reviewing every candidate image. If a proposed “older Mara” has a narrow nose and no chin cleft, a good-looking portrait is still the wrong reference.
Step 2 — Approve a reference for each age
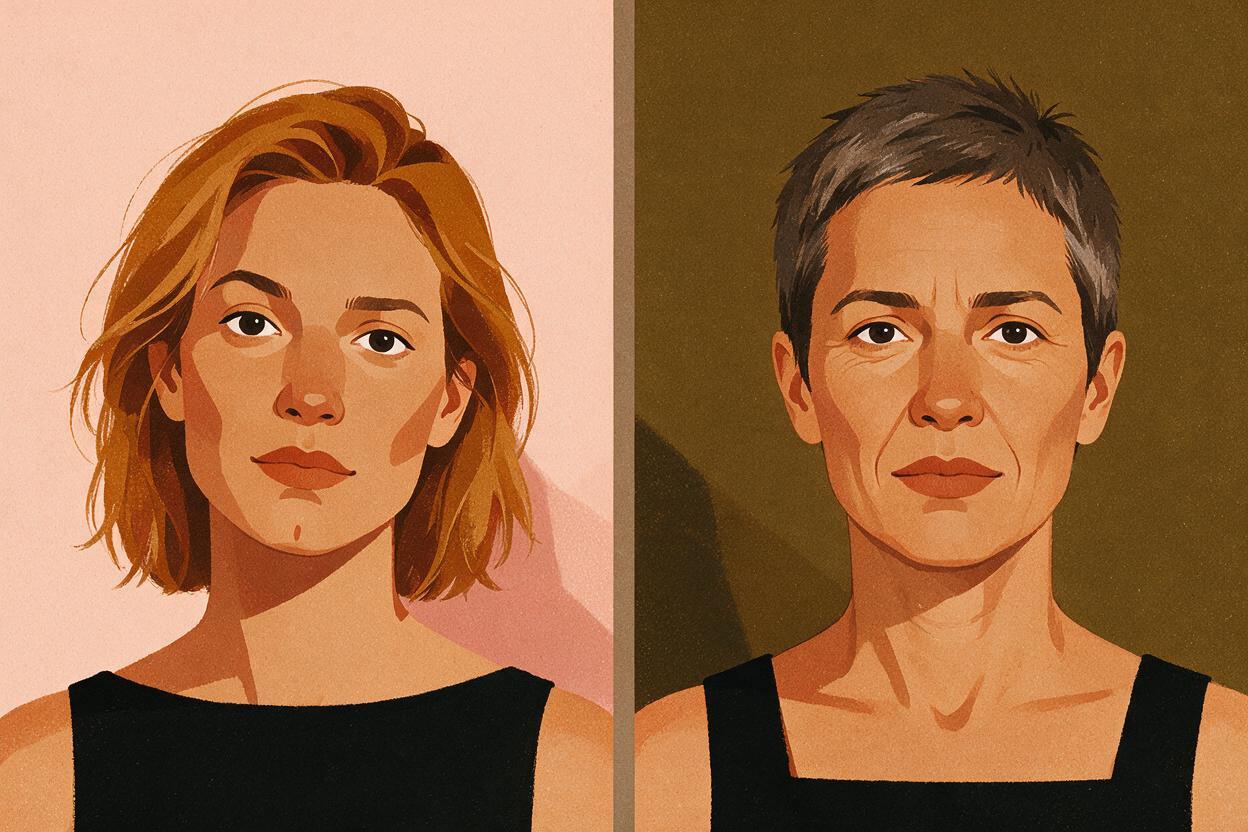
Create or select a clear portrait for the younger version. Keep the face unobstructed and the expression fairly neutral so its structure is easy to inspect. Next, develop the older version from that approved identity, changing only the age-specific details in the sheet. If your chosen tool supports image references for this task, supply the approved younger portrait along with the older-age description. If it does not, keep both portraits beside your prompts and compare candidates manually.
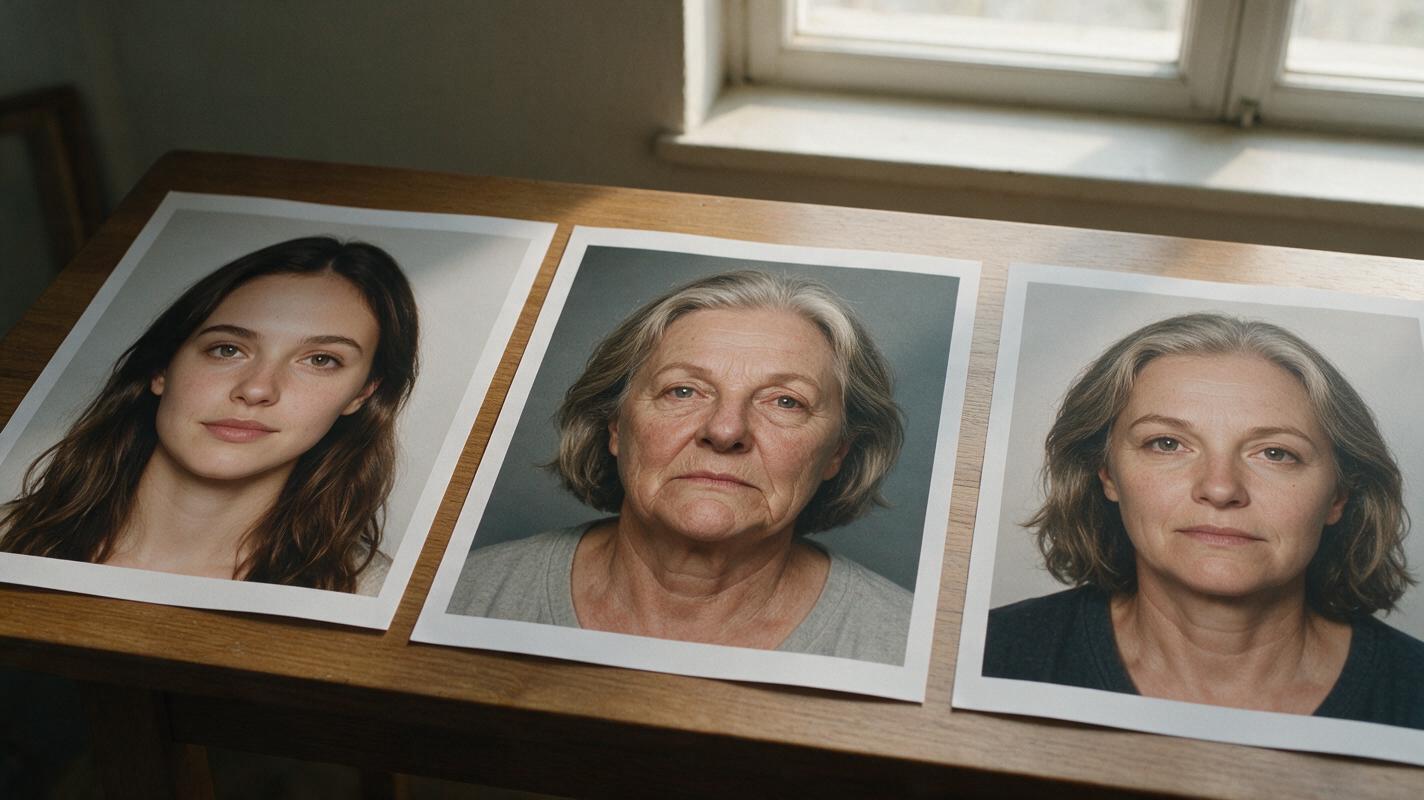
Approve the two portraits as a pair, not independently. Place them side by side at similar face size and ask: which features make this unmistakably the same person? Reject an age variant that relies only on matching hair color or clothing.
Reference rule: Save one approved portrait per age before producing story shots. Do not replace a reference halfway through the sequence without rechecking every shot that used it.
For work involving a real person, use images you have permission to use and avoid presenting a fabricated age transformation as authentic footage.
Step 3 — Map the flashback and present-day shots
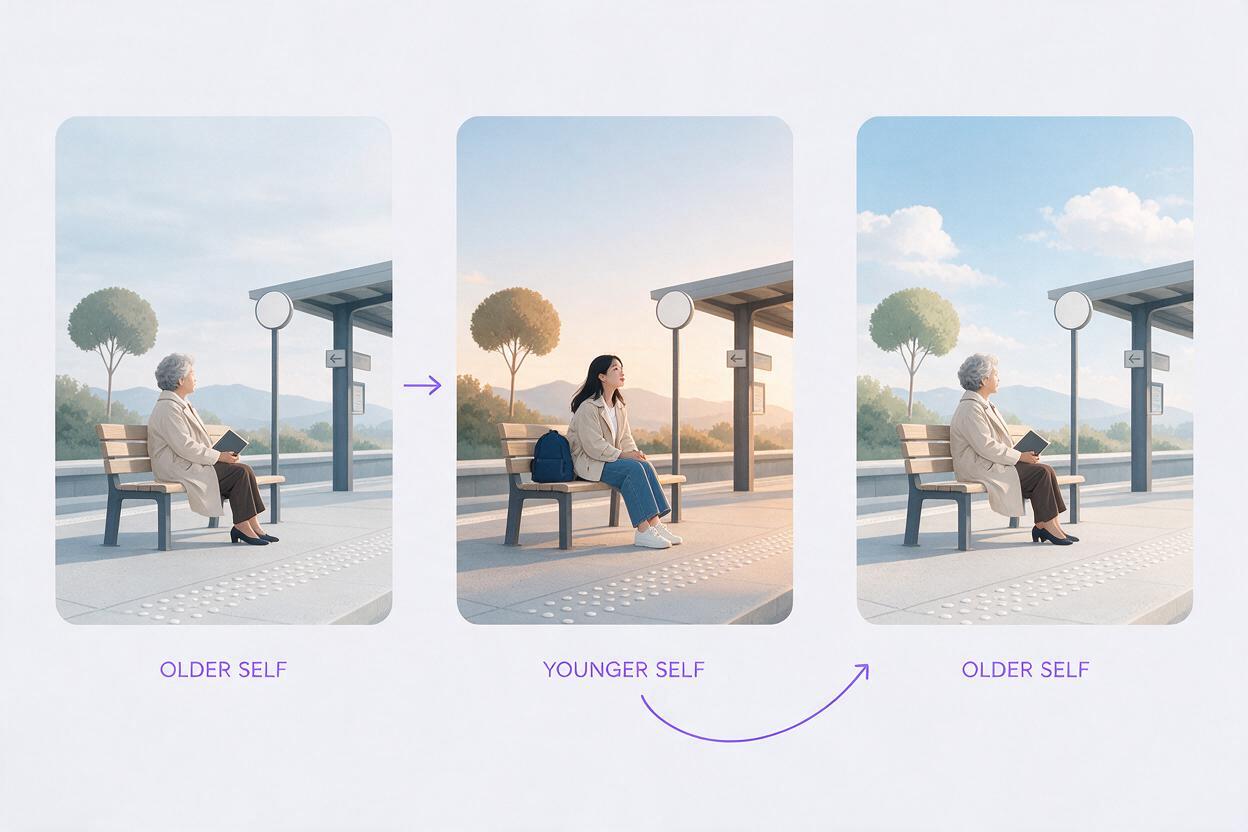
Once both age references are approved, put the scenes in viewing order. Mark the age, setting, framing, and reference assigned to each shot. This prevents a flashback from inheriting present-day age cues merely because the two scenes share a location or prompt fragment.
| Shot | Story time | Visible age cues | Reference to check |
|---|---|---|---|
| Opening close-up | Present, 44 | Fine lines; gray strands | Approved age-44 portrait |
| Memory at the station | Flashback, 24 | Fuller cheeks; dark hair | Approved age-24 portrait |
| Return to close-up | Present, 44 | Same present-day age cues | Approved age-44 portrait |
Give each transition a recognizable story cue, such as a location change or a repeated object. That cue tells viewers when they are; the facial anchors tell them who they are watching. Keep these jobs distinct.
Step 4 — Prompt each shot from the correct reference
Write a short prompt for each age rather than asking one prompt to cover the entire timeline. Carry the immutable identity anchors into both prompts and describe the changing age cues explicitly. Attach or select the appropriate approved image where your tool allows it. Reference availability and behavior vary by tool, so inspect the generated result rather than assuming the image will control every frame.
FLASHBACK SHOT — use the approved age-24 reference if supported.
Mara, age 24, waits at a quiet train platform in morning light. Preserve her gently arched left eyebrow, broad straight nose bridge, small chin cleft, and closely set dark eyes. Fuller cheeks and shoulder-length dark hair. Medium close-up; natural expression. No present-day gray strands or pronounced facial lines.
PRESENT-DAY SHOT — use the approved age-44 reference if supported.
The same Mara, now age 44, stands at the same platform in late-afternoon light. Preserve the same left-eyebrow arch, nose structure, chin cleft, and eye spacing. Add natural fine lines, subtly softer cheeks, and a few gray strands. Medium close-up; reflective expression. Do not substitute a new face.After generating a shot, inspect its opening, middle, and ending frames. A convincing first frame is not enough if the face changes during a head turn. Also compare the present-day return shot with the opening: those two should match the same age version, despite their different lighting or expressions.
Step 5 — Fix the mismatch you can actually see
When a shot fails, identify the specific drift before changing the prompt. Rewriting every detail at once makes it harder to tell what helped.
- The older version looks like a different person: Compare the identity anchors side by side. Rework the older reference first if its nose, eye spacing, or chin structure is wrong; repeating “same person” in shot prompts will not repair a mismatched source portrait.
- The flashback looks too old: Check whether the shot used the present-day reference or inherited its gray hair and facial lines. Restore the age-24 reference and remove those conflicting cues.
- The present-day return looks younger than the opening: Compare both present-day shots against the same approved age-44 portrait. Match the age cues while allowing lighting and expression to differ.
- Identity drifts within one shot: Check several frames, note where the change begins, and try a shorter or simpler shot. If you have a supported reference workflow, regenerate from the approved age reference rather than treating the drifting frame as a new master.
- Both ages look identical: Strengthen believable age cues—skin texture, cheek fullness, or hair—without changing the facial anchors. The aim is one person at two times, not two copies of the same portrait.
Once the pair reads clearly, turn your approved age references and storyboard into a short video, then review the exported shots in story order.
FAQ
Should the younger and older versions use the same reference image?
Keep the younger portrait as the identity starting point, but approve a separate older portrait before making present-day shots. A dedicated reference makes the intended age cues easier to check.
What matters more: matching facial features or matching the hairstyle?
Match distinctive facial structure first. Hair can signal a time jump, but similar hair alone will not make two different faces read as one character.
Can a character sheet replace reference images?
It can guide prompts and reviews, but images make subtle facial anchors easier to compare. Use both when your workflow permits, and verify the resulting frames visually.
Final checklist
- One identity sheet separates permanent anchors from age-dependent details.
- Each age has an approved portrait checked against the other.
- Every shot is assigned the correct story time and age reference.
- Opening, middle, and ending frames preserve the intended identity.
- The return to the present matches the opening’s age version.
Sources
Sources: None — practical guide based on the workflow described.
Keywords
character consistency, consistent character video, consistent character across scenes, character reference, multi-shot continuity, storyboard reference, character sheet
Decision: PUBLISH — distinct flashback-age continuity tutorial with a reviewable, tool-agnostic workflow.