Keep the Same Face in AI Video Talking Shots
A neutral portrait can establish a character’s identity, but it may not be enough to guide smiling, speaking, and reacting shots. This tutorial shows how to build an expression-aware character sheet, carry it through a reference-image workflow, and review cuts for facial drift without freezing the character’s performance.

Table of contents
One face, several expressions
A talking character should be able to smile, hesitate, and speak without appearing to become someone else. The practical fix is to reference both stable facial features and an approved range of expressions—not to demand an identical face in every frame.
This guide addresses a specific multi-shot problem: a character looks right in a neutral portrait but changes identity when their mouth opens or their cheeks lift. It assumes you are making short shots that will be edited together. Your image or video tool may offer reference-image input, but the same preparation also helps when you must describe the character in text.
Step 1 — Build an expression-aware character sheet
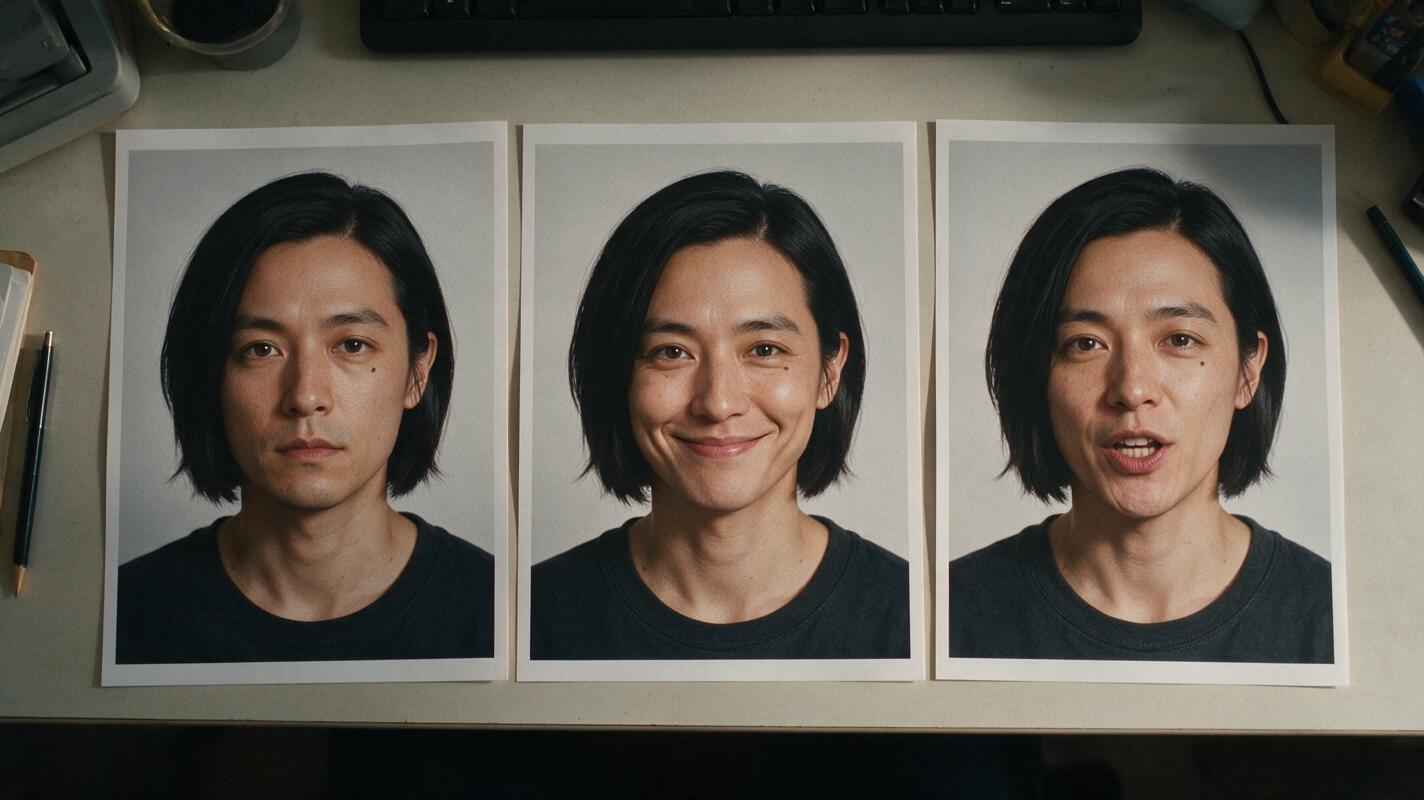
Start with one approved neutral portrait of a fictional adult character. Make a small sheet showing that character facing mostly forward in three states: relaxed, gently smiling, and speaking with the mouth open. Keep hairstyle, visible accessories, framing, and illumination similar across the sheet so expression is the main difference.
Write the identity rules beside your working copy. The sheet should distinguish features that stay fixed from features allowed to move:
| Keep recognizable | Allow to change naturally |
|---|---|
| Face shape, eyebrow shape, nose bridge, hairline, distinctive mark | Mouth opening, cheek lift, eyelid narrowing, jaw movement |
| Established hair color and part | Loose strands and movement caused by the performance |
Copy and adapt this compact template before generating shots:
CHARACTER: Mara, fictional adult
Identity anchors: oval face; straight dark eyebrows;
short nose bridge; small mole below left eye;
black chin-length hair parted on the right.
Expression range: relaxed; restrained smile;
speaking with natural jaw movement; concerned pause.
Do not change: mole position, hair part, face shape,
or eyebrow structure.
Scene-specific changes: expression, gaze, head movement,
wardrobe and lighting only when the shot plan calls for them.
A character sheet is not a request to paste one static expression onto every shot. It is a boundary around identity while the performance changes.
Step 2 — Match each shot to the right reference
Plan the conversation as a few short shots before writing generation prompts. For each shot, note the starting expression, the emotional change, and the expression needed at the cut. A storyboard reference can be a rough sketch or a written shot card; its job here is to prevent an unexplained jump from a broad smile to a worried reaction.
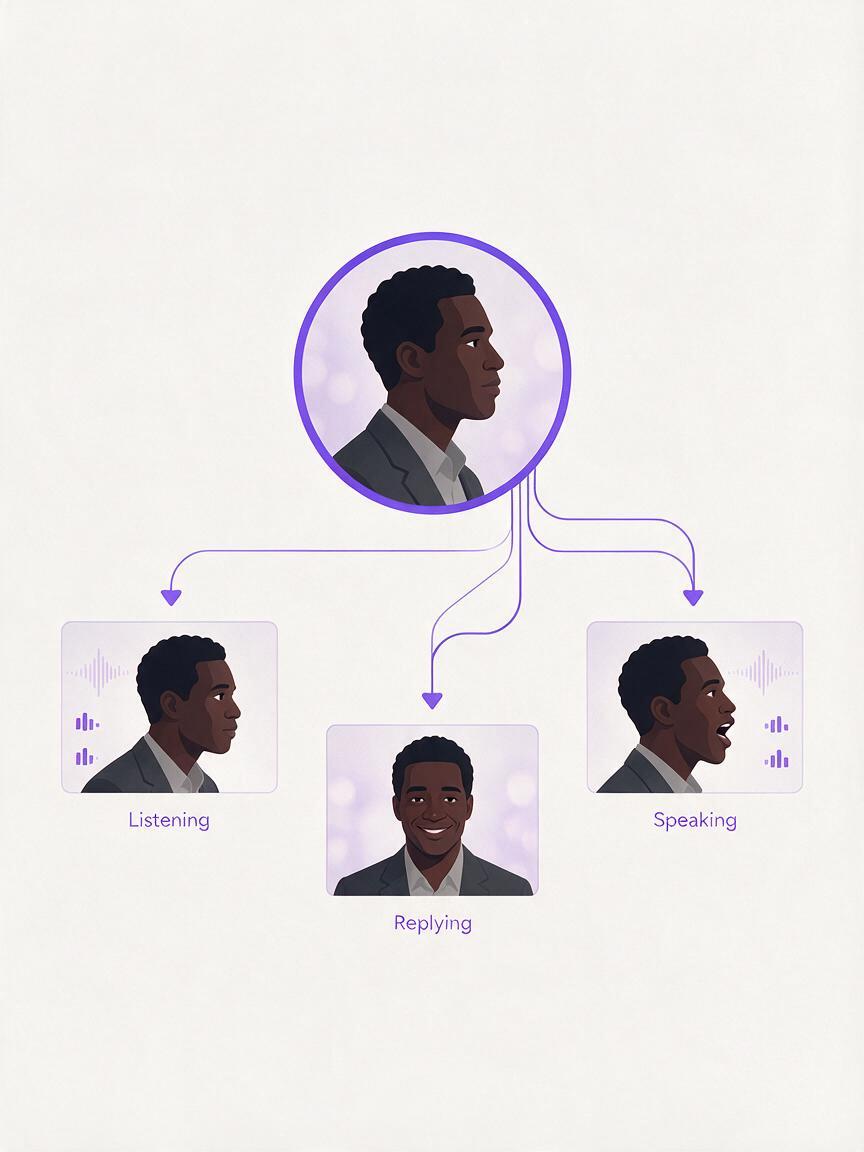
- Listening shot: Use the neutral portrait as the main character reference.
- Warm reply: Use the approved restrained-smile image alongside the neutral portrait, if multiple image references are available.
- Spoken line: Use the speaking image to show the intended facial range, while retaining the neutral portrait as the identity anchor where the tool allows it.
If your tool accepts only one image, select the sheet image closest to the shot’s starting expression and repeat the fixed identity details in the prompt. If it accepts no images, use the written sheet consistently and expect to reject more mismatched outputs. Avoid switching to an unapproved generated frame merely because its expression is convenient; it may already contain a changed nose, jaw, or hairline.
Step 3 — Prompt the performance without locking the mouth
A useful prompt describes what the character does over the shot and what must remain recognizable. It does not ask for an unmoving face. Replace the bracketed details with your scene:
Use the approved character reference for Mara.
Preserve her oval face, straight dark eyebrows,
short nose bridge, mole below her left eye, and
right-parted chin-length black hair.

[Medium close-up in a quiet kitchen.] She begins
with a restrained smile, says [brief line], then
settles into a concerned listening expression.
Allow natural mouth and cheek movement while
keeping her facial proportions and identifying
features consistent throughout the shot.

Do not add a second mole, move the existing mole,
change her hair part, or reshape her jaw.
Keep dialogue brief enough for the shot you intend to make, and review the visible performance rather than assuming the words alone determine mouth movement. If you record or add dialogue separately, treat the sound edit and facial-identity review as separate checks: a convincing expression does not by itself establish accurate lip synchronization.
Step 4 — Review frames at expression extremes and cut points
Watch each candidate shot normally, then pause where facial movement is most pronounced: the widest mouth opening, the strongest smile, and the transition back to rest. Compare those frames with the character sheet. A moving jaw is expected; a relocated mole or a newly shaped nose is not.
Next, place the accepted shots in storyboard order. Compare the final frame before each cut with the first clear frame after it. Check both identity continuity and emotional continuity: the character may keep the same face yet appear to switch feelings without a motivated beat.
Approve the character’s identity across the full expression range, not just in the most flattering still frame.
When a shot fails, revise the narrowest cause first. Replace a poor expression reference, clarify one identity anchor, or shorten a performance that asks for too many emotional changes. Regenerating an entire conversation before identifying the failing shot makes the problem harder to isolate.
Common failure cases and targeted fixes
| What you see | Likely issue | What to change |
|---|---|---|
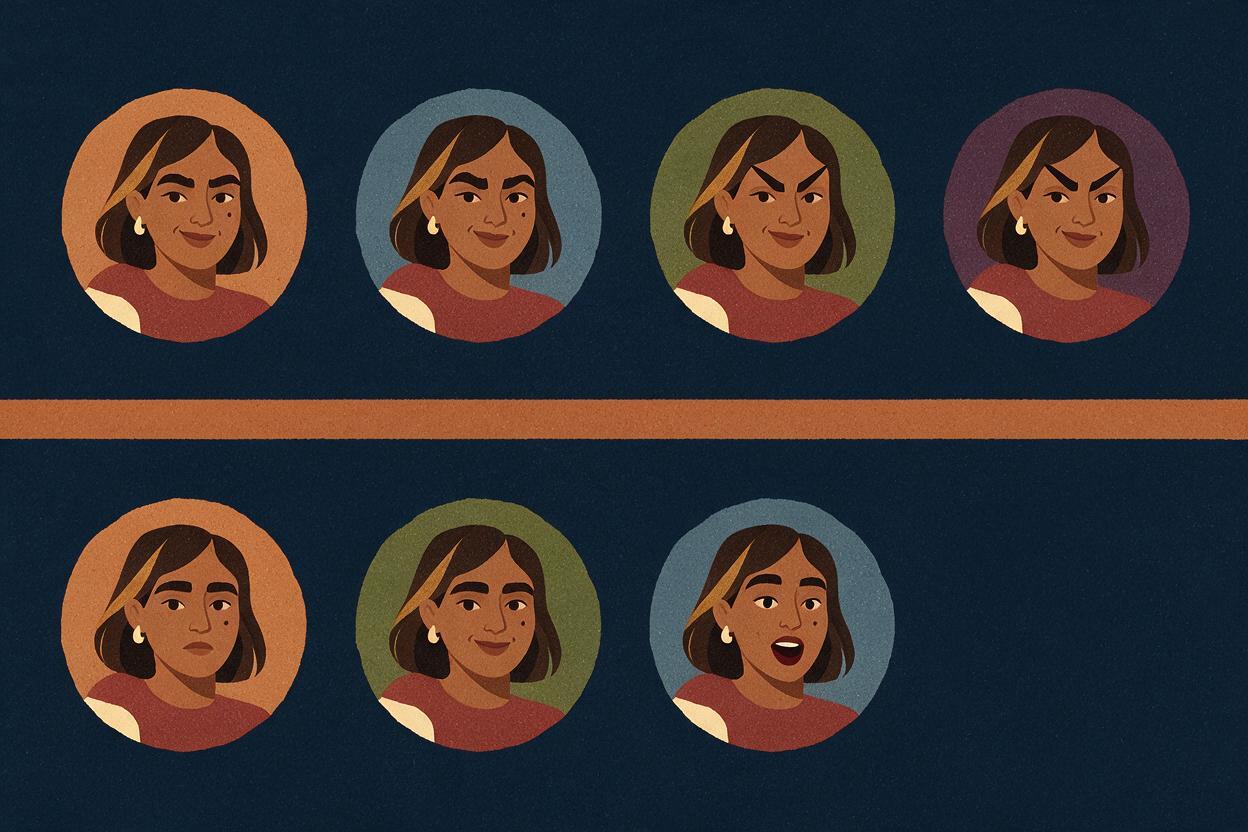
| The smile makes the face look rounder and the nose unfamiliar. | The prompt treats the smile as a new portrait rather than a movement of the approved face. | Add the approved smiling reference and specify which facial structures must remain recognizable. |
| The character looks correct while listening but different when speaking. | Only a closed-mouth reference was supplied. | Add an approved speaking expression to the sheet; inspect open-mouth frames before accepting the shot. |
| Every frame looks unnaturally neutral. | Identity instructions suppress normal expression. | Describe permitted cheek, eyelid, mouth, and jaw movement explicitly. |
| The reaction after a cut feels emotionally disconnected. | The shot plan records camera framing but not the expression at the cut. | Write the incoming and outgoing emotional states on the storyboard reference and revise the affected shot. |
FAQ
Should every shot use the same character reference image?
Keep one approved neutral image as the identity anchor when your tool permits it, but choose an additional approved expression image for a shot that needs one. When only one image is possible, choose deliberately and carry the fixed features into the text prompt.
Does a consistent face need an identical expression in every shot?
No. Facial identity and expression are different requirements. The character can speak, smile, and react while recognizable features remain stable.
What if a speaking shot looks good except for one altered feature?
Check whether the alteration appears throughout the shot or only during a few frames. If it persists, tighten the reference or prompt for that feature and regenerate the affected shot. If it appears briefly, review those frames at playback speed before deciding whether the shot is usable.
Final checklist
- Approve neutral, smiling, and speaking references for one fictional character.
- Record fixed facial anchors separately from allowed expression changes.
- Assign an appropriate reference and emotional transition to each shot.
- Check expression extremes and both sides of every cut.
- Revise the failing shot rather than changing the entire sequence.
Ready to try the workflow? Create a short sequence with one speaking shot and one reaction shot, then compare their cut-point frames against your character sheet.
Keywords
character consistency, consistent character video, character reference, ai character design, keep the same face across video, multi-shot, storyboard reference