How to Make Consistent MV Storyboards From Cover Art With Flux
Music video storyboards keep your shoot on track, but maintaining consistent artist likeness and album visual style across every panel can take hours of manual work. This tutorial shows you how to use Flux’s reference image capabilities to turn your existing album cover art into a 6-10 panel MV storyboard with no character drift. You’ll get reusable prompts, style-locking tips, and a workflow that works for both live-action and AI-generated video projects.
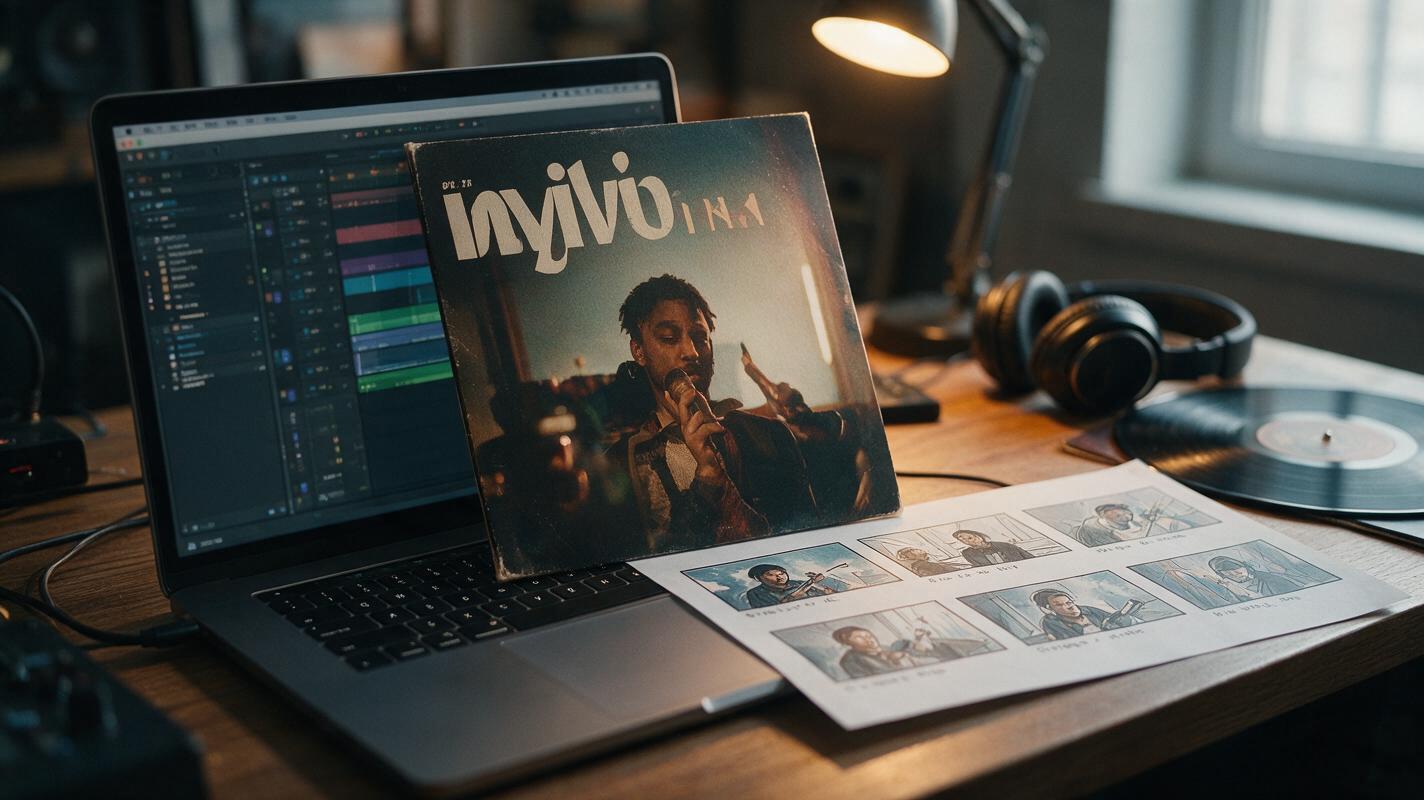
Table of contents
Why use album cover art for MV storyboards?
If you’ve ever spent hours redrawing storyboard panels just to keep the artist’s face and album style consistent, you can cut that work down to minutes by using your existing cover art as an AI reference.
Music video storyboards are non-negotiable for planning shoots, aligning crew, or even feeding prompts into AI video generators — but most independent artists either lack the drawing skills to make consistent panels or pay hundreds of dollars for a professional storyboard artist. Starting with your album cover as a base gives you a pre-approved visual identity: the color palette, character likeness, clothing, and overall tone are already locked in, so every panel you generate will feel tied directly to your release.
Flux’s reference image support makes it easy to carry that identity across every storyboard frame, without manual style matching or face redraws. This workflow works for 30-second promo clips, full-length MVs, or even live performance concept boards, and it pairs seamlessly with AI video tools if you’re planning a fully animated visual.
Prep your cover art reference file
The consistency of your final storyboard depends entirely on the quality of your reference file. Spend 5 minutes prepping your cover art first to avoid drift later:
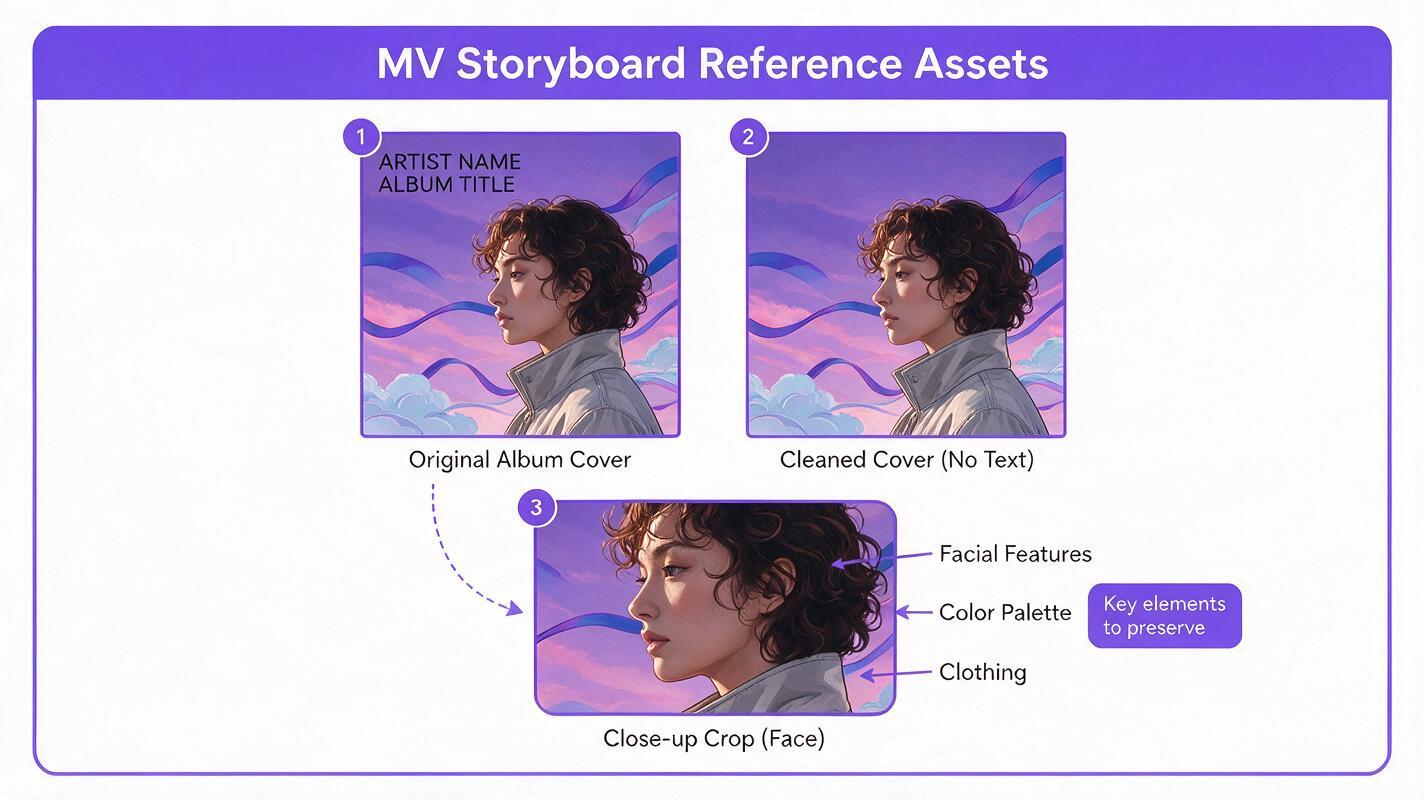
- Use the highest resolution version of your cover art available (at least 1024x1024px) to preserve fine details like facial features and texture.
- Remove all typography — artist names, album titles, track lists — from the reference image using a basic inpainting tool, so text doesn’t accidentally appear in your storyboard panels.
- If your cover features the artist’s face clearly, save a separate 512x512px close-up crop of the face as a secondary reference for extra likeness control.
- Crop or adjust the main cover so key visual elements (the artist, central object, dominant colors) are front and center, with no distracting edge details that might pull the model’s focus.
Save your prepped files in a dedicated folder: one clean main cover reference, and one face close-up (if applicable). Having these ready before you start generating will speed up the whole process.
Lock in style and character with reference prompts
Your prompt needs to do three jobs: define the storyboard format, describe the scene action, and enforce strict style/character matching to your reference. Skip any of these, and you’ll end up with inconsistent panels.
Use this base prompt template for every panel, swapping only the scene description and panel number:
Primary reference: [your album cover, e.g., synth-pop cover with artist in silver puffer jacket, purple/blue neon city background, grainy 35mm film style]
Single music video storyboard panel, 16:9 cinematic wide shot, thin white border, "PANEL [NUMBER]" text in bottom left corner
[scene description, e.g., Artist leans against a wet brick wall in a neon alley, holding a vintage portable cassette player, smoke curling from a nearby street food cart]
Exact same facial features as reference, exact same clothing as reference, same color palette as reference cover, same 35mm film grain, soft bokeh background
Negative prompt: cartoon, anime, distorted face, different hair, wrong clothing color, text other than panel number, watermark, blurry, low resolution
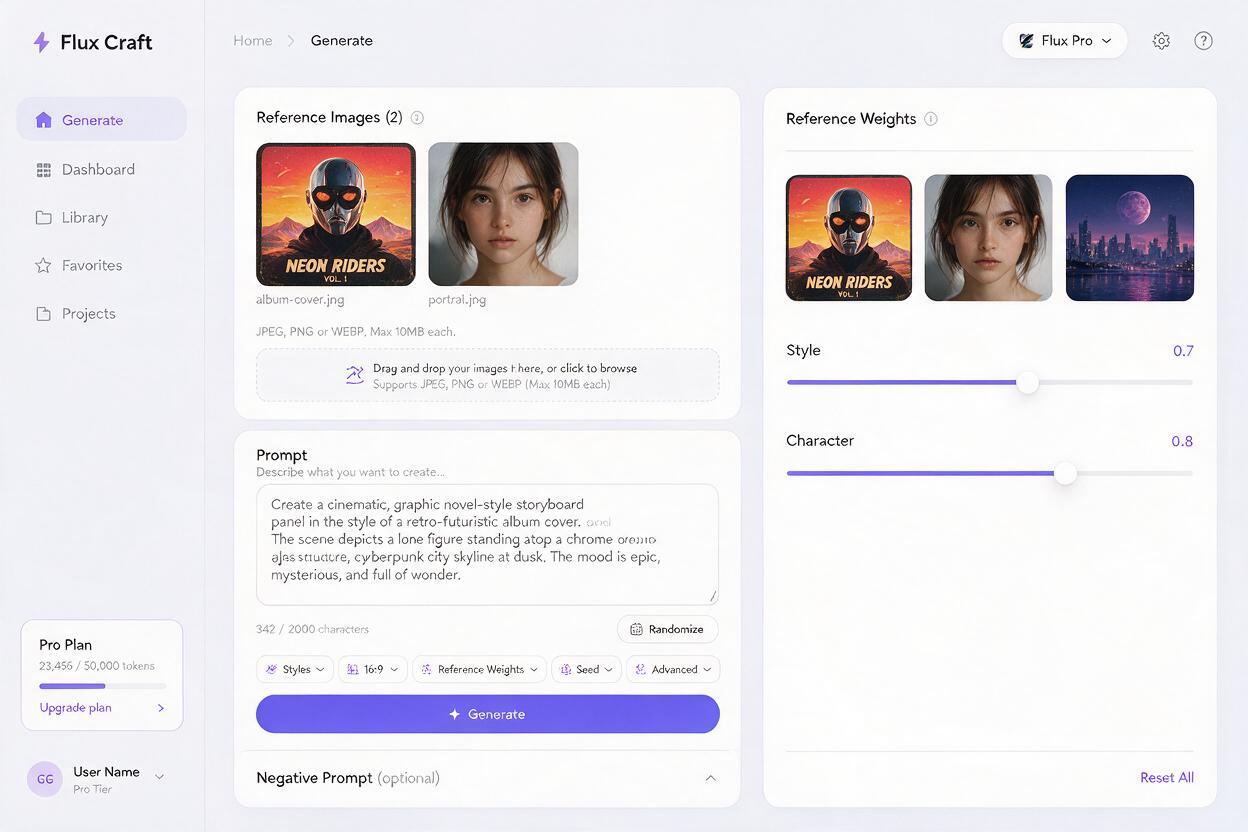
Adjust the reference weight sliders in Flux to balance creativity and consistency: start with a style weight of 0.7 and a character/face weight of 0.8. Turn the weight up if you see drift, or down if the panel copies the cover too closely and doesn’t show the new scene.
Generate storyboard panels in sequence
Don’t generate all your panels at once. Sequential generation is the secret to keeping both style and scene continuity consistent across the full storyboard.
Start with your first panel, using only the clean cover art (and face close-up, if using) as references. Generate 2-3 variations, then pick the one that best matches your vision for the opening shot. For every subsequent panel, add the immediately previous panel as an additional reference image. This lets Flux match the character’s pose, clothing, and lighting from the last frame, while the original cover keeps the core style locked in.
Keep the base prompt structure identical for every panel — only change the scene action and panel number. Even small changes to the style description can cause unexpected drift between frames.
A reliable ai image generator will let you stack multiple reference images without diluting the core style, which is why Flux works so well for this sequential workflow. For a 30-second MV segment, you’ll need roughly 6-10 panels (one every 3-5 seconds, depending on how fast your cuts are). You can test this prompt yourself with your own cover art to refine the style before generating the full set.
Fix drift across outlier panels
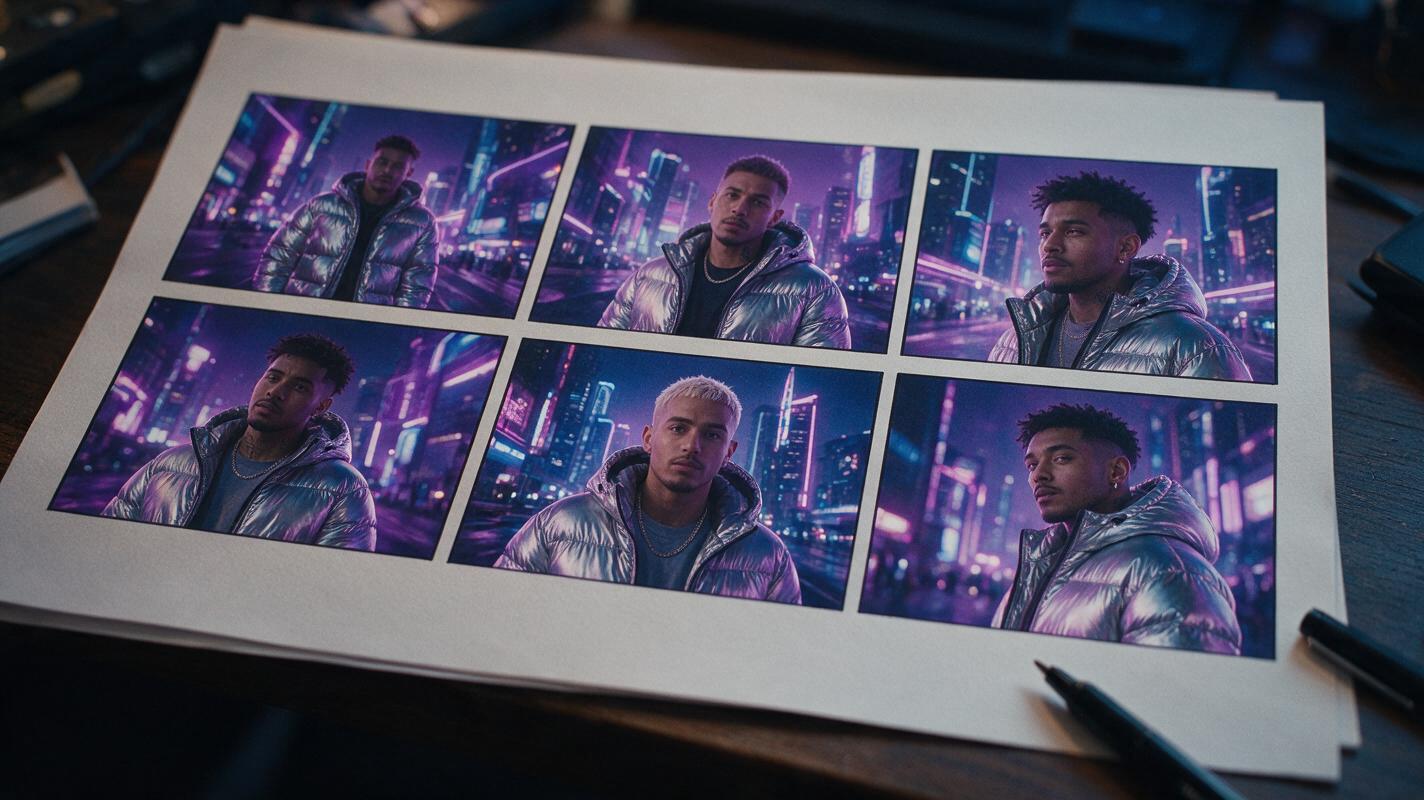
Even with careful prompting, 1-2 panels per storyboard will usually have small inconsistencies — a different hair shade, a jacket zipper in the wrong position, or a slightly off face shape. You don’t have to regenerate the whole panel to fix these.
- For full-panel style or character drift: Regenerate the panel with the reference weight turned up by 0.1-0.2, and add your best earlier panel as an extra style anchor reference.
- For face drift with good composition: Use inpainting to replace only the face area, using the original cover’s face close-up as the inpaint reference.
- For small detail mismatches: Use a basic image editor to adjust details like zipper position, accessory placement, or minor color tweaks instead of regenerating.
Save your 2-3 strongest, most consistent panels as "style anchors" in your reference folder. You can add these to the reference stack for any later panels that drift, to pull the style back in line quickly.
Final checklist
- All panels have matching artist likeness (face shape, hair, clothing) aligned to the album cover
- Color palette, lighting style, and texture (e.g., film grain) are consistent across every panel
- Panel format is uniform: same aspect ratio, border style, and panel number placement
- Each panel clearly shows a distinct story beat or action that moves the MV narrative forward
- Panels flow logically from one to the next, with no jarring jumps in setting or character state
- No unwanted text, watermarks, or visual artifacts appear in any panel
Keywords
mv storyboard, album cover art, flux ai, consistent character, music video planning, ai image generator, storyboard prompts