Nano Banana Pro Prompts for Consistent Team Headshot Backgrounds
A team’s headshots can look mismatched even when every portrait is well photographed. These Nano Banana Pro prompts help portrait and commercial photographers bring varied backgrounds into one visual system while preserving each person’s photographed face, hair, clothing, and lighting.
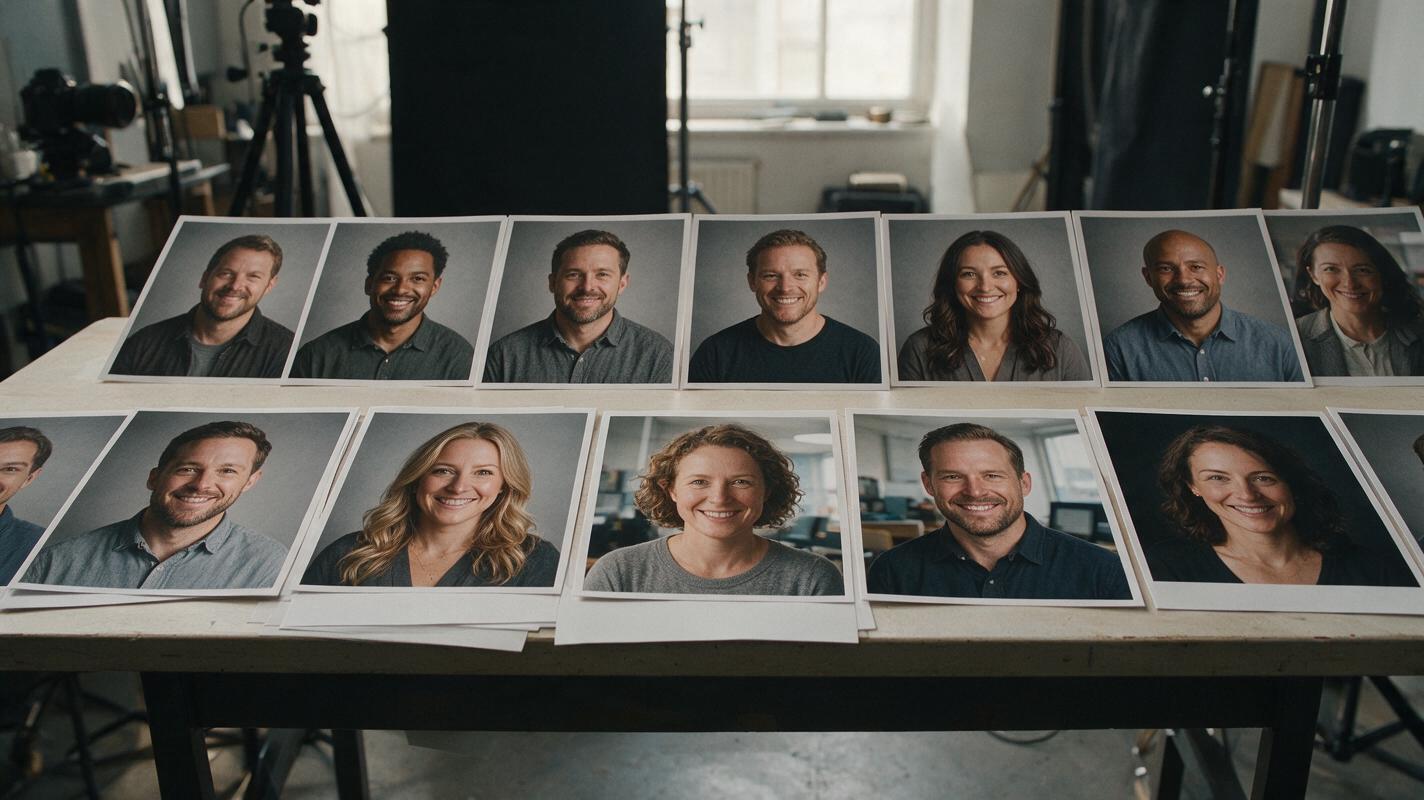
Table of contents
Make the backgrounds match without making the people look generated
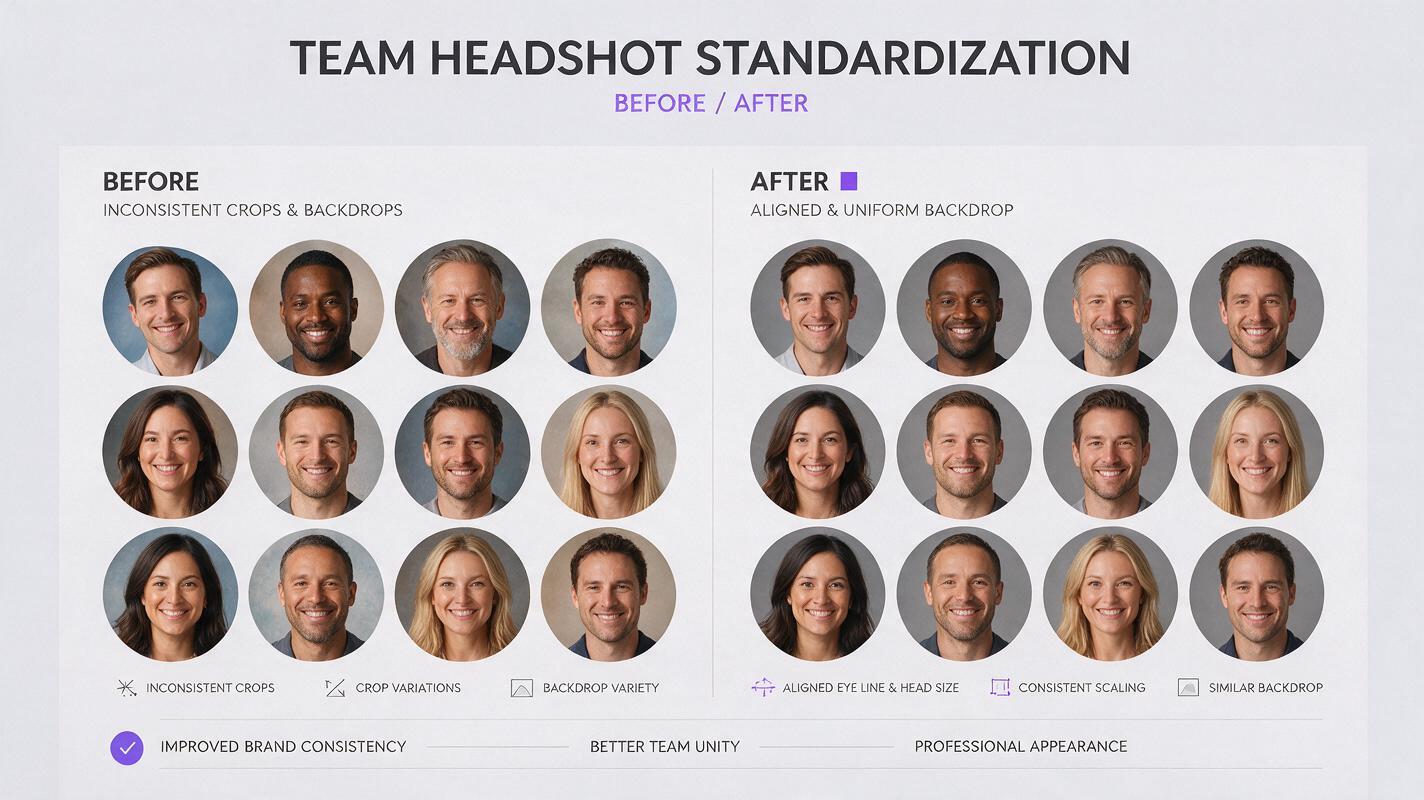
A team page can feel inconsistent when one headshot has a cool gray wall, another has a bright office, and a third has a dark studio backdrop. Reshooting everyone may not be practical. Nano Banana Pro can help standardize the backgrounds, but the safest goal is narrow: change the space behind each person while keeping the photographed person intact.
The prompts below cover three useful looks: a neutral studio seamless, a softly lit office wall, and a dark editorial backdrop. They are starting points, not guarantees. Compare every output against its original, especially around hair, shoulders, glasses, and clothing.
Choose one reference look for the whole team
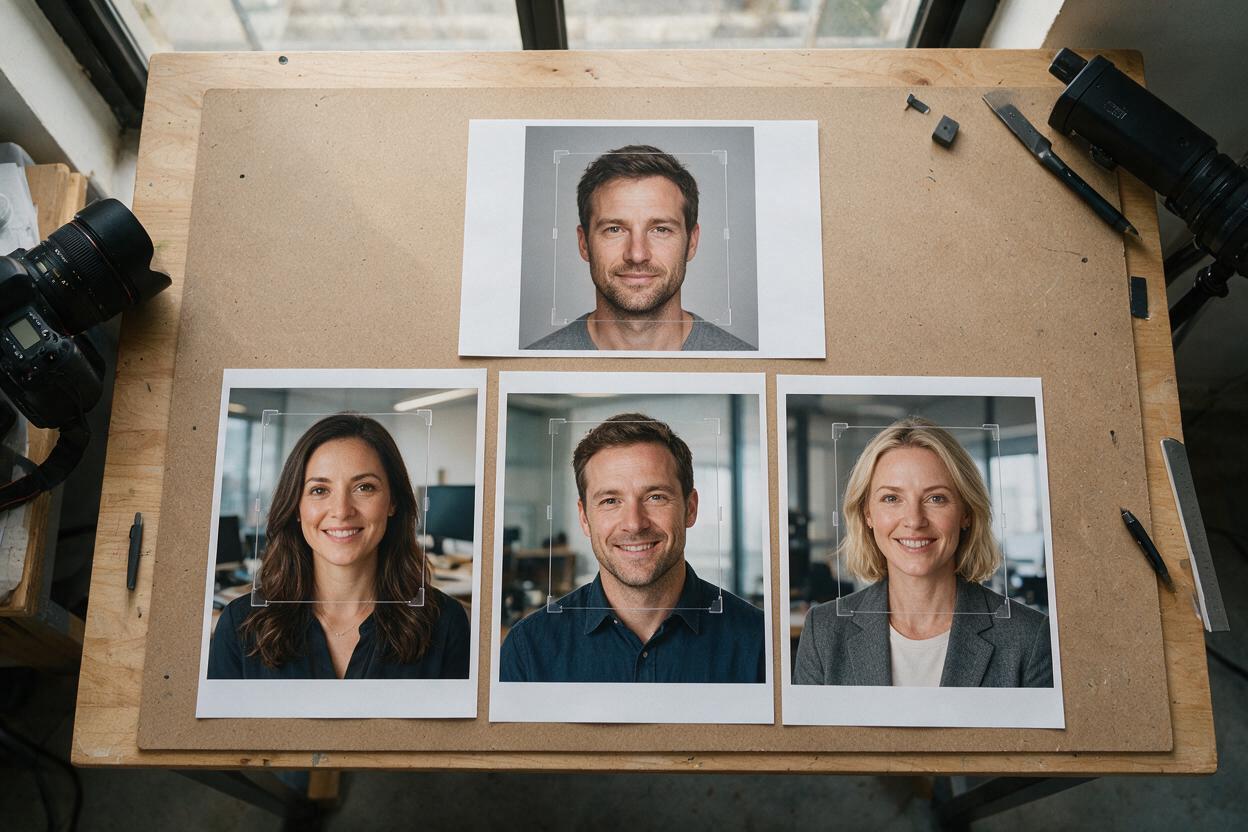
Before editing, select the headshot whose background is closest to the desired final style. Check its camera height, crop, light direction, background brightness, and distance between subject and backdrop. A reference with soft light from camera-left will be difficult to match to a portrait with a hard flash from camera-right unless you also adjust the photographed lighting.
Set a consistent crop and head size across the originals first. Make ordinary exposure and white-balance corrections before generating anything. If an approved reference photo exists, use it instead of inventing a new environment. If not, open ai image generator to make an empty background reference, then use that reference consistently across the set. Do not generate a replacement person as your template.
Keep the edit documentary where it matters: The final portrait should still depict the photographed employee. If a generated setting could imply a real workplace or location that was never photographed, describe the image appropriately wherever that distinction matters.
Prompt: a neutral gray seamless for mixed-location portraits
A gray seamless is a practical choice when the source photographs come from several offices or sessions. It provides a shared look without asking the model to invent furniture, windows, or architectural details.
Supply the original headshot and, if available, a clean reference showing the target gray and light falloff. Use this prompt for each person, changing only details necessary to describe that person’s existing light direction:
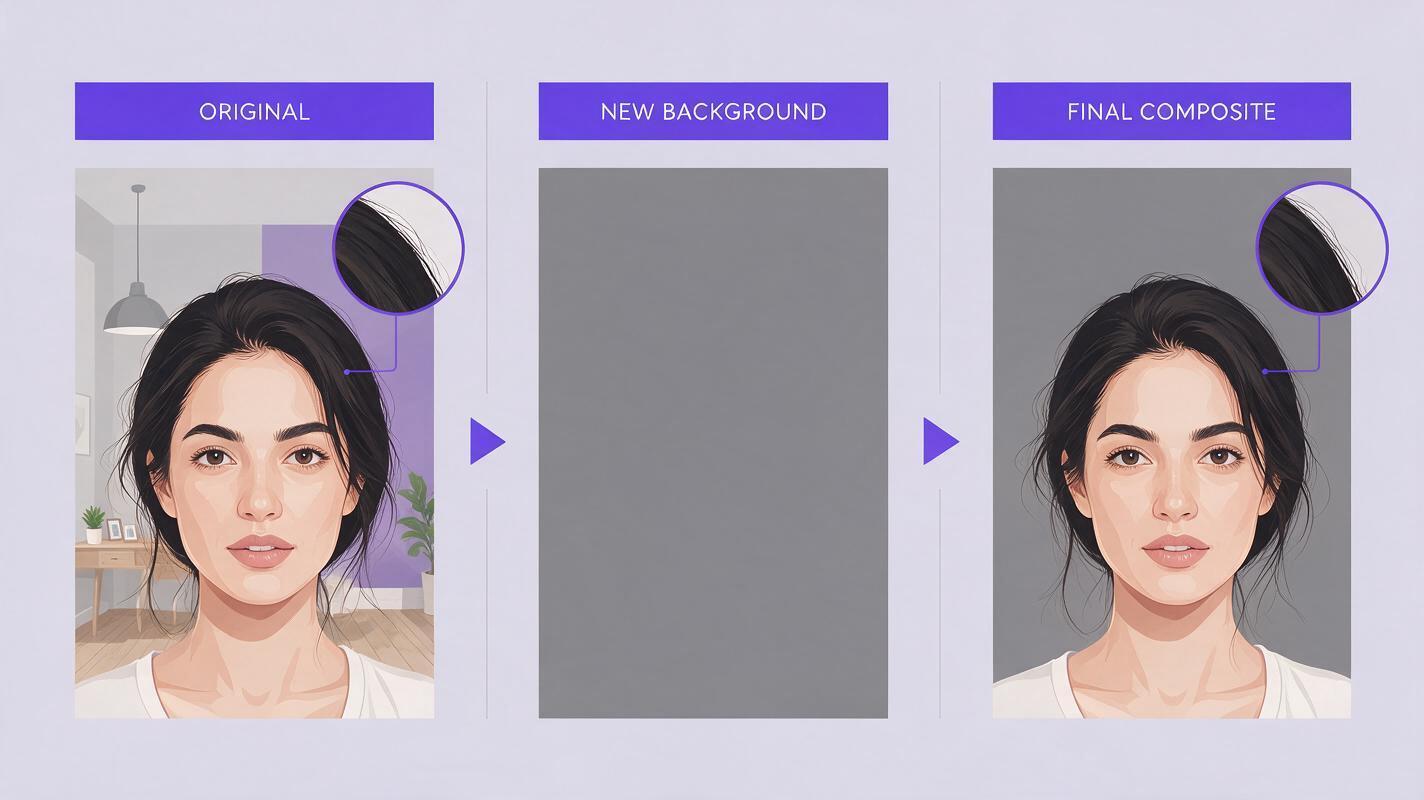
Edit only the background of this photographed headshot. Replace the current surroundings with a plain, matte, neutral-gray studio seamless matching the supplied background reference. Preserve the original person exactly: facial features, expression, skin texture, hair shape and flyaways, glasses, clothing, jewelry, pose, and crop. Keep the existing light direction and natural edge transitions. Add only a subtle background gradient and believable separation behind the shoulders. Do not beautify, relight, redraw, or change the person.Look for a continuous tone behind the head and shoulders. If the model creates a bright halo or cuts away fine hair, ask for a less aggressive transition—or composite the original subject over the generated background using a carefully refined mask.
Prompt: a warm office wall without invented workplace details
For a company site that needs a less formal look, use a softly lit wall rather than a fully generated office. A simple surface is easier to keep consistent across dozens of headshots and less likely to imply that every person was photographed in the same real room.
Change only the area behind this photographed person to a softly lit, warm off-white office wall. Use the supplied background reference for wall color, texture, and brightness. Keep the wall simple and unobtrusive: no logos, signs, furniture, windows, plants, or people. Preserve the original face, expression, hair, glasses, skin texture, clothing, jewelry, shoulders, and pose. Match the background illumination to the direction and softness of the light already present on the person. Do not alter the subject.If the new wall looks brighter than the person’s existing light can justify, reduce its brightness rather than asking the model to relight the face. A credible background change usually requires fewer edits to the subject, not more.
Prompt: a dark editorial backdrop with natural separation
A dark background can give leadership portraits a cohesive editorial feel, but it exposes rough masks around dark hair and jackets. Start with the original that has the cleanest edge separation. Avoid asking for a dramatic rim light that was not present in the source photograph.
Replace only the background with a matte charcoal backdrop matching the supplied reference. Preserve the photographed person, including exact facial features, hair silhouette, clothing texture, glasses, jewelry, expression, and framing. Retain the original lighting on the subject. Keep a gentle, natural tonal difference between the subject and backdrop without adding a new rim light or changing hair edges. No scenery, text, logos, or extra objects.Inspect dark-on-dark boundaries at full size. If a jacket disappears into the backdrop, try a slightly lighter charcoal or a restrained background gradient. Do not solve the problem by generating a new shoulder outline.
Check the set as a set, not one portrait at a time
An individual edit can look convincing and still fail beside the other portraits. Place a representative selection in the layout where the headshots will appear. Compare background hue, apparent camera distance, head size, light direction, and how much space sits above each head.
| What looks wrong | Likely cause | Better correction |
|---|---|---|
| Hair has a pale outline | Background transition is too abrupt | Refine the edge from the original photo; reduce contrast behind fine hair. |
| One headshot feels pasted in | Background brightness conflicts with subject lighting | Adjust the background tone before changing the person. |
| Faces no longer look identical to the originals | The edit affected more than the background | Restore the original subject with a mask or reject the output. |
| The grid still looks inconsistent | Crop, head size, or color balance differs | Normalize those photographic choices across the full set. |
Keep the original photographs and editable layers. For a large team, approve a small test group containing different hair types, clothing colors, and source backgrounds before applying the look more widely. This reveals whether the chosen backdrop is genuinely reusable.
Once you have a suitable reference and a representative headshot, test this prompt yourself on that single image. Approve its identity and edge detail before moving on to the rest of the team.
Final checklist
- Choose one approved background reference and a consistent crop.
- Correct exposure and white balance in the source photographs first.
- Prompt for a background-only edit; preserve every photographed person.
- Inspect hair, glasses, jewelry, shoulders, and clothing against the originals.
- Review the portraits together in their final grid or page layout.
- Keep originals and editable files for corrections and client approval.
Keywords
team headshot backgrounds, Nano Banana Pro, headshot background editing, consistent corporate headshots, portrait photo editing, headshot prompts