How to Create Controlled Object Transformations with Image to Video
Create a clean AI object transformation by defining the start, bridge, and final states before generating motion. This workflow uses reference images, restrained prompts, and short image-to-video clips to prevent uncontrolled melting, background drift, and abrupt shape changes.
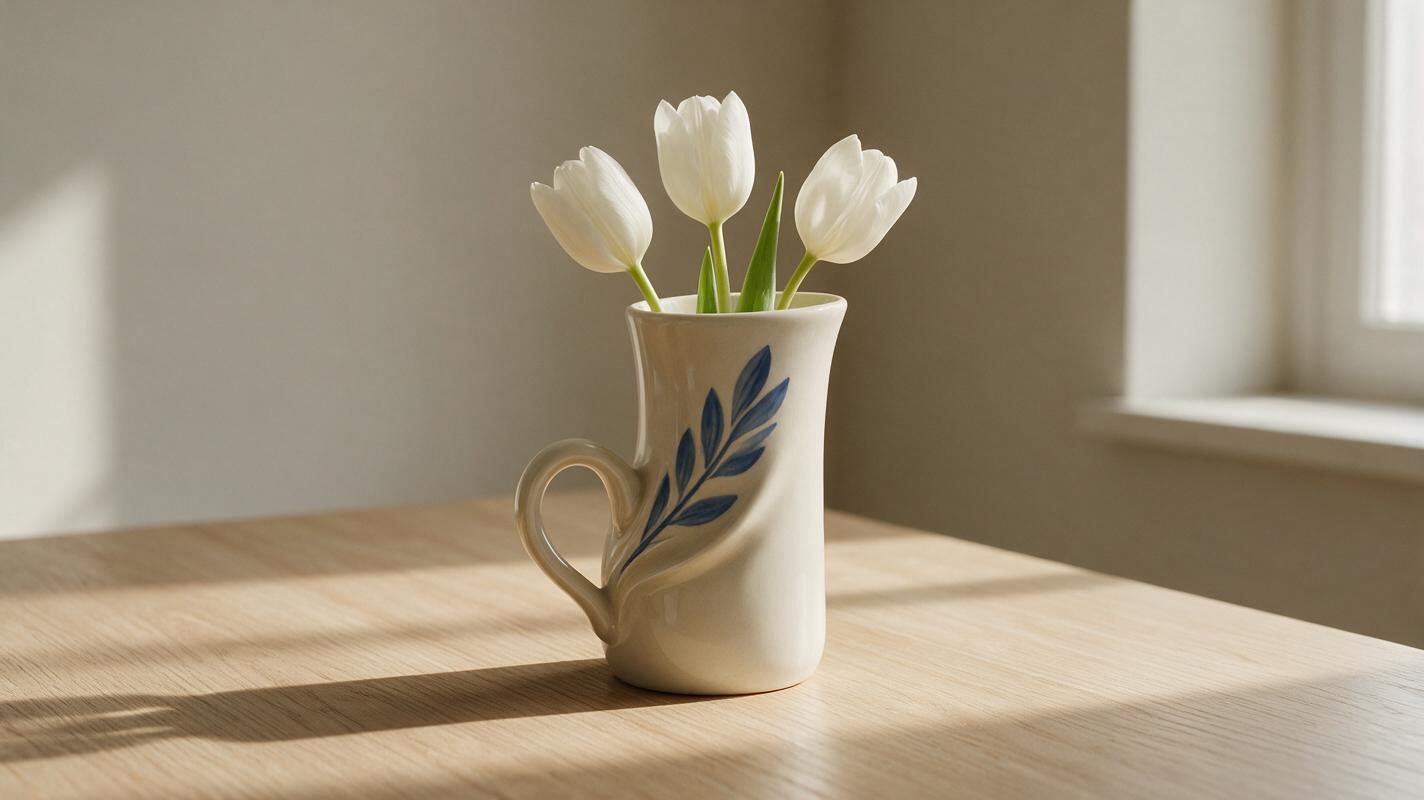
Table of contents
TL;DR: Build the transformation as three controlled states
The fastest way to create a convincing object transformation is to define a clear starting object, an intermediate bridge state, and a final object, then animate the two transitions separately with image to video. Short clips, a fixed camera, and prompts describing material behavior produce more reliable results than asking a model to invent an entire transformation in one generation.
This tutorial uses a ceramic coffee mug transforming into a flower vase as its working example, but the same workflow applies to product reveals, magical props, vehicle transformations, costume effects, and surreal social videos.
Why AI object transformations often look like melting
Video models are good at creating continuous motion, but they do not necessarily understand how one designed object should become another. A prompt such as “a mug transforms into a vase” leaves several important questions unanswered: Which parts move first? Where does the handle go? Does the ceramic remain ceramic? Should the object stretch, dissolve, unfold, or assemble?
When those decisions are missing, common failures include:
- Uncontrolled melting: the original silhouette collapses into an amorphous blob before the final object appears.
- Duplicate parts: a second rim, handle, flower, wheel, or product label materializes during the transition.
- Material drift: ceramic becomes liquid, plastic becomes metal, or a matte surface turns glossy without narrative reason.
- Background motion: the table bends, shadows jump, or nearby objects transform with the subject.
- Scale changes: the final object grows larger even though its base should remain fixed.
- Late transformation: nothing happens for most of the clip, followed by a rushed change in the last few frames.
A successful transformation is not one complicated prompt. It is a sequence of visually compatible states connected by simple, directional motion.
3 ways to create an AI object transformation
- Single-clip transformation: animate one reference image and describe the complete change. This is fast but offers the least structural control.
- Two-clip bridge workflow: create start, bridge, and final images, then animate start-to-bridge and bridge-to-final separately. This is the recommended method.
- Editorial transformation: generate several partial changes and hide the joins with a flash, foreground wipe, camera move, smoke burst, or matched cut.
The two-clip method is usually the best balance between visual continuity and editability. It gives the model fewer geometric decisions in each generation while preserving the feeling of one continuous transformation.
How MagicBoat handles a multi-model transformation workflow
MagicBoat lets you test image and video models from one free account instead of rebuilding the project across separate services. You can create anchor images with options such as Seedream, Flux, or GPT Image, then compare motion results from models such as Seedance and Kling in the same broader ai video workflow.
The practical advantage is comparison rather than dependence on one model. A transformation involving surface growth may work better in one video model, while a mechanical unfolding action may be clearer in another. Keep the input image, aspect ratio, prompt, and intended duration equivalent when testing so that you are comparing motion interpretation rather than different creative setups.
| Production task | Suitable workflow | Main goal |
|---|---|---|
| Design the start object | Image generation or uploaded reference | Lock composition and materials |
| Create a bridge state | Image generation with a detailed structural prompt | Explain how the geometry changes |
| Animate each change | Seedance or Kling image-to-video testing | Generate bounded motion |
| Create a fast concept | Text-to-video generation | Explore transformation ideas |
| Repair continuity | Regenerate only the weak segment | Avoid discarding successful motion |
What you need before generating
- A start-object description with shape, material, color, and distinctive parts.
- A final-object description with compatible scale and placement.
- A transformation mechanism: stretching, unfolding, assembling, growing, crystallizing, or reconfiguring.
- A simple environment with a visible surface and stable lighting.
- An editor that can trim clips and remove a duplicate bridge frame.
For this example, the mug and vase share a ceramic material, circular opening, vertical axis, and fixed base. Those similarities reduce the amount of visual information that must be reinvented.
Step 1 — Define fixed traits and changing traits
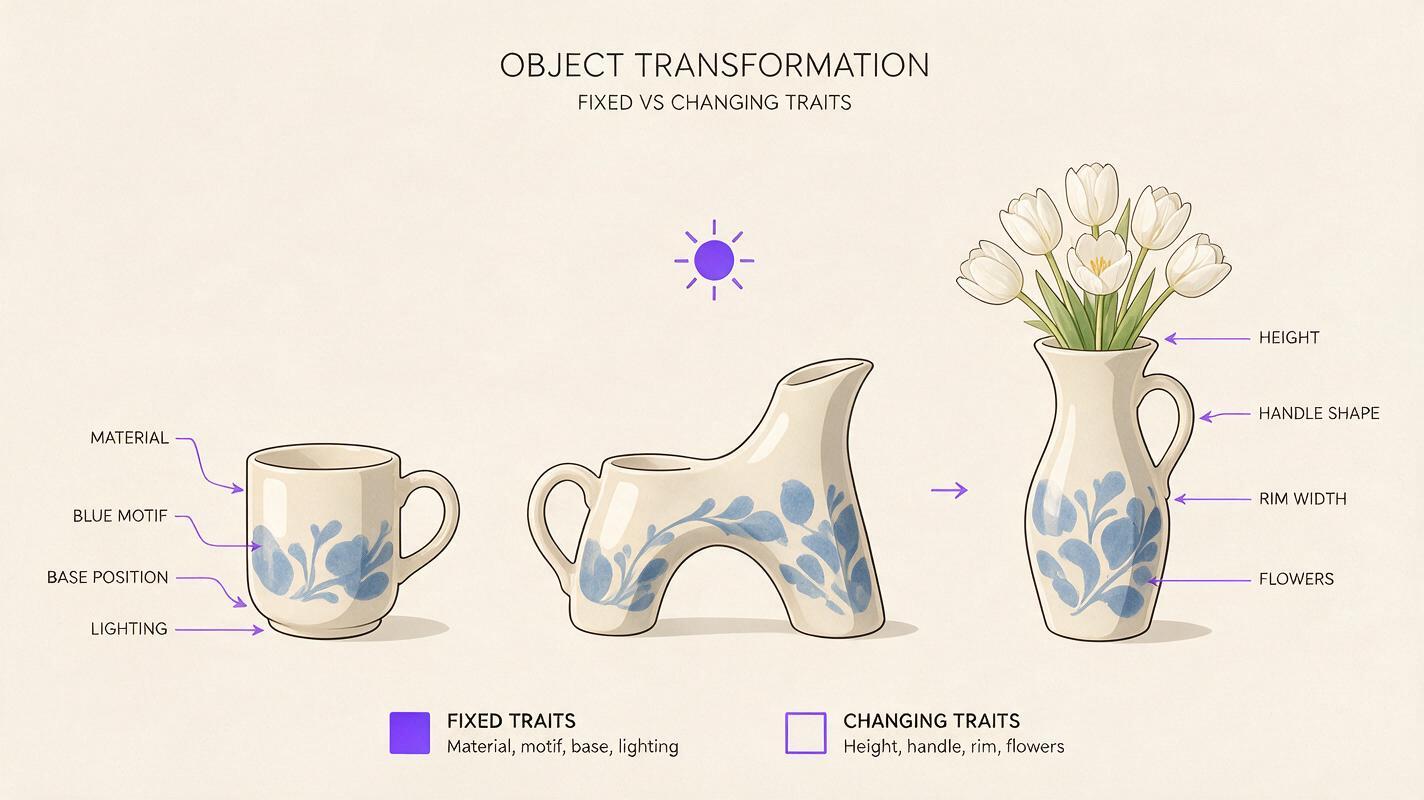
Write two short lists before generating anything. Fixed traits must remain stable throughout the shot; changing traits describe the transformation itself.
FIXED
Warm ivory ceramic material
Small hand-painted blue leaf motif
Object centered on a pale oak table
Base remains in the same position
Soft window light from camera left
Locked medium close-up camera
Neutral beige wall in the background

CHANGING
Mug body becomes taller and narrower
Handle retracts smoothly into the side wall
Opening widens slightly
Blue motif extends upward with the ceramic
Three white tulips emerge only near the end
This separation prevents a long prompt from treating every detail as equally flexible. The expected result is a transformation plan with one stable visual identity and a limited set of geometric changes.
Step 2 — Generate the start and final anchor images
Create the start image first. Use a direct product-photography composition rather than dramatic camera angles, shallow focus, or a busy set.
Editorial product photograph of a warm ivory ceramic coffee mug,
a small hand-painted blue leaf motif on the front, centered on a pale
 oak tabletop, neutral beige wall behind it, soft natural window light
from the left, medium close-up, eye-level camera, entire object visible,
realistic contact shadow, restrained color palette
For the final anchor, preserve the environment and describe only the new object. If the image workflow accepts a visual reference, use the start image as the compositional guide.
The same locked composition and lighting, now showing a tall warm ivory
ceramic flower vase in exactly the same position, the same blue leaf
motif extended vertically, similar base diameter, three white tulips,
pale oak tabletop, neutral beige wall, realistic contact shadow
Check that the base location, motif, camera height, light direction, and tabletop perspective match. Regenerate the final anchor if the vase is dramatically larger or photographed from a different angle. The expected result is a pair of images that already resemble the first and last frames of one shot.
Step 3 — Design a readable bridge state
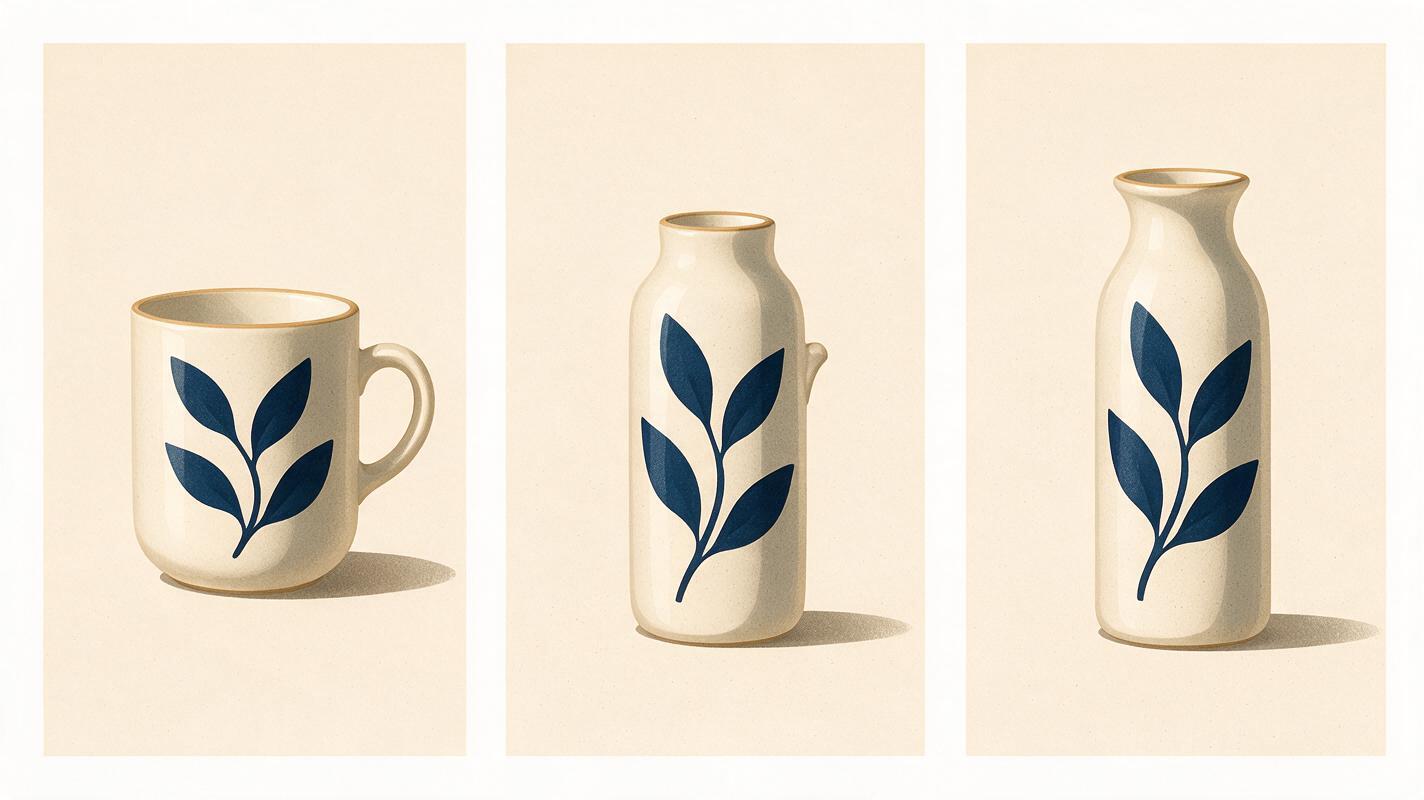
The bridge image should look deliberately unfinished, not damaged. It needs to contain recognizable features from both endpoints: the mug’s compact base and remaining handle structure, plus the vase’s taller neck and vertical motif.
Intermediate transformation state between the reference mug and a tall
ceramic vase: the ivory ceramic body has stretched upward halfway, the
handle is retracting cleanly into the right side and is now only a low
ceramic ridge, the opening is slightly wider, the blue leaf motif extends
up the front, base position and diameter unchanged, no flowers yet,
locked camera, identical oak table, beige background and window lighting
Avoid words such as “mutant,” “liquefying,” or “chaotic morph” unless distortion is intentional. Use construction verbs that imply a specific physical process: retracts, extends, folds inward, separates into panels, or assembles.
The expected bridge state should be understandable as a still image. If you cannot explain how its parts connect to both endpoints, the video model will probably struggle with it too.
Step 4 — Animate the start object into the bridge
Use the start anchor as the image input. Describe only the first half of the action and explicitly stabilize the environment.
Locked camera. The ceramic mug begins a controlled physical
reconfiguration. Its body gradually stretches upward while remaining
solid ivory ceramic. The handle retracts smoothly into the right wall
until it becomes a low rounded ridge. The blue painted motif lengthens
with the surface. The base stays planted in exactly the same place.
Continuous deliberate motion, stable table, stable wall, consistent
window light, no liquid melting, no duplicate objects, no flowers.
If duration controls are available for the selected model, begin with a short clip rather than asking for a long transformation. The first change has only three jobs: lengthen the body, retract the handle, and preserve the base.
Test the same input and prompt in Seedance and Kling. Evaluate the output frame by frame instead of judging only the overall impression. The expected result ends near the designed bridge state without introducing flowers or completing the vase too early.
Step 5 — Use the bridge as the second clip’s anchor
Select the cleanest frame near the end of the first clip. Compare it with the designed bridge image. If the generated frame has stable geometry, use that actual frame as the next input because it carries the model’s precise texture, shadow, and motif placement forward.
If the frame is distorted, use the clean bridge still instead and plan to hide the minor discontinuity during editing. Then animate the second half:
Locked camera. The partially transformed ceramic object completes its
controlled reconfiguration into a tall flower vase. The side ridge folds
flush into the ceramic wall. The neck extends slightly and the opening
settles into a clean circular rim. The blue leaf motif remains continuous.
Only after the vase shape is complete, three white tulips grow gently
upward from inside. The base does not slide or expand. Stable table,
background, shadow and lighting; no extra handles, no duplicate rims.
Notice the temporal instruction: the vase completes first, and the flowers appear afterward. This prevents the model from attempting every action simultaneously. The expected result is a readable finish with a brief moment of visual resolution.
Step 6 — Audit structure, motion, and environment separately
Review the clips three times, concentrating on one category during each pass.
| Audit pass | Questions to ask | Reject when |
|---|---|---|
| Object structure | Does one rim remain? Does the handle disappear logically? Is the motif continuous? | Parts duplicate, detach, or become unreadable |
| Motion timing | Does the change begin early? Is each action sequential and visible? | The transformation stalls and rushes at the end |
| Scene stability | Do the table edge, wall, light, shadow, and camera remain fixed? | The environment bends or the object slides |
Do not discard a structurally good generation because one flower bends for a few late frames. Trim the clip before the defect or regenerate only the second segment. Likewise, do not accept beautiful lighting if the handle divides into two pieces. Structural readability is the priority.
Judge the transformation at normal speed and one frame at a time. Normal playback reveals rhythm; frame inspection reveals duplicated geometry and continuity errors.
Step 7 — Join the clips without exposing the bridge
Place the first clip followed by the second. If the ending frame of clip one and starting frame of clip two are identical, remove one duplicate frame to avoid a visible pause. If they differ slightly, test these repair options in order:
- Trim both clips to the pair of frames with the closest silhouette.
- Use a very short dissolve only when the object is already moving.
- Cut during the fastest part of the vertical stretch.
- Hide the join behind a natural foreground wipe, brief light flare, or ceramic dust effect generated as part of the scene.
- Regenerate the weaker segment from a better handoff frame.
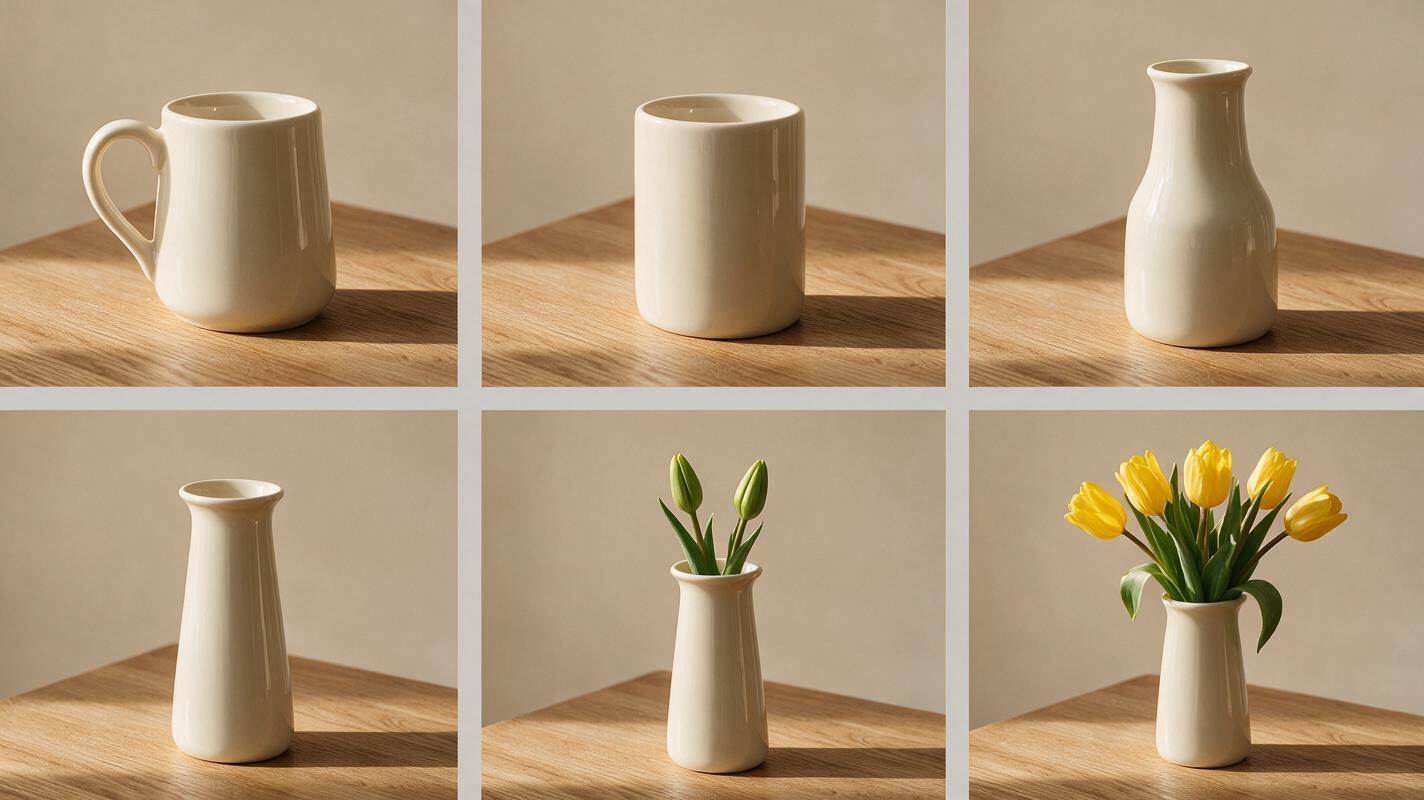
A long dissolve usually makes the object look transparent and exposes mismatched outlines. The expected final edit should play as one directional action: mug, elongated bridge, finished vase, then flowers.
Keep the same transformed object across projects
Save a compact continuity package instead of relying on prompts alone:
- The original start image.
- The approved bridge image or handoff frame.
- The final transformed-object image.
- The fixed-traits list.
- The exact material and motif description.
- A clean final frame without motion blur.
For a later shot, begin from the final reference rather than regenerating the vase from text. Preserve rare identity details such as motif placement, rim thickness, base diameter, and ceramic color. These details function like character-consistency markers for an object.
Alternative: generate the concept with text to video
Use text-led generation when speed and surprise matter more than exact product geometry. It is useful for discovering whether the transformation should unfold, grow, crystallize, or assemble.
One continuous locked product shot: an ivory ceramic coffee mug on an
oak table reconfigures into a tall matching ceramic flower vase. The mug
body stretches upward, its handle folds smoothly into the side, the same
blue painted leaf motif remains visible, and three white tulips emerge
only after the vase is complete. Stable beige background, soft left
window light, solid ceramic throughout, no camera movement.
Once a text-generated concept produces an appealing mechanism, rebuild it with reference images for stronger control over composition and object design.
Alternative: use an editorial cut for incompatible objects
Some endpoints share too little geometry for a clean continuous morph. A sneaker becoming a glass perfume bottle, for example, requires major changes in material, internal volume, silhouette, and scale.
In that case, design the transition around a motivated obstruction:
- A hand passes in front of the object.
- The camera moves behind a pillar or foreground package.
- Steam, fabric, sand, or leaves briefly fill the frame.
- A bright reflection travels across the object.
- The object rotates edge-on before the cut.
Generate the approach and reveal as separate clips, then place the cut at maximum obstruction. This is often more convincing than forcing the model to explain an impossible material conversion in full view.
Where the workflow falls short
- Text and logos may deform. Small lettering can stretch or change during geometric motion. Add critical typography after generation when exact spelling matters.
- Transparent materials are difficult. Glass, liquid, and reflections interact with the background, increasing temporal instability.
- Mechanical transformations need more bridges. Hinges, wheels, panels, and internal components may require several intermediate states rather than one.
- Perfect endpoint matching is not guaranteed. An image-to-video result may approach the final design without reproducing every pixel of a separate final still.
- Large scale changes affect the scene. If an object becomes much bigger, its shadow, framing, and contact area must also change coherently.
When exact engineering, brand packaging, or legible labels are essential, treat generative video as the motion layer and combine it with conventional compositing or product-rendering tools.
FAQ
Can I create the whole transformation in one clip?
Yes, especially when the objects share a similar silhouette and material. However, separating the change into two clips gives you better timing control and lets you repair one half without losing the other.
Should I include the final object in the first prompt?
Name the intended direction, but describe only the actions that should occur in that segment. Overloading the first prompt with final-state details can make the model complete the transformation too early.
How many bridge images do I need?
One is enough for a mug-to-vase change. Use two or more when multiple parts must rotate, detach, unfold, or change material in a specific order.
Which is better for this workflow, Seedance or Kling?
There is no universal winner for every object and motion type. Test both with the same image and prompt, then compare structural continuity, timing, and scene stability rather than selecting by a single attractive frame.
How do I stop the background from transforming?
Use a simple anchor image, keep the camera locked, repeat that the table and background remain stable, and avoid language suggesting an environmental magical effect. Shorter clips also reduce opportunities for scene drift.
Can this method transform a person’s clothing?
The start-bridge-final principle still applies, but clothing changes introduce anatomy, body motion, and identity risks. Use a restrained pose, preserve the person’s reference image, and separate body motion from garment transformation whenever possible.
Final checklist
- Choose start and final objects with at least one shared visual feature.
- Separate fixed traits from changing traits.
- Keep the camera, base position, background, and lighting stable.
- Create a bridge state that works as a readable still image.
- Animate one bounded phase per clip.
- Use sequential timing instead of simultaneous actions.
- Compare models with identical inputs and prompts.
- Inspect object structure, motion timing, and environment separately.
- Remove duplicate frames when joining clips.
- Save approved anchors for later shots.
Ready to build the effect? Create your first AI video free and test the start-to-bridge prompt with multiple models.
Keywords
image to video, AI object transformation, Seedance prompts, Kling prompts, prompt engineering, object consistency, AI video workflow