Why AI Fried Food Looks Soggy (And How to Get Crisp, Realistic Results)
AI-generated fried food often falls flat with soggy breading, uniform greasy sheen, and plastic-like texture that fails to drive customer orders for restaurants and food brands. This guide breaks down why AI struggles with crispy dishes like fried chicken, tempura, and fries, and shares tested prompts, settings, and quick fixes using Nano Banana Pro and Seedream 4.5 to produce realistic, appetizing results. It includes reusable prompt templates for menu photos and social media, plus a checklist to ensure every fried food visual looks crisp and convincing.
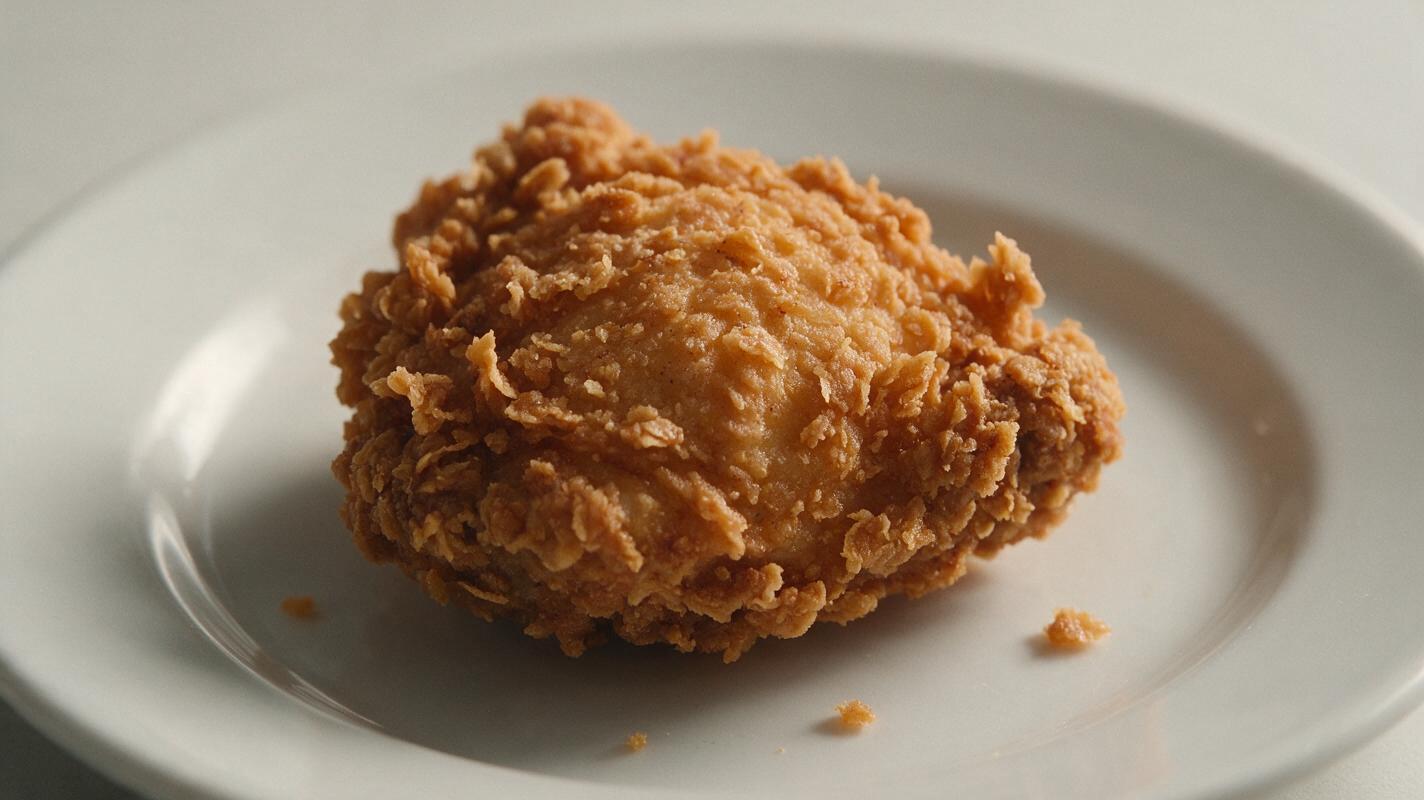
Table of contents
Why AI fried food never looks as crisp as the real thing
If you’ve ever used an ai image generator to create fried chicken, french fries, or tempura for your restaurant menu or social media, you’ve probably seen it: soggy, limp breading, unnaturally shiny grease, and no visible crunch that makes customers want to order immediately. AI food generators excel at soft, creamy dishes like pasta or ice cream, but crispy fried foods are a consistent pain point for food marketers and culinary creators.
The issue isn’t a lack of creativity—it’s rooted in how image models learn and render texture. Most training datasets lean heavily on smooth, saucy, or brightly styled food photos, with far fewer high-resolution close-ups that capture the tiny, irregular details of real crispy fried food. When prompts lack specific texture cues, models default to the smooth, “perfect” surfaces they’ve seen most often, resulting in fried food that looks more like plastic than something you’d want to bite into.
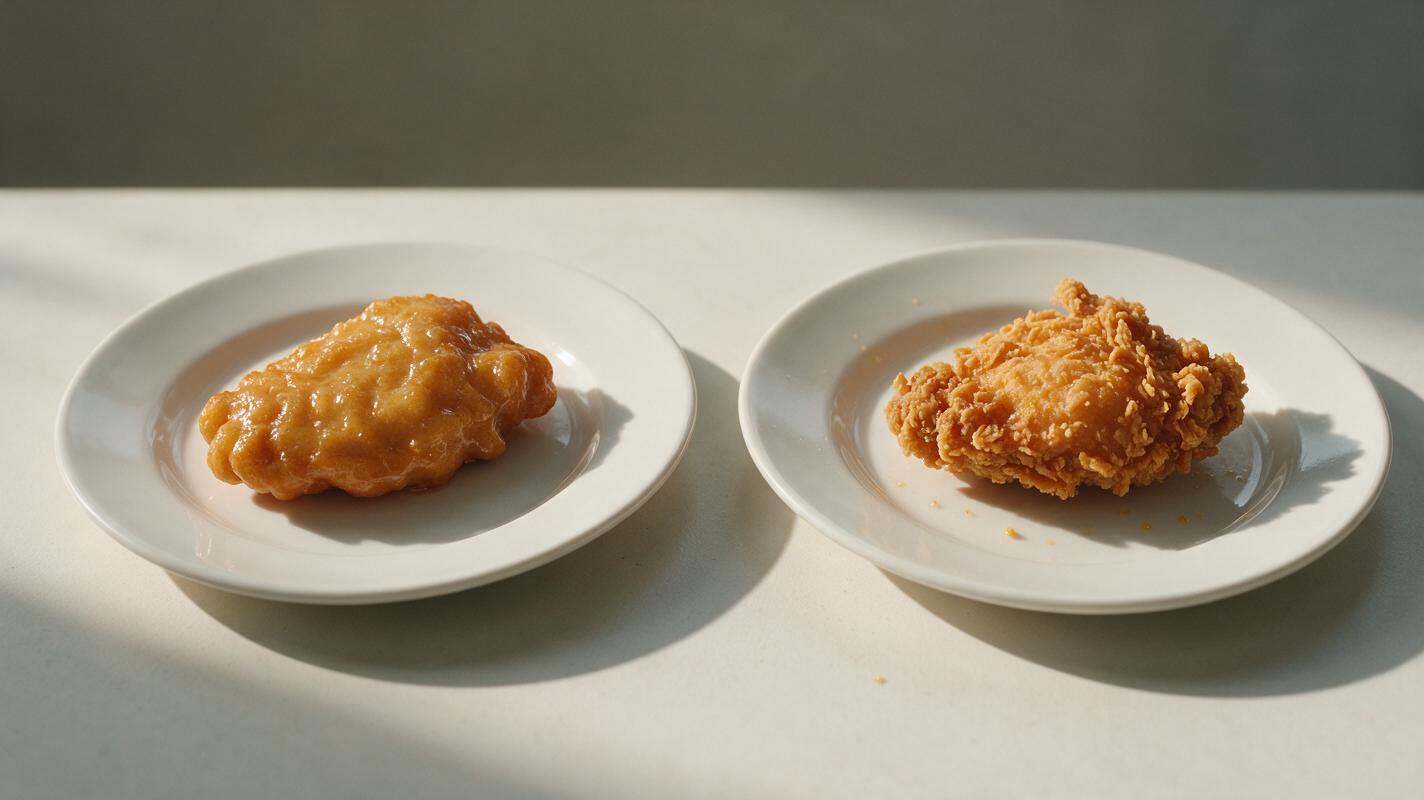
Common soggy fried food AI mistakes (and how to spot them)
Before fixing the problem, it helps to recognize the most common texture failures in AI-generated fried food. These four issues appear across nearly all image models, and each has a clear visual tell:
| Mistake | Visual cue | Why it happens |
|---|---|---|
| Greasy sheen overload | Uniform shiny layer covering the entire fried surface, like it’s dipped in oil | Models associate fried food with grease, but can’t distinguish between scattered natural grease spots and a full glossy coating |
| Smooth breading | No visible crumbs, air pockets, or flaky edges—looks like a solid plastic coating | Training data lacks enough close-up texture details of breading, so models default to smooth surfaces |
| Limp edges | Rounded, soft edges on fries, fried chicken, or tempura instead of jagged, crisp edges | Models often “smooth out” irregular edges to create a “perfect” look, erasing the jaggedness that signals crispiness |
| Uniform color | One flat golden-brown shade across the entire dish, no darker or lighter spots | Real fried food has natural color variation from uneven cooking; AI often produces uniform color for consistency |
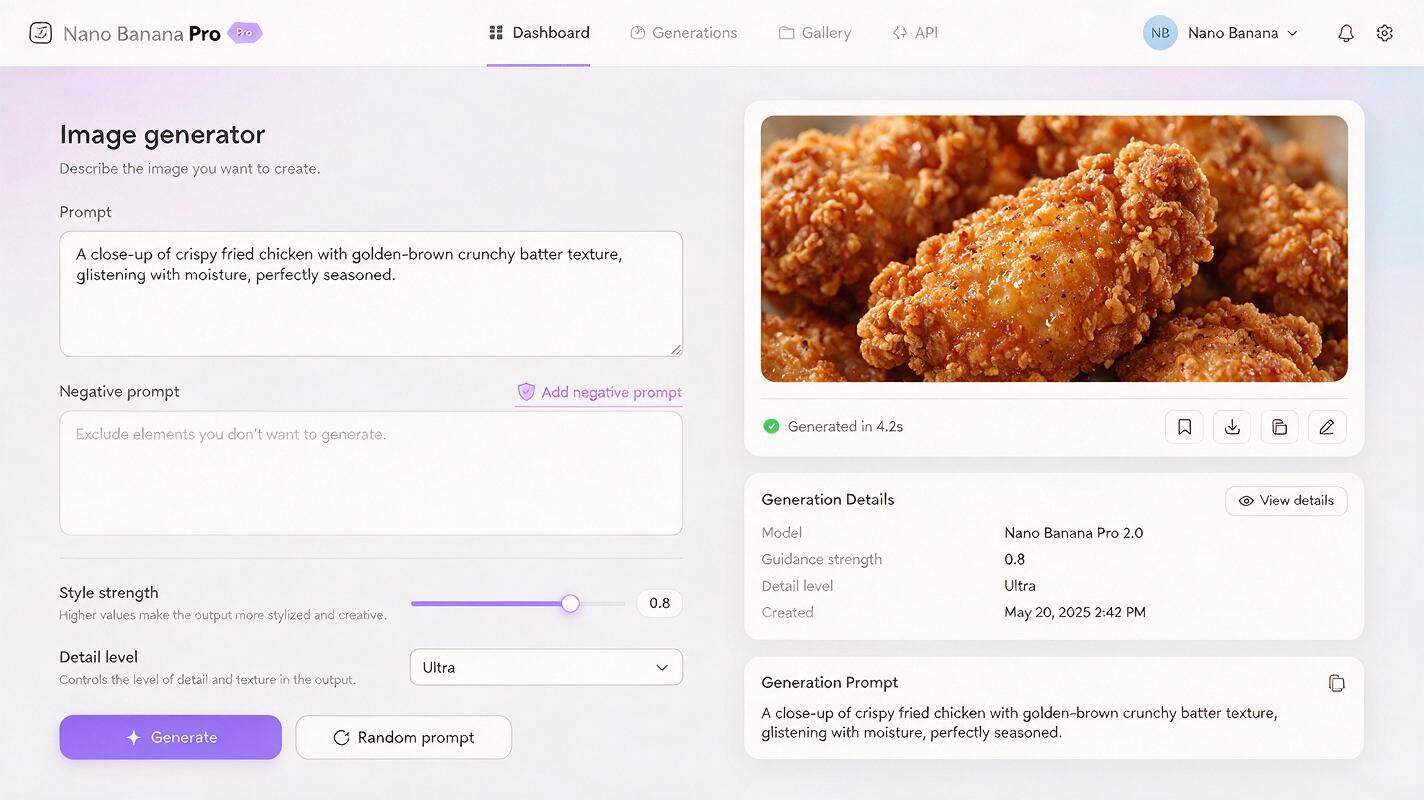
Prompt tweaks for crisp, realistic fried food in Nano Banana Pro
Nano Banana Pro’s fine-tuned food rendering engine handles texture far better than generic image models, but it still needs specific cues to nail crispy fried food. The key is to describe the visual signs of crispiness, not just the word “crispy.” Add these elements to every fried food prompt:
- Texture descriptors: Visible flaky breading crumbs, tiny air bubbles in fried batter, jagged crisp edges, matte dry fried surface, scattered tiny golden grease spots
- Lighting cues: Side lighting to emphasize texture, soft shadows in breading crevices, natural window light from one direction
- Contextual details: Loose breadcrumbs on the plate, a tiny flake of batter falling off the edge, salt crystals visible on the surface
- Negative prompts: Explicitly exclude soggy, shiny, and smooth textures to steer the model away from common failures
Use these reusable prompt templates as a starting point for your most common use cases:
Menu photo (white background)
Crispy buttermilk fried chicken thigh on a plain white ceramic plate, visible flaky breading crumbs, tiny air bubbles in batter, jagged crisp edges, matte dry fried surface with scattered tiny golden grease spots, side lighting to emphasize texture, a few loose breadcrumbs on the plate, sharp focus on the chicken's crust, professional food product photography, 4k
Negative prompt: soggy, greasy, shiny, smooth breading, limp edges, uniform color, plastic-like texture, blurry, messy background
Social media close-up (rustic style)
Close-up of crispy truffle parmesan fries in a small metal basket, visible jagged potato edges, tiny salt crystals and parmesan shreds on the surface, soft natural window light from the side, a few fries leaning against each other, crumpled brown parchment paper under the basket, warm golden tones, appetizing food photography for Instagram
Negative prompt: soggy, limp, greasy sheen, smooth surface, uniform color, blurry, plastic texture
try this prompt for free to test how these texture tweaks change your fried food results in seconds.
Settings to adjust for better texture rendering
Even with a great prompt, wrong model settings can flatten texture and make fried food look soggy. For Nano Banana Pro, use these settings as a baseline for crispy food shots:
- Detail level: Set to High or Ultra to capture fine details like crumbs, air bubbles, and salt crystals. Avoid Fast mode, which skips texture rendering to speed up generation.
- Style strength: Keep it between 0.7 and 0.85 for food product shots. Above 0.9, textures can look exaggerated and cartoonish; below 0.6, breading often looks flat and smooth.
- Aspect ratio: Use 1:1 for menu photos and product listings, 9:16 for TikTok/Reels stills, and 4:3 for close-up texture shots. Tighter crops help the model focus on surface details.
- Reference image: If you have one real photo of your signature fried dish, upload it as a style reference to match your brand’s exact breading color, thickness, and crunch level.
Quick fixes for slightly soggy AI fried food
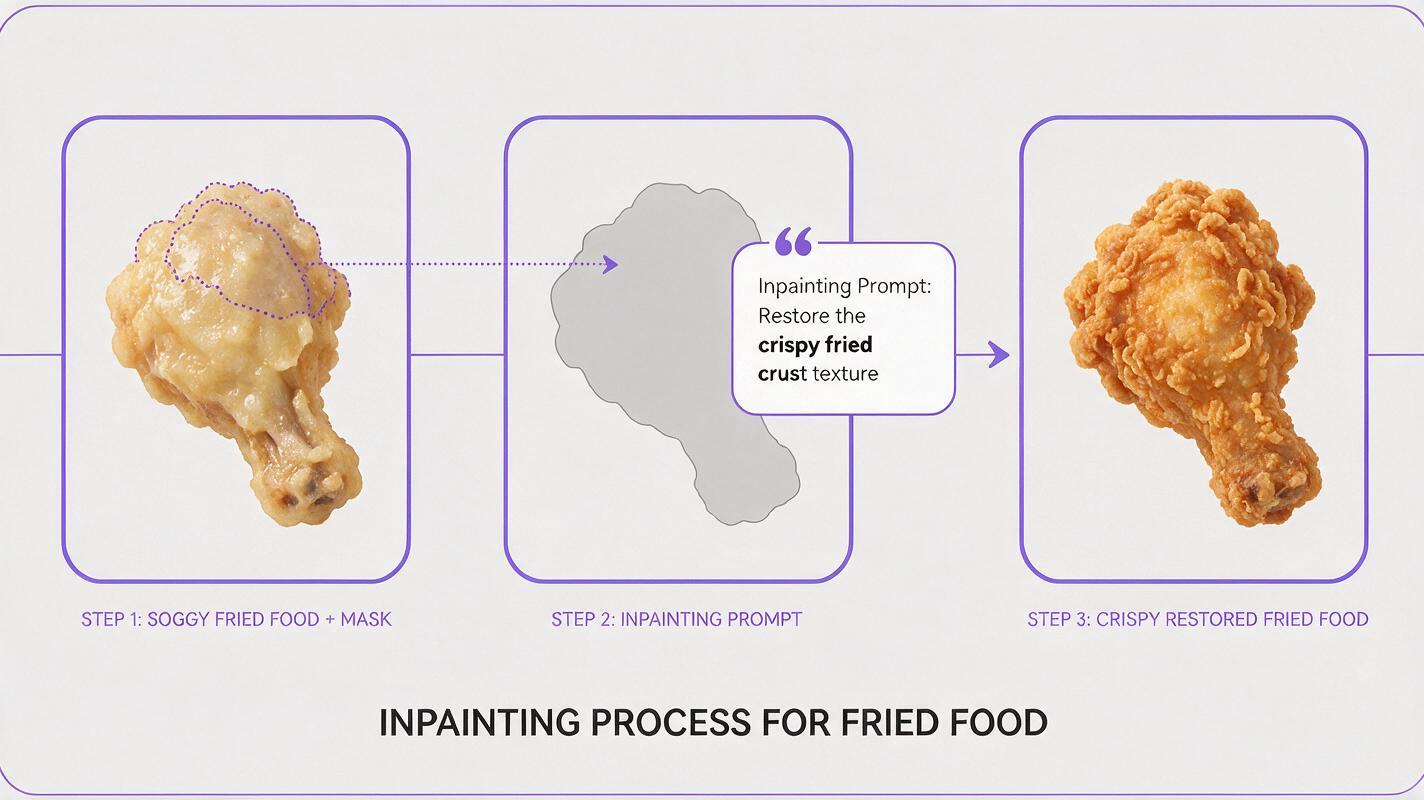
If your generated image is almost perfect but has a few flat or soggy spots, you don’t need to re-generate the whole thing. Use Seedream 4.5’s inpainting tool to add crispness exactly where you need it:
- Mask only the areas that need more texture (like the top of a fried chicken thigh or the edges of fries) to avoid altering the rest of the dish.
- Use a short, specific inpainting prompt: “add flaky breading crumbs, crisp jagged edges, matte dry texture, tiny air bubbles”.
- Keep inpainting strength between 0.3 and 0.5 to preserve the original shape, plating, and lighting while adding texture.
This works especially well for small fixes like smoothing out a random greasy spot or adding more crumbs to a bare patch, saving you time compared to re-running full generations.
Final checklist for crisp AI fried food
- Add texture-specific descriptors (flaky crumbs, air bubbles, jagged edges) to every fried food prompt
- Include negative prompts for soggy, shiny, and smooth textures to avoid common failures
- Set detail level to High or Ultra in your image generator to capture fine texture details
- Use side lighting cues to create depth and emphasize surface texture
- Add small contextual details (loose crumbs, salt crystals) to sell the crispiness to customers
- Use low-strength inpainting to fix small soggy spots without redoing the entire image
Keywords
ai food photography, fried food ai prompts, food image generator, restaurant marketing ai, menu photo generator, food product photography, ai texture troubleshooting