How to Create a Day-to-Night AI Video with Text to Video
Create a convincing day-to-night AI video by keeping the scene composition fixed while prompting light, sky, reflections, and practical lamps as an ordered transformation. The most reliable workflow tests a direct text-to-video prompt first, then uses a generated reference frame and image-to-video pass when structural continuity matters more than variation.
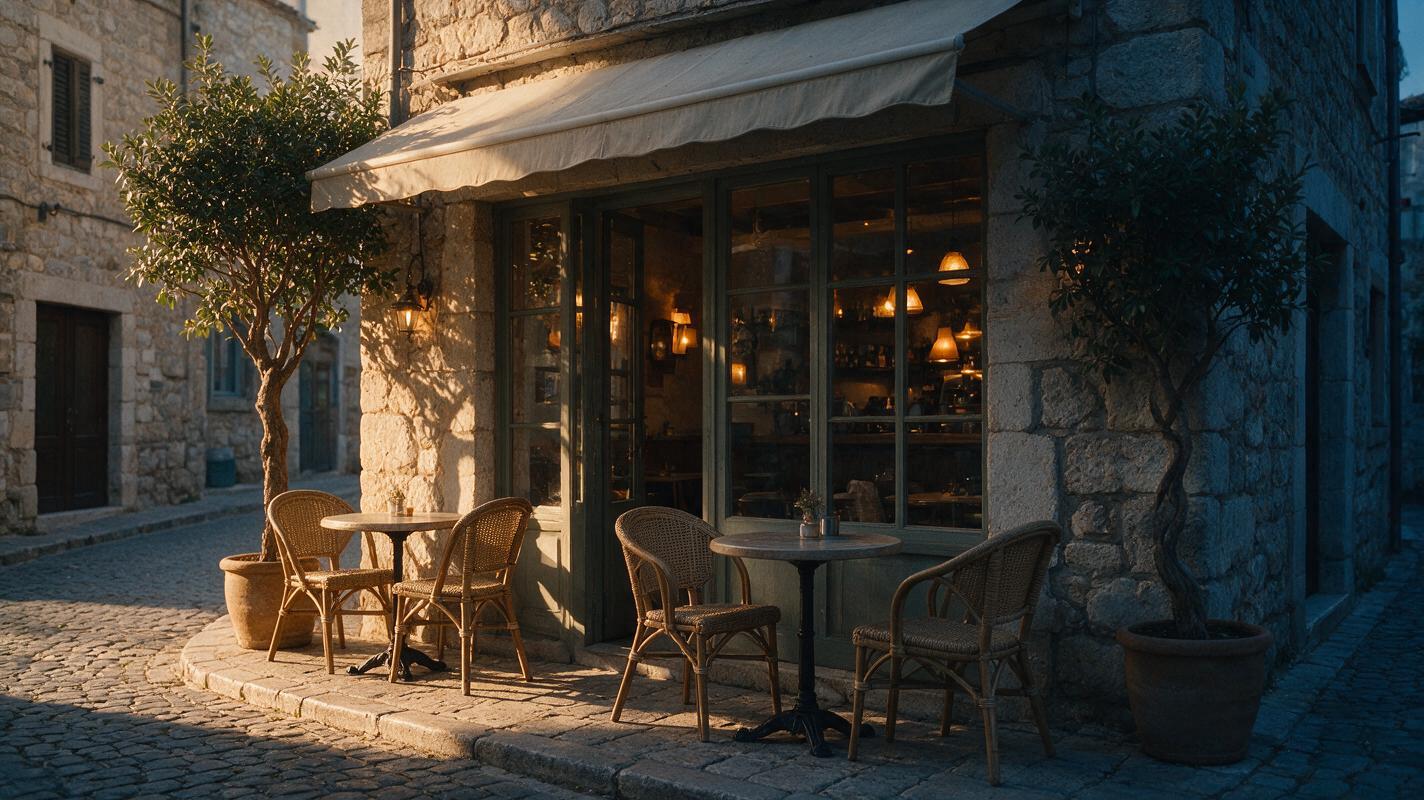
Table of contents
TL;DR: Build the scene first, then animate the light
The fastest way to create a day-to-night transformation is to describe one locked scene and divide the lighting change into clear temporal beats. Start with text to video for rapid exploration; if buildings, people, or products change shape, generate a stable daytime reference image and animate that frame instead.
The central rule is simple: the environment stays fixed while illumination changes. Your prompt should preserve the camera, geometry, subject position, and weather while allowing the sky, shadows, exposure, reflections, and artificial lights to evolve.
Why day-to-night AI video often breaks
A time-of-day change looks straightforward, but it asks a video model to modify almost every bright and dark region without rebuilding the scene. An underspecified prompt such as city street changes from day to night often produces a sequence that feels more like a dissolve between unrelated images.
Typical failures include:
- Structural drift: windows move, signs change, trees gain branches, or the skyline is redesigned halfway through the clip.
- Instant night: daylight disappears in one abrupt exposure jump rather than progressing through dusk.
- Unmotivated lights: lamps glow in full daylight, every window switches on simultaneously, or light sources appear without fixtures.
- Sky replacement: clouds, sun position, and horizon geometry change so dramatically that the location no longer feels continuous.
- Camera creep: an unintended push, pan, or orbit makes it harder to judge whether the environment remained stable.
- Subject mutation: a person, vehicle, storefront, or product changes appearance as illumination becomes darker.
The solution is not simply to add more adjectives. It is to separate fixed scene facts from time-dependent lighting events, then give those events a plausible order.
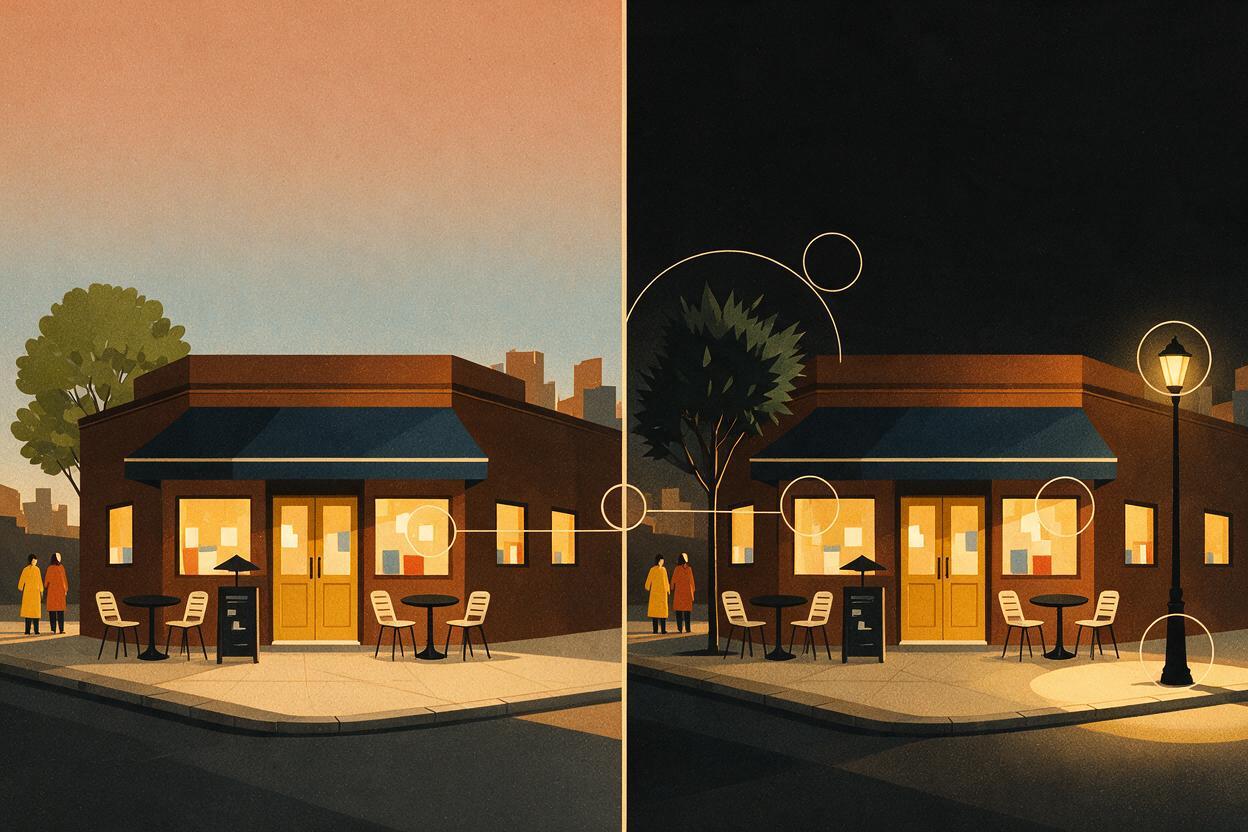
Three ways to create a day-to-night transformation
- Direct text-to-video generation: best for quickly discovering compositions and atmospheric ideas when exact geometry is not essential.
- Reference-first image-to-video generation: best when a building, set, product, or character must retain its form throughout the transformation.
- Two-clip transition: best when one generation cannot cover the full change cleanly. Create a daylight-to-dusk clip and a dusk-to-night clip, then join them around compatible twilight frames.
This tutorial uses the direct method for exploration, the reference-first method for control, and the two-clip method as a repair strategy.
How MagicBoat handles multi-model time-of-day changes
MagicBoat lets you test multiple generation approaches from one free account instead of committing the project to a single model. Seedance, Kling, and Veo can be compared for video interpretation, while image models such as Seedream, Flux, or GPT Image can be used to establish a controlled reference frame before an image to video pass.
| Approach | Use it when | Main advantage | Main risk |
|---|---|---|---|
| Direct video prompt | You need concepts quickly | More visual discovery | Scene geometry may drift |
| Reference image animation | The location or subject must stay recognizable | Stronger structural anchor | The change may be too subtle |
| Two linked clips | The full transition is unstable | Each clip handles a smaller change | The join requires careful trimming |
| Same-input model comparison | The first result is close but flawed | Reveals model-specific strengths | Prompt changes can invalidate the comparison |
Keep the test fair: use the same prompt, reference frame, aspect ratio, and available duration when comparing models. Change only one variable at a time.
Step 1 — Choose a scene with readable light cues
Select a composition where viewers can see daylight disappear and artificial light take over. Good choices include a café exterior, a house with several windows, a quiet plaza, a rooftop, or a landscape with a visible horizon.
For the first test, avoid crowds, fast traffic, large bodies of moving water, and complicated camera motion. Those elements compete with the lighting transformation and make continuity failures harder to diagnose.
Use a scene specification like this:
Wide locked-off shot of a small corner café on a quiet European street, pale stone façade, three large front windows, two outdoor tables, one mature tree on the left, clear view of the western sky, realistic cinematic photography, natural surface detailExpected result: a scene with distinct landmarks, visible shadow surfaces, practical light fixtures, and enough sky to communicate the passage into evening.
Step 2 — Separate fixed details from changing details
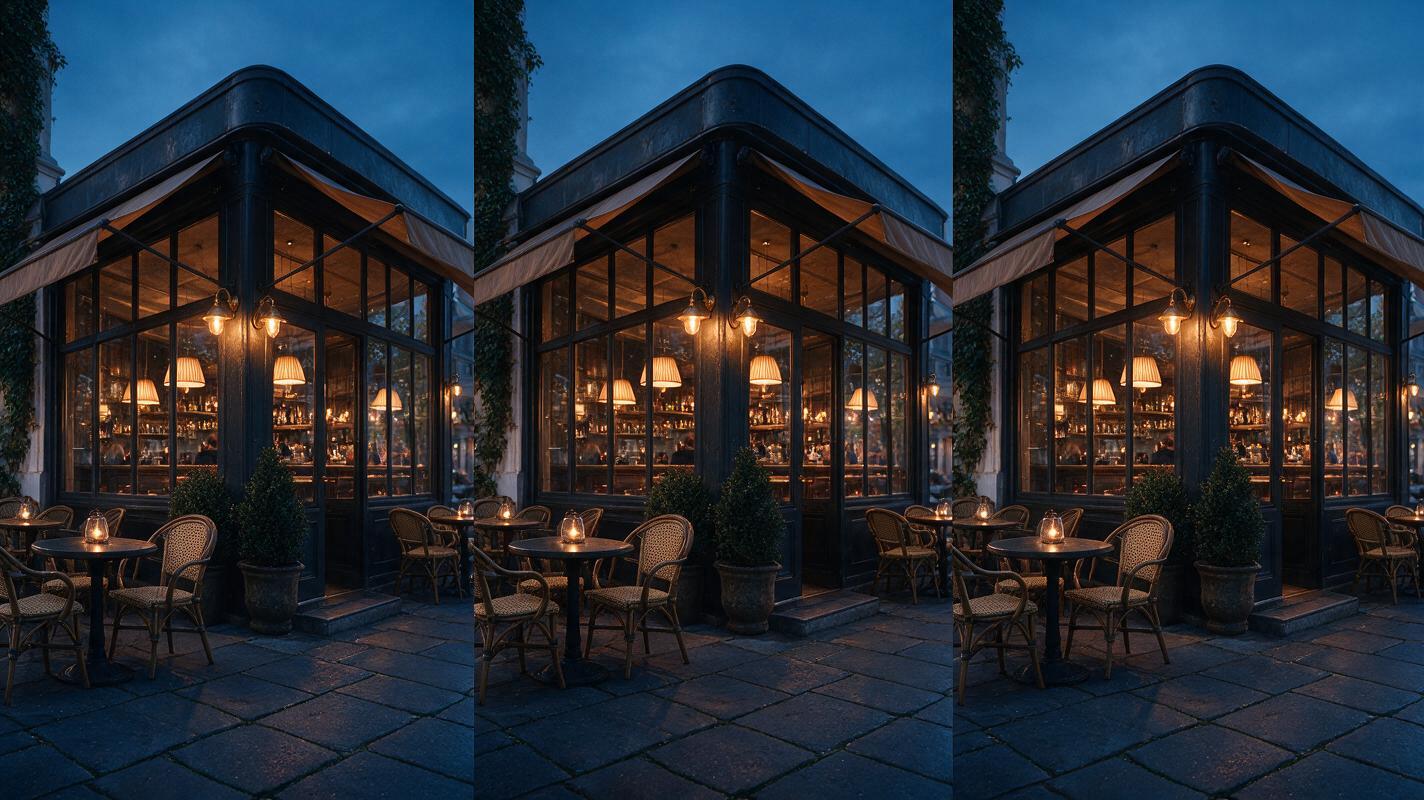
Write two short lists before drafting the full prompt. The fixed list describes everything that must survive unchanged. The changing list describes only the visual effects of passing time.
| Keep fixed | Allow to change |
|---|---|
| Camera position and focal perspective | Sky brightness and color temperature |
| Building, windows, signs, and furniture | Shadow length and softness |
| Tree position and street layout | Interior and street lights |
| Weather and cloud pattern | Window reflections and exposure |
| People or objects already in frame | Subtle evening ambience |
Turn the fixed list into a continuity clause:
The camera remains completely locked. The café architecture, windows, tables, tree, street layout, and all object positions remain unchanged. No new buildings, signs, vehicles, or people appear.Expected result: the model receives an explicit boundary between transformation and reconstruction.
Step 3 — Write the transformation as timed visual beats
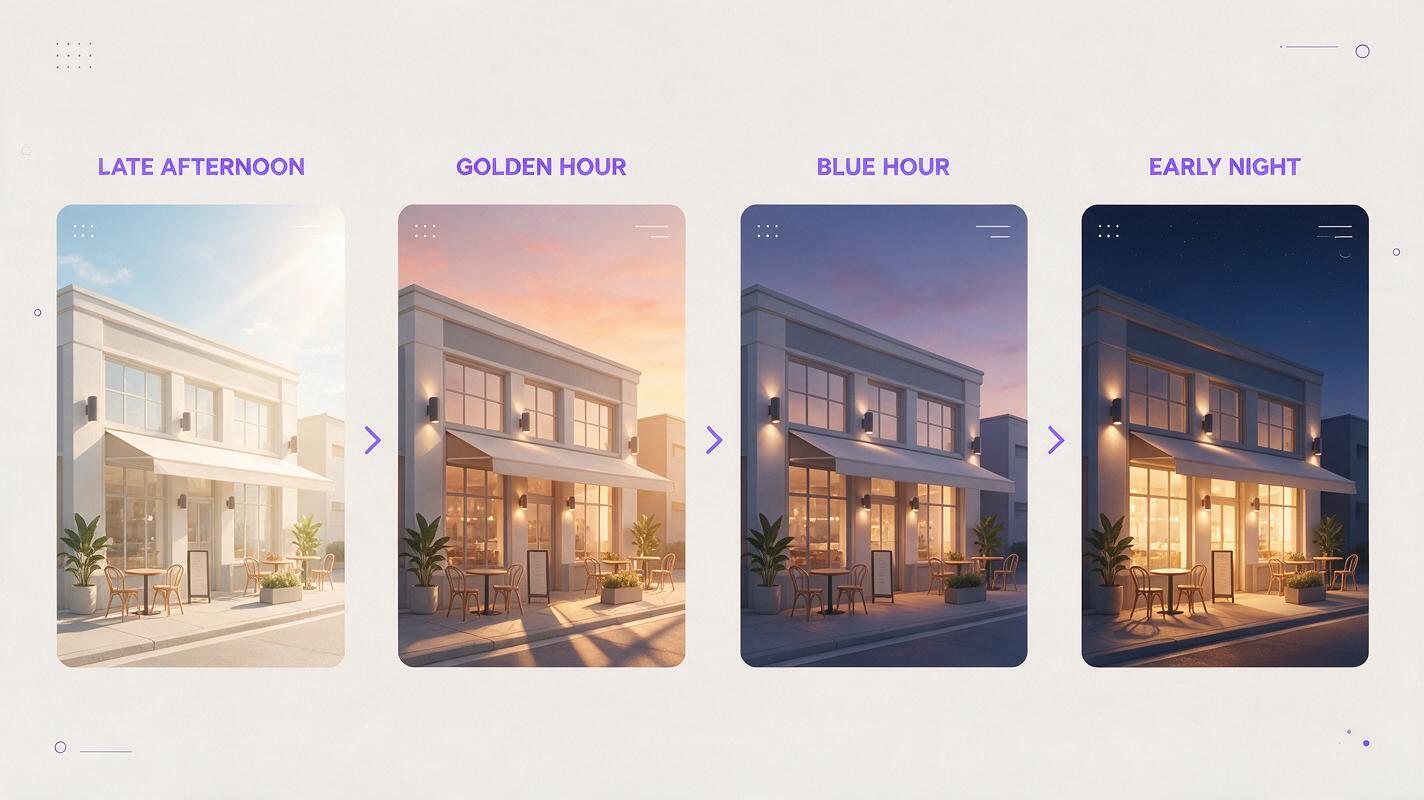
Describe the sequence in chronological order rather than piling daylight and nighttime terms into one sentence. A useful progression is late afternoon → golden hour → blue hour → early night.
Wide locked-off shot of a small corner café on a quiet stone street in late afternoon.At first, warm low sunlight touches the façade and casts long natural shadows. Gradually the sun falls below the visible horizon; direct sunlight fades and the sky shifts through muted gold into deep blue twilight. The café interior lights switch on one area at a time, followed by the exterior wall lamps. Window reflections become darker and warmer while the street remains physically unchanged. By the end, the scene has reached realistic early night with a faint blue sky, warm practical lights, balanced exposure, and preserved shadow detail.The camera remains completely locked. Architecture, windows, furniture, tree branches, road markings, and object positions remain unchanged. Continuous natural transition, no cut, no sudden exposure jump, no weather change, no object morphing.The words gradually, followed by, and by the end establish an event order. Naming early night rather than total darkness also helps preserve visible detail.
Expected result: a continuous lighting progression with a readable middle phase instead of an abrupt daylight-to-black switch.
Step 4 — Generate a short direct text-to-video test
Run the structured prompt with a video model available in MagicBoat. Use the shortest practical test duration offered by the selected model before spending effort on a longer sequence. Keep the camera locked in the wording even if the model accepts separate camera instructions.
Review the result three times:
- Watch the complete clip for the overall rhythm of the transition.
- Watch only the building edges, windows, horizon, and tree to detect structural movement.
- Watch the lights and shadows to check whether their changes have visible causes.
Do not reject a clip merely because the final frame is not dark enough. A restrained dusk result can be extended more reliably than a dramatic clip whose architecture mutates.
Expected result: a diagnostic first pass showing whether direct generation can preserve the chosen environment.
Step 5 — Switch to a reference frame when structure drifts
If the direct test redesigns the scene, create a single high-quality daytime anchor image. The anchor should show the exact composition, architecture, object placement, and camera perspective you want to preserve.
Use this reusable still-image prompt:
Photorealistic editorial photograph, wide locked-off view of a small corner café on a quiet European stone street in late afternoon, pale stone façade, exactly three large front windows, two empty outdoor tables, one mature tree on the left, exterior wall lamps clearly visible but switched off, western sky visible above the rooftops, realistic materials, balanced natural exposure, no readable brand names, no pedestrians, no vehiclesInspect the still before animation. Fix incorrect window counts, bent furniture, duplicate lamps, implausible shadows, or unwanted text at the image stage. Video generation is unlikely to repair those errors consistently.
Animate the approved reference with a motion-only prompt:
Locked camera. Preserve the exact architecture, window count, furniture, tree, street, and framing from the reference image. Only the time of day changes gradually from late afternoon through blue hour into early night. Sunlight fades smoothly, shadows soften, the sky deepens to blue, then the café interior and existing wall lamps illuminate sequentially. No camera movement, no added objects, no geometry changes.Expected result: stronger location continuity because the video model begins from a concrete visual structure instead of inventing every detail from text.
Step 6 — Control exposure and practical lights separately
A believable night scene is not created by uniformly darkening the frame. Real transitions contain competing changes: the ambient sky becomes cooler and dimmer while practical lights become warmer and more prominent.
If the result looks like a gray filter, strengthen the contrast between those systems:
Cool blue ambient twilight gradually replaces the warm sunlight. Existing café lights emit localized warm pools of light with realistic falloff. The lamps do not brighten the entire street. Preserve detail in the façade and sky; avoid crushed blacks and overexposed windows.If every light activates at once, request a sequence:
First the rear café interior glows softly, then the front counter lights appear, and finally the two existing exterior wall lamps switch on. No additional light sources appear.Expected result: motivated lighting with local falloff, readable surfaces, and a natural balance between cool ambient light and warm fixtures.
Step 7 — Compare models with the same input
Run the same direct prompt or reference frame through Seedance, Kling, and Veo when those options are available to you. Do not rewrite the prompt for each model on the first comparison. The goal is to identify which interpretation best serves this particular scene.
| Review category | What to inspect | Reject when |
|---|---|---|
| Geometry | Roofline, windows, fixtures, furniture | Major objects move or change count |
| Temporal pacing | Presence of afternoon, dusk, and night phases | The change happens in one jump |
| Light motivation | Fixtures and illuminated areas | Light appears without a source |
| Sky continuity | Cloud shapes, horizon, color progression | The sky is replaced by a different scene |
| Exposure | Highlight and shadow detail | Windows clip or the street becomes black |
Select the result with the strongest continuity, not necessarily the most spectacular colors. You can adjust saturation and contrast during editing; rebuilding a distorted façade is much harder.
Expected result: a model choice based on visible continuity criteria rather than brand preference or a single attractive frame.
Step 8 — Split an unstable transformation into two clips
If no model sustains the full transition, divide it at blue hour. The first clip should move from late afternoon to dusk. The second should begin from a selected dusk frame and progress into early night.
Prompt the first clip with:
Late afternoon gradually becomes blue hour. Direct sunlight fades, shadows soften, and the sky shifts from warm gold to cool twilight. All practical lights remain off until the final moment. Locked camera and unchanged scene geometry.Export or capture a clean frame near the end and use it as the reference for the second clip:
Continue from this exact blue-hour scene into early night. Preserve all geometry and framing. The sky darkens subtly while the existing café interior lights and wall lamps activate in a natural sequence. No sudden jump and no new objects.In the edit, overlap the clips around their most similar twilight frames. Trim before either generation begins to deform. A short dissolve can hide minor exposure differences, but it should not be used to conceal a major composition change.
Expected result: a longer apparent transformation assembled from two smaller, more controllable lighting tasks.
Step 9 — Audit the final sequence frame by frame
Pause at the beginning, midpoint, transition join, and final frame. Compare fixed landmarks such as window corners, lamp positions, tree intersections, and roof edges. Then check whether every lighting event progresses in the correct direction.
- Daylight should not return after it has faded.
- Shadows should not reverse direction.
- Switched-on lamps should remain on.
- The sky should not become brighter while the ground becomes darker.
- Static objects should not wobble during exposure changes.
- The final night frame should retain enough detail to match the opening composition.
Trim unstable opening or closing frames rather than keeping the entire raw generation. The cleanest usable section is more valuable than maximum duration.
Expected result: an edit-ready day-to-night shot without obvious temporal reversals or late-clip structural collapse.
Keep the same location across a larger project
Save the approved reference frame, fixed-scene description, aspect ratio, and final transformation prompt as a location package. For later shots, preserve identifying architecture and materials while changing only the shot size or camera position.
Create separate anchors for wide, medium, and detail coverage rather than asking one generation to move through all three. A wide shot can establish the overall time change, while close-ups show lamps, reflections, or interior details. This gives the editor more control and avoids forcing one clip to combine transformation, camera movement, and reframing.
Alternative: use motion transfer when a person drives the scene
If the shot centers on a performer closing a shop, turning on a lamp, or looking through a window, record the action separately and use motion transfer to preserve the timing. Keep the body movement simple and let the environmental transition occur in another shot or a separate generation pass.
This alternative is especially useful when hand timing matters. It prevents the lighting prompt from also having to invent a precise physical performance.
Alternative: use face swap only for residual identity drift
When a recurring character remains physically correct but their face changes as the scene darkens, finish the motion first and use face swap as a targeted repair with an authorized identity reference. Do not use it to rescue distorted head movement, missing facial detail, or severe occlusion; regenerate those problems from a cleaner reference.
Where this workflow falls short
- Long transformations remain difficult. The farther a generation moves from its initial visual state, the greater the chance of structural drift.
- Readable signs may change. Small text and logos can mutate as exposure and reflections evolve.
- Complex crowds reduce continuity. Each moving person introduces another identity and motion path the model must preserve.
- Reflections can behave independently. Windows, wet pavement, and polished surfaces may show lighting changes that do not match the physical scene.
- Locked does not guarantee static. Models can still introduce subtle zooming, breathing, or perspective shifts despite explicit camera language.
- Prompt timing is interpretive. Temporal phrases guide the model, but they do not function like exact animation keyframes.
For client-critical architecture or product work, treat generated video as a source shot that still needs inspection, trimming, and conventional color finishing.
FAQ
Is text to video or image to video better for day-to-night scenes?
Text-to-video is better for fast concept exploration. Image-to-video is usually more dependable when the exact building, product, set, or composition must remain unchanged.
Should I ask for a time-lapse?
Use time-lapse only when you want accelerated cloud, shadow, or traffic movement. For a calm cinematic shot, describe a continuous gradual lighting transition instead; the time-lapse label can encourage excessive motion.
Can I add a camera move during the transformation?
Yes, but establish a stable locked-camera version first. Combining a large camera move with a major lighting transformation gives the model fewer fixed landmarks and makes geometry drift more difficult to identify.
Why do all the windows turn on at once?
The prompt probably treats illumination as one event. Name the existing light groups and specify an order, such as rear interior first, front counter second, and exterior fixtures last.
How do I make the final night frame less muddy?
Request preserved façade detail, a faint blue sky, localized warm light, realistic falloff, and balanced exposure. Avoid asking for total darkness, which can remove the visual information needed to maintain the scene.
Can this workflow create sunrise instead?
Yes. Reverse the event order: practical lights fade, the sky brightens from deep blue to warm dawn, ambient detail returns, and direct sunlight appears last. Keep the same fixed-scene clause.
Final checklist
- Choose a scene with a visible sky, readable surfaces, and existing light fixtures.
- Separate fixed geometry from changing illumination.
- Prompt late afternoon, dusk, blue hour, and early night in chronological order.
- Keep the camera locked for the first test.
- Use a reference image if architecture or subjects drift.
- Compare models with identical inputs before rewriting the prompt.
- Split the sequence at blue hour if one clip cannot sustain the full change.
- Inspect landmarks, lights, shadows, and exposure frame by frame.
- Trim unstable frames and color-match the final edit.
Ready to test the prompt? Create your first ai video free with MagicBoat and compare multiple models from one workflow.
Keywords
text to video, day to night AI video, AI video tutorial, prompt engineering, Seedance prompts, Kling prompts, image to video, AI video workflow