Turn Daylight Location Photos Into Night Previs With Seedream 4.5
Learn how to convert daylight location photos into convincing night-scene previs while preserving architecture, props, framing, and production geography. This Seedream 4.5 workflow uses motivated lighting, controlled image edits, and continuity checks to create practical references for directors and cinematographers.
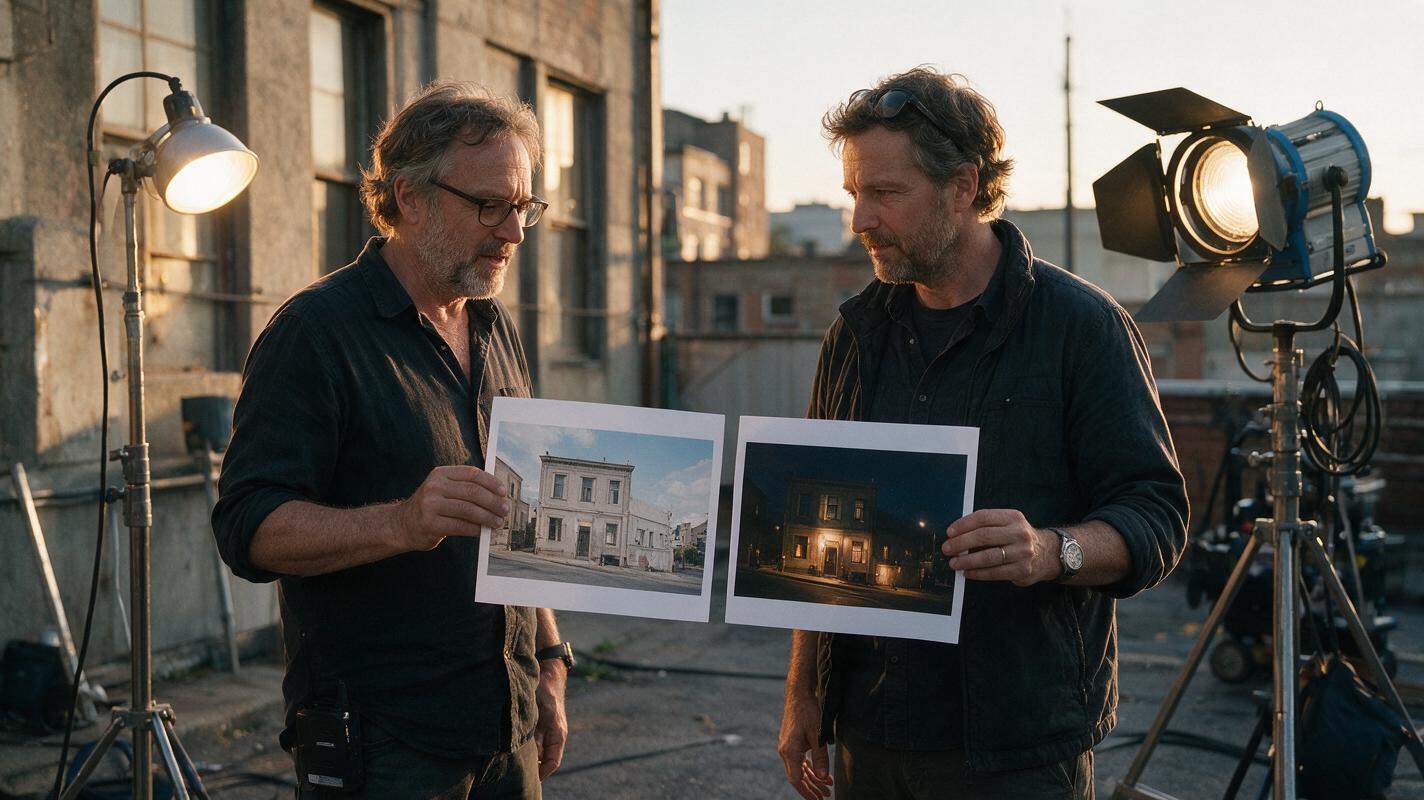
Table of contents
Create a night-lighting reference before the real shoot
A daylight location photo can show whether a set works geographically, but it cannot reveal how the scene will feel after dark. With Seedream 4.5, you can create night-scene previs that preserves the location while testing moonlight direction, practical lamps, window exposure, atmospheric depth, and color contrast. The goal is not to produce a finished VFX plate. It is to give the director, cinematographer, production designer, and gaffer a shared image of the intended night look before equipment and crew arrive.
The critical challenge is restraint. A weak prompt simply asks for “cinematic night” and lets the model redesign the building, move furniture, invent windows, or replace practical fixtures. A production-useful edit treats the daylight photograph as fixed geometry and changes only lighting, exposure, atmosphere, and explicitly requested set-dressing details.
Choose a photograph that can survive the transformation
Begin with a clean location plate taken near the camera position you are seriously considering. A phone photograph is sufficient for early planning, but the frame should communicate the intended composition rather than merely document the room.
- Lock the viewpoint: Photograph from the approximate camera height, lens position, and shooting direction.
- Protect important geometry: Keep doors, windows, stairs, columns, and actor pathways visible.
- Avoid baked-in effects: Heavy HDR, portrait blur, filters, and extreme digital sharpening can confuse later relighting.
- Record practical fixtures: Lamps, sconces, signs, and ceiling lights can become motivated sources in the night version.
- Capture alternatives: Make a wide master, a medium composition, and any reverse angle that may appear in the sequence.
A useful location-previs frame answers a production question: Where is the light coming from, what remains visible, and where can the actors move?
Build a continuity brief before editing
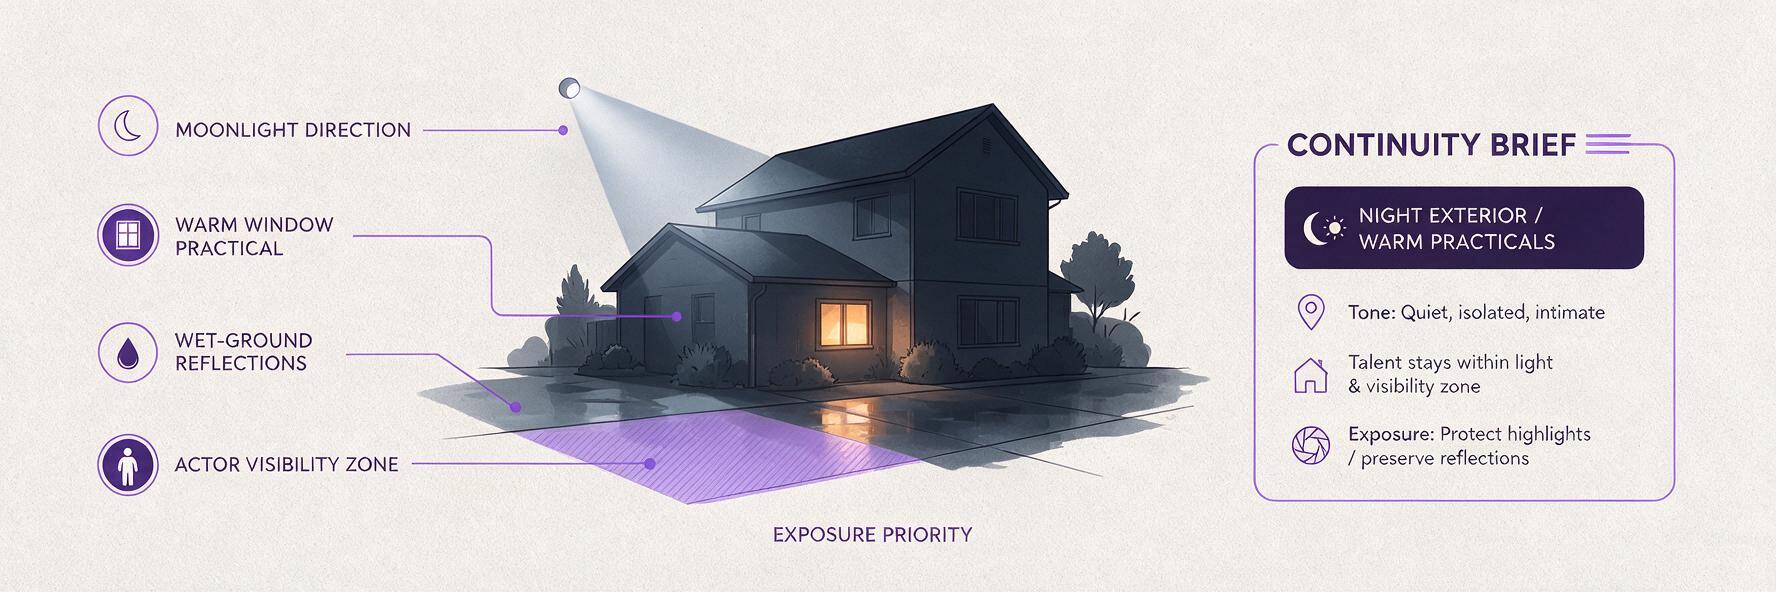
Write a compact lighting brief before opening the image editor. This prevents each frame from drifting toward a different interpretation of “night.” The brief should define the scene’s time, weather, primary source, practical sources, color relationship, exposure priority, and emotional purpose.
| Decision | Example | Why it matters |
|---|---|---|
| Time and weather | Cold, clear night after rain | Controls sky value, reflections, haze, and contrast |
| Primary source | Moonlight entering from frame left | Maintains a consistent direction across coverage |
| Motivated practical | Warm desk lamp near the actor | Justifies facial exposure and local color |
| Exposure priority | Actor and doorway remain readable | Stops the edit from crushing essential story information |
| Emotional intention | Uneasy isolation, not horror | Guides contrast without relying on vague style words |
For multiple angles, reuse this brief verbatim. Change only shot-specific details such as what the moonlight strikes or which practical appears in frame. This simple discipline matters more than adding long lists of cinematic adjectives.
Relight the plate without redesigning the location
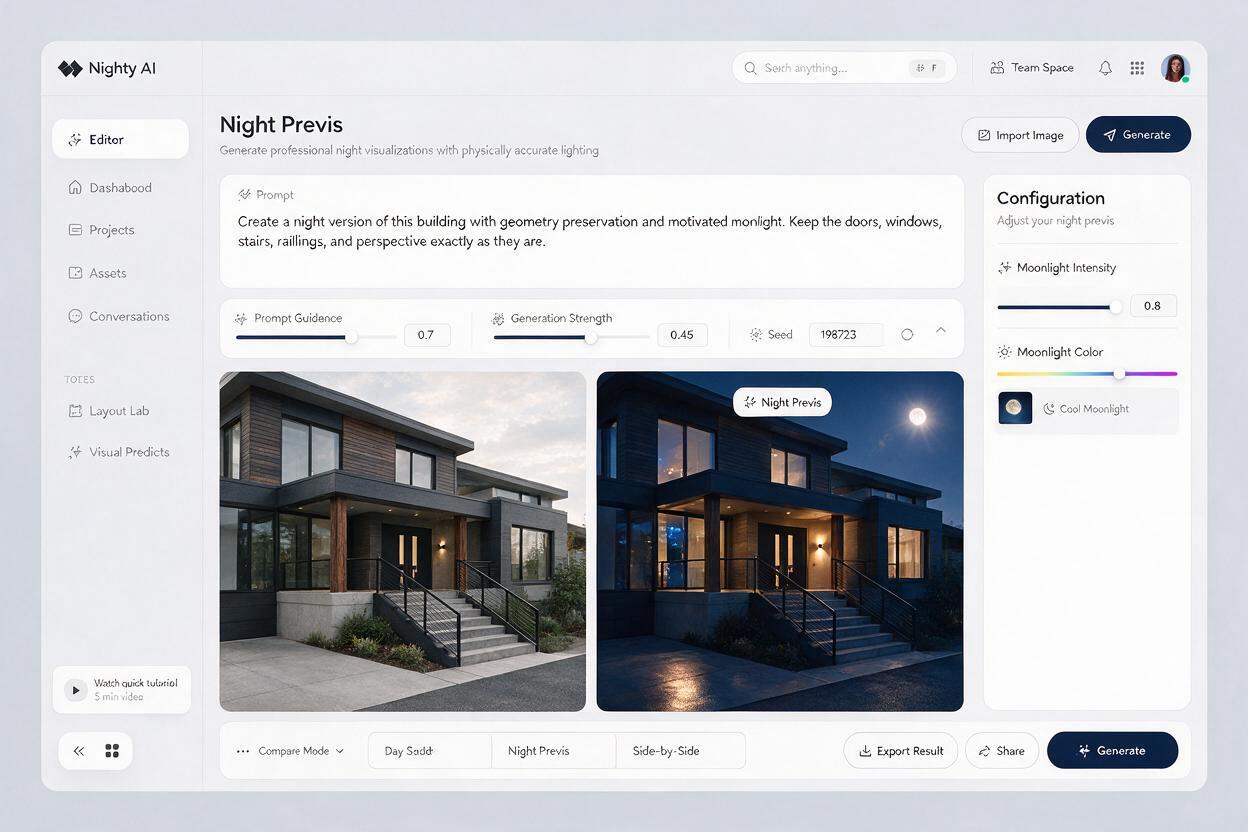
Use Seedream 4.5 as a controlled image-editing pass. Upload the daylight plate and begin with an instruction that separates fixed information from editable information. This is more reliable than asking for an entirely new image based on a verbal description of the location.
Edit this location photograph into a realistic exterior night-scene previs.

PRESERVE EXACTLY:
camera position, perspective, lens impression, building geometry, window and door placement, pavement, stairs, railings, permanent fixtures, and all major objects.

CHANGE ONLY:
daylight exposure, sky illumination, artificial lighting, reflections, and subtle atmosphere.

LIGHTING PLAN:
cool moonlight from frame left, warm practical light visible through the ground-floor window, soft wet-pavement reflections, readable detail in the entrance, controlled deep shadows, natural falloff, no neon colors.

PURPOSE:
cinematography and production-lighting reference, realistic and physically plausible, not fantasy artwork.

DO NOT ADD:
new windows, vehicles, people, signs, street furniture, architectural features, or decorative lights.
The preservation block is deliberately concrete. “Keep everything the same” is easy to interpret loosely; naming the protected elements gives the edit clearer boundaries. If your workflow uses an ai image generator with reference-image editing, keep the source photograph as the dominant structural reference rather than regenerating the location from text alone.
Inspect the first result for geometry before judging its beauty. If a doorway moved or a staircase changed, reject the frame even if the lighting looks attractive. A visually impressive but geographically false image can mislead blocking, lens choice, rigging, and equipment planning.
Make every light source earn its place
Convincing night images do not require darkness everywhere. They require a readable hierarchy of motivated sources. Decide which source provides orientation, which reveals the subject, and which adds depth.
- Moonlight or ambient sky: Establishes broad direction and separates large forms.
- Practical fixtures: Create believable pools of exposure and help justify key light.
- Off-screen sources: Can represent a streetlamp, vehicle, hallway, or neighboring room, but should be identified in the prompt.
- Reflected light: Returns detail to faces, walls, or wet surfaces without creating another obvious source.
- Negative fill: Preserves shape by preventing every shadow from becoming equally bright.
Instead of writing “dramatic blue and orange lighting,” describe the physical arrangement:
Preserve the room and composition. Convert the scene to late night. Cool ambient window light enters from camera right and creates a narrow edge on the table and actor position. A dim tungsten floor lamp in the back-left corner provides the only warm source. Keep the foreground one stop darker than the actor area. Retain texture in the walls and curtains. Do not add lamps or change the furniture.This language connects the image to decisions a cinematographer can reproduce. It also makes revisions easier: you can move, dim, warm, or remove a defined source instead of repeatedly requesting a more “cinematic” result.
Create coverage that belongs to the same night
A single hero frame is not enough if the sequence includes a master, close-ups, inserts, and a reverse. Relight each source photograph with the same continuity brief, then describe how the established sources affect that particular angle.
For example, if the master establishes moonlight from the building’s east-facing windows, the reverse angle should not show an unrelated hard beam coming from the opposite side. A warm practical may move from the background to off-screen, but its direction and color should remain plausible.
- Keep the same night color temperature relationship across every angle.
- Repeat the defined weather and atmospheric density.
- Track which practical fixtures are physically present in each shot.
- Preserve screen direction for strong light, rain, smoke, and moving shadows.
- Compare adjacent frames at thumbnail size to spot sudden exposure changes.
When the look is stable, create your own version for each approved camera position and place the images beside the shot list. Label them as creative references rather than final exposure specifications.
Generate controlled lighting alternatives
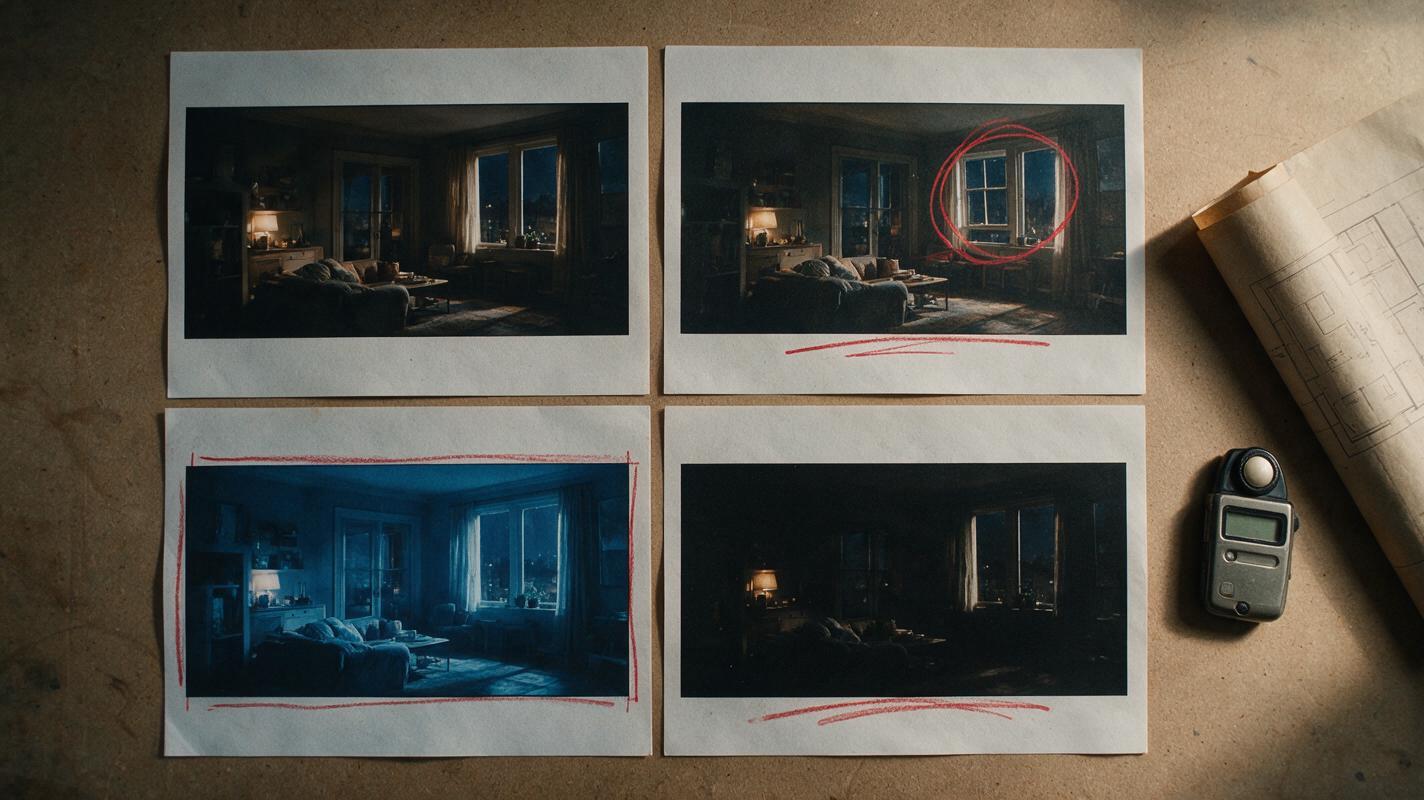
Directors often need to compare moods without changing the blocking or production design. Duplicate the approved base plate and vary one major lighting decision at a time. Useful comparisons include:
| Variation | Keep fixed | Question it answers |
|---|---|---|
| Soft overcast night | Practical placement and exposure priority | Does low contrast support the performance? |
| Hard moonlight | Color palette and location geometry | Would stronger shadow patterns improve tension? |
| Practical-led interior | Framing and set dressing | Can motivated lamps carry the scene? |
| Wet exterior | Source direction and architecture | Do reflections add depth or visual noise? |
Do not combine all four ideas in one prompt. Controlled alternatives are useful because the team can identify which choice changed the image. A random batch of radically different night scenes is closer to mood-board exploration than actionable previs.
Diagnose the failures that break night continuity
The image looks like a blue filter
Add source direction, practical illumination, local exposure priorities, and natural color variation. Realistic night is not uniformly blue. Neutral shadows, warm interiors, reflected environmental color, and restrained saturation usually create more depth.
The model invents new architecture
Shorten the style language and strengthen the preservation list. Explicitly prohibit new windows, doors, fixtures, signs, and structural changes. If only one region needs adjustment, request a local edit rather than transforming the entire frame again.
The result is too dark to plan from
Specify what must remain readable: an actor position, doorway, staircase, prop, or exit route. Previs should communicate intent. It does not need to imitate the final camera’s exact noise floor or underexposure.
Every angle has a different color palette
Reuse one continuity brief and one approved reference result. Avoid swapping descriptive terms such as cobalt, cyan, steel blue, and teal between prompts unless you genuinely want a palette change.
Practical lights appear without motivation
Name only fixtures that exist in the location or that production design intends to add. Ask where each source would be placed, powered, controlled, and seen before accepting it into the visual plan.
Use the result as a conversation, not a promise
AI night previs is most valuable when annotated. Mark the presumed key direction, practical fixtures, areas requiring rigging, possible reflections, and any generated element that does not exist at the location. Share the original daylight plate beside the edited result so departments can distinguish observed conditions from proposed changes.
The cinematographer can use the frames to discuss contrast and source direction. The gaffer can identify practical constraints. Production design can evaluate visible fixtures and window treatments. The director can judge whether the lighting supports blocking and story emphasis. None of these images replaces a technical scout, exposure test, safety review, or final lighting plan.
Final checklist
- The edited frame preserves the original camera position and location geometry.
- Every important light has a plausible source and direction.
- The actor path, doorway, or story-critical prop remains readable.
- Coverage angles share the same weather, palette, and source logic.
- Lighting alternatives change one major variable at a time.
- The daylight plate accompanies the night version for comparison.
- Generated additions are clearly identified before production planning.
- The team treats the image as visual intent, not a guaranteed final frame.
Keywords
day-for-night previs, Seedream 4.5, location photo editing, cinematic lighting, night scene previsualization, film look development, AI image editing