Keep the Same Dog and Owner Across AI Video Scenes
A dog can change markings, size, or collar between AI video shots even when its owner stays recognizable. This tutorial uses paired character references, a shot-by-shot continuity plan, and cut-point checks to keep both entities consistent.
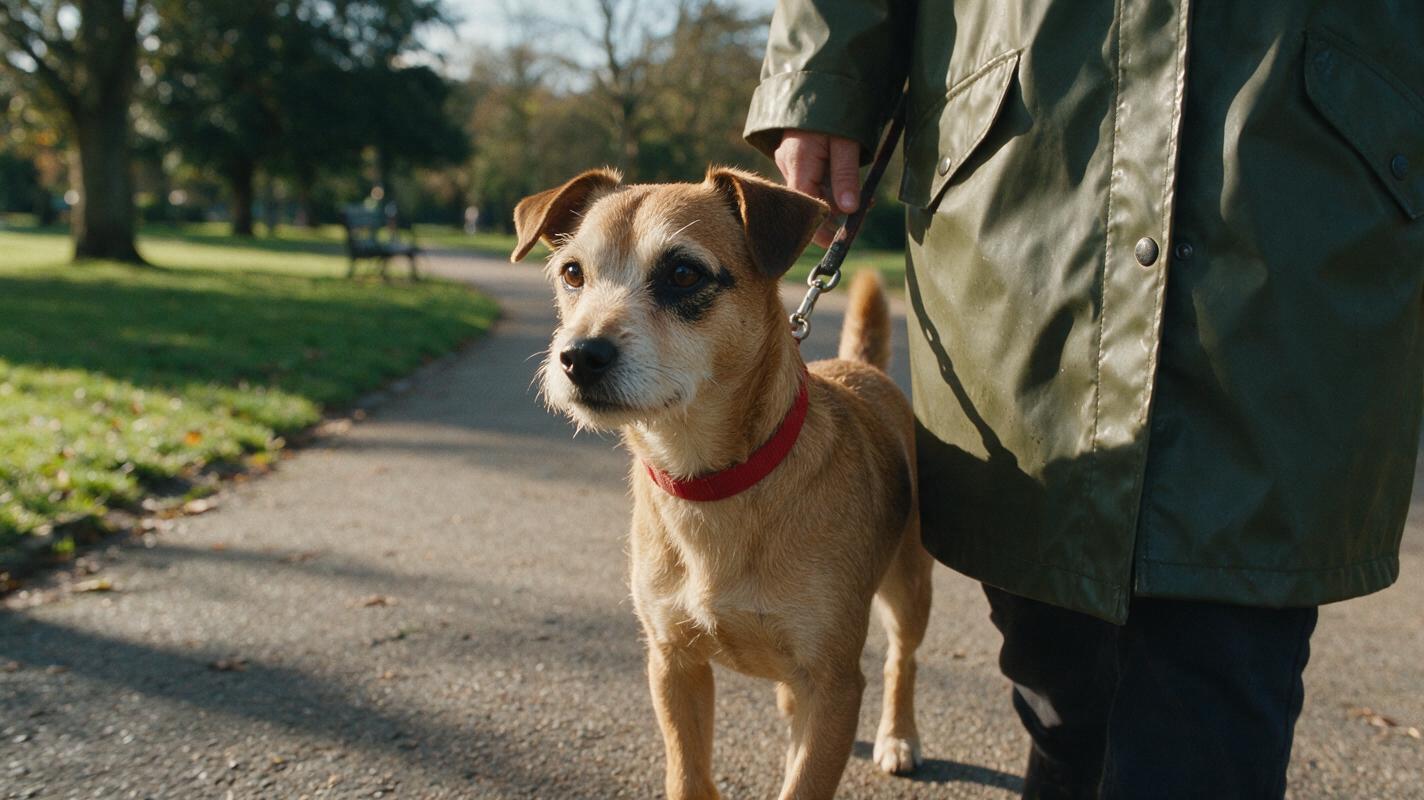
Table of contents
Keep the dog recognizable, not just the owner
A dog-and-owner sequence works only if viewers recognize both subjects after every cut. Lock the dog's distinctive markings and scale alongside the owner's identity, then give each shot a reference that matches its camera angle.
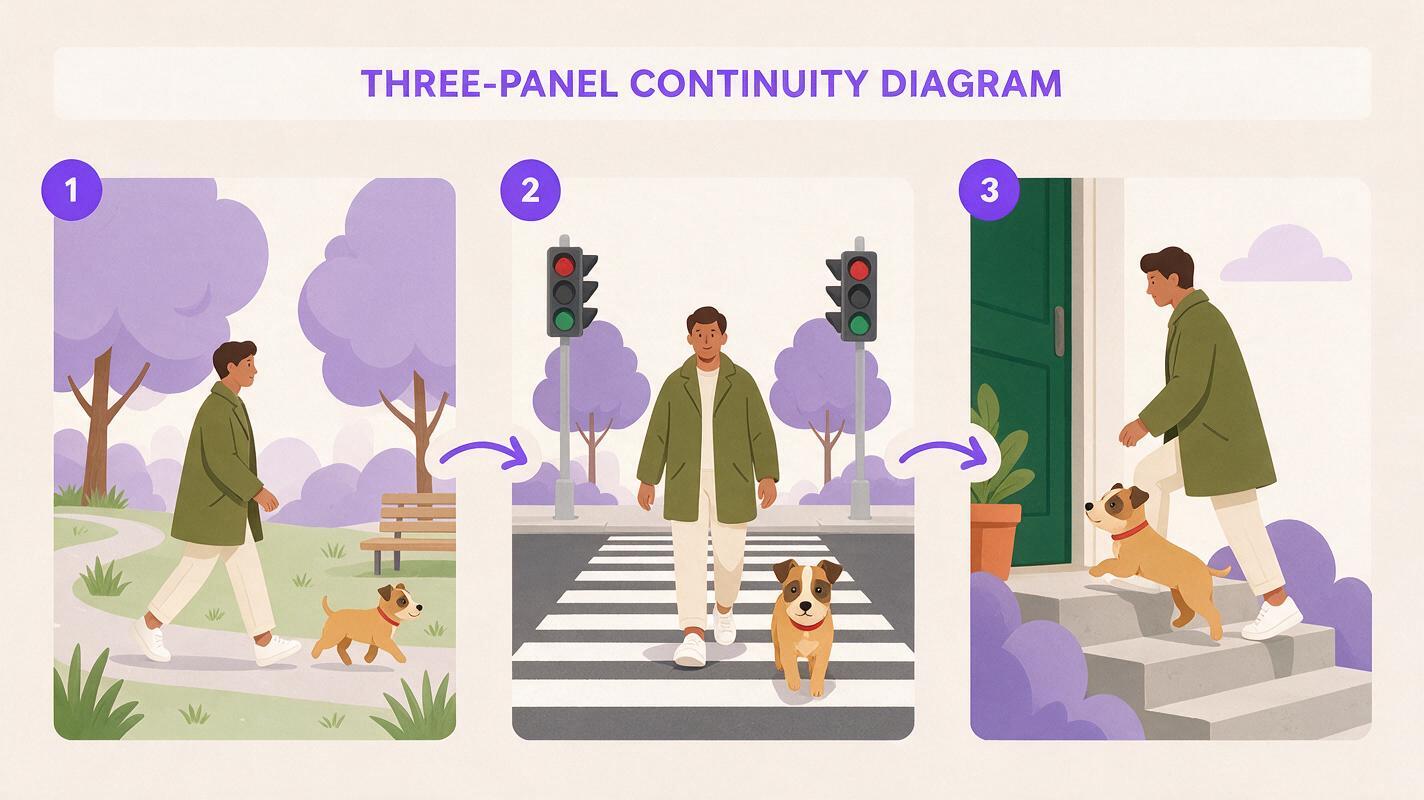
This workflow is for a short sequence in which one owner walks a dog through a park, pauses at a crossing, and arrives home. The execution order matters: establish the identities first, approve suitable reference images next, plan the shots, and only then generate and review the footage.
Step 1 — Build a paired character sheet
Write one compact sheet for the owner and one for the dog. A vague description such as “small brown dog” leaves too much open to interpretation. Choose details that remain visible from more than one angle, and distinguish permanent identity traits from items that may change during the story.
PROJECT: Owner and dog, park to home

OWNER — fixed identity
Adult with short dark curls, round face, narrow silver glasses.
Olive raincoat; dark trousers. Carries the leash in the left hand.
Keep facial structure, hairline, and glasses consistent.

DOG — fixed identity
Small, sturdy terrier mix; tan coat; cream blaze from forehead to muzzle.
Cream patch on chest; dark patch around LEFT eye.
Small notch on RIGHT ear; short, slightly curved tail.
Shoulder reaches approximately the owner's lower calf.

DOG — scene-specific item
Plain red collar throughout this sequence.

RELATIONSHIP RULES
One owner and one dog only. The leash connects the owner's left hand
to the dog's red collar. The dog stays on the owner's left side unless
a shot explicitly shows a change of position.
LEFT and RIGHT refer to the dog's anatomy, not the viewer's side of the frame. That distinction helps when the camera crosses the pair. Keep the sheet short enough to reuse verbatim: adding new traits in later prompts can inadvertently redesign the dog.
Step 2 — Approve references for both subjects
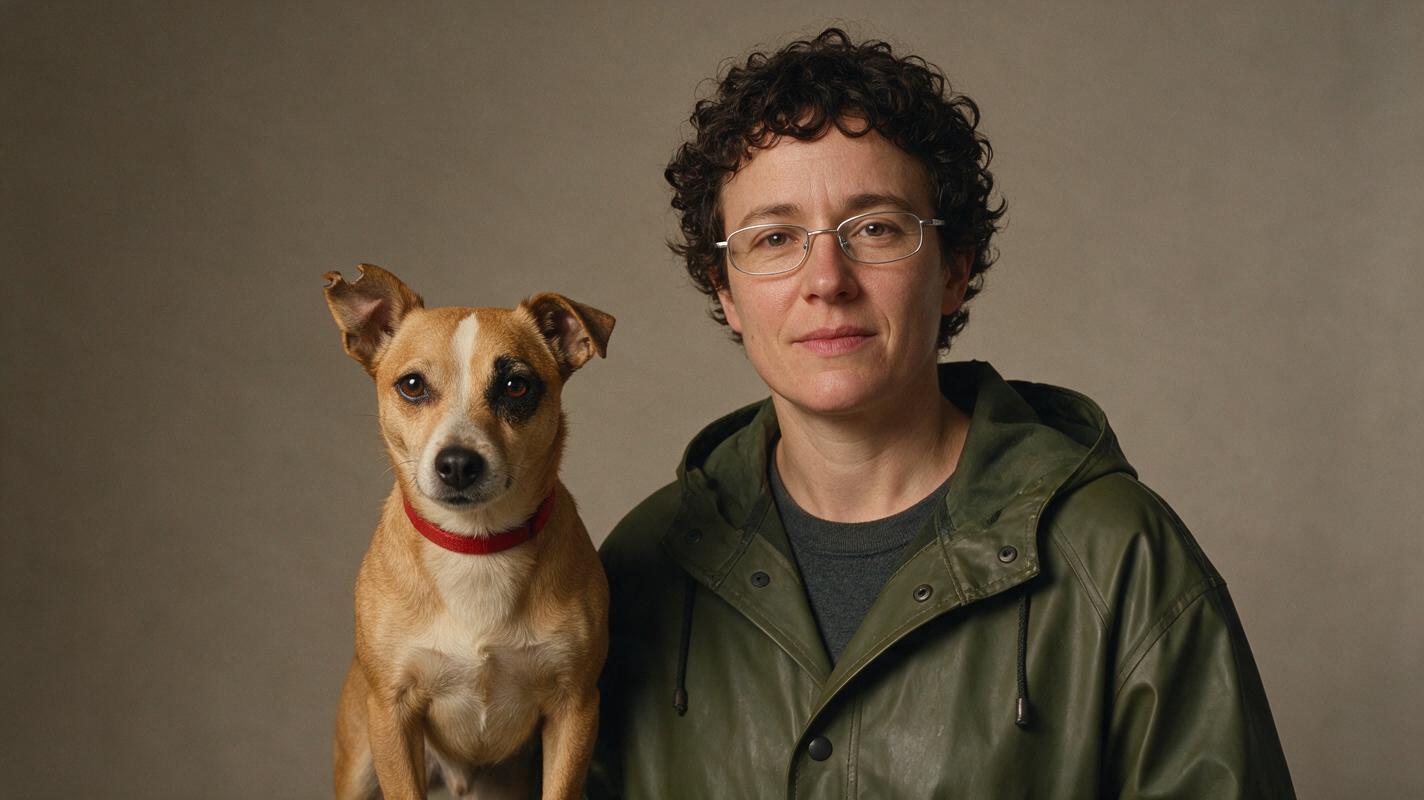
Create or select a clean owner portrait and dog views that show the face, the marked side, and the full body. You can develop candidate stills with an ai image generator, but treat them as candidates until you have checked them against the sheet. If an image changes the ear notch or reverses the eye patch, reject it rather than revising the written identity to match.
Keep a paired reference showing the owner and dog standing together. It establishes their relative scale, leash connection, and usual side-by-side position. A separate dog profile is useful for shots in which the owner's face is small or absent. Save only the approved images for reuse; near-matches make it harder to tell which appearance is canonical.
Reference rule: A clear view of the correct marking is more useful than a dramatic image that hides it. Do not use a rear-view dog image as the sole identity reference for a side-view shot.
If the tool accepts multiple references, supply the relevant owner and dog images according to its documented input options. If it accepts only one, prepare a single clean paired image for the shot. These are alternative workflows, not interchangeable controls available in every tool.
Step 3 — Plan the cuts around visible identity
Before generating video, make a small ai storyboard or a plain shot list. Record what viewers can actually see in each shot. The dog's eye patch will not confirm identity in a shot from its unmarked side, so that shot needs another cue: the ear notch, chest patch, collar, body shape, or an adjoining cut with a clear face view.
| Shot | Visible identity cues | Continuity to preserve |
|---|---|---|
| Park, side view | Dog's left-eye patch, cream chest; owner's profile and glasses | Dog on owner's left; leash in left hand |
| Crossing, front view | Cream muzzle blaze, red collar; owner's face and raincoat | Same relative scale and connected leash |
| Home, low angle | Right-ear notch, short curved tail; owner's trousers and hand | Same dog size; collar and leash remain attached |
For each transition, note the final visible positions in the outgoing shot and the opening positions in the next. A character can look individually correct in both clips yet appear to switch sides at the cut. Plan any intentional crossing of the leash or change of walking side as an on-screen action.
Step 4 — Generate one shot at a time and check the joins
Use the approved reference that best matches each camera angle. For an image to video workflow, the selected starting image should already show the correct identities and their intended arrangement. For other workflows, use the available reference inputs and keep the fixed descriptions unchanged. Do not assume a reference image alone will enforce every detail; inspect the output.
This is a copyable prompt for the park shot. Replace the setting and action for later shots, but retain the identity block:
Use the approved owner-and-dog reference for identity and scale.
The owner has short dark curls, a round face, narrow silver glasses,
an olive raincoat, and dark trousers. The dog is a small, sturdy tan
terrier mix with a cream forehead-to-muzzle blaze, cream chest patch,
dark patch around its LEFT eye, notch on its RIGHT ear, short curved
tail, and plain red collar.

Shot: side view in a park. The owner walks forward holding the leash
in the left hand. The dog walks on the owner's left at a calm pace.
Keep one owner and one dog. Maintain the dog's markings, collar,
body proportions, and lower-calf scale relative to the owner.
Natural walking motion; no change of costume or dog identity.
Review a frame near the beginning, middle, and end of each clip. Then compare the outgoing and incoming frames at every cut. Look separately at the owner's face, the dog's markings, the pair's scale, and the leash. If one fails, regenerate the affected shot from the approved reference rather than using a flawed frame as the next shot's reference.
Common failures and targeted fixes
| What changes | Likely planning gap | Fix |
|---|---|---|
| The eye patch switches sides | “Left” was interpreted from the camera's view | Specify the dog's anatomical left; use an approved marked-side reference. |
| The dog grows between shots | Each frame was composed independently | Reuse the paired scale reference and repeat the lower-calf height cue. |
| A second dog appears | A busy scene leaves the subject count unclear | State “one owner and one dog only” and simplify background activity. |
| Collar or leash changes | Props were omitted from a later shot | Repeat collar color, leash attachment, and holding hand in that shot's prompt. |
| They switch walking sides at a cut | Opening positions were not compared with the previous ending | Match positions across the cut or show the side change happening on-screen. |
If a shot repeatedly loses a small feature, bring the relevant part of the dog closer to the camera or choose a clearer reference angle. Do not try to prove identity through a marking that the shot cannot show.
FAQ
Do I need a separate dog reference for every shot?
No. Start with a small set of approved views and select the one that exposes the identity cues relevant to each shot. Add a new reference only when an essential angle is missing, and check it against the original character sheet before using it.
What if the owner is off-screen?
Use the dog's approved reference and preserve the visible leash, collar, markings, and scale cues. When the owner returns, compare that shot with their approved reference rather than assuming the intervening dog-only shot preserved the owner's identity.
Can the collar change during the story?
Yes, if the change is intentional. Mark the transition in the shot plan and show or clearly establish it. Keep the dog's anatomical features fixed so the new collar does not become the only way viewers recognize it.
Final checklist
- Both subjects have concise, approved identity descriptions.
- The dog's markings specify anatomical left and right.
- References cover the camera angles used in the sequence.
- Each shot preserves subject count, relative scale, and leash connection.
- Outgoing and incoming frames match at every cut.
With those checks in place, create your own version of the sequence, starting with the paired reference before adding more scenes.
Keywords
multi-entity consistency, character reference, consistent character across scenes, multi-shot, storyboard reference, AI character design