Enhance VHS Videos With AI Without Erasing Their Original Look
Learn how to restore digitized family VHS footage with conservative denoising, deinterlacing, color correction, and AI upscaling. This workflow prioritizes recognizable faces and authentic analog texture over aggressive, artificial-looking detail.
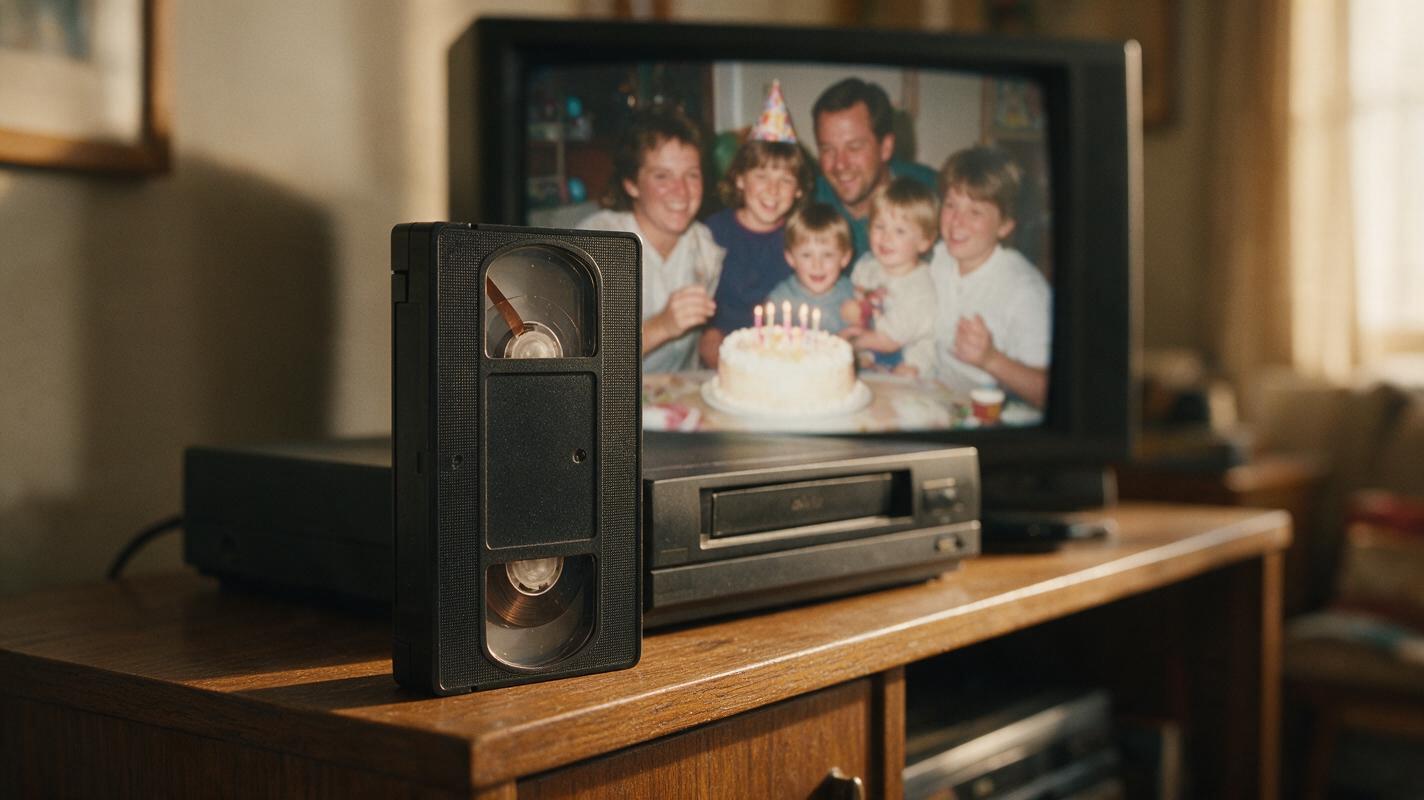
Table of contents
Restore the memory, not just the pixels
AI can make digitized VHS footage easier to watch, but an aggressive restoration can replace analog softness with waxy faces, invented eyelashes, frozen grain, and glowing edges. The safest approach is to repair technical defects in a controlled order while preserving the characteristics that make the recording recognizable.
This tutorial focuses on a realistic scenario: preparing a digitized family tape for viewing on a modern television. You will create a lossless working copy, inspect interlacing and noise, apply restrained restoration, upscale only after cleanup, and document a genuine before-and-after comparison.
Restoration principle: If a face looks sharper but less like the person you remember, the enhancement has gone too far.
Step 1 — Preserve the original capture
Keep the first digital capture untouched. Do not repeatedly export the same MP4 while testing settings, because every lossy encode can add blocking, ringing, and color damage that later tools may mistake for real detail.
Create three files:
- Archive master: the highest-quality output produced by the capture workflow.
- Working copy: a duplicate used for restoration and editing.
- Preview copy: a smaller file for quickly comparing short test segments.
Record the original frame rate, dimensions, scan type, audio sample rate, and capture date. Avoid assuming that a low-height frame is progressive: many tape captures contain interlaced fields that must be handled before enlargement.
Reusable visual prompt
Photorealistic editorial photograph of an unbranded VHS cassette beside an unbranded tape deck, a television displaying a softly detailed home-video frame, and two neutral external storage drives on a wooden table; warm lived-in family room, natural late-afternoon window light, no readable text, no logos, no software interface; MANDATORY CAMERA: eye-level true three-quarter view, 35mm lens, landscape 16:9, cassette sharp in the foreground and television slightly softer in the background.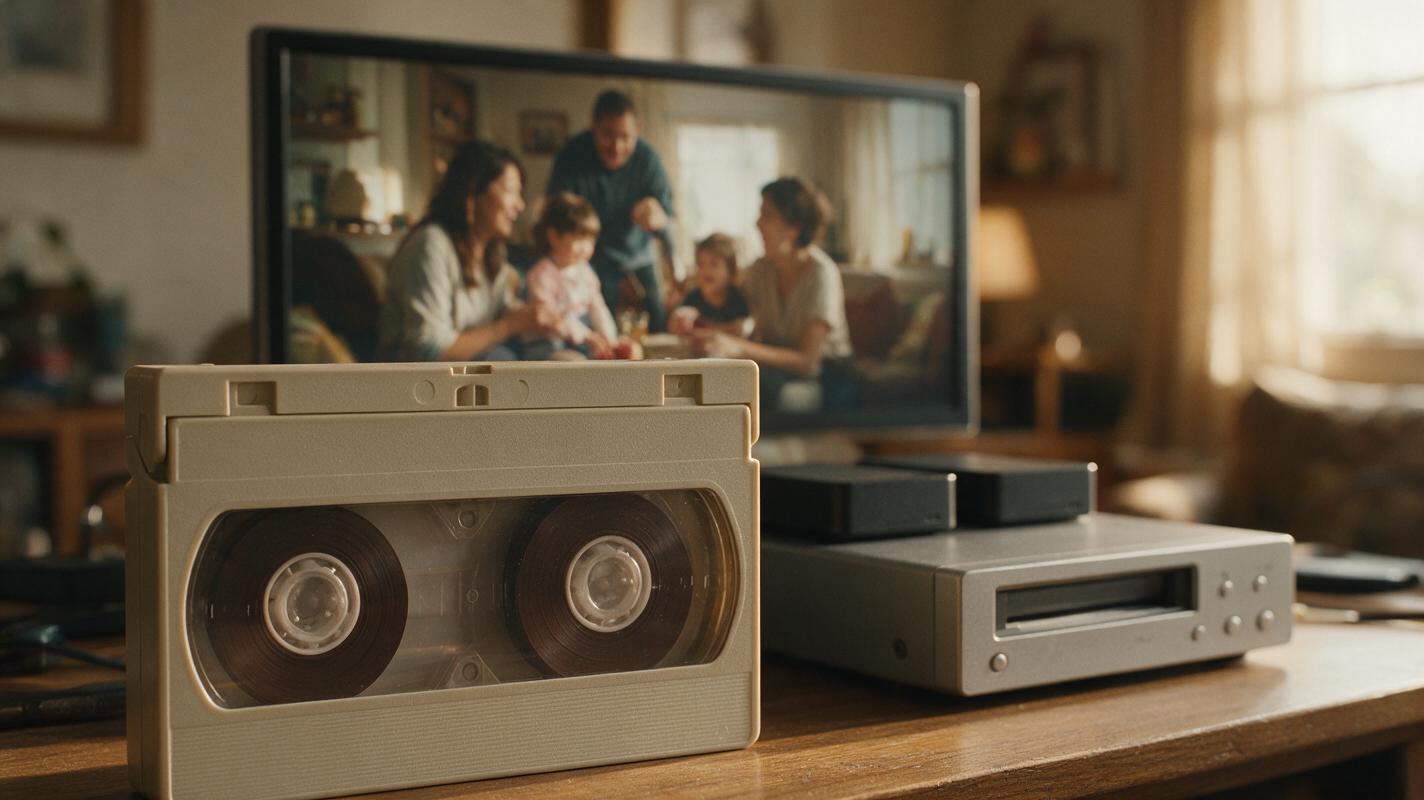
Step 2 — Diagnose defects before selecting tools
Watch several representative excerpts rather than judging the tape from its opening seconds. Include a static indoor shot, a moving face, an outdoor scene, and a section with camera movement. Each defect needs a different treatment.
| Visible problem | Likely treatment | Common overcorrection |
|---|---|---|
| Horizontal comb lines during movement | Deinterlacing or correct field handling | Discarding fields and losing motion detail |
| Fine dancing chroma noise | Conservative temporal and chroma denoising | Plastic skin and color smearing |
| Soft image at normal viewing size | Moderate scaling after cleanup | Invented pores, hair, and fabric patterns |
| Unstable brightness or color cast | Shot-level color correction | Crushed shadows and oversaturated skin |
| Wobbling frame edges | Careful stabilization or edge crop | Excessive zoom and drifting geometry |
Separate tape defects from capture defects. A dropped frame, incorrect field order, or clipped audio may require recapturing rather than AI processing. No enhancer can reconstruct information that never reached the digital file reliably.
Step 3 — Deinterlace before denoising or upscaling
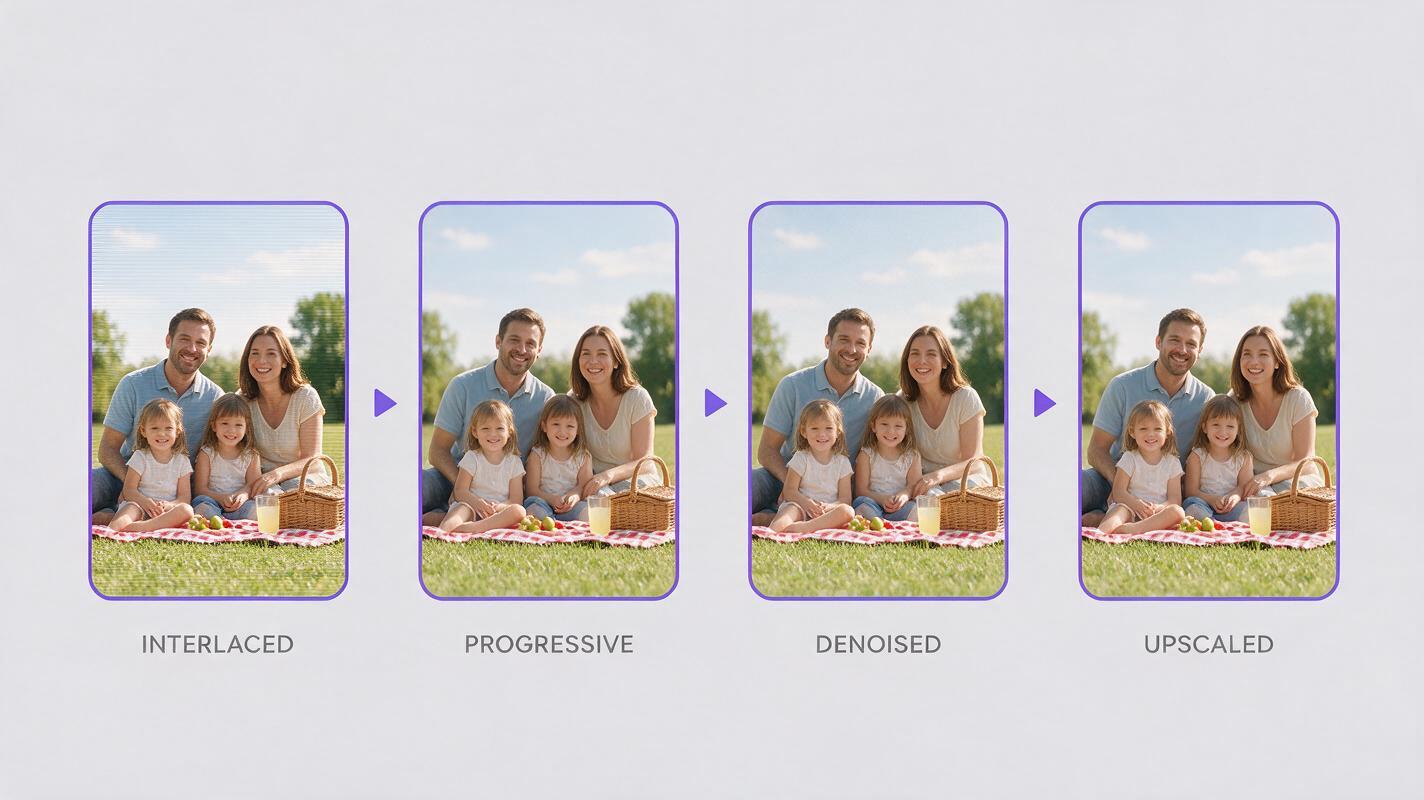
If the recording is interlaced, resolve its fields before asking an AI video upscaler to create larger frames. Otherwise, comb-shaped edges may be sharpened into permanent artifacts.
Inspect motion one frame at a time. Look at hands, walking legs, camera pans, and high-contrast edges. A correct conversion should produce natural motion without leaving horizontal teeth around moving objects.
Tools such as FFmpeg, DaVinci Resolve, and dedicated restoration applications provide different ways to process interlaced material. The correct choice depends on the source standard and capture method, so verify field order instead of copying a preset blindly.
Conservative processing order
archive master
→ field-aware deinterlacing when required
→ light temporal and chroma denoising
→ stabilization or edge repair when required
→ shot-level color correction
→ moderate upscale
→ restrained sharpening
→ delivery encode
Reusable visual prompt
Neutral four-frame visual process diagram made entirely from realistic film frames: an interlaced family picnic frame with visible comb edges, a clean progressive frame, a gently denoised frame, and a moderately enlarged final frame; connected by simple unlabeled arrows, no text, no numbers, no logos, no interface chrome; MANDATORY LAYOUT: horizontal left-to-right sequence with four equal 16:9 panels on a light-gray background, consistent people and picnic location in every panel.Step 4 — Denoise with faces and motion as the limit
The goal when you denoise video is not to remove every moving speck. VHS contains texture, color noise, head-switching artifacts, and generation loss. Eliminating all of it often eliminates subtle facial structure as well.
Start with a short test segment and use the lowest effective strength. Evaluate these areas at normal playback speed and at 100% scale:
- Eyes, teeth, wrinkles, and hairlines
- Hands moving across patterned clothing
- Tree leaves, grass, and water
- Dark walls and shadow transitions
- Color boundaries around red and blue objects
Temporal denoising can preserve more detail by comparing adjacent frames, but excessive settings may create motion trails or make texture stick to the background. Spatial denoising works within each frame and can soften edges. A restrained combination is generally easier to validate than one extreme pass.
Keep some stable analog texture if removing it would require sacrificing identity, movement, or period character.
Step 5 — Correct color by scene, not across the entire tape
Family tapes often move between indoor tungsten light, daylight, shade, and automatic camera exposure. One correction applied to the whole recording can fix one scene while damaging the next.
Divide the timeline at major lighting changes. Correct obvious color casts first, then set black and white levels while retaining detail in faces, windows, and dark clothing. Avoid pushing saturation merely because modern displays can reproduce stronger color.
Skin is a useful reference, but memory and context matter. A warm living-room scene should not necessarily become neutral gray, and faded footage should not be forced into the contrast of a contemporary digital camera.
Step 6 — Upscale conservatively and compare against the source
An AI video enhancer can make standard-definition footage more comfortable to view on a large display, but output dimensions do not prove that useful detail has increased. Begin with a moderate target such as a delivery resolution appropriate for your screen and editor rather than jumping directly to the largest available option.
Compare candidate outputs using the same timestamp and display scale. Pay particular attention to faces. Reject a version if it introduces changing eye shapes, flickering teeth, false lettering, unstable jewelry, or hair that crawls between frames.
Before-and-after evidence to capture
| Evidence asset | How to prepare it | What it demonstrates |
|---|---|---|
| Matched still pair | Export the same frame from the untouched capture and restored master | Noise, edge, color, and identity changes |
| Motion excerpt | Export identical five-to-ten-second ranges | Temporal stability and motion trails |
| Face crop | Use the same crop coordinates without extra resizing | Whether recognizable features were preserved |
| Settings note | Save tool version, model, strength, dimensions, and export settings | Whether the result can be reproduced |
Do not label a generated illustration as restoration evidence. Real evidence must come from the actual source and processed files.
Reusable visual prompt
Photorealistic side-by-side reconstruction of the same 1990s family birthday home-video frame, left panel showing authentic VHS softness, chroma noise, mild color fading and subtle interlacing, right panel showing conservative restoration with reduced noise, natural skin texture and unchanged facial identity; no text, no labels, no logos, no invented fine detail; MANDATORY CAMERA: fixed eye-level medium shot, identical framing and subject placement in both equal panels, landscape 16:9.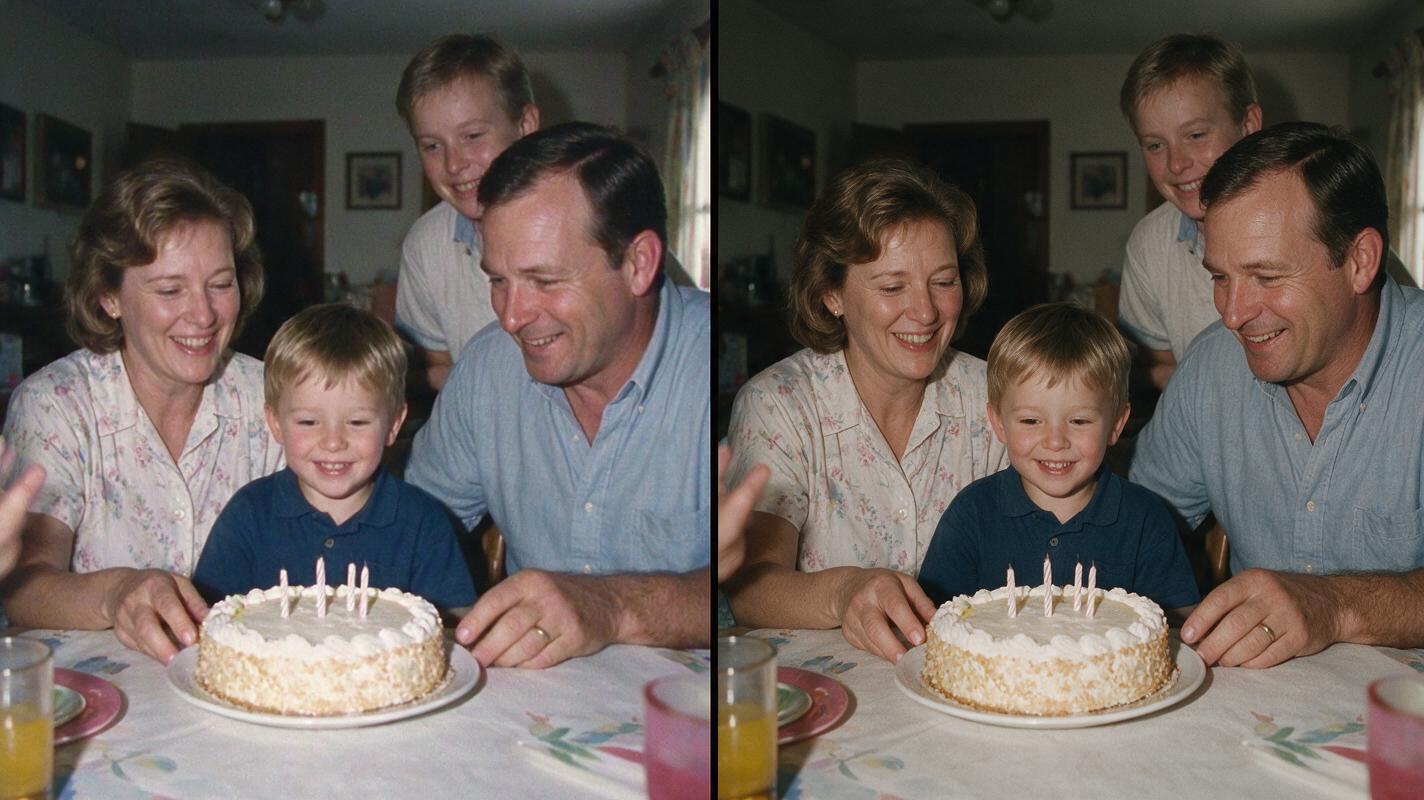
Step 7 — Review on more than one display
Check the restored master on the display where it will actually be watched. A result that looks pleasing in a small editor window may appear oversharpened on a television. Review it on a computer at 100% scale, on the target TV from a normal distance, and on a phone if a social copy is planned.
Listen to the audio separately. Reduce hum or hiss only when it interferes with speech, and avoid noise reduction that makes voices metallic. Maintain synchronization after any frame-rate conversion.
Keep the archive master and restoration project even after exporting the delivery file. Better methods may become available, but future work should always begin from the earliest reliable capture rather than a compressed enhancement.
Step 8 — Add an optional animated-photo companion
Restoring a tape and inventing new motion are different tasks. MagicBoat should not be presented as a substitute for dedicated VHS restoration software. However, if the tape is incomplete, its image to video capability can help make a clearly labeled creative interlude from a related scanned photograph.
Keep this generated insert separate from the documentary restoration. Use restrained camera movement, preserve the original person’s appearance, and identify the result as an AI-created animation when sharing it.
Animate this scanned family photograph with a very slow documentary-style camera push-in, subtle natural breathing and blinking only, preserve every face, garment, hairstyle and background object, no new people, no dialogue, no lip movement, no exaggerated gestures, no camera shake, realistic restrained motion.For this optional companion rather than the restoration itself, you can try these models for free and compare outputs in a multi-model workspace before choosing the least intrusive motion.
FAQ
Can AI recover detail that was never recorded?
No tool can verify missing visual information. Generative enhancement may create plausible detail, but plausible is not the same as historically accurate. Preserve the original and treat invented detail cautiously.
Should VHS footage be converted directly to 4K?
Not automatically. A larger frame can be useful for delivery, but it can also magnify artifacts or encourage excessive sharpening. Compare moderate targets first and choose the smallest output that works for the intended display.
Why do restored faces sometimes look waxy?
Excessive denoising removes fine contrast and skin texture. Strong sharpening or generative reconstruction may then replace those missing signals with smooth or unstable features. Lower the denoise strength and reassess before upscaling.
Can every tape use the same preset?
No. Tape generation, recording speed, capture hardware, lighting, noise, and interlacing can vary within one cassette. Presets are starting points, not proof that the processing is correct.
What should I archive after finishing?
Retain the original capture, restored master, final viewing copy, project file, settings notes, and representative comparison frames. Store important files in more than one physical location.
Sources
Final checklist
- Preserve an untouched archive master before processing.
- Confirm whether the source is interlaced before denoising or scaling.
- Test restoration settings on faces, movement, shadows, and fine patterns.
- Correct color scene by scene rather than applying one global grade.
- Compare matched frames and identical motion excerpts.
- Reject invented facial detail, flicker, halos, and motion trails.
- Review the result on the intended television or display.
- Clearly separate documentary restoration from generated animation.
Keywords
enhance videos with ai, ai video enhancer, ai video upscaler, denoise video, ai video tools, video to video ai