Fix AI Comic Hands Without Redrawing the Whole Panel
Malformed fingers, unstable grips, and drifting hand designs can ruin an otherwise finished comic panel. This practical workflow uses localized Nano Banana Pro edits, action-based prompts, and three-scale inspection to repair hands while preserving the character, composition, and drawing style.
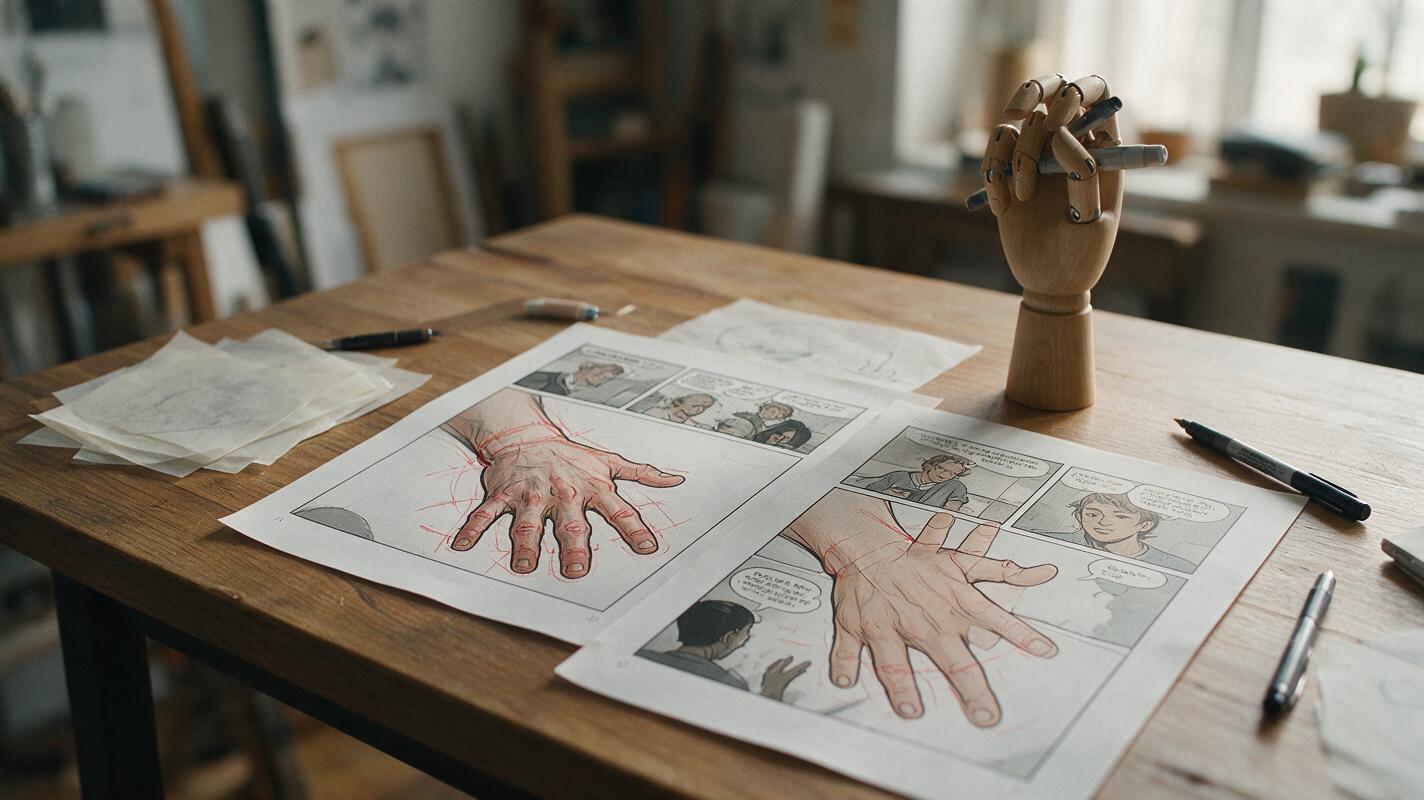
Table of contents
Repair bad hands while keeping the panel you already like
A broken hand should be treated as a small continuity error—not an invitation to regenerate the character, costume, background, and camera.
AI-generated comic hands often fail at the exact moments that matter most: gripping a sword, holding a phone, opening a door, touching another character, or pointing toward something outside the frame. Regenerating the complete panel may correct the fingers, but it can also change the face, pose, line weight, costume details, or scene composition.
A safer method is to isolate the hand, define its physical task, and repair only the smallest useful region. The workflow below is designed for manga panels, webtoon scenes, character illustrations, and storyboard frames that are already close to finished.
Why full-panel regeneration makes hands less reliable
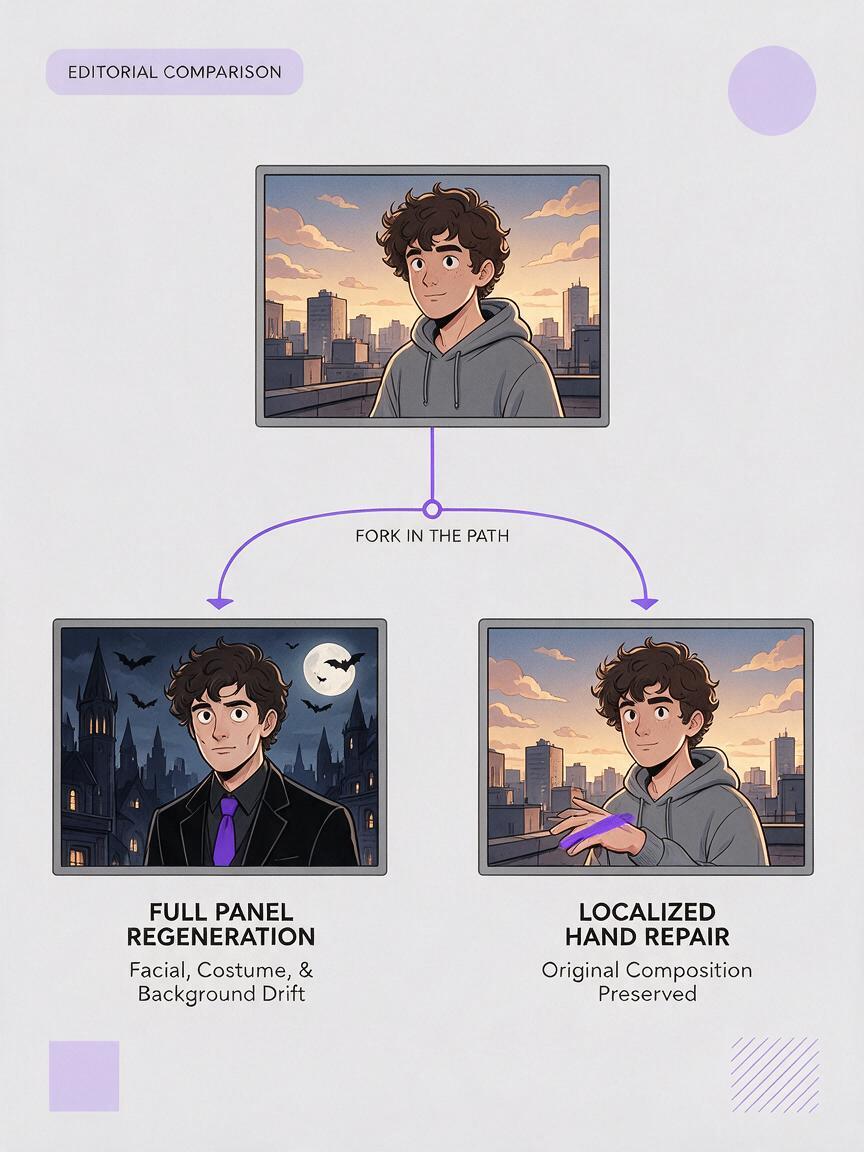
A hand is not an independent decoration. Its shape depends on the wrist angle, forearm rotation, camera view, object dimensions, and contact points. A vague request such as fix the hand does not explain any of those relationships.
Full-panel regeneration also gives the model permission to reinterpret visual decisions that were not broken. The face may become younger, a sleeve may gain new seams, or the camera may shift enough to disturb the panel's storytelling.
| Repair method | Useful when | Main risk |
|---|---|---|
| Regenerate the complete panel | The entire pose or composition is unusable | Identity, costume, lighting, and framing may drift |
| Edit a tight hand crop | The wrist and surrounding pose are already correct | An overly tight crop can hide necessary arm context |
| Edit the hand, wrist, and held object together | The grip or contact geometry is broken | A large edit area may alter sleeve construction |
| Manual redraw | Exact line control is required | More drawing time and possible style mismatch |
The most reliable choice is usually the smallest edit that still contains enough anatomical and narrative context.
Build a repair crop that protects the panel
Start from the highest-resolution version of the panel available. Duplicate it before editing, then create a crop that includes the defective hand, the complete wrist joint, part of the forearm, and any object or surface involved in the action.
Do not crop directly through a knuckle, wrist, weapon handle, phone, or sleeve cuff. Those boundaries tell the model how the replacement must connect to the unchanged drawing.
- For an open hand: include the wrist and enough empty space to show the intended gesture.
- For a fist: include the forearm direction and the complete silhouette of the fist.
- For a grip: include the full contact area between fingers and object.
- For two touching hands: edit both hands together so their contact points agree.
- For a hand near the face: protect facial features unless finger overlap makes a joint edit unavoidable.
A localized workflow in nano banana pro can use the existing panel as the visual constraint. Ask for a targeted correction rather than a fresh interpretation of the scene.
Edit only the character's right hand, wrist connection, and the contact area around the cup. Preserve the face, hair, costume, pose, camera, background, lighting, line weight, screentone, and panel composition exactly. Do not redesign any unchanged area.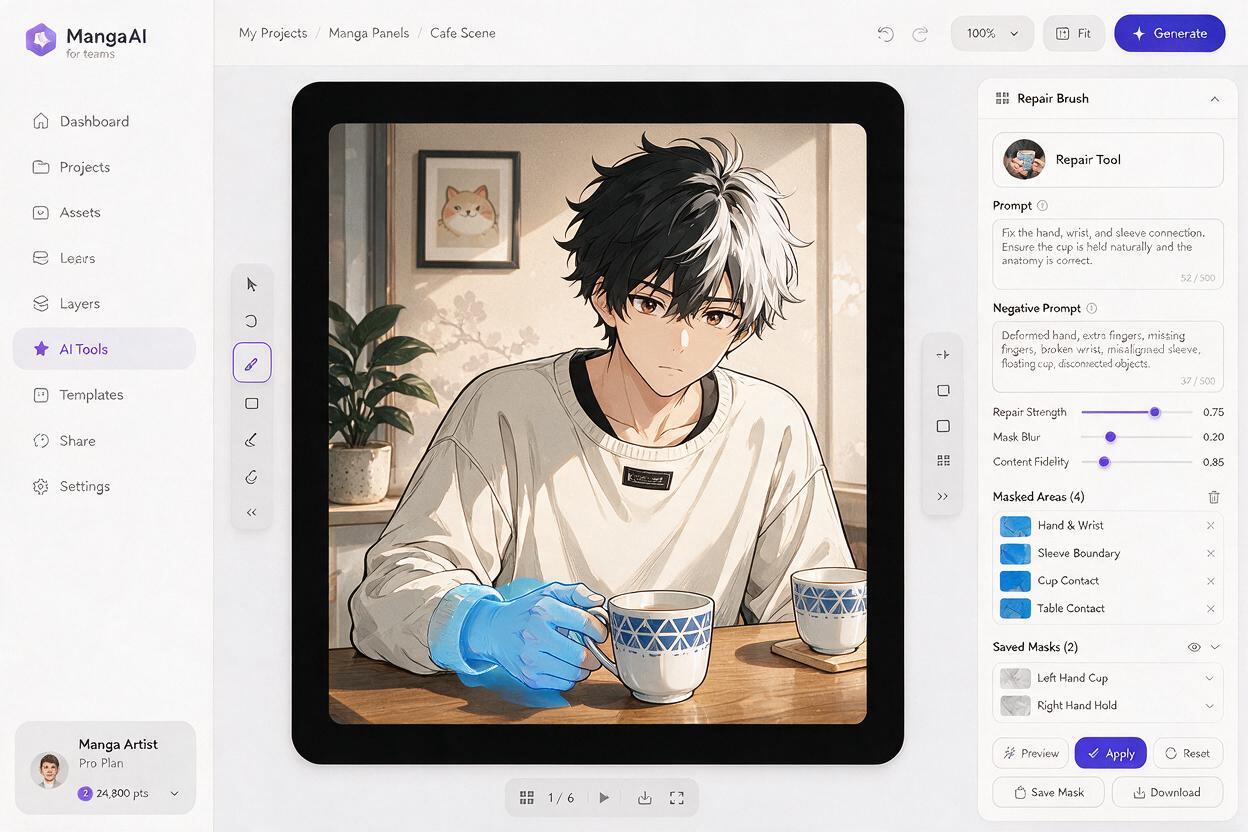
Prompt the hand as a physical action
Hand prompts become clearer when they describe mechanics instead of appearance. Specify which hand is involved, what the palm faces, what each finger group is doing, and where force or contact occurs.
A useful repair prompt contains four layers:
- Identity: left or right hand, character, sleeve, glove, jewelry, scars, or nail treatment.
- Orientation: palm direction, wrist angle, forearm rotation, and camera view.
- Action: gripping, supporting, pressing, pulling, pointing, pinching, or resting.
- Preservation: areas and style features that must remain unchanged.
Prompt for a phone grip
Correct only the character's left hand holding the smartphone. Back of the hand faces the viewer, thumb rests naturally along the near edge, four fingers wrap behind the phone, wrist aligned with the forearm. Keep the phone's size, screen, sleeve cuff, pose, facial expression, ink lines, flat colors, and background unchanged. One anatomically coherent hand, five fingers, no duplicated fingertips.Prompt for a sword handle
Repair the right hand and its contact with the sword handle. The palm closes around the cylindrical grip, thumb locks over the index finger, knuckles follow the handle angle, wrist remains straight with the forearm. Preserve the sword design, guard, arm pose, costume, speed lines, black-and-white manga inking, and all areas outside the repair region.Prompt for a hand resting on a shoulder
Correct the foreground character's left hand resting gently on the other character's shoulder. Palm follows the shoulder curve, fingers are separated naturally and bend around the fabric, thumb remains visible on the near side, no gripping force. Preserve both characters' faces, body positions, clothing folds, height difference, line art, and panel framing.Contact rule: if the hand touches an object or another person, describe the relationship—not merely the hand pose.
Use references without copying the wrong camera angle
A hand reference is most useful when it matches the panel's viewpoint. A perfect front-facing hand photograph may still mislead the repair if the comic panel shows the hand from above or from the little-finger side.
Choose a reference with similar wrist rotation, palm visibility, finger compression, and object thickness. Treat it as an anatomy and contact guide, while the original panel remains the source for character design and style.
- Match the camera angle before matching the exact finger pose.
- Use a similarly proportioned object for grips.
- Keep gloves, rings, cuffs, and markings defined by the comic panel.
- Avoid combining several references with contradictory palm orientations.
If no single reference fits, photograph your own hand performing the action from the panel's approximate camera position. The reference does not need polished lighting; its purpose is to clarify overlap, joints, and contact.
Repair the seam instead of expanding the edit
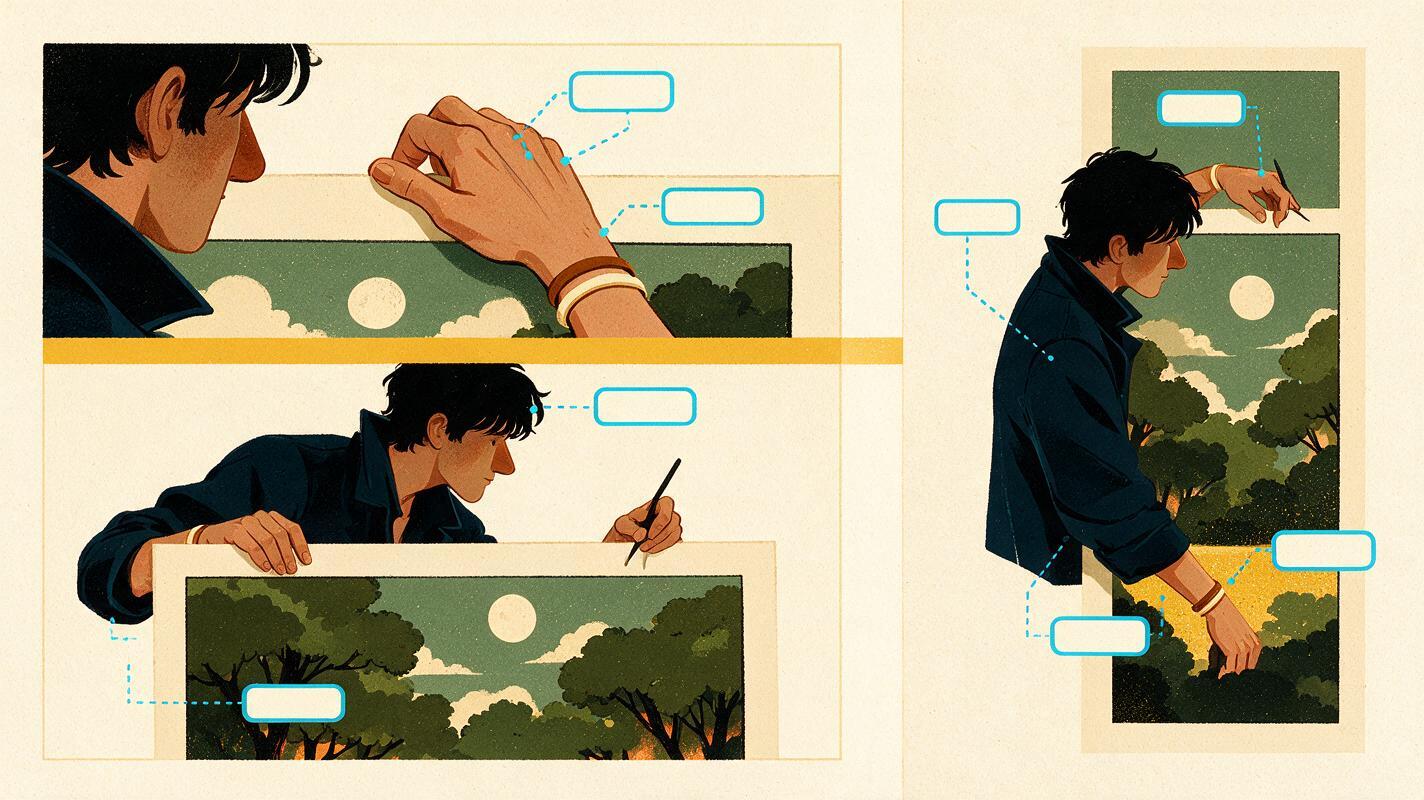
After generating a corrected hand, compare the wrist transition with the original panel. A convincing hand can still look pasted on if the cuff width, forearm contour, shadow edge, or line thickness changes at the boundary.
When the seam is the only remaining problem, make a second, narrower correction around that boundary. Do not reopen the entire hand unless its anatomy is still wrong.
Blend only the repaired wrist-to-sleeve boundary. Match the existing sleeve contour, cuff construction, shadow shape, ink thickness, and color. Keep the hand anatomy and all other panel content unchanged.For black-and-white manga, inspect screentone frequency and solid-black placement. For color webtoons, compare local hue, edge softness, and shadow direction. These style details often reveal a repair before the anatomy does.
Inspect the repair at three scales
A hand can look correct when enlarged yet fail at normal reading size. Check the repaired panel at three practical scales before accepting it.
| Viewing scale | What to inspect | Typical failure |
|---|---|---|
| Close crop | Finger count, joint direction, tangencies, object contact | Fused fingers or impossible overlap |
| Full panel | Arm flow, gesture, silhouette, visual emphasis | Hand appears too large or too detailed |
| Page or mobile scroll | Continuity, readability, repeated character traits | Glove, ring, cuff, or dominant hand changes |
Flip the panel horizontally during inspection. Mirroring can expose bent wrists, uneven finger rhythm, and awkward silhouettes that became visually familiar while you were editing.
Common repair failures and their prompt fixes
The hand is anatomically better but too large
Add a scale relationship instead of asking for a generic smaller hand:
Match the hand scale to the existing forearm and head proportions. Preserve the wrist location and arm length.The grip looks loose or floats around the object
State the contact surfaces and whether the action carries force:
Fingers make firm contact around the handle with no visible gap; the thumb opposes the fingers and stabilizes the grip.The model changes the sleeve or accessory
Describe those features as locked design anchors:
Keep the ribbed cuff, two-button wrist strap, silver ring, and sleeve pattern exactly unchanged.The fingers are correct but visually noisy
Match the drawing economy of the panel:
Use the same simplified comic line language as the original panel, with restrained crease lines and no extra skin texture.Repeated repairs keep producing different hands
Stop generating broad variations. Select the candidate with the best wrist, palm, and contact geometry, then repair only its remaining finger error. Each new full-hand attempt introduces another chance to alter the silhouette.
Final checklist
- The crop includes the wrist, forearm direction, and relevant contact object.
- The prompt identifies left or right hand and palm orientation.
- The physical action and contact points are explicit.
- Face, costume, camera, background, and style are protected.
- The repaired hand matches the character's established accessories and proportions.
- The wrist seam, line weight, screentone, and shadows blend with the panel.
- The result works as a close crop, full panel, and page or mobile scroll.
Keep your strongest panel and correct only what is broken. When you have a difficult grip or gesture ready, test this prompt yourself and compare the repaired result at all three viewing scales.
Keywords
fix AI comic hands, Nano Banana Pro, comic hand prompts, manga hand anatomy, AI comic maker, comic panel editing, consistent character AI