Why AI Room Mirrors Look Wrong—and How to Fix Reflections
A room concept can look convincing until its mirror reflects a window, doorway, or piece of furniture that is not there. This guide shows interior designers how to diagnose reflection errors, make targeted edits with Seedream 4.5, and recognize when a verified render is the safer choice.
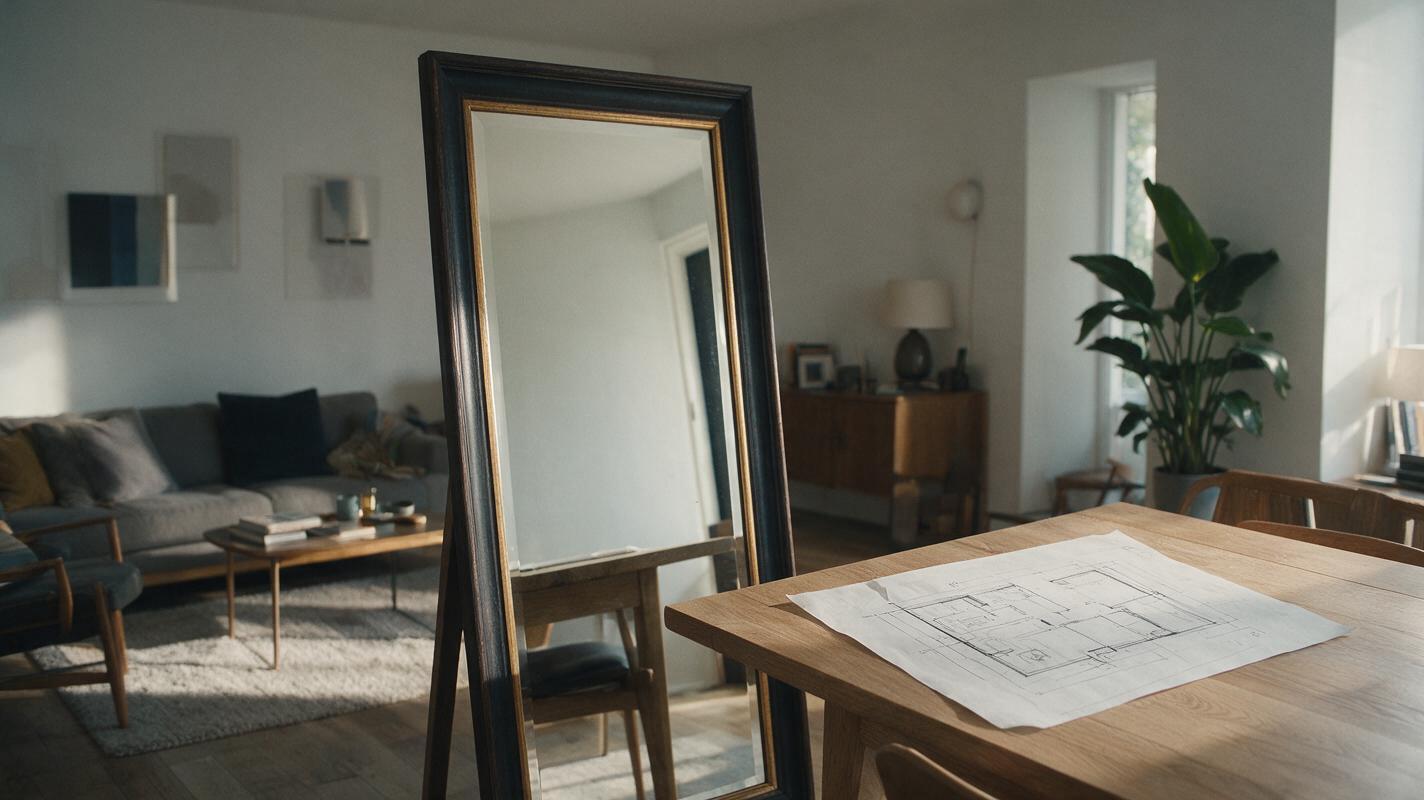
Table of contents
The problem: the mirror invents a second room
A convincing room visualization can fall apart at the mirror. The sofa is right, the lighting is plausible, but the reflection shows a second window—or repeats furniture that should be behind the camera. For an interior designer presenting a specific property, that is more than a cosmetic flaw: it can misrepresent the space.
Seedream 4.5 can be used to revise a room image, but a better prompt cannot reveal an unseen wall. The reliable approach is to establish what the mirror could show, edit only its reflective area, and check the result against the actual room.
Identify what the mirror should actually show
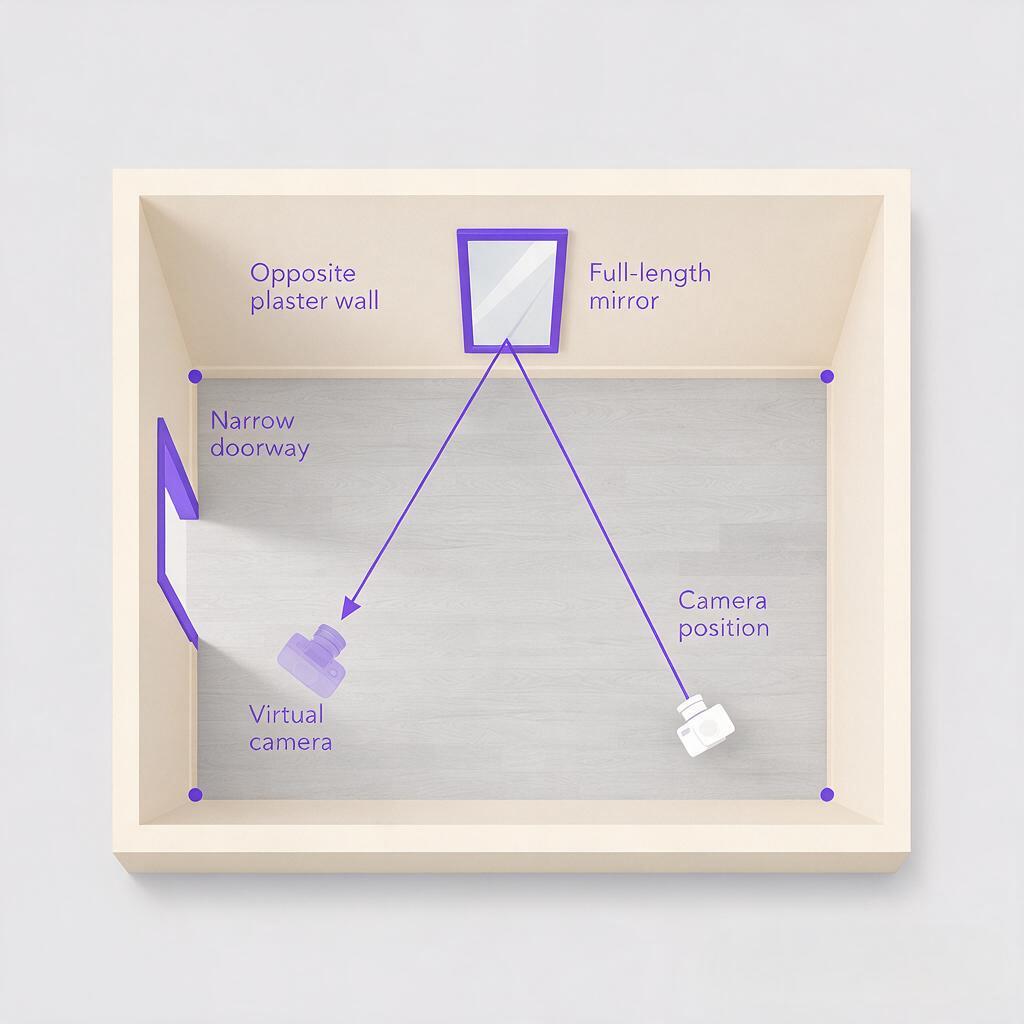
Before editing, mark the mirror on a floor plan or a quick sketch. Note the wall it faces, the camera position, and any doorway, window, artwork, or furniture that might appear in its reflection. A mirror does not simply repeat the visible half of the photograph: it shows a view determined by its position and angle.
If the opposite side of the room matters, capture a reference photo from near the mirror, aimed outward toward that side. This is a visual reference, not an exact simulation of the reflected camera position. Include enough of the surrounding wall and floor to establish colors, openings, and furniture placement.
- Known room: Use a reference photo or measured model to establish what exists outside the main camera frame.
- Early concept: Keep the reflected area visually quiet if the opposite wall has not been designed.
- Technical approval: Use a verified 3D scene or a composited reflection when exact geometry matters.
For example, if a full-length mirror faces a plain plaster wall and a narrow doorway, a newly invented picture window is not a creative variation. It is an error to remove.
Edit only the reflective surface
Start with the strongest room image you have. In an ai image generator that accepts an existing image for editing, use Seedream 4.5 with the original photo as the base and, where available, select the mirror glass as the edit area. Keep the frame, wall edges, floor, and nearby furniture outside that selection.
If the mirror has a narrow bevel or ornate frame, leave a small safety margin inside its edge. You can refine that boundary afterward; asking the model to reconstruct the entire frame risks changing its shape. Do not edit the whole room merely to correct a reflection.
Base edit prompt: Edit only the reflective glass inside the full-length mirror. Preserve the mirror frame, camera viewpoint, room layout, furniture, materials, and lighting outside the glass. The reflection shows the opposite matte plaster wall and the existing narrow doorway visible in the supplied reference. Match the mirror's angle, perspective, exposure, and soft room lighting. Do not add windows, furniture, people, text, or architectural features.
Attach the opposite-wall reference if your editing interface supports it. If it does not, describe only features you can verify and be prepared to composite an accurate reflection manually. Test this prompt yourself on one mirror before producing a full set of presentation images.
Prompts for three common reflection problems
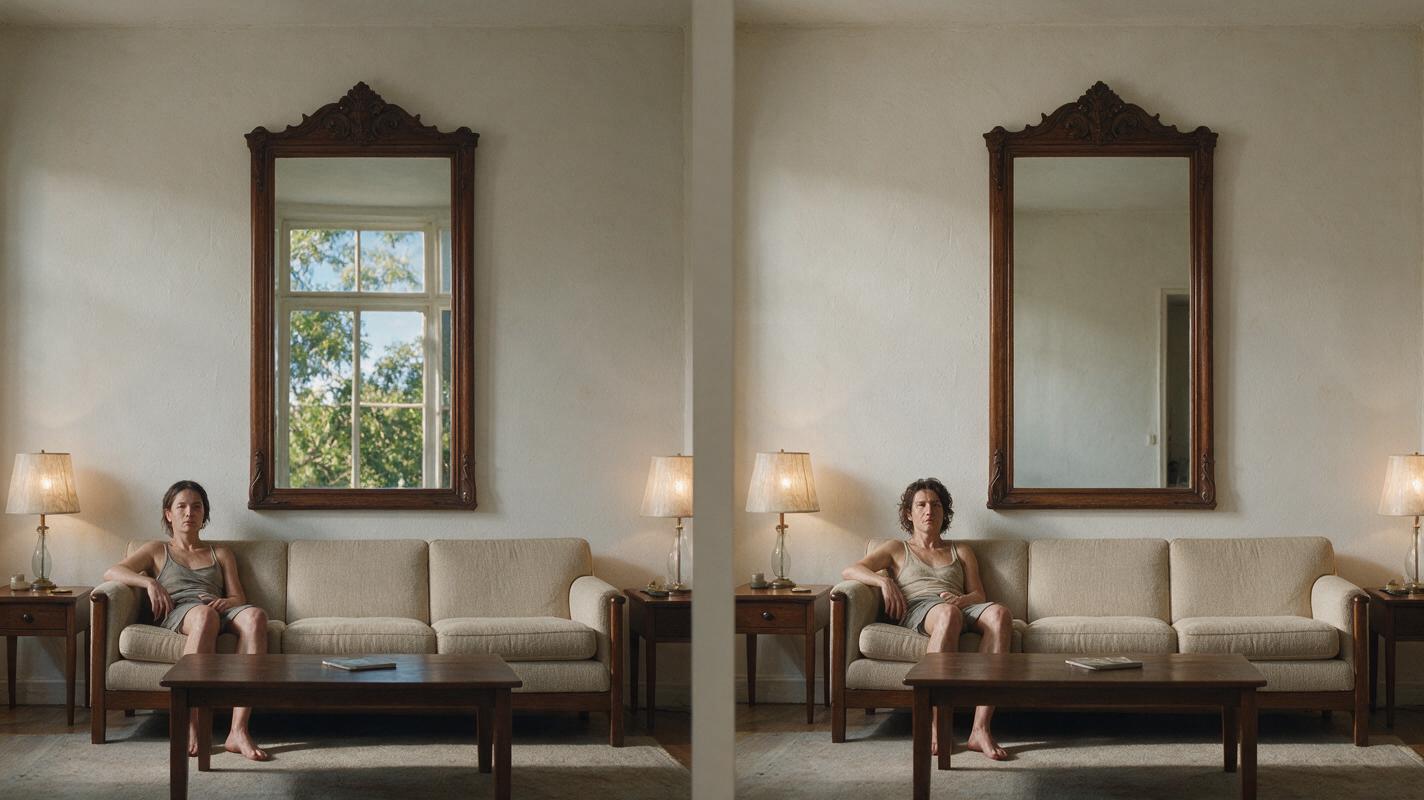
Change the diagnosis, not the entire room description. These targeted instructions are easier to assess than a broad request to “make the image realistic.”
The mirror repeats furniture behind the camera
A repeated sofa or lamp may look like a duplicate object floating in a second room. State what occupies the opposite wall and explicitly exclude the copied item.
Using the original room image and opposite-wall reference, replace only the mirror-glass content. Show the wall and furnishings that face this mirror. Remove the duplicated sofa and floor lamp from the reflection. Keep the mirror frame and every object outside the glass unchanged.A window appears on a wall that has none
Specify the actual wall finish and the source of illumination. Removing the reflected window does not mean removing daylight from the room.
Correct only the mirror reflection. The wall facing this mirror is continuous warm-white plaster with no window. Show soft daylight falling across that wall, consistent with the existing room lighting. Do not create an opening, outdoor view, or new light source.The reflection is too sharp or too bright
A reflection can be compositionally plausible yet still look pasted on. Ask for an exposure and softness adjustment without obscuring the scene to hide errors.
Adjust only the mirror-glass appearance. Preserve the reflected room features and their positions. Match the reflection's brightness, color temperature, and edge softness to the ambient light in the photograph. Keep the glass recognizably reflective; do not turn it into a painted panel.For a new concept without an opposite-wall reference, omit named objects rather than inventing them. A restrained, low-detail reflection can communicate the material, but it should not be presented as documentation of an existing space.
Check physics before presenting
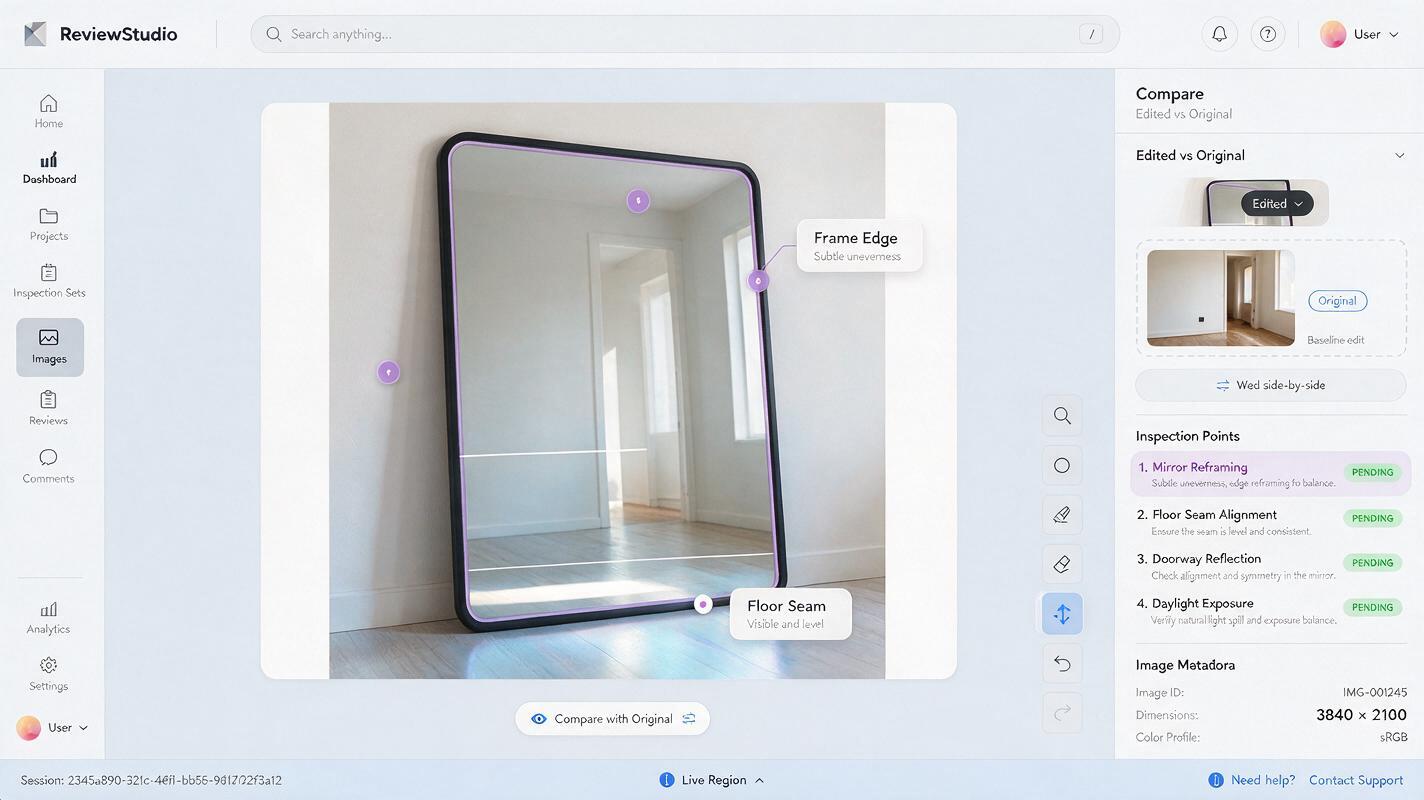
Inspect the edited image at full size, then compare it with the base image. The mirror should no longer draw attention to itself, but that alone is not enough. Check these specific failure points:
- Frame and silhouette: Are the mirror's corners, bevel, and thickness unchanged?
- Room continuity: Did the edit alter flooring, skirting, furniture legs, or wall seams outside the glass?
- Reflected architecture: Do doors and windows correspond to the documented opposite side of the room?
- Perspective: Do reflected verticals and visible object scales make sense for the mirror's angle?
- Lighting: Does the reflection share the room's exposure and color temperature without introducing an impossible light source?
A common near-miss is an edit that fixes the invented window but bends the mirror frame or moves the doorway. Reject it and retry with a tighter selection. If several attempts produce different versions of the same undocumented wall, the missing reference—not the wording of the prompt—is probably the limiting factor.
When a prompt cannot solve the shot
Use image editing for design communication when the reflected view is simple, well documented, and not the central claim of the image. For a mirror wall, a mirrored kitchen splashback, or a view in which exact reflected geometry determines what a client sees, build or verify the scene in 3D. Another option is to render or photograph the correct reflected view separately and composite it into the glass, matching perspective and exposure by hand.
Label an unverified visualization as a concept, especially when it depicts parts of a real property that were not photographed or measured. A polished reflection is not evidence that the unseen side of the room looks that way.
Final checklist
- Establish what faces the mirror before writing the edit prompt.
- Supply an opposite-wall reference when the room must match a real site.
- Restrict edits to the glass and protect the mirror frame.
- Check reflected architecture, perspective, and lighting against the source material.
- Switch to a verified render or composite when exact reflections matter.
Keywords
ai room mirror reflections, interior render reflections, Seedream 4.5, mirror reflection prompts, room photo editing, interior visualization