Fix Blown-Out Windows in Listing Photos With Seedream 4.5
Bright white windows can make an otherwise polished listing photo look unfinished. This tutorial shows real estate marketers how to use Seedream 4.5, a precise window mask, and trustworthy reference material to recover a natural view without changing the room or misrepresenting the property.
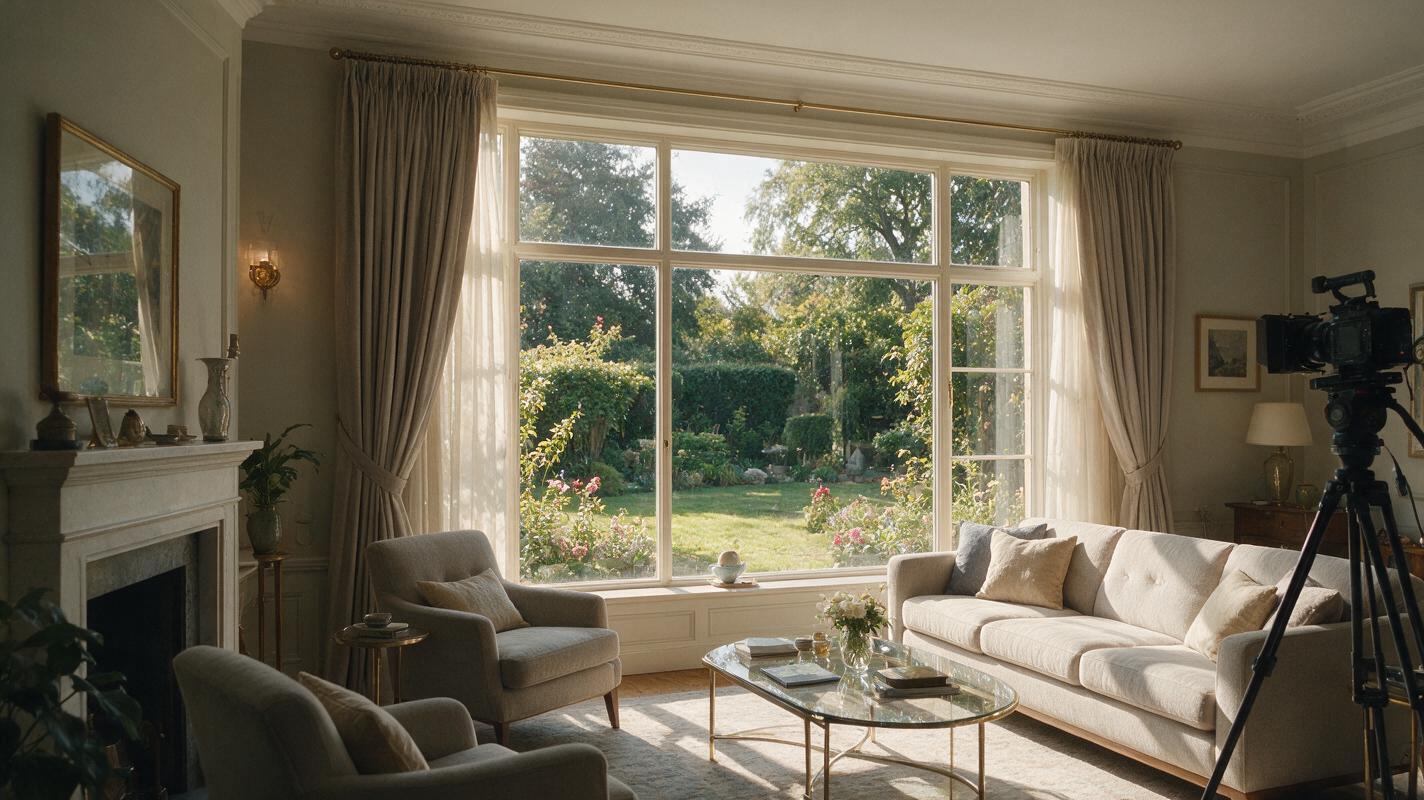
Table of contents
Recover the Window View Without Redesigning the Room
A bright window often becomes a blank white rectangle when the camera exposes for a darker interior. Seedream 4.5 can help replace that clipped area with a more balanced view, but the edit must preserve the window frame, room geometry, exterior orientation, and actual conditions visible from the property.
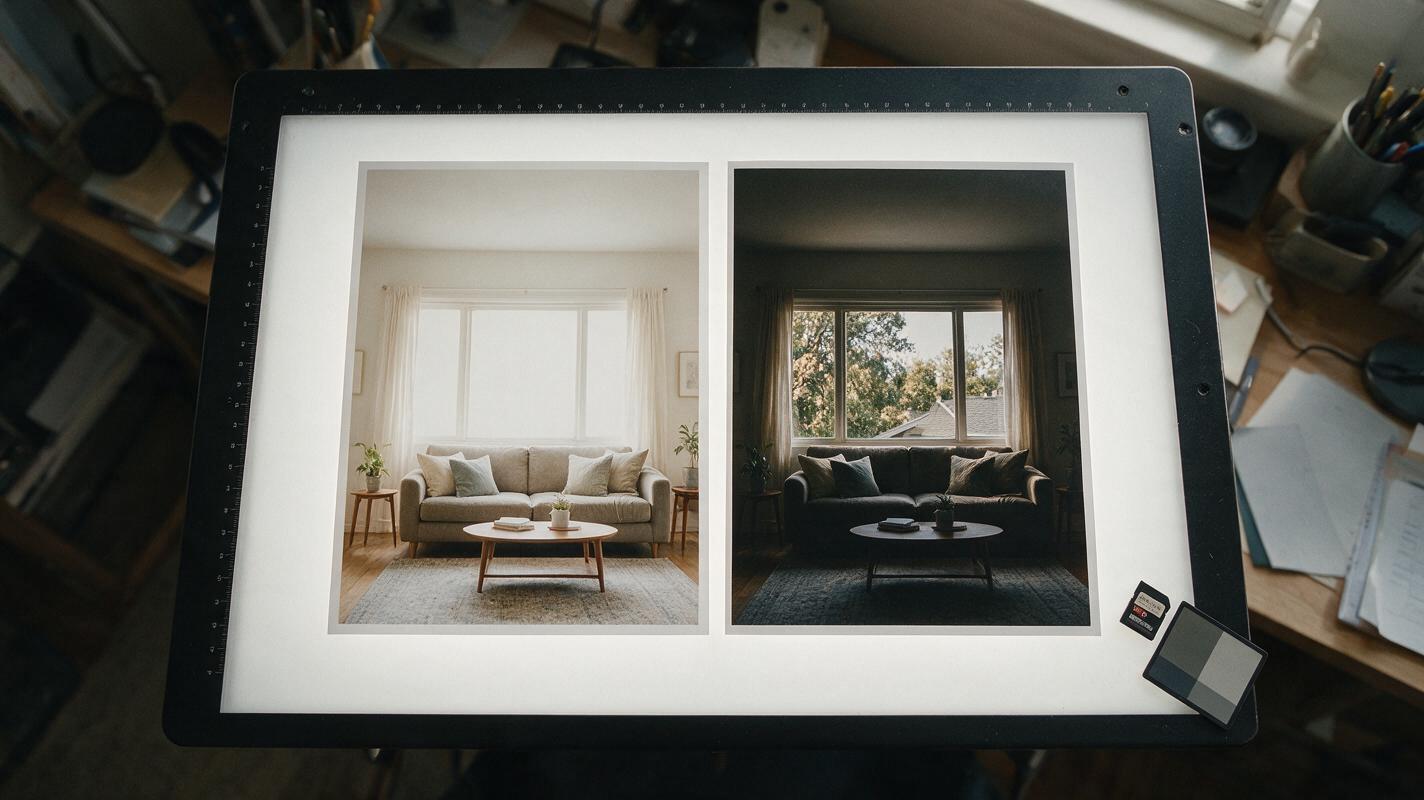
The safest method is not to ask AI to invent scenery. Start with a second exposure, another frame from the same shoot, or a verified exterior reference. Then limit the edit to the glass and match its brightness to the interior photograph.
The objective is exposure recovery, not view enhancement. A corrected window should show what was genuinely present—not mountains, water, landscaping, or a skyline that the property does not have.
Know When AI Window Recovery Is Appropriate
Window correction works best when the room itself is already usable and the defect is confined to overexposed glass. Good candidates include living rooms, kitchens, bedrooms, and amenity spaces where the frames remain sharp but exterior detail has been clipped.
Use a conventional exposure blend when you have aligned bracketed photographs and want maximum photographic fidelity. Seedream 4.5 becomes useful when the source frames are slightly misaligned, foliage moved between exposures, reflections need subtle repair, or a narrow region requires contextual reconstruction.
| Source situation | Recommended treatment | Main risk |
|---|---|---|
| Aligned bright and dark exposures | Blend the real exposures first | Halos around the frame |
| Usable reference with minor gaps | Edit the glass with Seedream 4.5 | Invented exterior details |
| No exterior reference available | Reduce glare and restore neutral tone only | Misrepresenting the view |
| Window is fully hidden by curtains | Leave the scene unchanged | Fabricated architecture |
Gather Trustworthy Source Material
Start with the original high-resolution interior image. Avoid screenshots, compressed messaging-app copies, or files that have already received aggressive sharpening. Compression artifacts around mullions and blinds can cause an edit to bend straight lines.
Next, locate the best evidence of the real view:
- A darker exposure captured from the same tripod position
- An adjacent photograph taken from nearly the same camera angle
- A verified exterior frame from the same room and session
- A neutral exposure showing the real sky, vegetation, neighboring structures, and season
If the only reference was photographed from outside, treat it as a guide to color and visible features rather than a replacement plate. The apparent scale and perspective will differ from the interior viewpoint.
Do not use an old marketing photo when landscaping, construction, weather, or neighboring development has changed. Current source material makes the result both more believable and easier to defend.
Mask Only the Glass
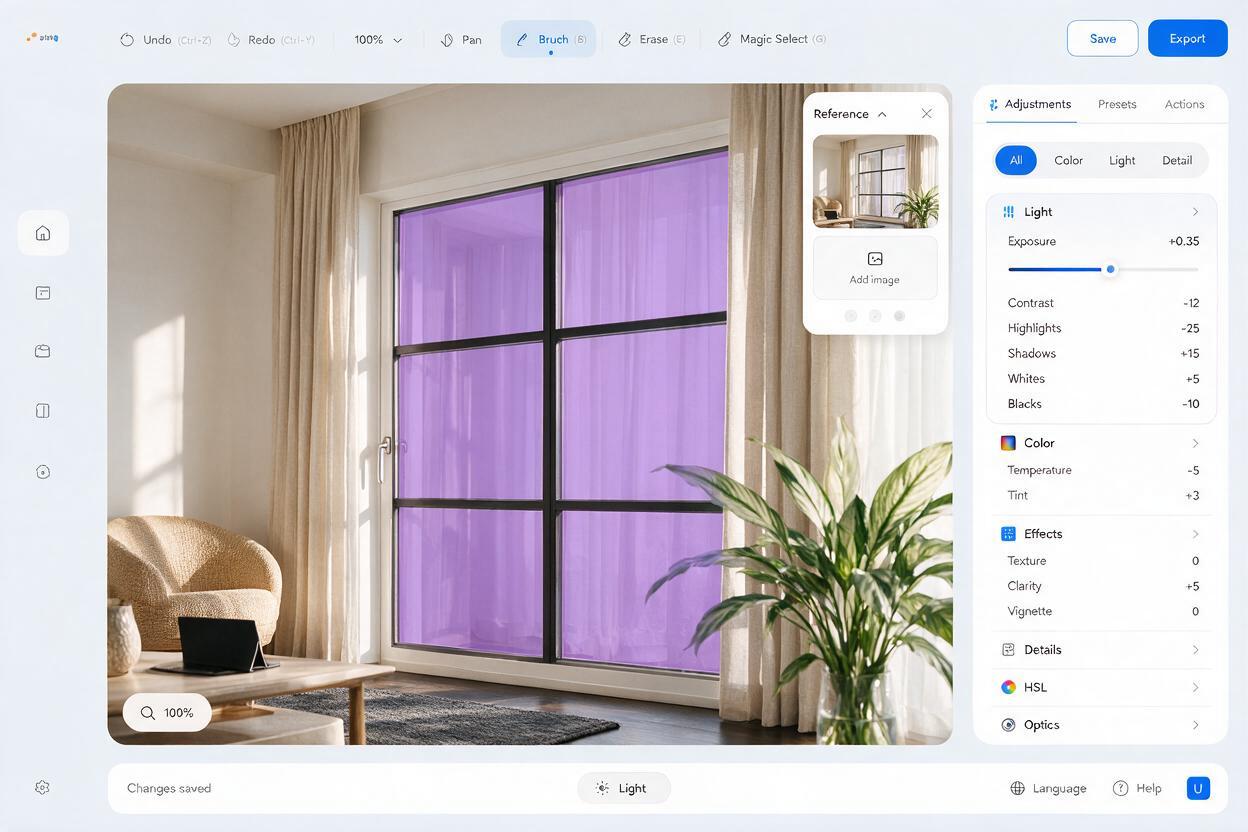
Create a careful selection inside each pane while excluding frames, handles, mullions, curtains, blinds, walls, and furniture. A narrow transition at the glass edge is usually more natural than a broad mask that spills onto the surrounding architecture.
Zoom in and inspect difficult boundaries such as:
- Thin black or white mullions
- Plant leaves crossing in front of the window
- Sheer curtains with partial transparency
- Reflections from lamps and ceiling fixtures
- Glossy counters or floors reflecting the original window
Run separate edits for complicated groups of panes instead of masking an entire wall. Smaller selections give the model less freedom to alter the room. If your interface offers edit strength or preservation controls, begin conservatively and increase them only when the source view is not appearing clearly.
Write a Preservation-First Seedream 4.5 Prompt
A useful prompt identifies the permitted change, the reference evidence, and everything that must remain fixed. Avoid vague instructions such as “improve the window” or “add a beautiful view.” Those phrases invite unnecessary scenery and luxury embellishment.
Use this prompt when a verified darker exposure is available:
Edit only the masked glass panes. Recover the real exterior view using the supplied darker reference exposure. Preserve the exact window dimensions, frame profile, mullions, handles, curtains, room geometry, furniture, wall colors, materials, camera position, focal length, and crop. Match the exterior perspective to the interior camera. Keep the view slightly brighter than the room with natural daylight, restrained contrast, realistic atmospheric depth, and subtle original reflections. Do not add buildings, landscaping, mountains, water, skyline features, pools, or architectural details that are absent from the reference.When no reliable exterior reference exists, use a more restrictive repair prompt:
Edit only the masked overexposed glass. Reduce pure-white clipping and restore a soft neutral daylight gradient with faint natural glass reflection. Preserve all window frames, mullions, curtains, shadows, interior objects, geometry, materials, camera perspective, and crop. Do not generate a distinct exterior view or add any scenery.This is an editing task rather than open-ended ai image generation. The original photograph should control the composition, while the mask and reference constrain the change. You can test this prompt yourself on one window before processing the full listing set.
Match the Recovered View to the Room
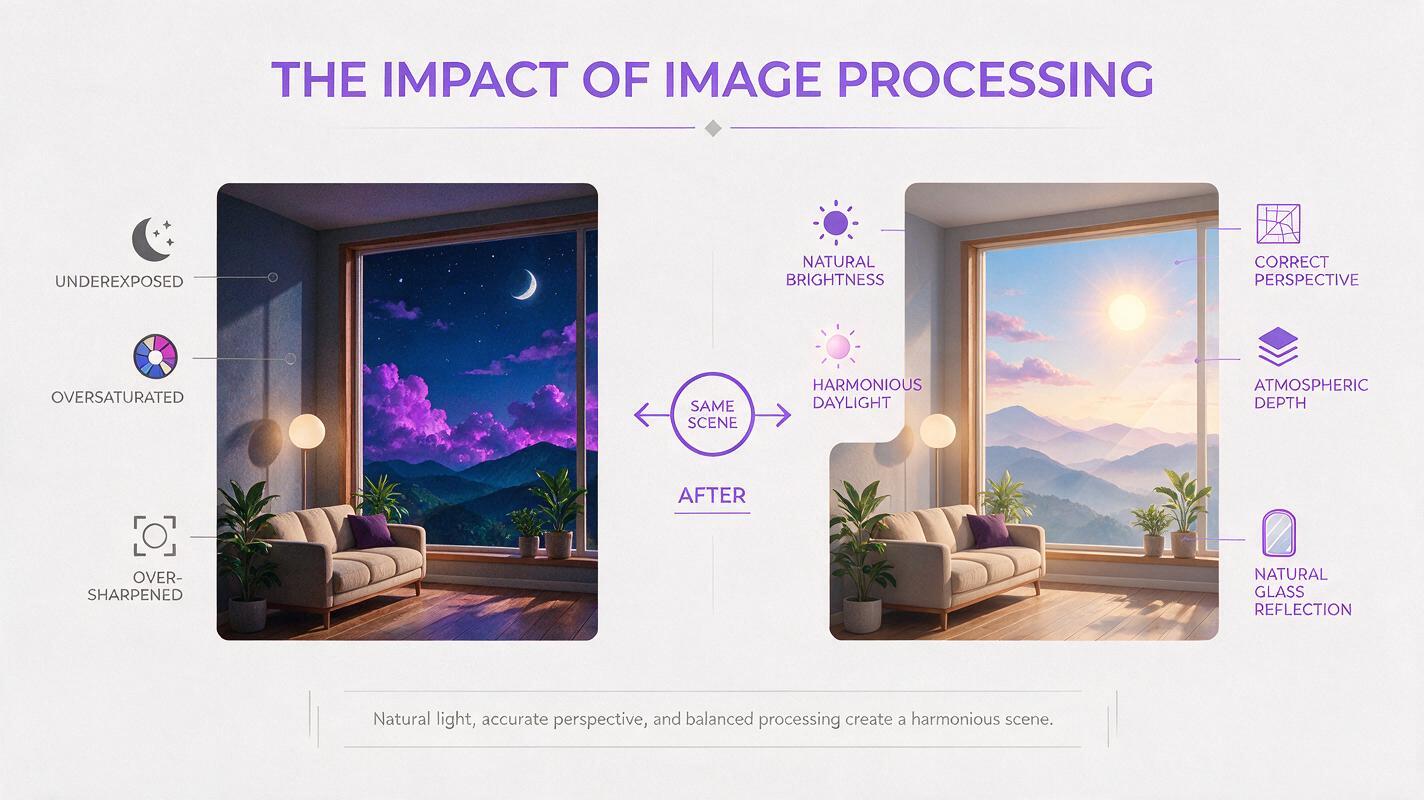
A technically detailed exterior can still look fake when it is too dark, saturated, sharp, or contrasty. In a daylight interior, the window will normally remain one of the brightest parts of the frame. Recovery should reveal information without making the outdoors look pasted onto the glass.
Compare the result against these visual cues:
- Exposure: Keep the view brighter than midtone walls and furniture.
- White balance: Match the daylight direction already affecting the room.
- Perspective: Exterior verticals and the horizon must agree with the camera height.
- Depth: Distant objects should not be as crisp as the window frame.
- Reflection: Retain a subtle amount of reflected interior light when physically plausible.
- Season and weather: Keep foliage, sky, and ground conditions consistent with the shoot.
Generate a few restrained variations rather than repeatedly intensifying one result. Select the version that attracts the least attention to the edit. In property photography, an effective correction should feel ordinary.
Fix Common Window Editing Failures
Bent Frames or Missing Mullions
The mask probably crossed onto the architecture, or the model received too much freedom. Tighten the selection inside the glass and explicitly preserve the number, thickness, position, and color of every divider.
An Exterior That Looks Like a Poster
Reduce saturation, contrast, and sharpness. Ask for restrained atmospheric depth and a view that remains slightly overexposed relative to the interior. Preserve faint reflection where appropriate.
Different Views Across Adjacent Panes
Edit the complete connected window area in one pass when possible. If separate generations are necessary, reuse the same reference and include neighboring corrected panes as visual context.
Invented Landscaping or Luxury Features
Return to the verified reference and strengthen the exclusion language. If the model continues adding unsupported features, abandon generative reconstruction and use a direct exposure blend.
The Glass No Longer Matches Its Reflection
Check reflective floors, counters, mirrors, appliances, and framed art. A recovered blue sky can conflict with a white reflection elsewhere in the room. Either correct the dependent reflection conservatively or choose a subtler window treatment.
Export a Consistent and Defensible Listing Set
Review the finished file at both normal viewing size and 100% magnification. At normal size, look for unnatural brightness or an exterior that dominates the room. Up close, inspect frame edges, curtain boundaries, repeated foliage, malformed rooflines, and texture seams.
Apply the same correction philosophy across photographs of the same room. A tree, building, fence, or horizon should not move radically between angles. Keep the untouched original, the source reference, and the edited export together so the adjustment can be reviewed later.
Marketing and listing rules vary by market, brokerage, and platform. Confirm local requirements concerning digitally altered images, use appropriate disclosure where required, and never use window recovery to imply a materially different outlook.
Final Checklist
- Use a current, verified view reference whenever possible.
- Keep the mask inside the glass and away from structural edges.
- Tell Seedream 4.5 exactly what must not change.
- Keep exterior exposure brighter and softer than the interior.
- Reject added scenery or unsupported property features.
- Check perspective, reflections, weather, and season.
- Compare related room angles for view consistency.
- Retain the original and follow applicable disclosure rules.
Keywords
blown-out windows, listing photo editing, Seedream 4.5, real estate photography, window view recovery, AI image editing, property marketing