Fix a Creased Portrait Backdrop With Seedream 4.5
A creased paper backdrop can pull attention away from an otherwise finished portrait. This guide shows photographers how to use Seedream 4.5 for a restrained background repair while protecting the subject, lighting, and natural floor shadows.
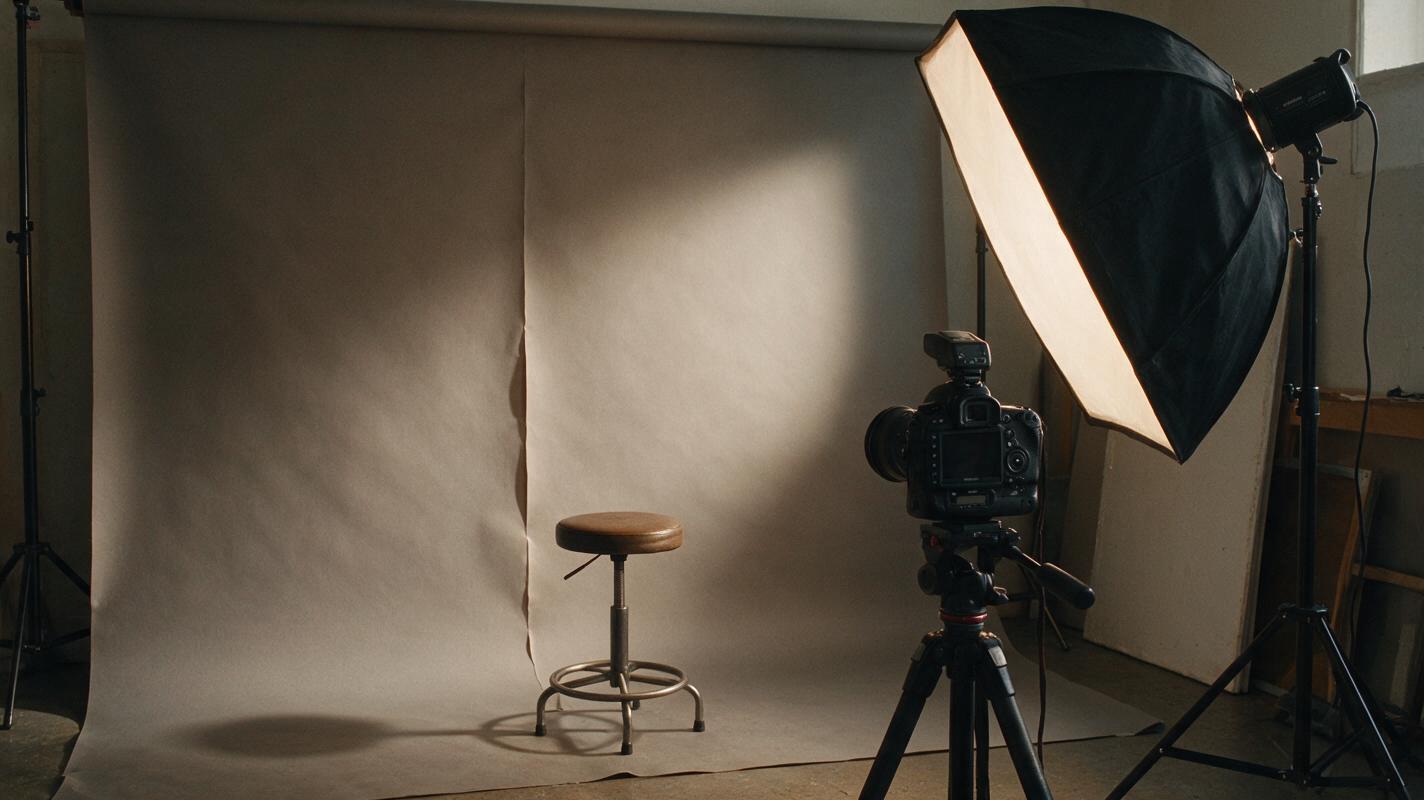
Table of contents
Keep the portrait; repair the paper
A crease running through a seamless-paper backdrop can make an otherwise strong headshot look unfinished. You do not need to regenerate the person to fix it. The safer approach is to replace only the damaged background area, then blend that repair into the original photograph.
Seedream 4.5 can help generate a clean backdrop patch from the existing frame. The important decisions happen around the generation: what you protect, how much background you replace, and whether the new surface still looks like it was lit on set.
Choose a frame that can survive backdrop cleanup
Start with your finished color grade, or a near-final edit. If you repair the backdrop before making large exposure and white-balance changes, the generated area may respond differently from the photographed paper later.
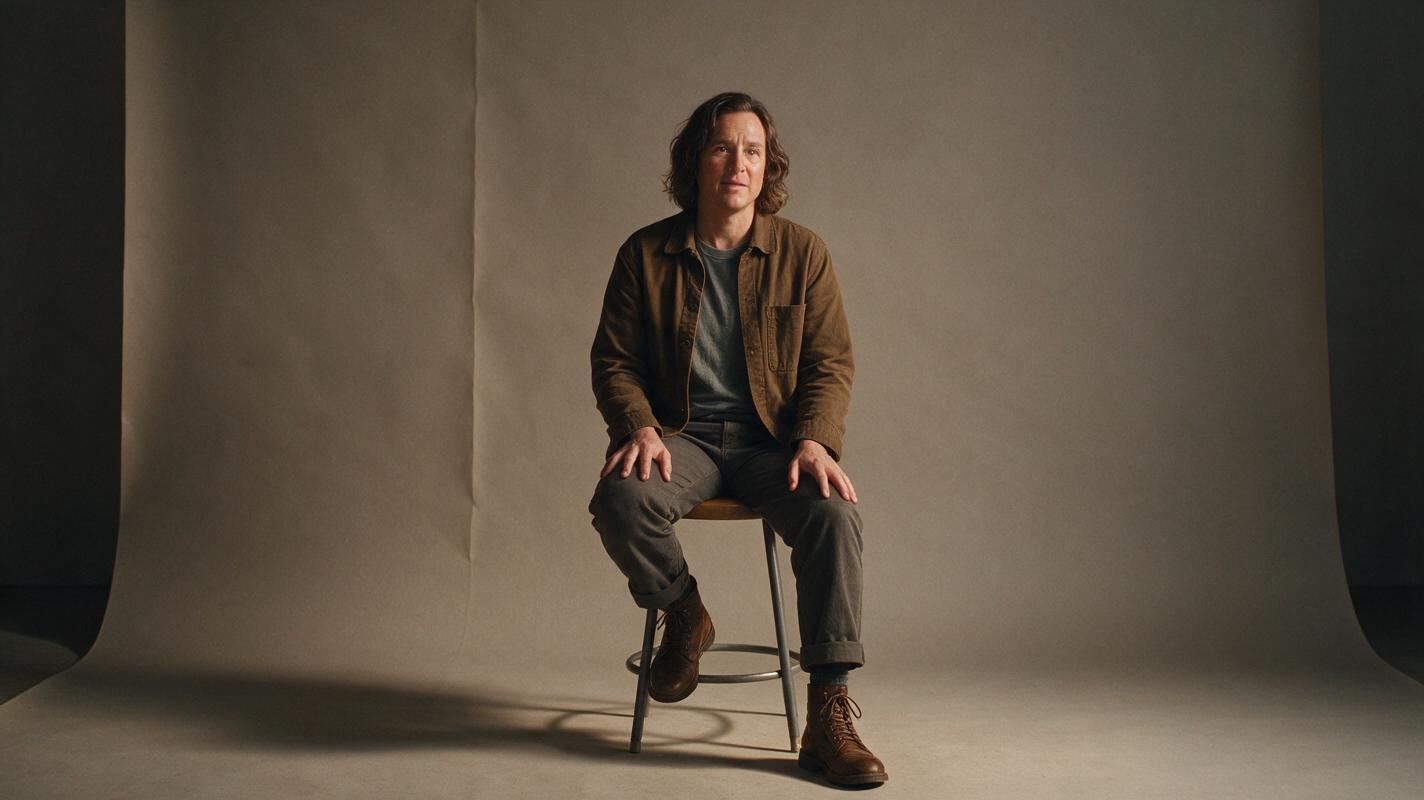
Identify exactly what is wrong. A narrow vertical crease, a few dents, or a scuffed area usually calls for a local repair. An entire roll that is heavily wrinkled may be faster to replace through conventional compositing. Keep a copy of the original frame so you can compare both versions and restore any detail the edit changes.
Pay particular attention to the transition from wall to floor. In a full-length portrait, the paper may curve through that transition and carry the subject’s real contact shadow. Those cues matter more than a perfectly uniform background.
Build a mask that excludes the subject
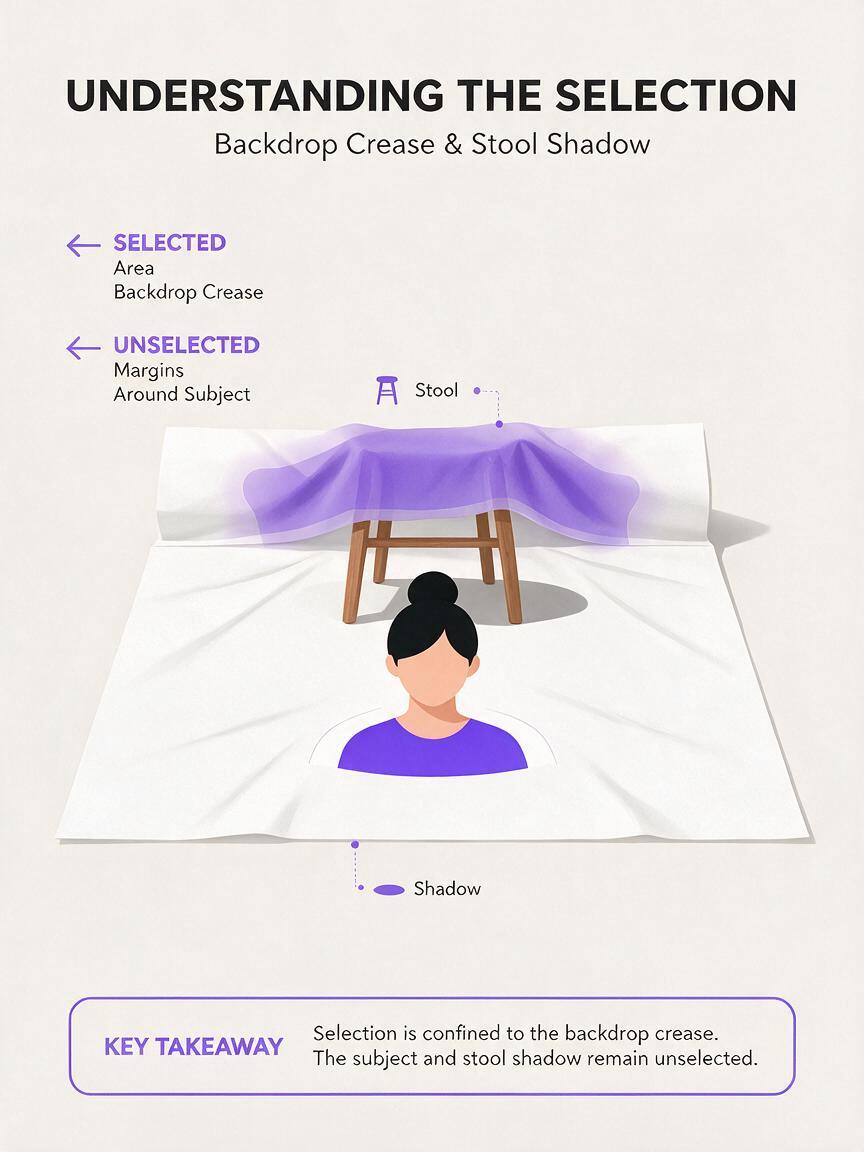
If your editing interface supports a selection or mask, select the creased paper with a little clean surrounding area. Exclude hair, clothing, skin, jewelry, the chair or prop, and any shadow that establishes contact with the floor. Give fine hair an extra safety margin rather than asking the model to reconstruct individual strands.
Where a crease passes immediately behind hair, repair the larger open area first. Address the narrow strip beside the hair separately with a smaller mask or a conventional retouching brush. Smaller repairs are easier to judge than one generation that must solve the backdrop and redraw a complex edge at the same time.
Protect the original pixels: If a tool returns a full-frame image despite a local selection, place that result beneath the original in your editor and reveal only the useful backdrop patch.
Describe the paper, not a new studio
The prompt should tell Seedream 4.5 to continue the photographed surface. Specify the paper color, the light falloff, and the limited region being repaired. Avoid vague requests such as “make the background professional,” which could invite an entirely different set or lighting scheme.
Repair only the selected creased seamless-paper backdrop. Continue the existing muted warm-gray paper color, fine surface texture, and gentle left-to-right lighting gradient. Remove visible folds and dents without making the background perfectly flat. Preserve the original subject, hair edges, clothing, props, camera perspective, and all natural floor and contact shadows. Do not add objects, graphics, or a new location.Use the original photograph as the reference. Here, ai image generation supplies replacement backdrop pixels; it should not supply a new face, pose, outfit, or portrait. If the first result looks airbrushed, ask for subtle paper texture and more of the original light falloff rather than adding elaborate visual descriptions.
For a white backdrop, change “muted warm-gray” to the actual tone visible in your file. White paper photographed in a studio is rarely identical RGB white across the frame, so sample nearby clean areas instead of guessing from the product name on the roll.
Match the replacement to the original set
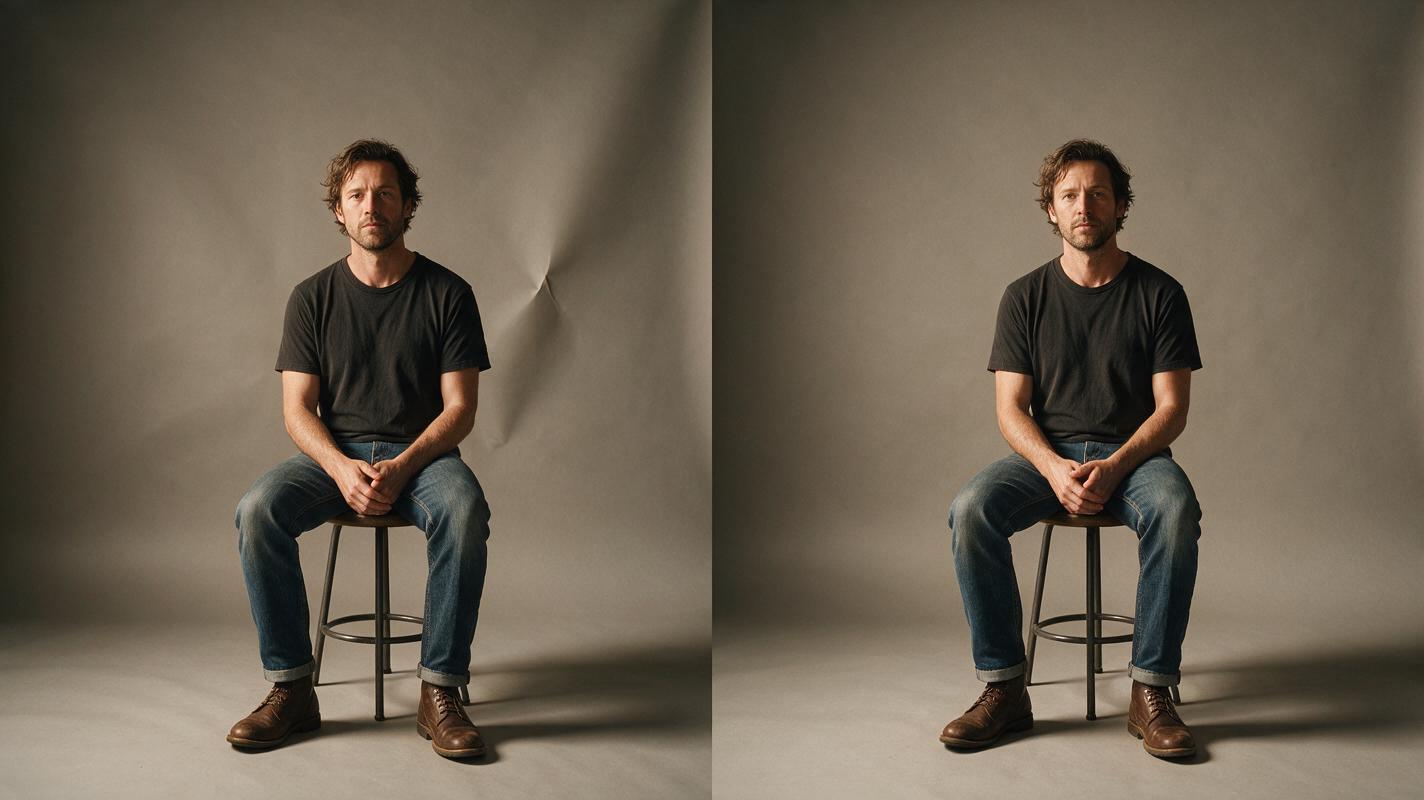
Review the result beside the unedited frame before committing. A successful repair removes the distraction without announcing where the edit begins. Check these three zones:
- Open paper: The replacement should have a believable tone and gradual light falloff, not an isolated smooth oval.
- Subject boundary: Hair, shoulders, fingers, and clothing edges should retain their original shape and color. Watch for pale halos against a darker backdrop.
- Floor and shadows: Feet, chair legs, and props must still appear grounded. Do not erase real contact shadows merely because they are darker than the paper.
Zoom to 100% to inspect edges, then zoom out to judge the portrait as a client would see it. At normal viewing size, a slight texture difference may be invisible; a changed silhouette or missing shadow will not be.
If the generated patch is close but not convincing, blend it as a separate layer. Adjust its brightness or color locally and feather the transition into clean photographed paper. Keep the original subject layer above it. You can also lower the patch opacity to recover some of the backdrop’s real tonal variation.
When a smaller repair is the better edit
Not every wrinkle needs generation. A thin fold across empty paper may be quicker to remove with healing or cloning. A crease crossing a subject’s hair can also be safer to repair manually at the boundary, even if Seedream 4.5 handles the open background well.
For editorial portraits, keep the distinction between cleanup and alteration clear. Removing a distracting crease is different from changing the location, replacing meaningful set details, or reshaping the person. For commissioned work, follow the client’s retouching brief and retain the original file.
If you have a portrait with a distracting fold, test this prompt yourself on a duplicate. Make one restrained local repair, inspect the edges, and expand the edited area only if the photograph still needs it.
Final checklist
- The crease is gone, but the backdrop still has natural texture and light falloff.
- The original face, hair, body, clothing, and props remain unchanged.
- Floor transitions and contact shadows still make physical sense.
- No halo or color shift reveals the edge of the replacement patch.
- The original photograph remains available for comparison and delivery decisions.