Fix Crooked Walls in Listing Photos With Nano Banana Pro
Learn how to correct converging verticals and wide-angle perspective distortion in real estate photos without making rooms appear larger than they are. This preservation-first Nano Banana Pro workflow includes practical prompts, inspection points, and safeguards for accurate listing images.
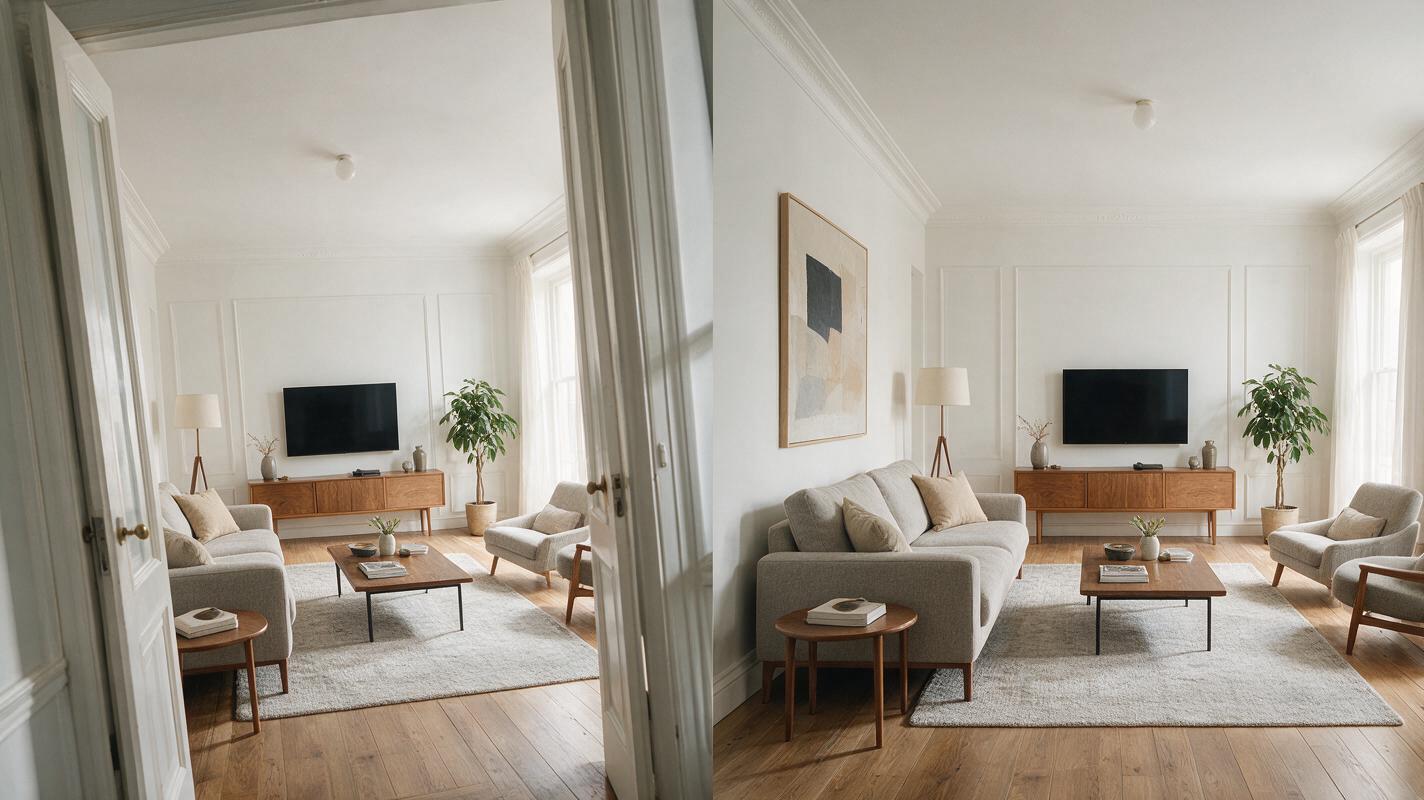
Table of contents
Straighten listing photos without changing the property
Crooked walls, leaning door frames, and stretched furniture can make an otherwise strong listing photo look amateurish. The challenge is correcting perspective without rebuilding the room, enlarging it, or changing fixed features. With a controlled editing prompt and careful comparison against the source, Nano Banana Pro can help straighten architectural lines while preserving the truthful proportions buyers need to see.
This workflow is intended for perspective correction, not virtual renovation. It works best when the original photograph contains recognizable vertical references such as door frames, window mullions, cabinet edges, or wall corners.
The accuracy rule: Correct the camera distortion, not the property. Walls may become vertical, but room dimensions, ceiling height, openings, fixtures, views, and furniture must remain consistent with the source image.
Identify perspective distortion before editing
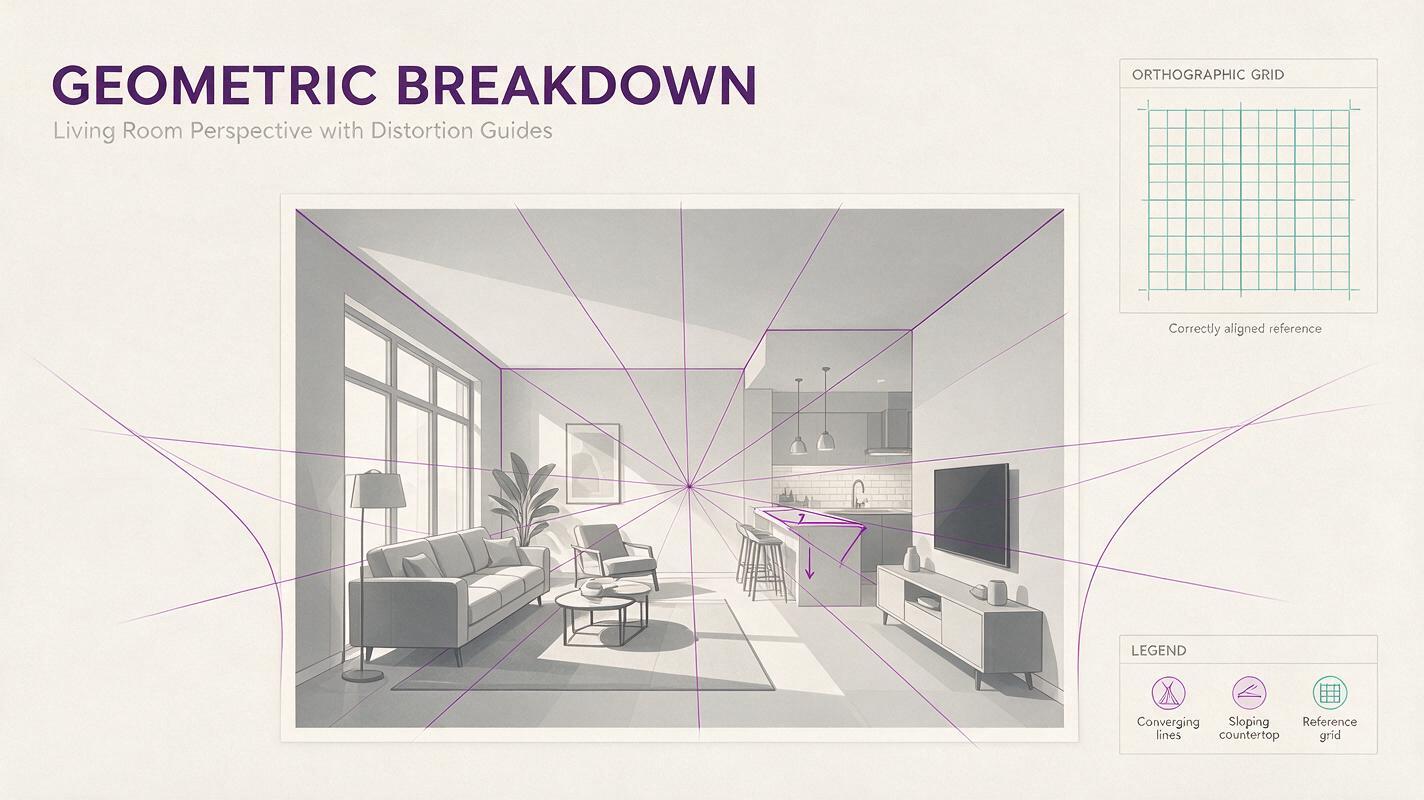
Most crooked-wall problems come from the way the camera was positioned rather than from the building itself. A camera tilted upward makes vertical lines converge toward the top. A downward tilt creates the opposite effect. An ultra-wide lens can also stretch objects near the edges and make a modest room look unnaturally expansive.
Look for several clues before deciding what to correct:
- Converging verticals: Door frames, cabinets, or wall corners lean toward the center of the photograph.
- Edge stretching: Chairs, lamps, islands, or windows near the frame edges appear unusually wide.
- Uneven horizontal lines: Countertops or ceiling joints slope even though the camera should have been level.
- Asymmetrical openings: A rectangular doorway appears wider at one end because the camera was angled sharply.
- Excess empty ceiling or floor: Straightening may require cropping after the image plane is corrected.
Do not assume every sloping line is an error. A vaulted ceiling, staircase, angled roofline, or non-rectangular room may be architecturally correct. Compare multiple structural references before requesting any change.
Choose an image with reliable architectural references
Perspective correction becomes safer when the model has enough visual evidence to distinguish camera distortion from actual design. Begin with the original high-resolution image rather than a compressed social-media copy.
The strongest source photos usually include:
- At least two visible vertical references in different parts of the room
- A clear junction between a wall and the floor or ceiling
- Minimal motion blur and sufficient detail around trim
- No aggressive edits that have already stretched the frame
- Enough space around the room for a small corrective crop
Avoid correcting screenshots, heavily sharpened JPEGs, or images that have passed through several editing apps. Repeated resizing can soften the exact edges needed to guide the correction.
Use a preservation-first correction prompt
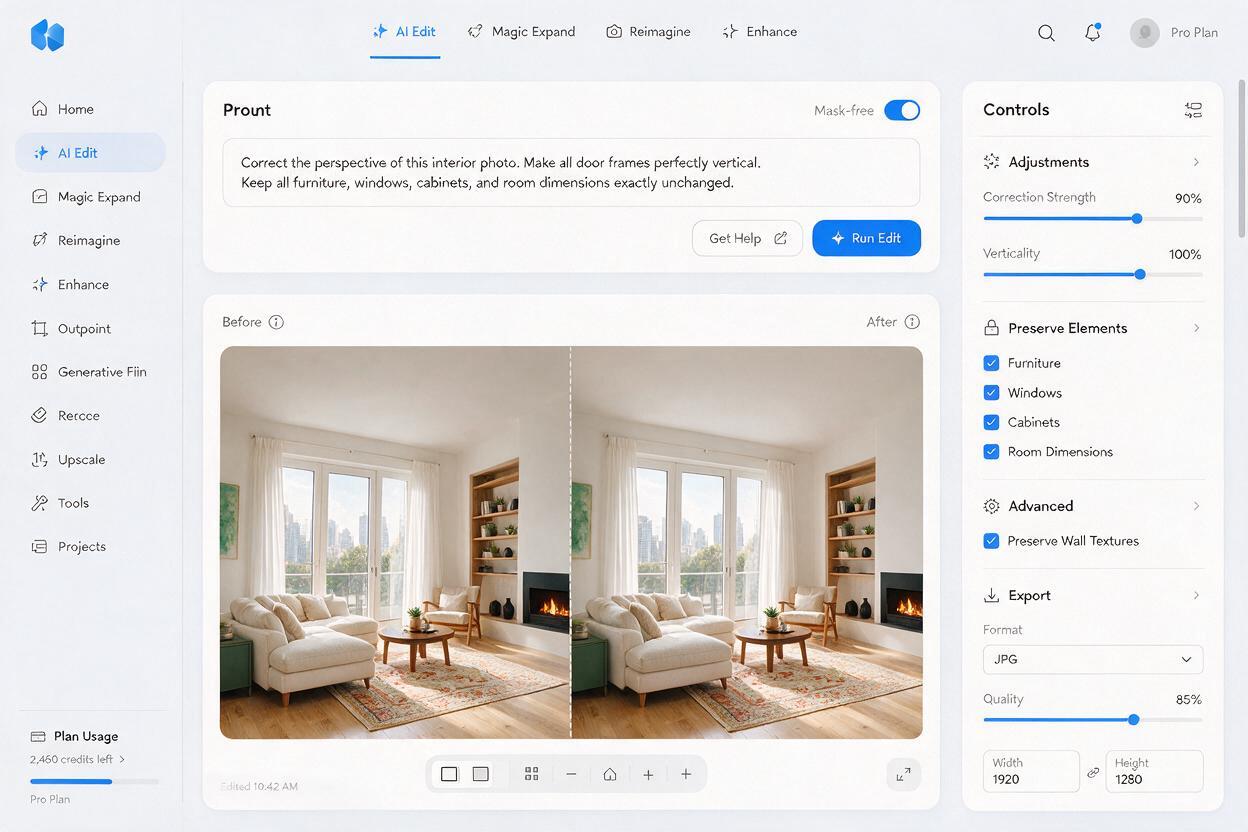
Upload the source listing photo to nano banana pro and describe both the permitted correction and everything that must remain unchanged. A useful prompt should name the visible defect, define the desired geometry, and explicitly prohibit redesign.
Correct only the camera perspective in this real estate interior photograph. Make genuinely vertical architectural lines appear vertical, including the door frames, wall corners, window mullions, and cabinet edges. Reduce wide-angle stretching near the left and right edges while preserving the room's true apparent dimensions. Keep the exact floor plan, wall positions, ceiling height, windows, doors, cabinetry, fixtures, furniture, materials, colors, lighting, exterior view, and object count unchanged. Do not add, remove, redesign, widen, narrow, extend, or renovate anything. Maintain a natural professional real estate photography look and crop minimally only where required by the perspective correction.For an exterior, replace the interior references with siding corners, columns, garage-door edges, window frames, and the roof-to-wall junction. Avoid asking for a “perfectly symmetrical facade” unless the building is actually symmetrical.
Use local language when only one area is wrong
If the center of the photograph already looks accurate but one edge is stretched, request a localized correction instead of transforming the entire frame.
Correct the wide-angle distortion only along the far-right edge of the image. Restore the natural proportions of the armchair and adjacent window frame. Preserve the center and left side exactly as photographed. Do not move walls, resize the window, alter the furniture design, or change the field of view more than necessary.Localized instructions reduce the chance that straight cabinets, flooring patterns, or ceiling details will be regenerated unnecessarily.
Match the prompt to the visible defect
| Visible problem | Prompt direction | Main risk to inspect |
|---|---|---|
| Walls lean inward at the top | Correct upward camera tilt and straighten genuine verticals | Ceiling height may appear exaggerated |
| Walls lean outward at the top | Correct downward camera tilt while preserving floor area | Floor may become unnaturally compressed |
| Objects stretch at both edges | Reduce peripheral wide-angle distortion | The room may become too narrow after correction |
| Only one frame edge is distorted | Apply localized edge correction | Furniture or trim may be redesigned |
| Exterior facade appears tilted | Level the camera plane and align true building verticals | Roof pitch or lot grade may be changed |
Generate one restrained version first. If the result still leans slightly, revise the prompt with the specific remaining line rather than asking for a stronger global correction. Large transformations are more likely to alter room proportions.
Compare geometry, objects, and crop boundaries
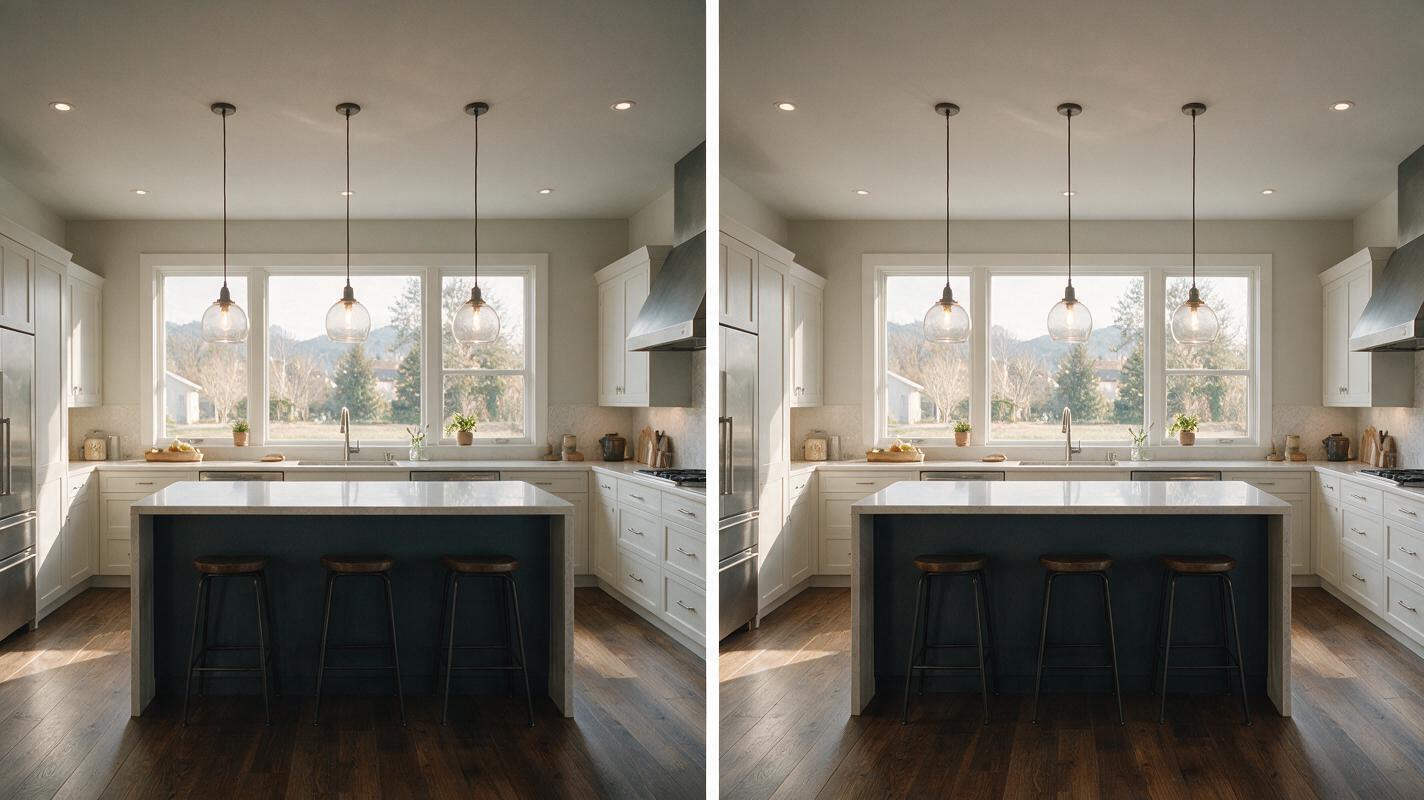
A corrected image can look polished while still containing factual errors. Review the result beside the original at full size, switching rapidly between the two files to expose movement or substitution.
Check these areas in order:
- Fixed architecture: Count windows, doors, cabinet sections, ceiling lights, outlets, vents, and stair rails.
- Room proportions: Confirm that walls have not moved and that the floor area does not appear materially larger.
- Opening dimensions: Inspect doorways and windows for changes in width, height, or shape.
- Repeating patterns: Follow flooring joints, tile lines, railings, and cabinet seams for bends or duplicated segments.
- Edge objects: Verify that chairs, lamps, plants, and appliances retain their original shape.
- Exterior view: Make sure scenery visible through windows has not been replaced or repositioned.
- Crop: Confirm that important selling features have not been cut off during correction.
If a corrected wall requires the model to invent a hidden corner, enlarge a doorway, or reinterpret the layout, reject that version. A mild lean is preferable to a materially inaccurate room.
Troubleshoot common correction failures
The room looks larger after correction
The model may have treated “professional real estate photography” as a request for a wider field of view. Remove that phrase and add: Do not widen the room, increase visible floor area, move the camera backward, or extend the frame.
Furniture changes shape
Request a localized architectural correction and identify the furniture that must remain pixel-consistent in design, position, scale, and count. If possible, use a crop that excludes the unaffected furniture during the edit, then compare the recomposed result carefully.
Cabinet or tile lines become wavy
Reduce the correction strength. Ask for subtle optical perspective correction and preservation of all repeating straight lines. Stronger is not necessarily better when the image contains grids or detailed millwork.
The image loses too much at the edges
Perspective correction naturally creates blank or irregular boundaries that require cropping. Start with an uncropped original whenever possible. Do not use generative expansion merely to recover missing property features unless the added area can be verified against another photograph.
The verticals are straight but the photo feels unnatural
Perfectly parallel lines can look artificial in a strongly angled composition. Ask for a realistic architectural correction with mild natural perspective rather than absolute geometric symmetry. The goal is a credible photograph, not a technical elevation drawing.
Export versions for listing and social channels
Keep the corrected master at its highest available resolution. Export separate copies for the MLS, property website, portal gallery, email campaign, and social media instead of repeatedly resizing one compressed file.
Use a simple naming pattern that preserves traceability:
property-room-original.jpg
property-room-perspective-corrected-master.jpg
property-room-mls.jpg
property-room-social-4x5.jpg
Retain the original and corrected master together. If local advertising rules or brokerage policy require disclosure of material digital edits, follow those requirements. Perspective correction should never conceal structural conditions or create a misleading impression of room size.
Final checklist
- The correction addresses camera distortion rather than redesigning the property.
- True vertical references are straighter without forcing false symmetry.
- Walls, openings, fixtures, furniture, and exterior views match the original.
- The room does not appear wider, taller, or more spacious than photographed.
- Edge objects and repeating patterns remain intact.
- The crop preserves important listing features.
- The original file and corrected master are archived together.
- The final image complies with applicable MLS, brokerage, and advertising rules.
When the source photo has clear structural references, a narrow preservation prompt usually produces a safer result than a broad request to “fix everything.” test this prompt yourself on one image, compare every fixed feature, and approve the correction only when the property remains truthful.
Keywords
crooked walls in listing photos, real estate photo editing, nano banana pro, perspective correction, listing images, vertical line correction, wide angle distortion