How to Fix Face Drift in AI Video with Face Swap
Repair face drift by generating the scene first, identifying only the unstable frames, and applying face swap with a clean identity reference. This selective workflow preserves the original motion, lighting, and camera work while correcting facial identity without regenerating the entire AI video.
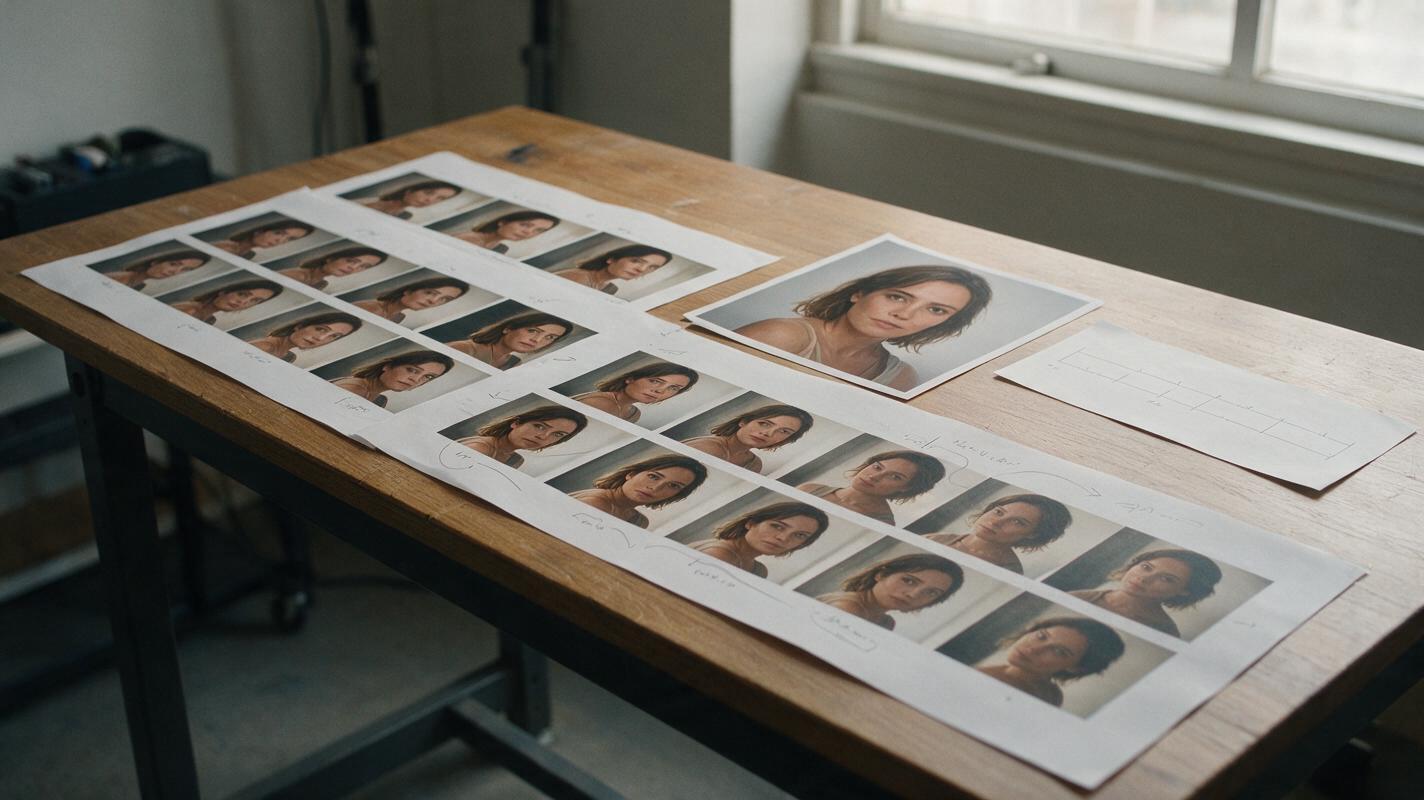
Table of contents
TL;DR: Repair the face instead of regenerating the whole shot
If an AI-generated character looks correct at the beginning of a clip but becomes a different person during a turn, close-up, or expression, use face swap as a targeted repair pass. Generate and select the best motion first, trim the unstable section, then replace only the drifting face with a clean, front-facing identity reference.
The fastest workflow is: keep the clip with the best body movement and camera motion, prepare one neutral reference portrait, apply the identity correction, and inspect the result frame by frame. This avoids sacrificing a strong performance because of a short facial inconsistency.
Why AI-generated faces drift inside otherwise good clips
Video generation models must maintain identity while simultaneously predicting movement, perspective, lighting, expression, hair, and background details. A face may remain stable in a static medium shot but change when the subject rotates, passes through shadow, covers part of the face, or moves quickly toward the camera.
Typical symptoms include:
- The eye shape or distance between the eyes changes halfway through the shot.
- The jaw becomes wider or narrower as the character turns.
- The nose, age, skin texture, or facial proportions shift between frames.
- A smile introduces a different mouth shape or an unnatural row of teeth.
- Hair crosses the forehead and causes the model to reinterpret the entire face.
- The first and last frames resemble two related but visibly different people.
Longer clips and aggressive camera moves usually create more opportunities for these errors. Adding more facial adjectives to the original prompt may help, but it cannot guarantee temporal consistency. Regenerating can also fix the face while ruining the body motion, composition, or timing that already worked.
Practical rule: if the pose, movement, framing, and lighting are good, treat identity drift as a post-generation repair problem rather than restarting the scene.
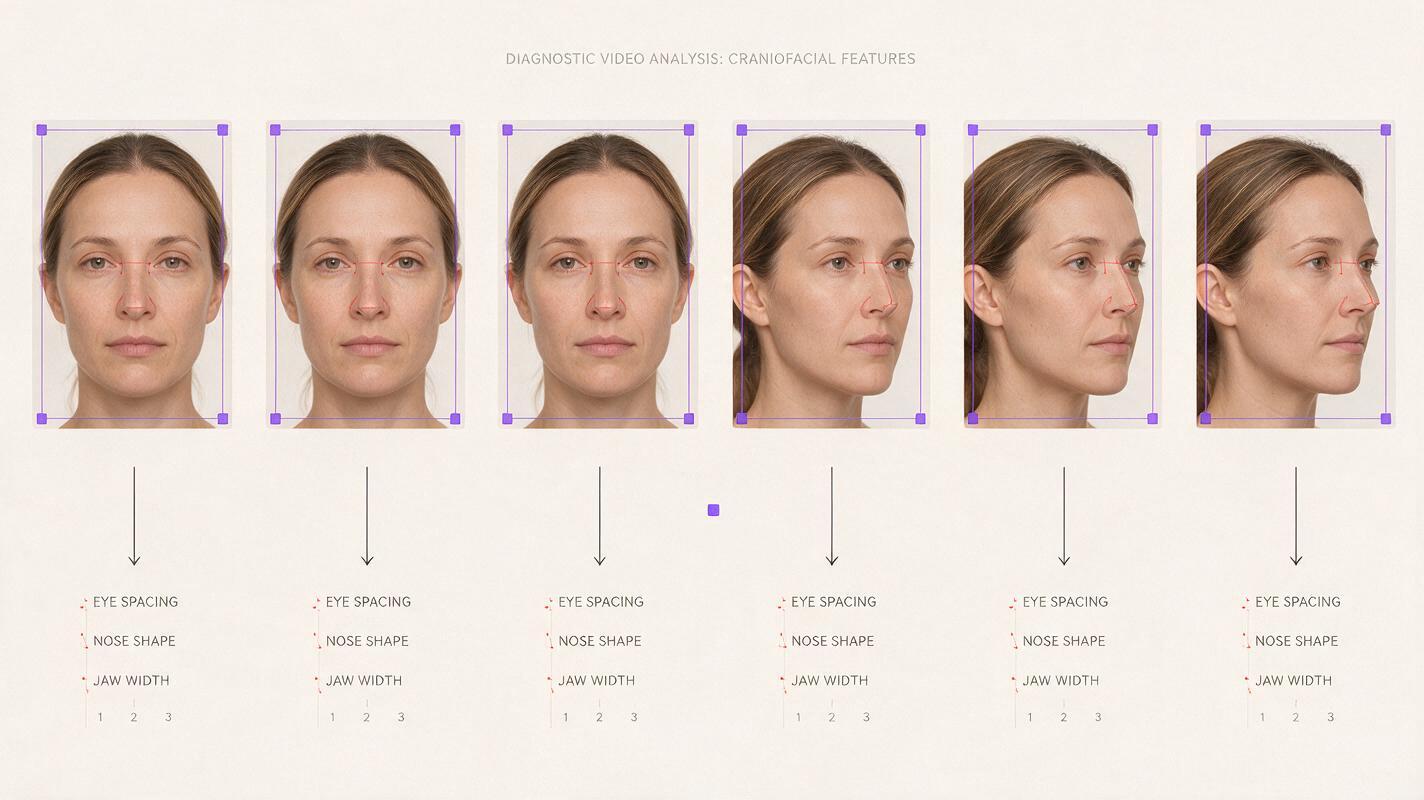
3 ways to correct an inconsistent face
- Regenerate with a stronger image reference. Use this when the entire clip has the wrong identity or the scene is still early in production.
- Apply face swap to the finished clip. Use this when the motion is successful but the face drifts in several frames.
- Repair only the damaged segment. Trim around the identity failure, correct that short section, and place it back into the edit. This is usually the safest method for a mostly successful shot.
This tutorial focuses on the second and third methods because they preserve more of the original generation.
How MagicBoat handles face repair across an AI video workflow
MagicBoat combines generation and editing capabilities in one account, so you can test an ai video workflow without building a separate tool chain. A practical repair pipeline can begin with text-to-video or image-to-video generation using models such as Seedance or Kling, followed by a face replacement pass when the selected clip needs identity correction.
| Task | Best input | Purpose |
|---|---|---|
| Create the scene | Text prompt or reference image | Establish motion, composition, and camera behavior |
| Control the starting identity | Character reference image | Reduce drift before video generation |
| Repair identity | Finished clip plus clean portrait | Correct the face while retaining the existing motion |
| Reuse physical movement | Source performance clip | Transfer controlled motion when prompt-led movement is unreliable |
The important separation is between performance generation and identity repair. Choose the generation with the best action first. Do not discard it merely because a few facial frames are weak.
Step 1 — Choose the clip for motion, not facial perfection
Review all generated candidates and select the one with the strongest overall performance. Prioritize correct body anatomy, natural timing, useful camera movement, and a readable silhouette. Facial drift is repairable; severe body deformation or incorrect action is much harder to hide.
For example, a useful base prompt for a restrained cinematic reaction is:
A woman in a charcoal raincoat stands beneath a covered train platform at dawn. She hears someone behind her, pauses, then slowly turns her head over her right shoulder. Medium close-up, restrained expression, realistic skin texture, soft overcast daylight, locked camera, continuous natural motion, no cut.For Seedance or Kling, keep the action sequential and modest. A slow head turn is easier to maintain than a prompt combining walking, spinning, speaking, smiling, and a rapid camera orbit.
Expected result: one clip with clean motion and composition, even if the face changes slightly during the turn.
Step 2 — Build a clean identity reference
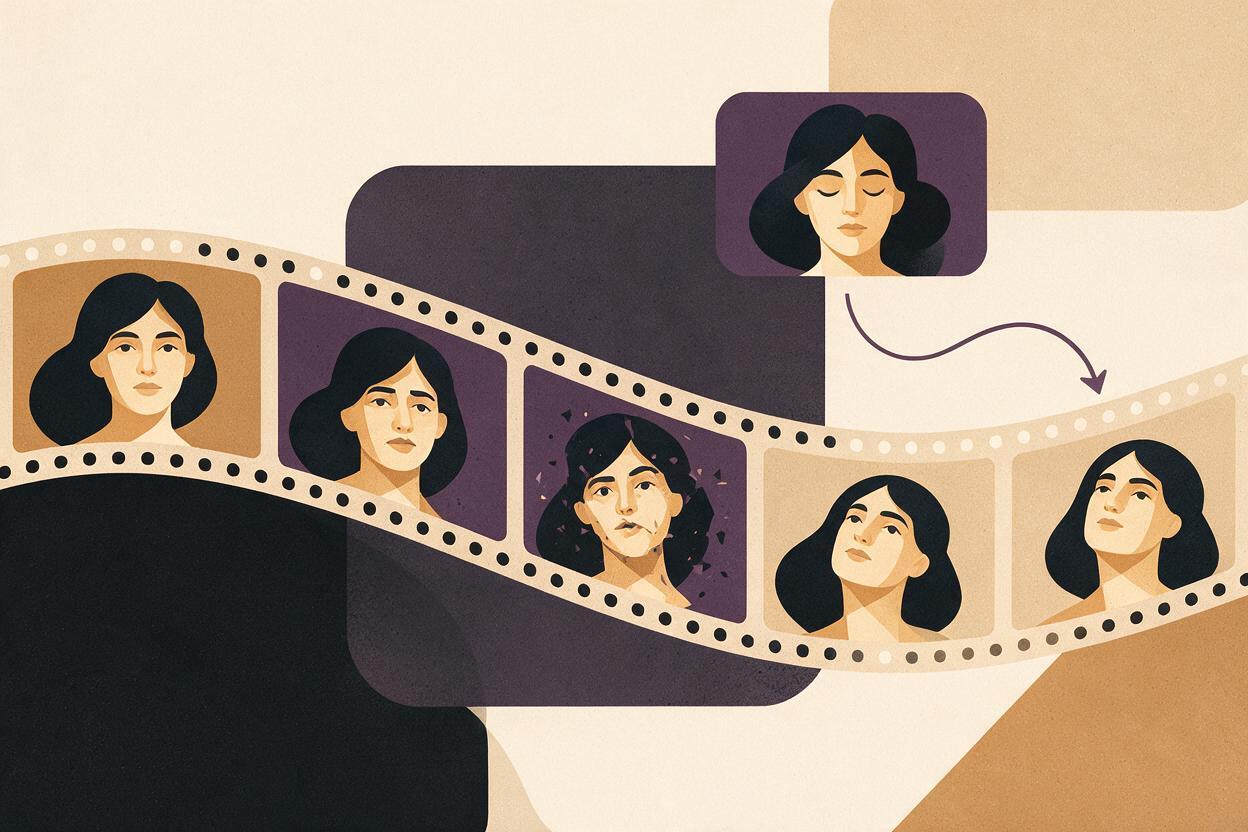
Prepare a portrait that clearly defines the intended character. The best repair source is usually a sharp, evenly lit image showing the complete face with a neutral or mildly relaxed expression.
- Use a front-facing or slight three-quarter angle.
- Keep both eyes visible and in focus.
- Avoid sunglasses, hands, heavy hair, or deep shadows over the face.
- Use an adult subject whose image you own or have permission to use.
- Match the apparent age and general facial presentation required by the scene.
- Avoid extreme smiles unless the target clip contains the same expression.
If you need to generate a fictional identity first, use a portrait prompt such as:
Photorealistic casting portrait of a fictional adult woman, early thirties, oval face, dark brown eyes, straight black shoulder-length hair tucked behind both ears, neutral expression, looking directly into the camera, soft window light, plain warm-gray background, natural skin texture, 85mm portrait photography, no jewelry, no hand near face.Create several candidates, then choose one image as the permanent identity master. Do not switch portraits between shots simply because another angle looks attractive; small differences between reference images can reintroduce inconsistency.
Expected result: one unambiguous portrait that can be reused for every correction involving this character.
Step 3 — Mark exactly where the identity fails
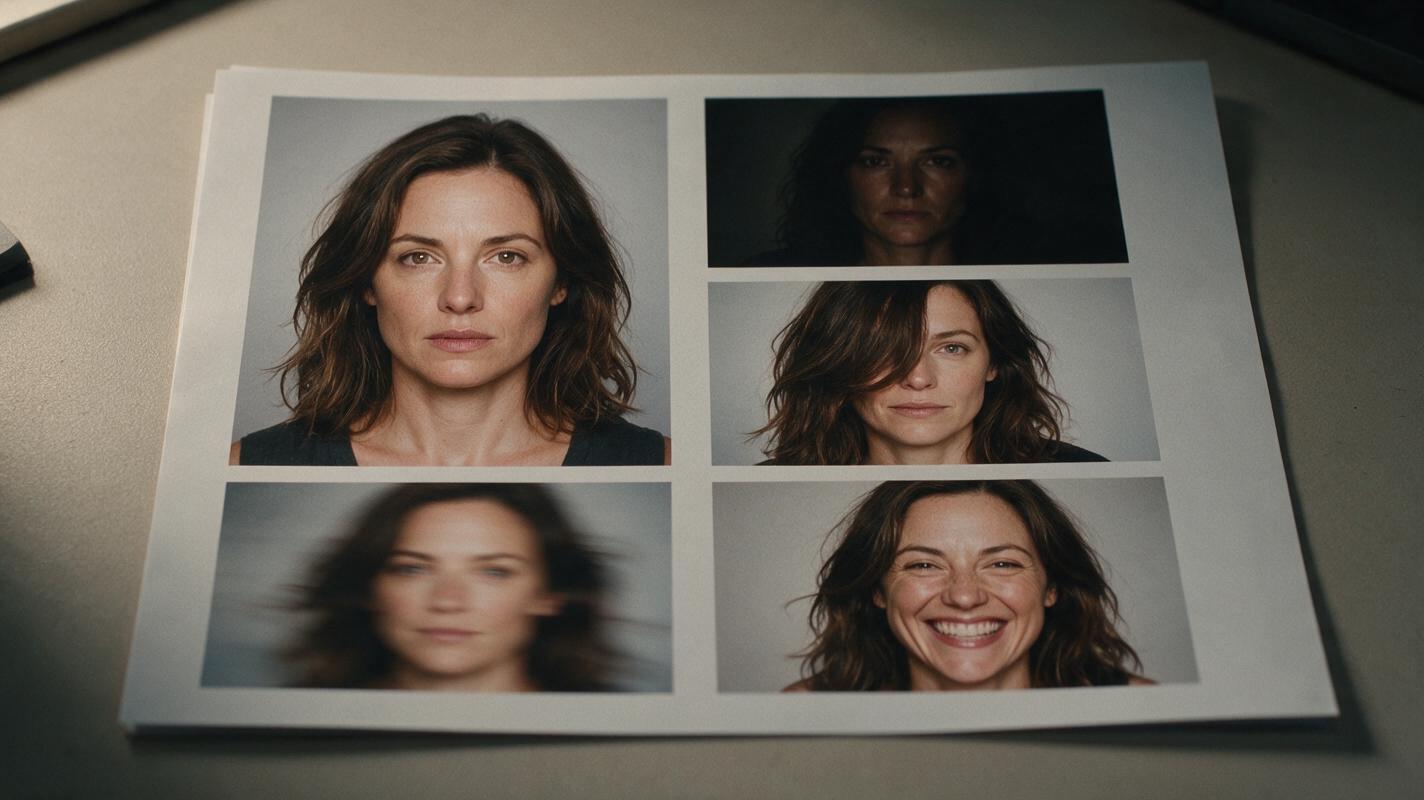
Watch the chosen video at normal speed, then inspect it one frame at a time around every head turn, blink, occlusion, and lighting transition. Record the first frame where the face becomes incorrect and the first later frame where it becomes stable again.
Classify the failure before applying a repair:
| Failure | What to inspect | Recommended action |
|---|---|---|
| Brief drift | A few unstable frames during movement | Repair or replace the short segment |
| Continuous wrong identity | The face is incorrect throughout | Apply correction to the full clip |
| Geometry failure | Missing features, doubled eyes, collapsed profile | Regenerate; replacement may not reconstruct the head |
| Occlusion failure | Hair, hand, glasses, or an object crosses the face | Test a short section before processing more footage |
Leave a small amount of stable footage before and after the bad frames when trimming. Those handles make it easier to hide the repaired section with a cut or short transition.
Expected result: a precise repair range rather than an unnecessary correction across the entire video.
Step 4 — Prepare the target clip before face replacement
Use the cleanest available export of the generated clip. Avoid repeatedly compressing, resizing, sharpening, or adding film grain before the face repair pass. Compression artifacts around the eyes and mouth make feature tracking more difficult and can produce flickering edges.
Before processing, confirm that:
- The target face is visible at a useful size.
- The clip has no baked-in subtitles crossing the face.
- The frame rate remains unchanged from the selected generation.
- No transition overlaps the section being repaired.
- Color grading and artificial grain are postponed until after correction.
If the shot contains multiple people, trim or frame the clip so the intended target is visually obvious where possible. Always inspect other visible faces afterward to ensure only the intended character changed.
Expected result: a clean source segment with enough facial information for stable replacement.
Step 5 — Match the reference to the target performance
A face replacement inherits the target clip’s pose and expression, but the source portrait still affects the result. Compare the reference with the most difficult moment in the shot. If the character turns to a near-profile view, a single straight-on portrait may not provide enough information about the nose, cheek, and jaw silhouette.
When a shot contains several strong angles, create a small approved reference set:
- One front-facing neutral portrait.
- One left three-quarter portrait.
- One right three-quarter portrait.
All three images should depict the same fictional identity with matching hairline, age, eye color, facial proportions, and lighting neutrality. Use the simplest portrait that covers the target angle; more references are not automatically better.
Consent checkpoint: only replace a face when you have the rights and permission required for both the source identity and the target footage. Do not use the workflow to impersonate a real person or mislead viewers.
Expected result: a reference whose visible facial geometry supports the target pose instead of fighting it.
Step 6 — Apply face swap only to the selected clip
Use the chosen portrait as the source identity and the trimmed video as the target performance. For the first test, process only the shortest section that contains the failure. This makes it easier to compare results and avoids altering frames that were already correct.
After processing, inspect four areas:
- Identity: Do the eyes, nose, mouth, and jaw consistently match the master portrait?
- Boundary: Is there a visible edge along the hairline, cheek, ear, or chin?
- Expression: Does the replacement preserve the original blink, smile, or speech motion?
- Lighting: Does the face remain attached to the scene as the subject enters shadow or turns toward a light?
Compare the repaired clip against the original at full speed and frame by frame. A result can look convincing in a paused frame but flicker during playback, especially around the eyes and mouth.
Expected result: the same movement, framing, and timing as the original clip, with a more stable character identity.
Step 7 — Blend the repaired segment back into the edit
Replace only the unstable section when the surrounding face was already correct. Cut at moments with natural movement, such as the start of a head turn, a blink, a foreground occlusion, or a change in camera direction. These moments conceal small texture differences better than a cut during a motionless close-up.
Do not add a long dissolve by default. Dissolving between two slightly different faces can expose both identities simultaneously. A direct cut on movement or a very short transition is often cleaner.
Complete color correction, sharpening, grain, and final resizing only after the repaired segment is back in the timeline. Applying one finishing pass to the complete shot helps the original and corrected frames feel like the same source.
Expected result: one continuous shot in which the repair is difficult to locate during normal playback.
Step 8 — Run a final identity and ethics check
Review the complete video on both a large display and a phone-sized screen. The large view reveals boundary and texture errors; the smaller view shows whether the identity reads consistently under realistic viewing conditions.
Check the beginning, middle, and end of every shot containing the character. Also confirm that the finished context does not falsely present a real person as performing an action or making a statement they never made. Where appropriate, label synthetic or altered media according to the publishing platform’s requirements.
Expected result: a technically stable and responsibly presented final clip.
Keep the same repaired identity across projects
Store a compact character reference pack instead of relying on whichever portrait is easiest to find. Include the identity master, approved three-quarter views, the exact text description used to generate the character, and a few successful repaired frames.
A reusable identity note might look like this:
Character: Mara
Adult fictional character, early thirties
Oval face, dark brown almond-shaped eyes
Straight black shoulder-length hair
Narrow nose bridge, defined but soft jawline
Natural skin texture, minimal makeup
Approved reference: neutral front portrait
Wardrobe and location may change; facial description does not
Keep identity traits separate from scene traits. Clothing, weather, lens choice, and mood can change from project to project, while the facial description and master reference remain fixed.
Alternative: prevent drift with an image-to-video starting frame
If the face is wrong throughout the generated clip, post-production replacement may not be the best first move. Start with the approved character portrait or a wider scene image containing that character, then animate it with a restrained action prompt.
Use wording that protects the composition:
Preserve the character's facial identity, hairstyle, wardrobe, and background composition. She slowly raises her gaze toward the camera and takes one quiet breath. Subtle natural blinking, minimal head movement, locked camera, continuous realistic motion.This approach gives the video model a defined first frame, but it can still drift during strong rotations or long movement. Face repair remains useful as a finishing pass.
Alternative: use motion transfer when the performance matters most
When repeated prompt-based generations produce poor gestures or timing, record a simple source performance and use motion transfer with a designed character image. This provides clearer physical intent than describing every beat in text.
Keep the source performer unobstructed, use stable lighting, and avoid motion blur. The character design should have body proportions compatible with the performer. After transferring the motion, apply selective facial correction only if the identity still varies.
Where the workflow falls short
Face replacement is a repair technique, not a universal reconstruction tool. It performs best when the underlying head, pose, and expression are already coherent.
- Extreme profiles: very little of the face may be available to track or replace.
- Fast motion: blur can cause facial detail to flicker or detach from the head.
- Heavy occlusion: hands, hair, masks, microphones, and foreground objects can confuse boundaries.
- Broken geometry: a replacement cannot reliably repair a missing cheek, doubled mouth, or malformed skull.
- Difficult speech: rapid mouth motion and visible teeth can produce unstable lip detail.
- Dramatic lighting: flashing lights or deep moving shadows may create inconsistent skin tone.
- Multiple nearby faces: crowded compositions require especially careful review of every person.
If the repaired result still fails after a short test, return to generation and simplify the movement. A slower turn, larger face in frame, softer lighting, or shorter duration can provide a much stronger target clip.
FAQ
Should I use face swap before or after generating the video?
After generation. First choose the clip with the best movement and framing, then correct its identity. A clean reference image can also be used before generation, but replacement itself is most useful as a repair pass.
Can face swap fix a completely deformed face?
Usually not. It can replace recognizable facial features, but it depends on usable head geometry and tracking. Regenerate clips with missing features, doubled eyes, or a collapsed profile.
Do I need a different reference image for every camera angle?
No. Begin with one strong front or three-quarter portrait. Add approved angle references only when the shot reaches a profile that the master image cannot support well.
Why does the repaired face flicker even when single frames look good?
The replacement may vary slightly from frame to frame because of blur, lighting changes, expressions, or occlusion. Judge the result during playback and shorten the repair range if stable original frames do not need modification.
Can I use a celebrity or another real person as the reference?
Only use identities and footage when you have the necessary rights and consent. Do not create deceptive impersonations or falsely attribute actions and statements to real people.
Is it better to repair the full clip or only the bad section?
Repair only the bad section when most of the original face is already correct. Process the full clip when the identity is consistently wrong from beginning to end.
Final checklist
- Select the generation with the best motion, anatomy, and framing.
- Use one clean, authorized identity portrait as the master reference.
- Mark the exact frames where identity drift begins and ends.
- Test the shortest damaged segment before processing more footage.
- Inspect eyes, mouth, hairline, jaw, lighting, and other visible faces.
- Regenerate instead of repairing clips with broken head geometry.
- Blend the corrected section before final grading, grain, and resizing.
- Confirm consent and label altered media where appropriate.
Ready to rescue a strong clip without regenerating the entire performance? Test the workflow with MagicBoat’s face swap tools and create your first repaired AI video free.
Keywords
face swap, AI video tutorial, face drift, character consistency, image to video, Seedance prompts, Kling prompts