Why AI Anime Camera Moves Look Flat—and How to Fix Them
AI camera motion can make polished anime artwork resemble sliding cardboard layers or distort the character as the frame moves. This guide explains how to prepare depth-separated artwork, select a suitable camera move, and prompt Runway for restrained 2.5D motion without sacrificing the original illustration.
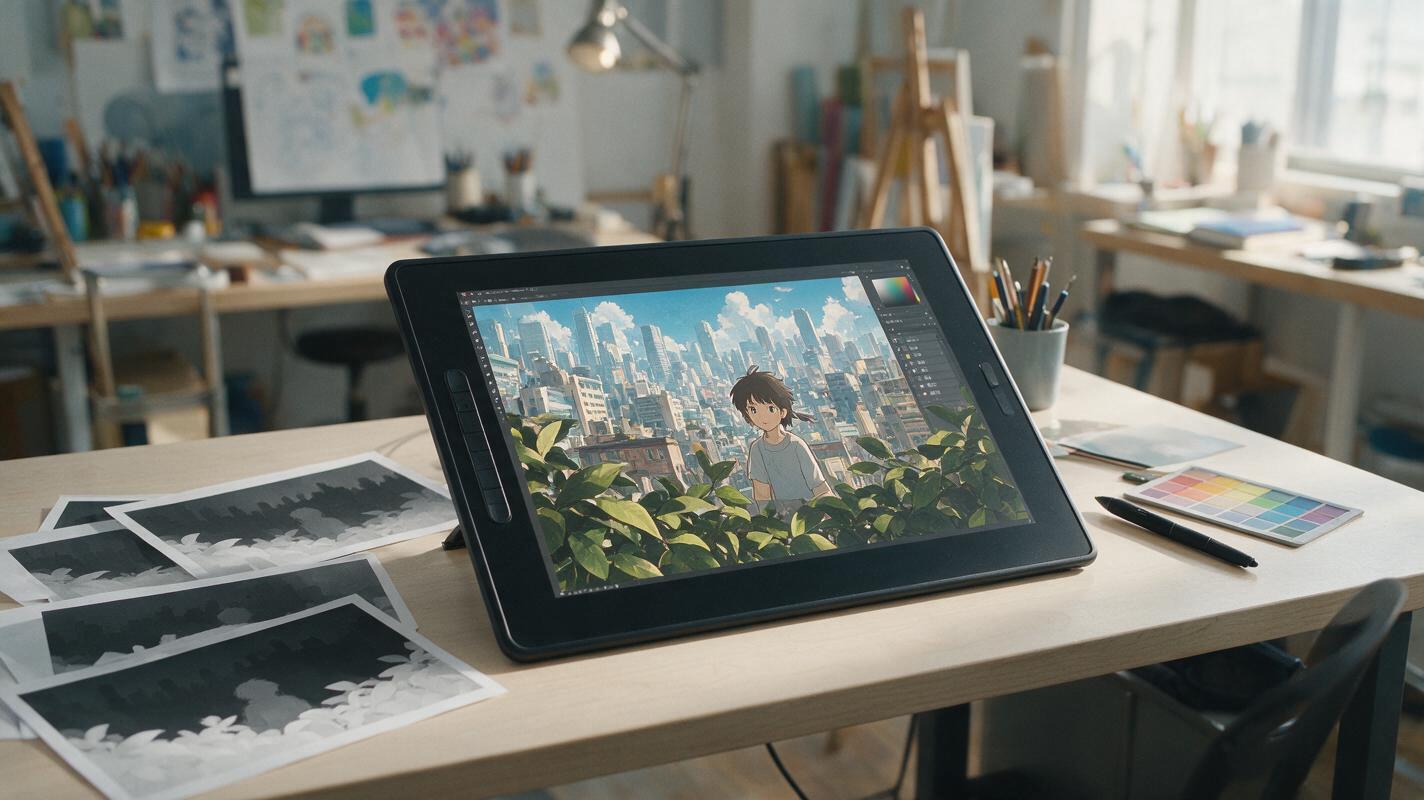
Table of contents
Turn a still anime illustration into a convincing camera shot
A good anime camera move should reveal depth without making the character bend, swell, or slide like a cardboard cutout. The most reliable approach is to prepare the illustration as a small 2.5D set before generating motion. Separate the depth planes, reconstruct anything hidden behind the character, and give Runway one restrained camera instruction instead of asking it to invent an entire scene.
This method works especially well for establishing shots, dramatic character introductions, quiet environmental scenes, and short cuts for anime openings. It is less suitable for shots that require a full body turn, complex choreography, or a major change in viewpoint.
Recognize the difference between parallax and deformation
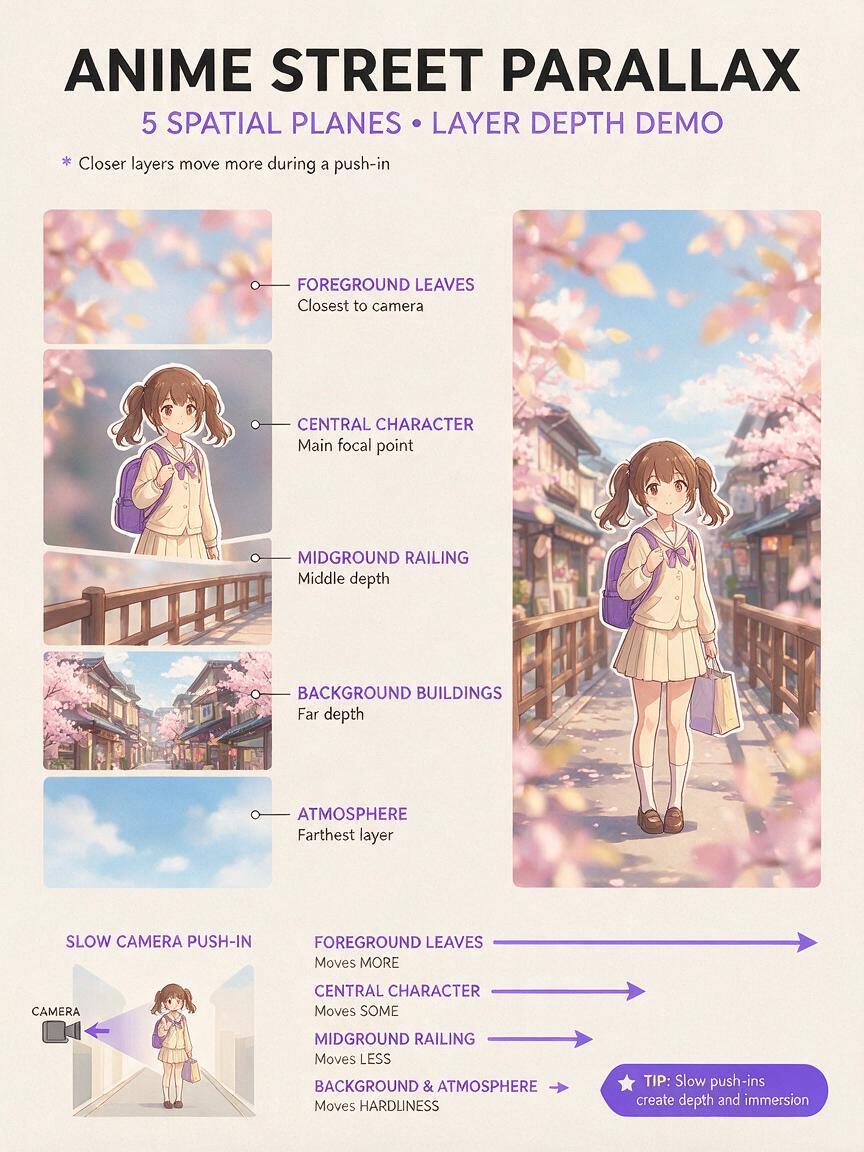
Parallax happens when objects at different distances move across the frame at different speeds. During a slow push-in, foreground leaves may cross the screen noticeably, the character may grow slightly, and the distant skyline may barely shift. Those differences create depth.
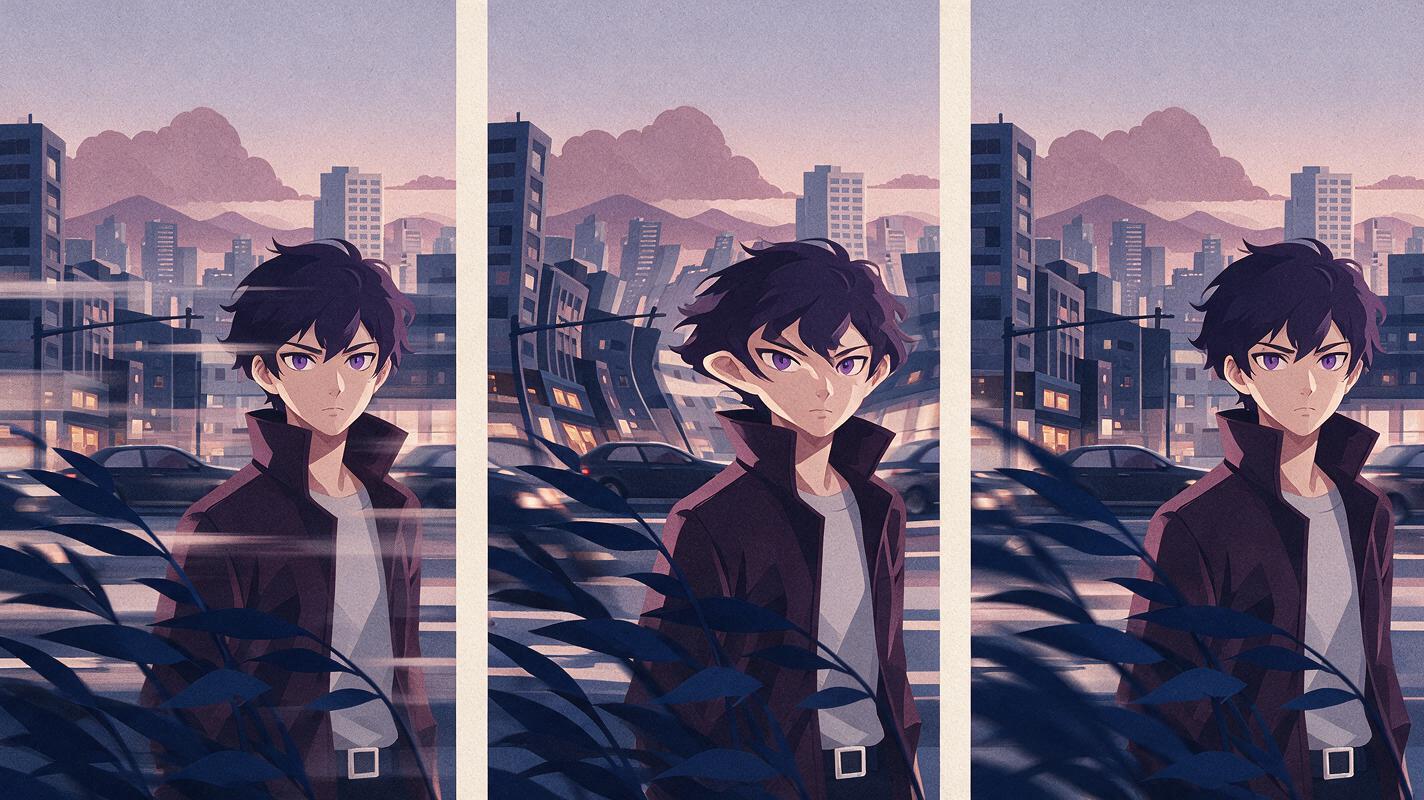
Deformation is different. It appears when the generator interprets camera movement as permission to redraw the subject. Common failures include:
- The face becoming wider as the camera approaches.
- Hair ornaments changing shape between frames.
- The torso rotating while the feet remain fixed.
- Background lines bending around the character.
- Foreground objects moving at the same speed as distant scenery.
- New details appearing at the edge of the frame without structural support.
If every object travels together, the result feels like a flat image being dragged across a screen. If the model redraws the subject too aggressively, the result stops feeling like camera motion at all.
Build a depth plan before generating motion
Start by reducing the composition to a few readable planes. Most anime illustrations only need four or five:
| Depth plane | Typical contents | Expected motion |
|---|---|---|
| Foreground | Leaves, railings, curtains, debris | Largest screen-space movement |
| Character | Body, clothing, held props | Stable silhouette with subtle scale change |
| Midground | Furniture, nearby buildings, trees | Moderate displacement |
| Background | Skyline, mountains, distant interior wall | Minimal displacement |
| Atmosphere | Fog, dust, rain, light rays | Independent, low-amplitude motion |
Draw a quick depth map using grayscale values: white for the nearest object, dark gray for the farthest area, and intermediate values for the character and midground. It does not need to be beautiful. Its purpose is to expose depth contradictions before you spend time generating clips.
Pay particular attention to overlapping shapes. A hand resting on a railing belongs with the character, but the visible railing sections belong to the foreground plane. Treating the whole railing as one object can pull the hand away from the arm during motion.
Separate the artwork without damaging its linework
For maximum control, duplicate the original file and isolate the major planes with masks. Preserve the untouched illustration as a visual reference. Avoid soft automatic selections around sharp anime hair unless you inspect and repair the edges manually.
Each extracted plane should include:
- A clean alpha edge around the visible subject.
- Extra image area beyond the current frame boundary.
- Reconstructed pixels behind any removed foreground object.
- Consistent line weight and color treatment.
The extra border matters because a lateral camera move exposes parts of the set that were outside the original composition. Without that padding, the generator may stretch the edge, invent a duplicate object, or fill the gap with a texture that does not match the artwork.
If the source is flattened, an ai image generator can help extend cropped scenery or rebuild a clean background plate. Use the original image as the design reference and request only the missing area rather than redesigning the complete frame.
Reconstruct what the original composition concealed
When the character is removed from a flattened image, the background behind them is usually empty. That hidden region must be reconstructed before attempting a truck, orbit, or pronounced push-in.
Use an editing pass to fill the hole while preserving perspective. For example:
Reconstruct only the missing background behind the removed character.
Continue the existing classroom wall, window frame, desk edges, and afternoon shadows.
Match the original anime linework, perspective, color palette, and cel-shaded lighting.
Do not add people, text, decorations, or new focal objects.
Inspect straight architectural lines after the repair. Window frames, shelves, pavement seams, and horizon lines reveal perspective errors immediately. A small mismatch that is invisible in one still can become obvious once the camera begins moving.
Choose a camera move the artwork can support
The source image determines how far the virtual camera can travel. A frontal portrait contains little information about either side of the face, so it can support a push-in more safely than an orbit. A wide environment with overlapping foreground objects can support lateral parallax.
| Camera move | Best source image | Main risk |
|---|---|---|
| Slow push-in | Portrait or centered character composition | Facial expansion and detail drift |
| Slow pull-back | Image with generous borders or extended scenery | Invented content around the frame |
| Lateral truck | Wide scene with clear foreground overlap | Exposed holes behind isolated objects |
| Vertical rise | Tall architecture, staircase, cliff, or city scene | Stretching near the top and bottom edges |
| Subtle handheld drift | Intimate dialogue or suspense frame | Unwanted facial and line jitter |
| Orbit | Reference set containing side information | Major anatomy and costume invention |
For a single illustration, begin with a slow push-in or short lateral truck. Save ambitious orbital motion for a character or environment supported by multiple reference views.
Prompt Runway for one controlled motion
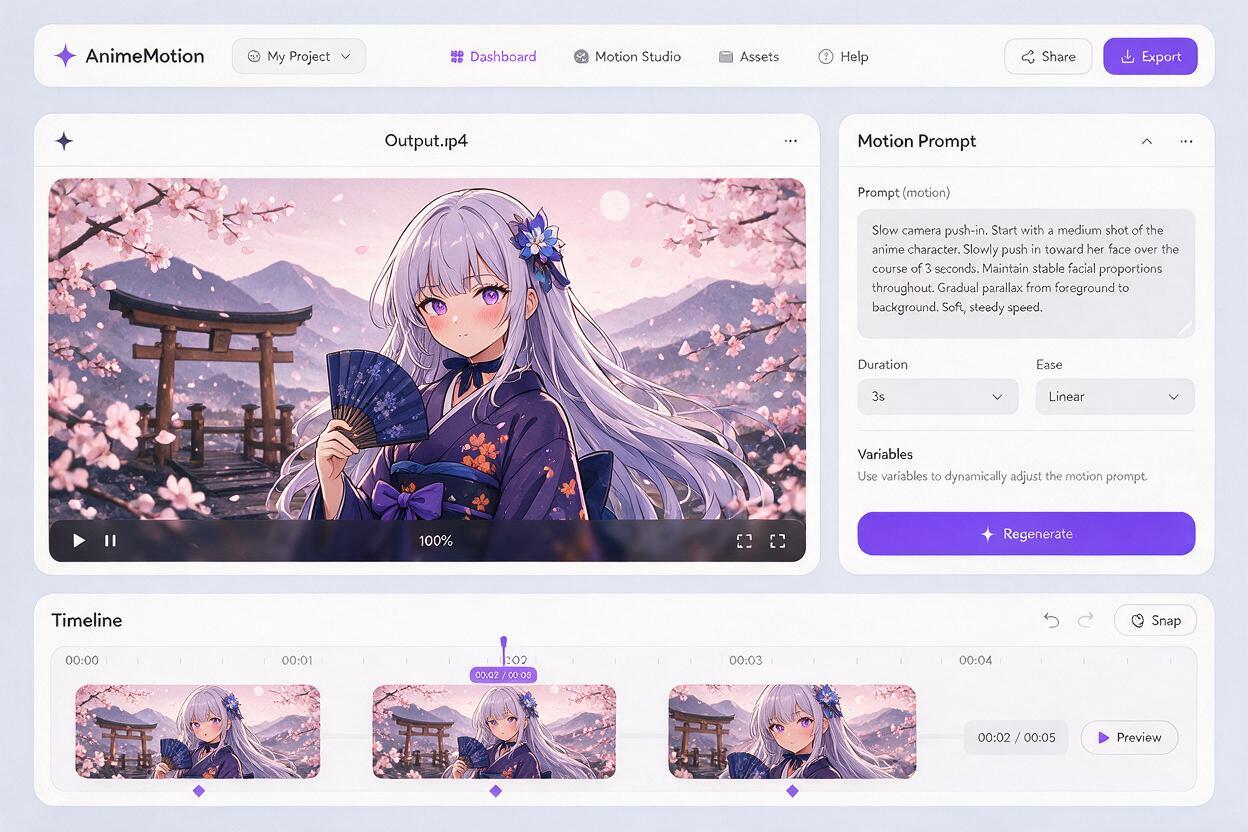
In an image to video pass, the image already defines the design, composition, and lighting. The prompt should describe motion rather than repeat every visible costume detail. Long descriptive prompts can encourage unnecessary reinterpretation.
A practical prompt structure is:
Slow cinematic camera push-in toward the character.
Strong but natural depth separation: foreground leaves drift past faster,
the character remains centered and structurally unchanged,
and the distant skyline moves only slightly.
Subtle hair-tip and clothing movement from a light breeze.
Preserve the face, hands, costume, line art, cel shading, and background geometry.
No body turn, no camera orbit, no new objects, no scene transition.
For a lateral move, replace the first line with a precise direction:
Slow camera truck from left to right across the scene.
Foreground railing crosses the frame faster than the character.
Background buildings show minimal parallax.
The character holds the original pose with stable anatomy and facial identity.
Runway is most useful here as a controlled motion pass, not as a substitute for depth preparation. Generate several short variations and choose the clip with the best structural stability. A modest move that preserves the drawing is usually more valuable than a dramatic move that redesigns it.
Use motion hierarchy to protect the focal character
The frame should not contain maximum movement everywhere. Assign motion according to narrative importance:
- Camera: one smooth directional move.
- Foreground: the clearest parallax displacement.
- Character: stable pose with one secondary action, such as hair-tip movement.
- Background: minimal translation and no structural morphing.
- Atmosphere: subtle independent movement that supports depth.
If the character is the focal point, do not simultaneously request a push-in, head turn, blinking, speaking, coat flutter, hand movement, and changing light. Those actions compete for the generator's attention. Add performance animation in separate passes when possible.
Generate short handles and build the final shot in the edit
Create a clip slightly longer than the intended cut so you can discard unstable opening or closing frames. The cleanest section may occur in the middle of a generation.
In the edit, you can strengthen a subtle result without regenerating it:
- Add a gentle digital scale increase to reinforce a push-in.
- Move an isolated foreground layer slightly faster than the generated background.
- Apply a small directional blur only to fast foreground elements.
- Use atmosphere to hide minor edge repairs.
- Cut before identity drift becomes visible.
Do not automatically stabilize every clip. Stabilization can remove the intended camera movement or create new edge distortions. Track a stable background feature first, inspect the result, and apply only the correction the shot needs.
Diagnose flat, rubbery, or unstable results
| Failure | Likely cause | Practical correction |
|---|---|---|
| The shot still looks flat | All planes move together | Increase foreground displacement and reduce background motion |
| The face expands during a push-in | Camera travel or subject motion is too strong | Shorten the move and explicitly preserve facial proportions |
| Hair and clothing melt | Too many secondary actions | Keep only one subtle wind response |
| Empty gaps appear | Hidden scenery was not reconstructed | Extend the background plate before generating again |
| Architecture bends | The prompt allows broad scene transformation | Lock background geometry and reduce camera amplitude |
| The character slides over the floor | Subject and ground plane lack a shared anchor | Keep the feet fixed and add a contact shadow in compositing |
| The edges fill with random details | The source lacks overscan | Outpaint the frame in the direction of travel |
Change one variable per test. If you alter the source image, camera direction, prompt length, and motion intensity simultaneously, you will not know which correction improved the shot.
Know when manual 2.5D compositing is the better choice
Generative motion is not mandatory for every camera shot. Manual layer animation is often better when the illustration contains typography, intricate mechanical designs, rigid architecture, or a character whose face cannot tolerate any redrawing.
A useful hybrid approach is to animate the major depth planes manually, then use Runway only for localized secondary motion such as clouds, hair tips, cloth edges, or drifting particles. This preserves geometric control while avoiding a completely static result.
The goal is not to prove that one model generated the whole shot. The goal is to make the final anime cut look intentional.
Once the depth planes and prompt are ready, you can turn your image into a video and compare several restrained camera variations before committing to a longer sequence.
Final checklist
- The composition has clearly identified foreground, character, midground, and background planes.
- Hidden background areas have been reconstructed.
- The canvas includes extra image area in the direction of camera travel.
- The selected move matches the visual information available in the source.
- The prompt requests one camera move and no unnecessary character performance.
- The focal character retains the original face, anatomy, costume, and silhouette.
- Foreground elements move more than distant scenery.
- The final edit cuts away before visible drift begins.
Keywords
anime image to video, anime camera movement, 2.5D anime animation, Runway anime animation, illustration to animation, anime parallax effect, 2D animation AI