Fix Floating Product Photos With Seedream 4.5 Shadow Prompts
A product can look as though it is hovering after a background replacement, even when its edges are clean. This guide shows commercial photographers how to use Seedream 4.5 to develop a believable contact shadow while keeping the photographed product untouched.
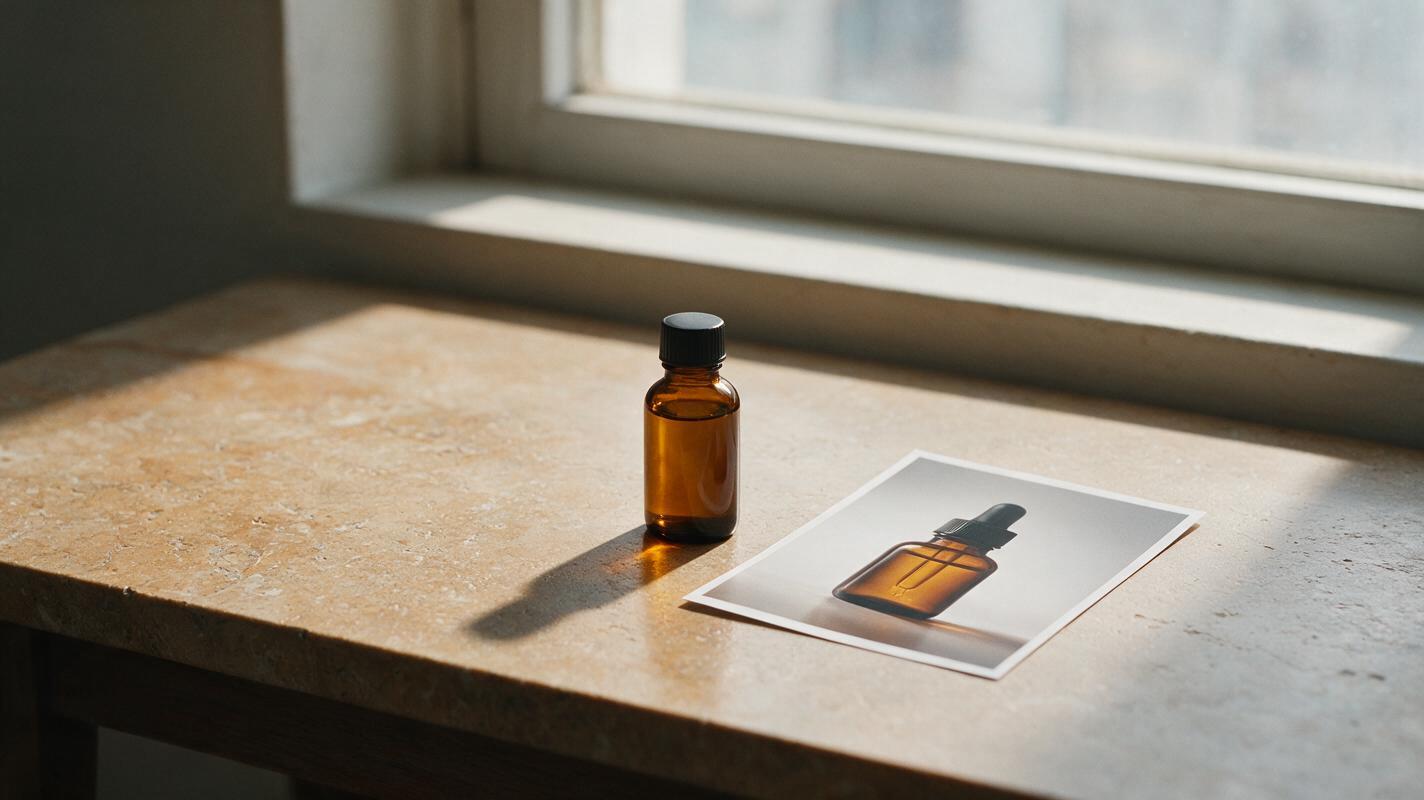
Table of contents
A clean cutout can still look fake
If a product appears to float after you replace its background, inspect the space directly beneath it. A convincing composite needs a dark contact point where the object meets the surface, followed by a softer shadow that agrees with the scene’s light. Seedream 4.5 can help develop that shadow, but the safest commercial workflow keeps the original product pixels—including its label, shape, and finish—separate from the generated area.
The goal is not to ask a model to remake the entire photograph. It is to give it a narrow job: make the photographed object look grounded on a new surface.
Find out why the product looks airborne
Before editing, check the source photograph and replacement background at the size the client will actually see. A shadow cannot rescue every mismatch. Look for these clues:
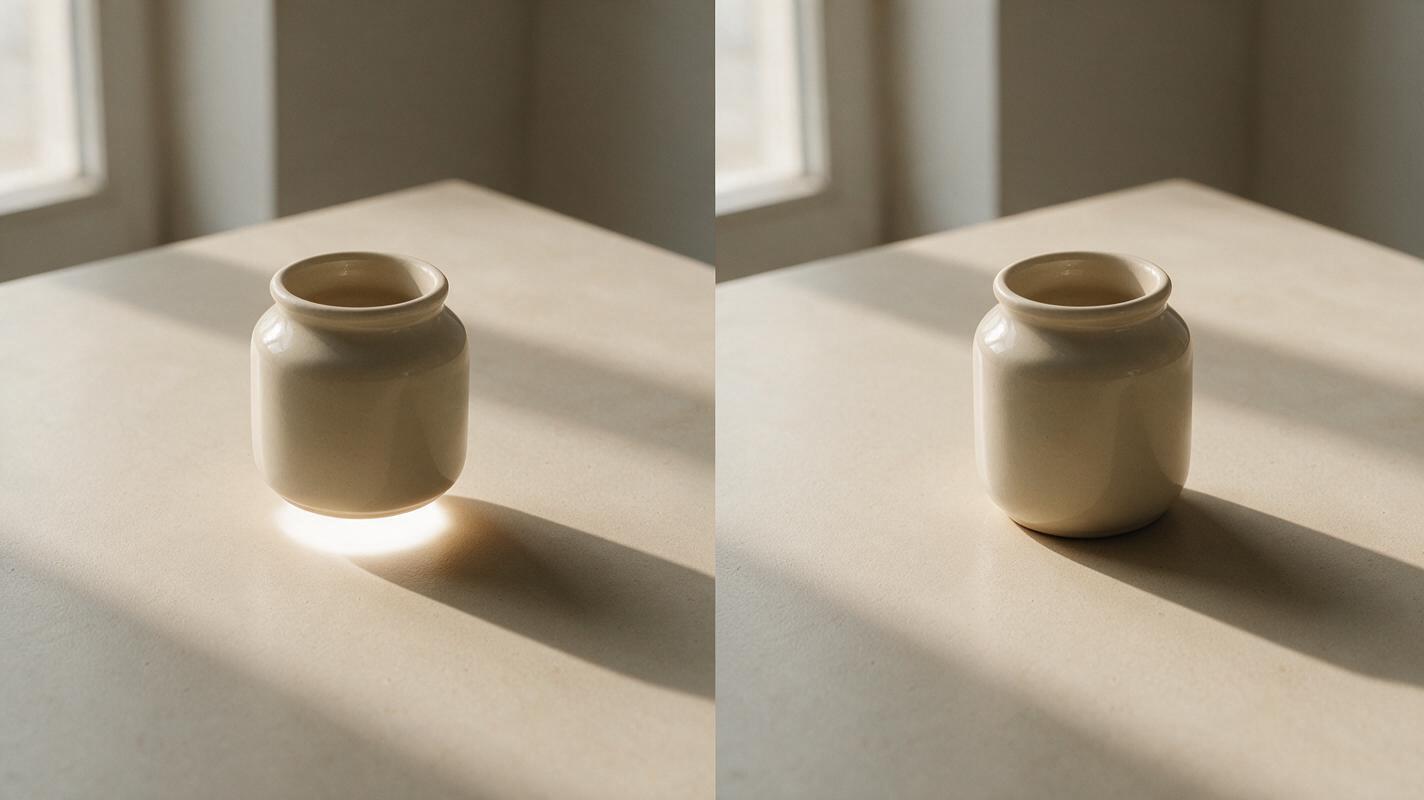
- No contact darkness: the surface stays equally bright right up to the product’s base.
- Wrong shadow direction: the object is lit from one side, but its new shadow falls toward the light.
- A blurred base: the shadow is soft everywhere, including the point of contact.
- Conflicting perspective: the tabletop or floor appears to tilt differently from the product’s photographed base.
- Incompatible light: a hard, directional product highlight sits against a softly lit background.
If perspective or lighting is badly mismatched, choose a different background or reshoot. Generating a darker patch beneath the object will only disguise the problem at thumbnail size.
Protect the photographed product
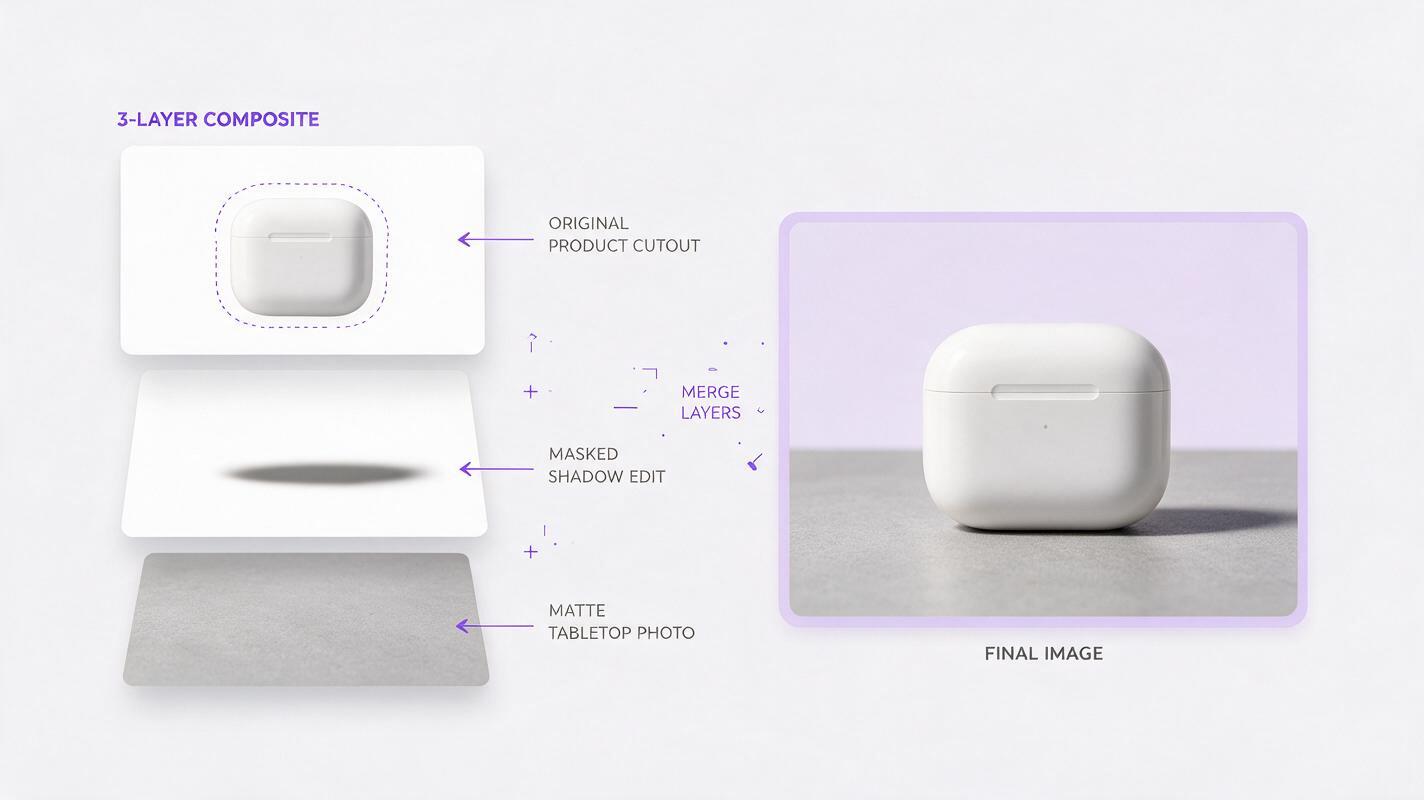
Start with a clean cutout of the real product on its intended background. Preserve the original object on its own layer, and keep an untouched copy beneath your working layers. Check handles, transparent edges, loose threads, and any existing shadow that came with the source image; those details determine where the new shadow should begin.
For the background edit, open the ai image generator and use Seedream 4.5 if it is available in your editor. Supply the composite as a visual reference. If the editor offers a mask, restrict changes to the surface around and beneath the product. If it does not, treat the generated image as a source for a shadow layer rather than a replacement for your finished photograph.
Keep the product authoritative. Generated versions of a package may alter lettering, seams, proportions, or materials. Composite the original photographed object over the edited background before delivery.
Describe the contact point, light, and surface
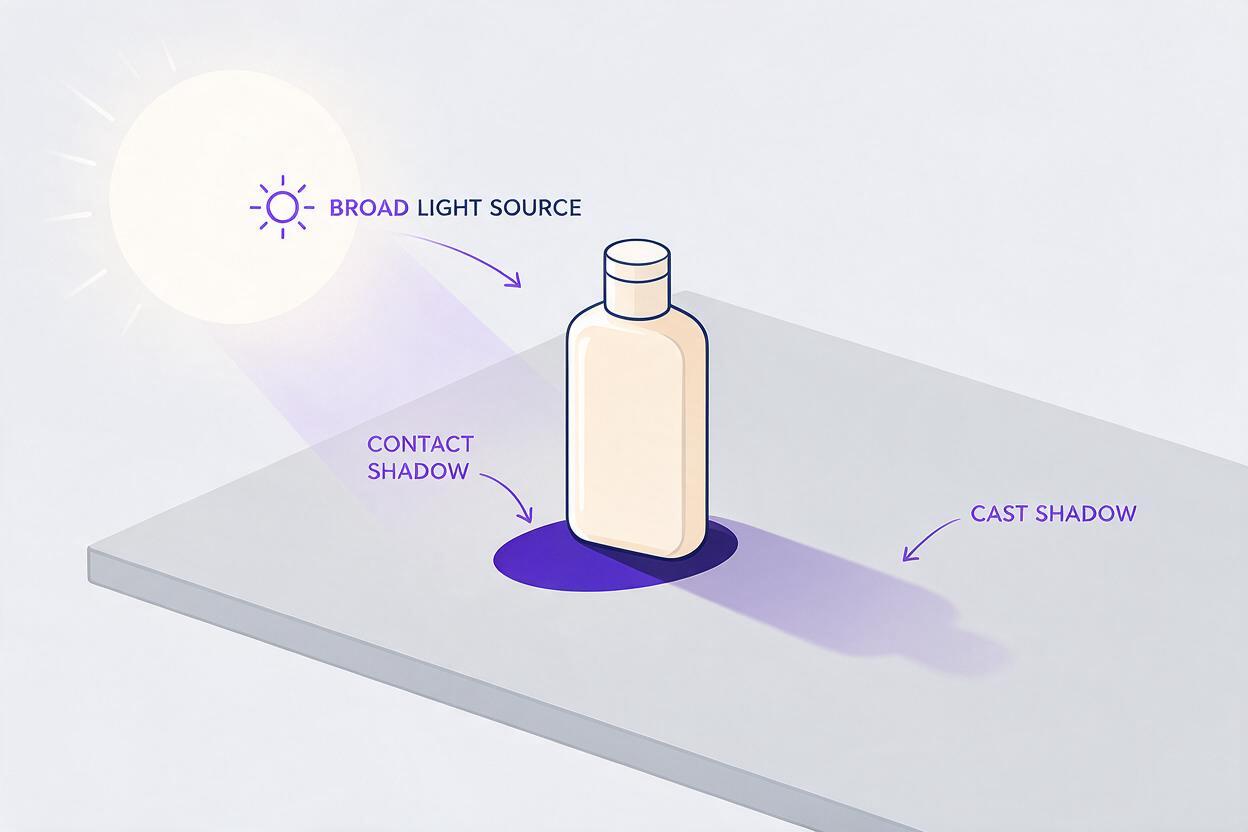
A useful shadow prompt describes physical relationships instead of asking for a generic “realistic shadow.” Identify where the object touches the surface, which direction the light travels, and how quickly the shadow should soften. Avoid asking for a completely new set or a different product.
Use the supplied product composite as the reference. Edit only the matte tabletop beneath and immediately around the photographed product. Add a narrow, slightly darker contact shadow directly under every visible point where its base touches the surface. Extend a soft cast shadow toward the rear right, consistent with light arriving from the upper left. Let the shadow soften and fade with distance. Preserve the tabletop texture and color. Do not change, redraw, move, relight, or add anything to the product, its label, its edges, or its packaging.The direction in that prompt is an example, not a default setting. Reverse it to match your actual highlights. For a broad window-light photograph, ask for a short, low-contrast cast shadow; for a small hard source, ask for a more defined edge. In either case, the darkest part belongs at the contact point.
Adapt the prompt to the product’s base
Different objects meet the surface in different ways. Use the base that is visible in the photograph—not an imagined one.
| Photographed object | Shadow instruction to add | What to inspect |
|---|---|---|
| Jar or bottle | Keep a compact contact shadow beneath the visible base, with a gentle extension away from the light. | Whether the bottle appears to sink into, rather than hover above, the surface. |
| Soft pouch or folded garment | Follow the irregular points where the fabric touches the tabletop. | Whether folds have believable contact without turning into a solid dark outline. |
| Box or rigid package | Place contact darkness along the resting edge and align the cast shadow with the box’s perspective. | Whether the shadow reveals a different box shape from the real packaging. |
| Object on a reflective surface | Generate the cast shadow separately; keep any reflection restrained and consistent with the source lighting. | Whether invented reflection details misrepresent the product. |
For a pouch, for example, replace the contact-shadow sentence in the main prompt with: “Add small, uneven contact shadows only beneath the photographed folds that visibly rest on the surface; leave open gaps beneath raised sections.” This is more useful than telling the model to draw one continuous dark oval.
Composite the shadow without replacing the label
Compare a few restrained results, then select the one whose direction and contact points best fit the original photo. Bring its edited surface into your layered document beneath the untouched product. If necessary, mask away generated changes outside the shadow area. Check for a bright cutout halo along the product’s bottom edge and remove it locally without erasing genuine translucency or texture.
Judge the composite at three scales. At fit-to-screen size, the product should feel naturally seated. At 100%, the contact edge should not contain obvious duplicated contours or invented parts. At the client’s intended crop, the shadow should support the product rather than become the first thing a viewer notices.
If the shadow looks like a gray sticker, reduce its reach or contrast and restore texture from the underlying surface. If it looks like a spotlight effect, return to the original lighting direction. If the model changes the package despite a narrow instruction, use only the usable surface pixels and place the real product back on top—or build the shadow manually from the photographed base.
Keep the delivered photograph accurate
A shadow edit can improve a commercial composite without claiming that a newly generated package is a product photograph. Retain the source image and layered working file, and review the final export against the actual item. Confirm that the label, closure, silhouette, material, and approved color still come from the photographed product. Follow the client’s requirements for disclosure of AI-assisted editing.
Ready to test a restrained shadow on your own composite? test this prompt yourself, then compare the result with the original at full size before using it in client work.
Final checklist
- The contact shadow begins where the photographed product actually touches the surface.
- Cast-shadow direction, edge softness, and surface perspective agree with the source lighting.
- The original product—not a generated replacement—appears in the final composite.
- No halo, invented product detail, or obvious dark oval remains at delivery size.
Keywords
product photo shadows, floating product photo, Seedream 4.5, product photography editing, contact shadow, AI image editing, commercial photography