Fix Portrait Clothing Moiré With Nano Banana Pro
Colored waves and false patterns can make a well-photographed garment look unusable. This guide shows when ordinary moiré correction is enough, when a clean fabric reference can support a targeted Nano Banana Pro repair, and how to keep the final portrait faithful to the clothing.
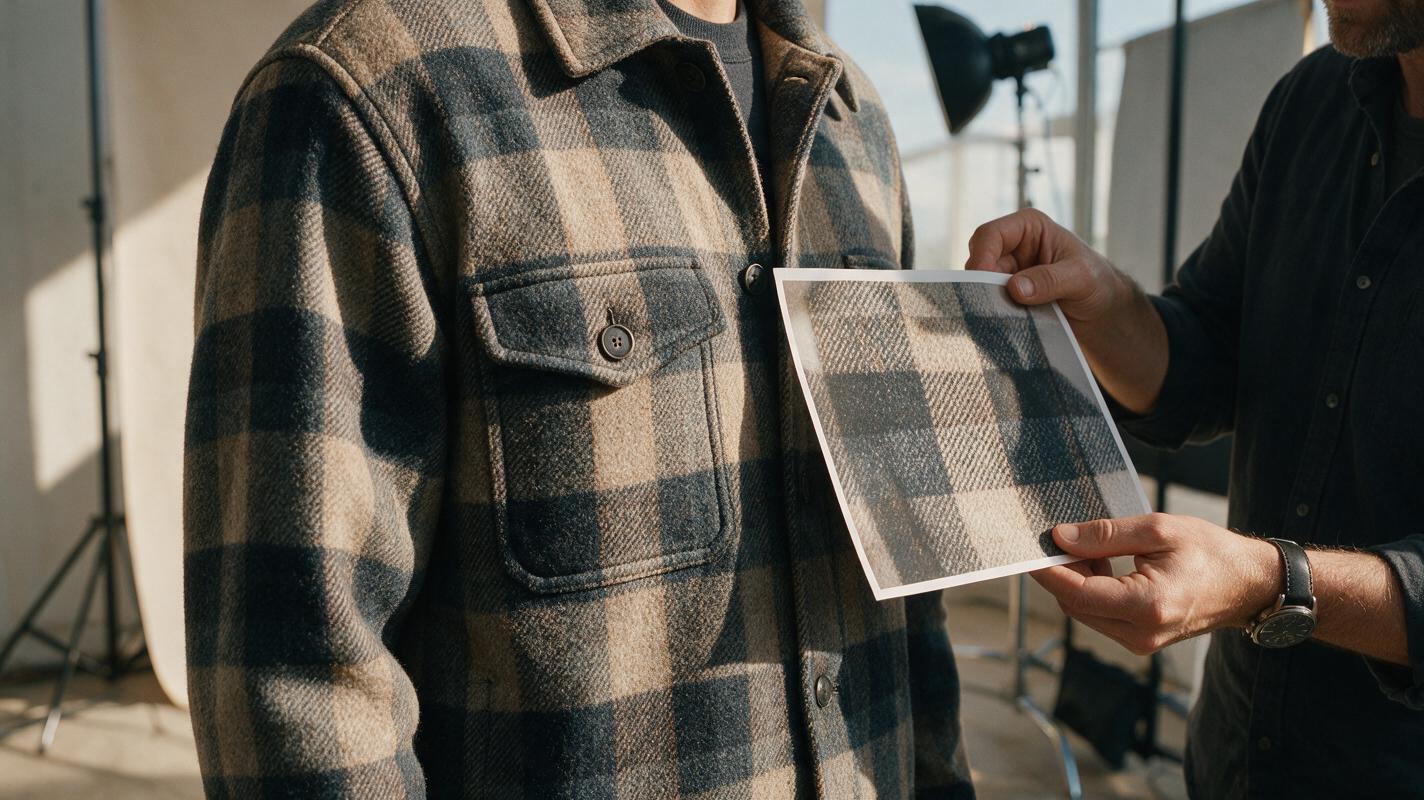
Table of contents
Fix the color bands without replacing the garment
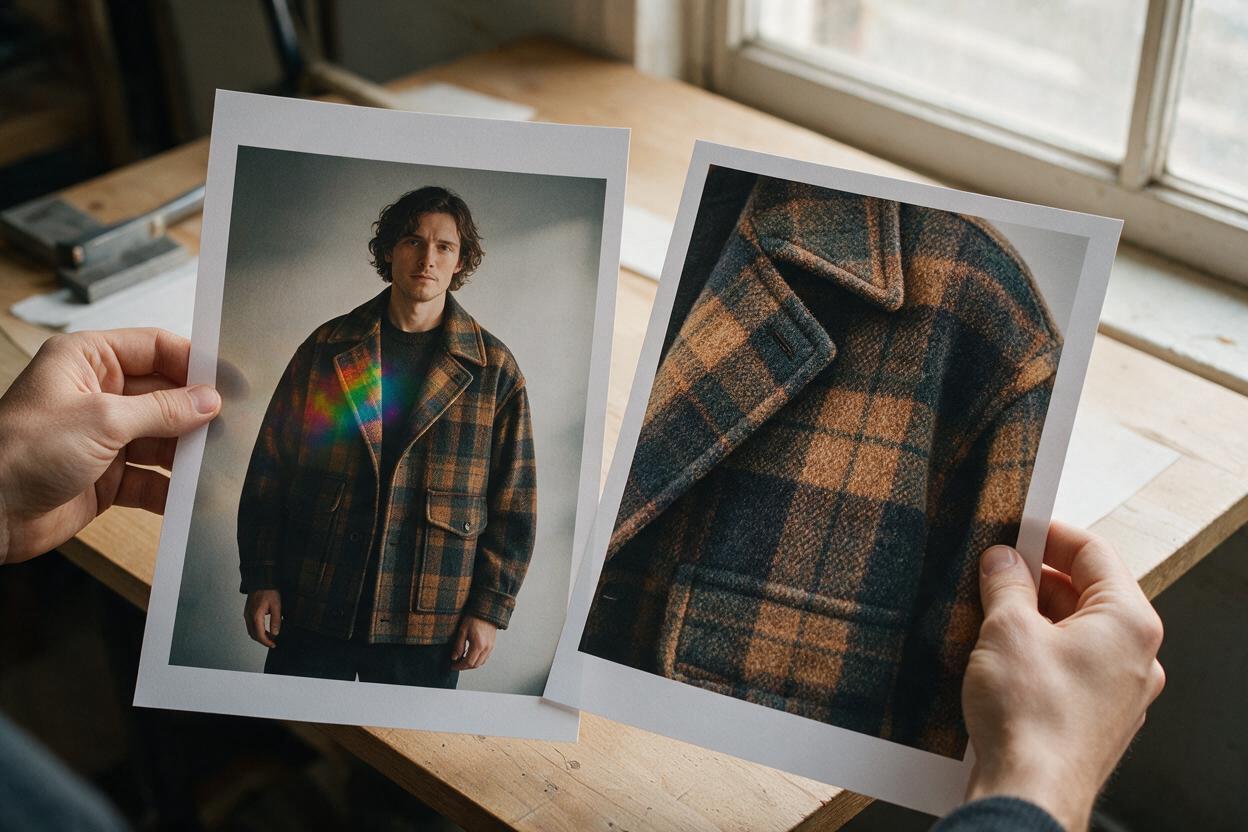
A checked jacket looks clean in person, but the portrait shows purple-and-green waves across its lapel. That is moiré: a false pattern created when fine fabric detail conflicts with the camera’s sampling or later resizing. The goal is not to make the jacket look smoother. It is to remove the interference while keeping the photographed weave, seams, folds, and actual colors.
Start with conventional photo editing. Use Nano Banana Pro only if a small area remains distracting and you have a trustworthy view of the real fabric. A generative repair without that reference can trade obvious moiré for a convincing-looking pattern the garment never had.
Check where the moiré entered the image
Inspect the original capture at 100% before touching the export. Compare it with your RAW preview, retouched master, and final web-size image. This tells you which file needs the fix.
- Present in the original: The fabric pattern and camera sampling are interacting. Work from the highest-quality source available.
- Visible only after resizing: Revisit the export. Try a different downsampling method, gentler output sharpening, or a slightly different final dimension before retouching the master.
- Visible mainly as colored waves: Local color correction may remove the distraction without altering fabric detail.
- Visible as false stripes or broken checks: The underlying pattern may need reconstruction, which requires a reliable reference.
Keep the original beside every working version. If a correction makes a herringbone coat look like plain wool, it has solved the wrong problem.
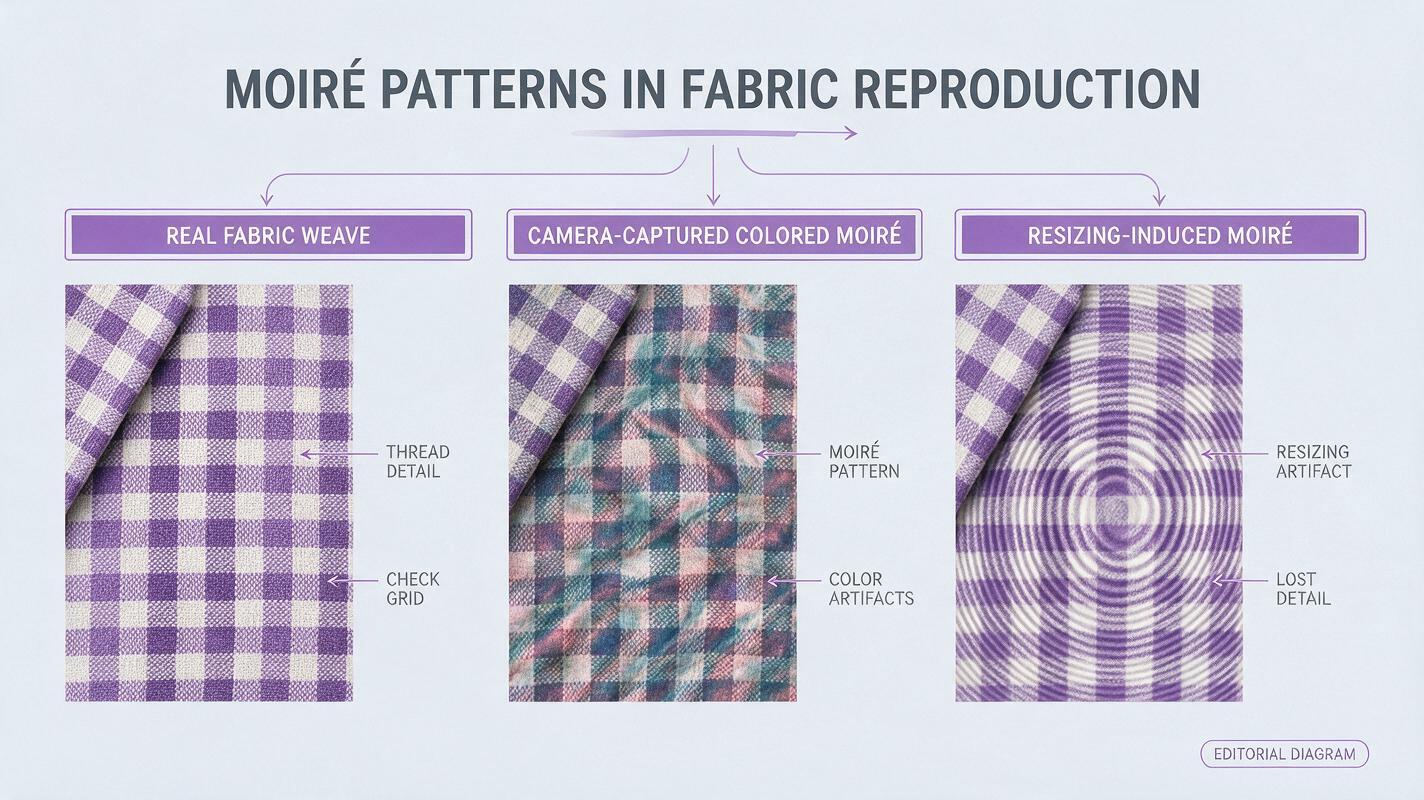
Remove color interference before rebuilding texture
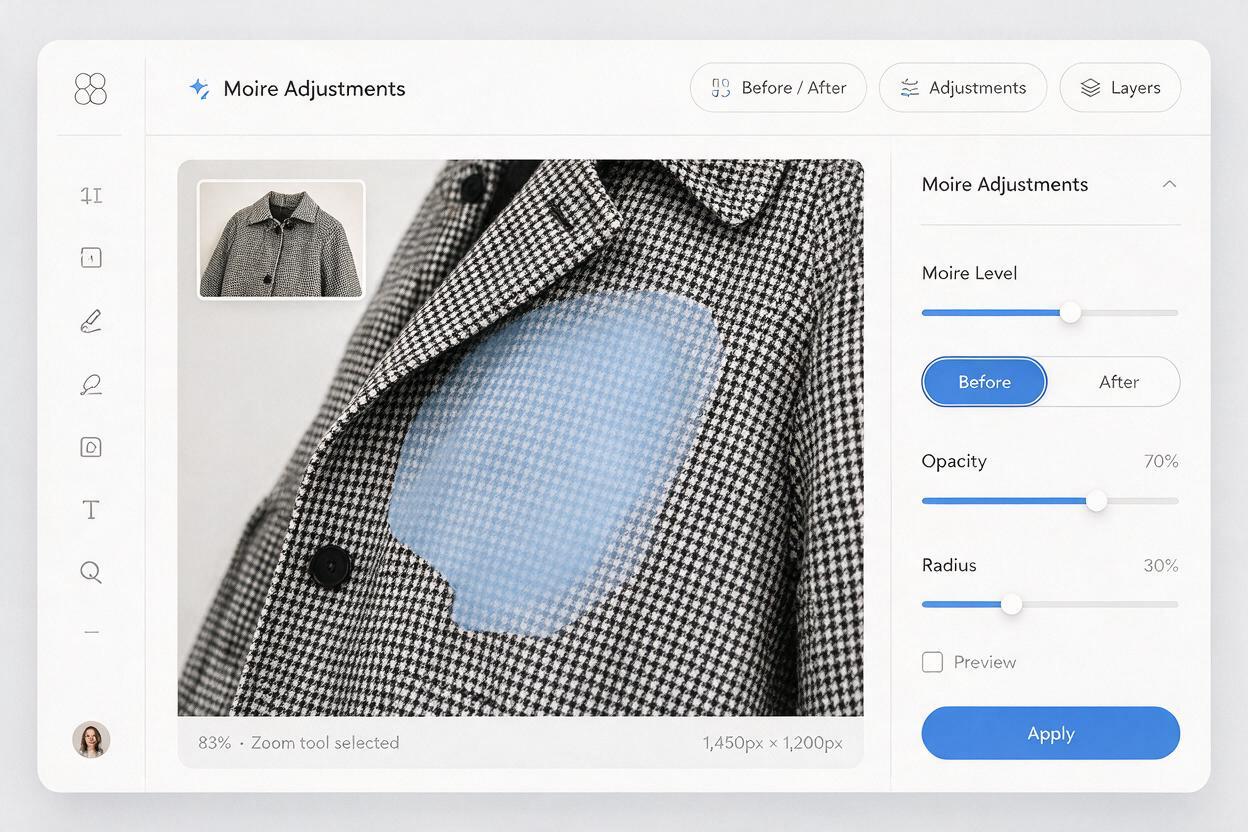
In your RAW editor, apply its moiré control locally to the affected fabric. Use only enough correction to quiet the colored bands, then inspect the area at both 100% and the intended delivery size. If your editor lacks a suitable control, a low-opacity color-only correction on a separate layer can reduce false purple or green without blurring the luminance detail that describes the weave.
Mask tightly around the garment. Keep the adjustment away from skin, jewelry, buttons, and the garment’s edge against the background. A global reduction in saturation can hide the waves, but it can also change the designer’s intended color and the relationship between the clothing and the rest of the portrait.
Stop here if the pattern reads correctly at delivery size. You do not need generative reconstruction simply because you can still see a faint trace at extreme magnification.
Find a reference that shows the real weave
If false stripes remain, look for another photograph from the same session. The most useful reference shows the same garment under similar light, with a cleaner view of the affected panel. A nearby undistorted section of the original photograph can also help when the fabric repeats consistently.
Before using either reference, check the direction and scale of the weave. A lapel, sleeve, and jacket front may use the same material but meet the camera at different angles. Do not paste a flat rectangular sample across a fold or assume that mirrored fabric follows the same geometry. If no dependable view exists, favor a modest conventional correction over an invented pattern.
Faithfulness test: Could a client compare the edited portrait with the garment in hand and recognize the same checks, stripes, or weave? If not, the repair is too speculative.
Reconstruct only the damaged patch with Nano Banana Pro
For a persistent, localized artifact, open nano banana pro with the original portrait crop and the clean fabric reference. Crop closely enough to make the garment readable, but leave surrounding seams, folds, and lighting visible. Ask for a repaired patch rather than a redesigned portrait; you will composite only the useful area back into your original file.
Repair the colored moiré and false stripes inside the affected jacket panel only. Use the supplied photograph of the same jacket as the reference for its actual weave, pattern scale, and color. Preserve the original lapel shape, seam positions, buttons, folds, shadows, lighting direction, and all skin and background pixels. Do not change the garment design or add texture that is not supported by the reference.Make a small number of variations and compare them with the garment reference. Reject versions that rotate the checks, make stripes change width across a seam, erase stitching, or introduce a repeated patch that looks stamped on. Model output is a candidate repair, not a replacement for the source photograph.
Bring the best candidate into your photo editor as a separate layer. Align it with the original, then mask it into only the damaged fabric. Keep original edges, buttons, seams, and clean fabric wherever possible. Lower the layer opacity if a full-strength patch looks unnaturally uniform. If folds cross the repaired area, inspect each one separately: the pattern should bend with the photographed cloth rather than run straight through it.
Inspect the delivered image, not just the edit view
Export a proof at the size the client will actually see. Fine patterns can produce new moiré during resizing even when the full-resolution composite looks clean. Compare the proof with the original garment reference and with an unedited version of the portrait.
| What you see | Likely cause | Better next move |
|---|---|---|
| Colored waves return only in the small export | Resizing or sharpening has reintroduced interference | Adjust export dimensions or output sharpening |
| The patch is smooth but the rest of the jacket is textured | Too much generated area was retained | Reduce the mask to the damaged portion or keep more original detail |
| Checks stop lining up at a seam | The reference was applied without matching garment geometry | Use a smaller patch or another reference angle |
| The garment color differs from neighboring panels | The repair altered color as well as pattern | Match the patch locally against the original photograph |
For editorial or commercial work where a garment’s design matters, retain the untouched capture and disclose substantive reconstruction when required by the client or publication. If the pattern cannot be verified, deliver a restrained correction rather than an attractive but inaccurate fabric.
Final checklist
- Identify whether the artifact exists in the capture or appears during export.
- Try local moiré and color correction before generative repair.
- Use a photograph of the same garment to verify reconstructed detail.
- Composite only the damaged fabric; preserve photographed seams and edges.
- Check full resolution and final delivery size for new false patterns.
Have a clean garment reference and a stubborn patch? test this prompt yourself, then compare the result against the original clothing before it enters the final portrait.
Keywords
portrait clothing moiré, fix moiré in photos, nano banana pro, patterned clothing retouching, fashion portrait editing, fabric texture repair