Fix Wrinkled Clothing in Portraits With Seedream 4.5
Reduce distracting garment wrinkles in an existing portrait without turning the fabric into a smooth, artificial surface. This guide uses a localized Seedream 4.5 edit, a restrained prompt, and a composite that protects the original face, hands, and garment details.
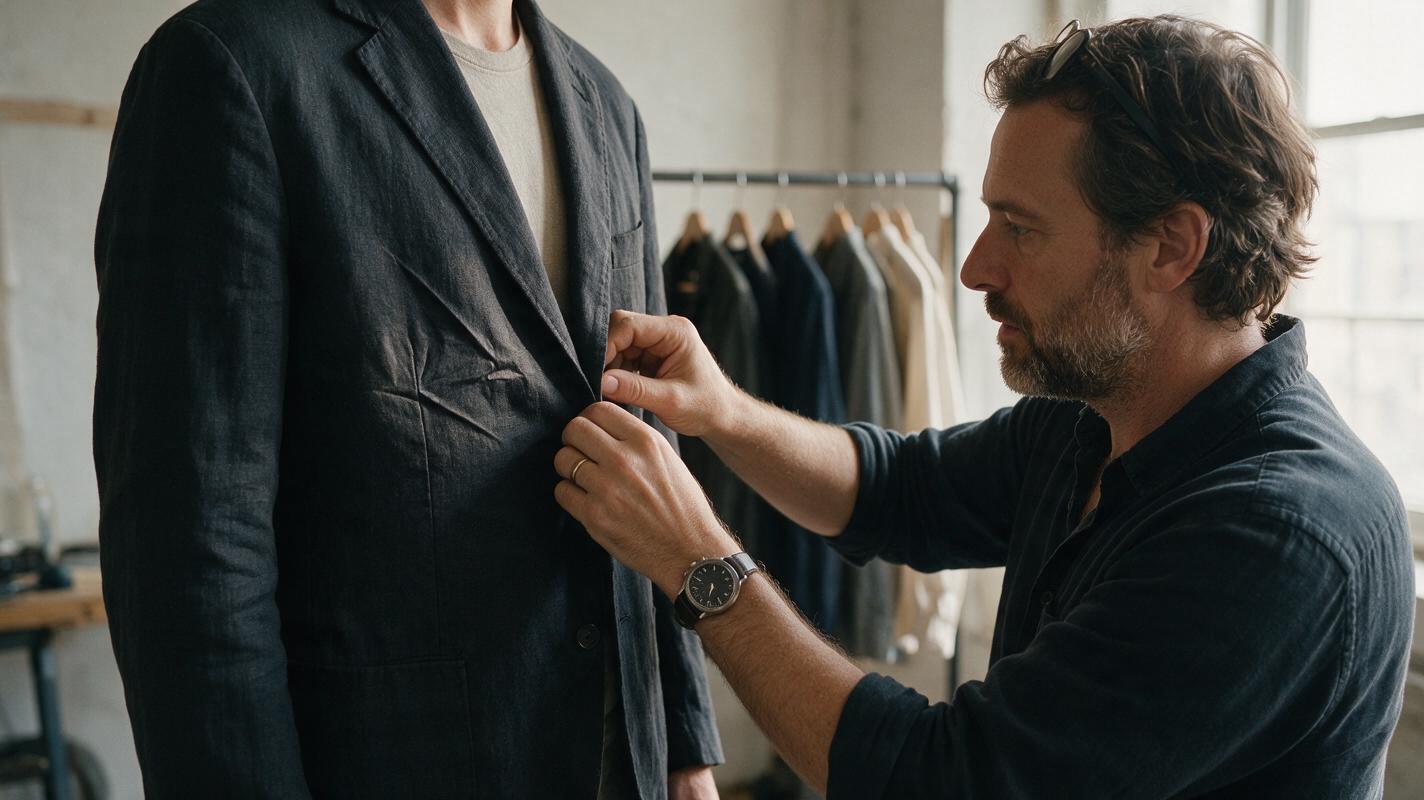
Table of contents
Keep the garment believable
A prominent packing crease can pull attention away from an otherwise finished portrait. Removing every fold is not the answer: clothing needs tension, weight, and texture to look photographed. The useful edit is narrower—soften the accidental wrinkles while keeping the seams, weave, fit, and folds created by the subject’s pose.
Use seedream 4.5 to make a localized garment variation, then blend only the parts that improve the original photograph. This approach suits editorial portraits, commercial lookbooks, and formal wedding portraits when a reshoot is impractical. It should not be used to misrepresent a product’s actual construction or condition.
Decide which folds belong in the photograph
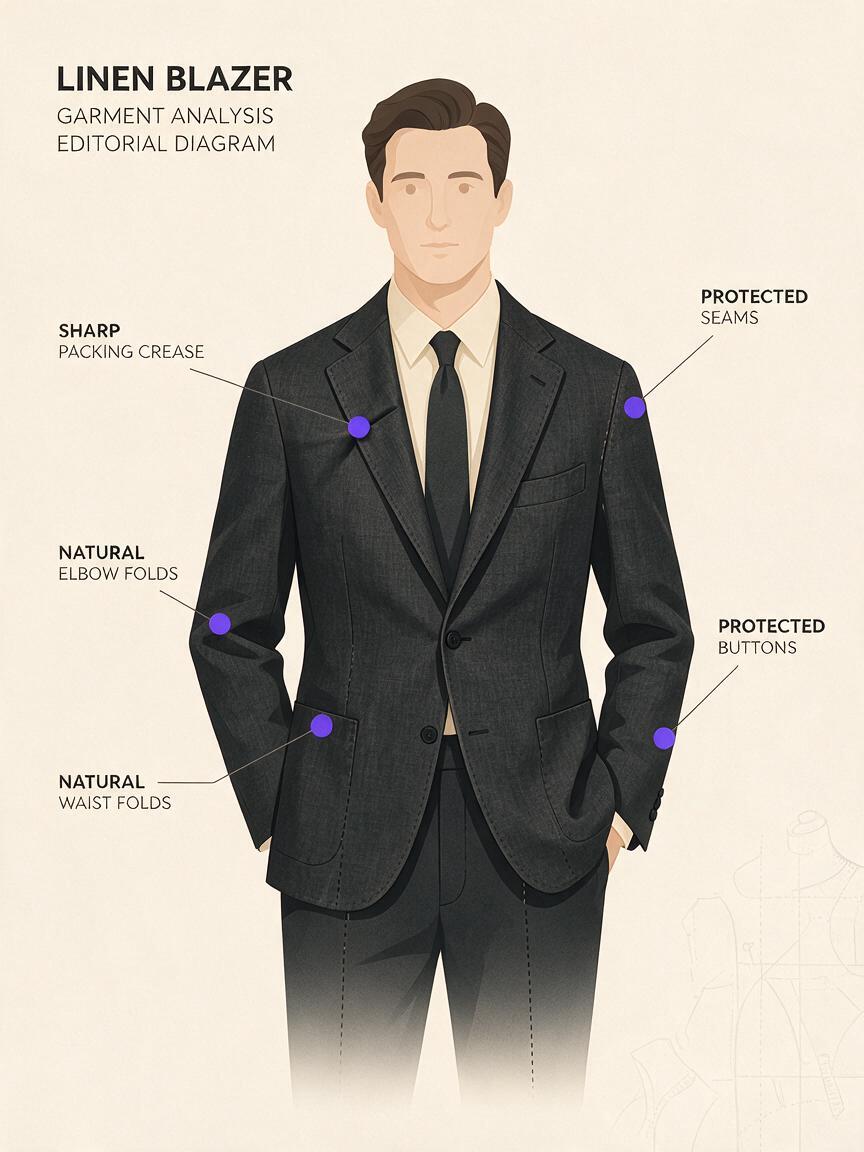
Before editing, look at how the garment hangs. A jacket bending at the elbow, a dress gathering at the waist, or a shirt pulling around a seated subject will naturally form folds. Those folds explain the pose. A sharp vertical crease left by a hanger or a puckered patch caused by poor steaming usually does not.
Mark a small target area and identify details that must stay fixed:
- Structure: lapels, collars, cuffs, hems, seams, pleats, and pockets.
- Material: visible weave, satin sheen, lace pattern, embroidery, or knit texture.
- Evidence of the pose: tension folds at joints and natural drape across the body.
- Nearby original pixels: skin, hair, jewelry, hands, and the background.
If a wrinkle crosses a printed logo, intricate lace, or a product-defining seam, consider conventional retouching instead. A plausible generated replacement may still be an inaccurate one.
Prepare a small, high-quality edit
Start with the highest-quality exported version of the photograph available for editing. Keep the original file untouched. If your editor supports a selection or mask, include the distracting wrinkles and a modest margin of surrounding fabric, but avoid the garment’s outline wherever possible. That margin helps the new texture meet the old texture without a visible edge.
Work on one garment region at a time rather than asking for a complete wardrobe cleanup. A sleeve crease and a wrinkled shirtfront are different lighting problems; combining them makes it harder to judge what changed. Save a separate copy of each candidate so you can return to the unedited source.
Retouching target: The finished garment should look as though it was lightly steamed before the photograph—not newly designed, flattened, or painted over.
Prompt for less correction, not perfect fabric
Provide the original portrait as the image reference and apply the edit to the selected clothing area. If a selection tool is unavailable, describe the exact garment region, inspect the entire output for unintended changes, and plan to composite the useful fabric back into the original.
Edit only the front panel of the subject's dark linen blazer.
Reduce the two sharp, accidental packing creases below the lapel.
Keep natural folds caused by the standing pose and preserve the
original fit, lapel shape, seams, buttons, pockets, linen weave,
lighting direction, and fabric color. Do not edit the face, hands,
hair, background, or any other part of the photograph.
The result should remain an authentic-looking photograph,
not perfectly smooth or airbrushed.
Replace “dark linen blazer” and the crease location with accurate descriptions of your photograph. For a satin dress, ask to preserve its highlights and drape; for a textured suit, name the weave. Do not request “flawless clothing” or “remove all wrinkles.” Those instructions encourage the flat surface you are trying to avoid.
Generate a few restrained candidates rather than repeatedly intensifying the correction. Choose the version that changes the least while fixing the distraction. You can test this prompt yourself on a copy of a portrait with one clearly identified crease.
Check the fabric before you composite
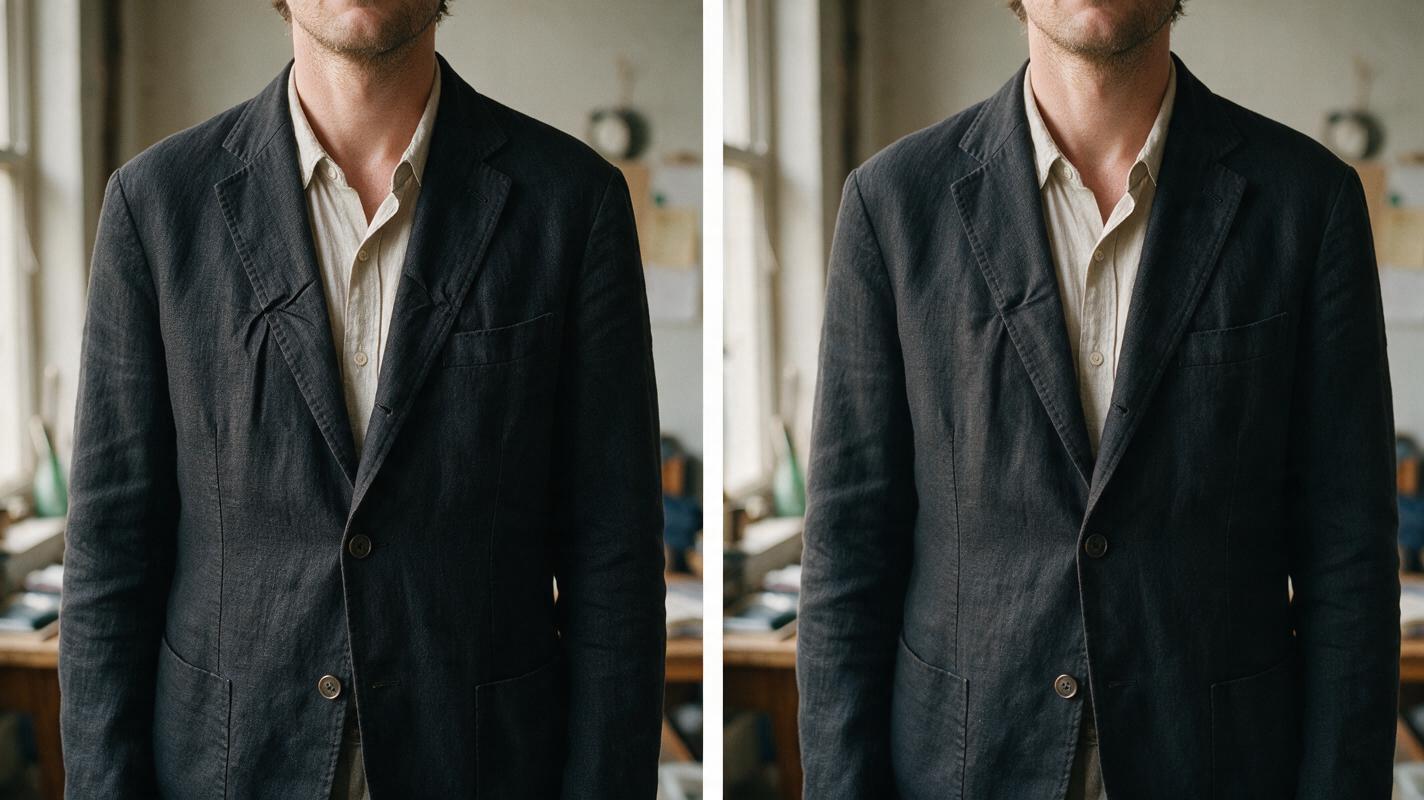
Compare the candidate with the original at both normal viewing size and 100% zoom. At normal size, ask whether the crease still attracts attention. At 100%, inspect whether the model invented texture or shifted construction details.
| Check | Keep the edit if… | Reject or repair it if… |
|---|---|---|
| Weave and sheen | Texture and highlights continue through the corrected area. | The area looks blurred, waxy, or lit from another direction. |
| Seams and fasteners | Stitching, buttons, and pockets match the source. | A seam bends, a button moves, or a pocket changes shape. |
| Drape and fit | Pose-related folds still give the garment volume. | The torso looks flattened or the garment appears resized. |
| Edges | The garment outline and nearby skin remain unchanged. | There is a halo, a new silhouette, or altered fingers. |
If the candidate passes only part of this review, keep only that part. A generated image does not need to become the final photograph.
Blend the corrected fabric into the original
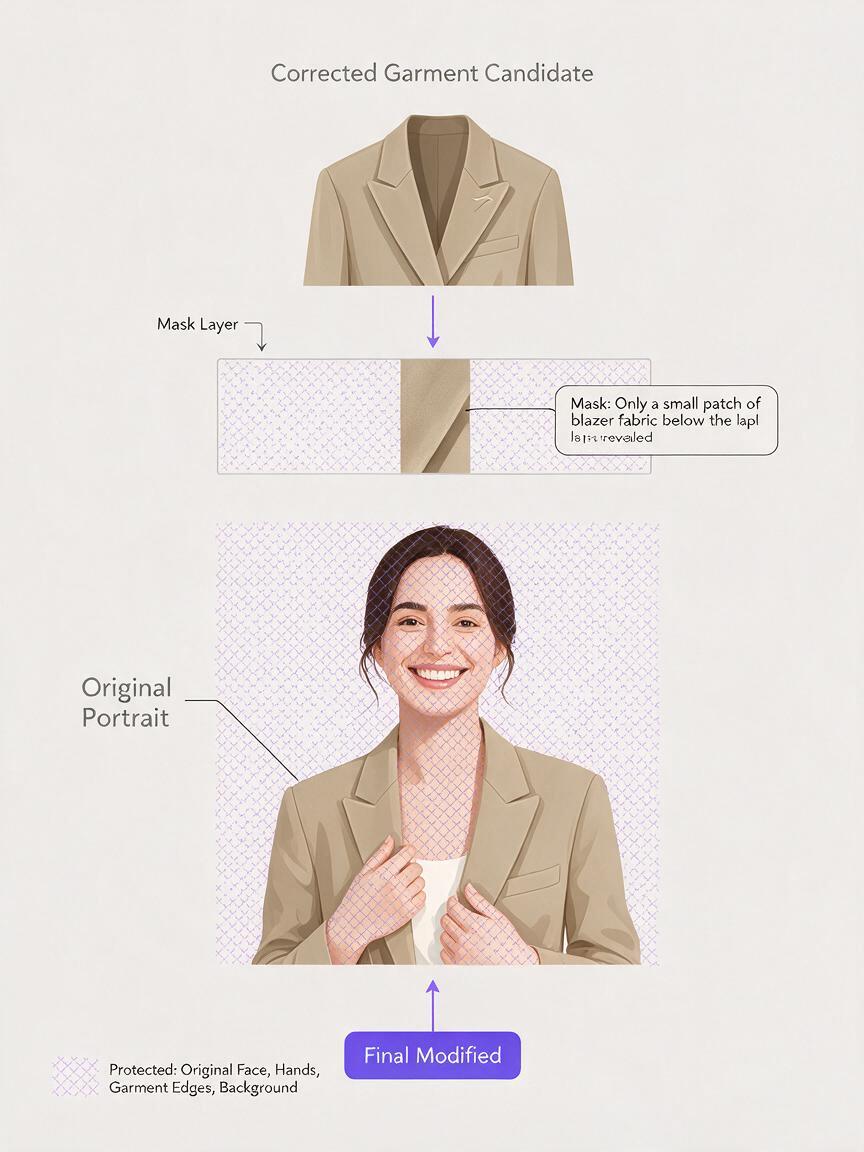
Place the chosen candidate above the original in an editor that supports layers and masks. Align it precisely, then hide the candidate with a mask and paint in just the corrected fabric. Use a soft transition across uninterrupted cloth, away from seams, buttons, skin, and hard edges.
Lower the layer opacity briefly to compare before and after. If the garment looks unnaturally pressed, reveal less of the edit so some original folds remain. Check color and grain at the mask boundary; even a well-shaped repair can stand out when the corrected patch has a different texture or brightness.
Finally, inspect the complete portrait at delivery size. A small wrinkle that is invisible in a gallery image may not justify further alteration, while a crease across the center of a commercial garment might. For a wedding photograph presented as a record of the day, keep the correction modest and follow the client’s editing agreement.
Final checklist
- The accidental crease is less distracting, but natural pose folds remain.
- Fabric texture, seams, buttons, and garment fit match the source.
- The face, hands, hair, and background use the original photograph.
- No mask edge, lighting mismatch, or smooth patch is visible at 100% zoom.
- The final image meets the client’s expectations for retouching and authenticity.
Keywords
wrinkled clothing portrait, seedream 4.5, portrait retouching, garment wrinkle removal, ai photo editing, fabric texture, editorial photography