How to Turn Flat Garment Photos Into Editorial Lookbook Images With Flux
If you have flat garment photos on hangers or mannequins but no budget for a full model shoot, this step-by-step guide shows you how to turn them into professional editorial lookbook images using Flux’s reference image controls. You’ll learn to preserve exact prints, silhouettes, and fabric textures while maintaining consistent lighting, model features, and brand aesthetic across every look. The guide includes reusable prompt templates, prep tips for better reference accuracy, and troubleshooting for common garment distortion issues.
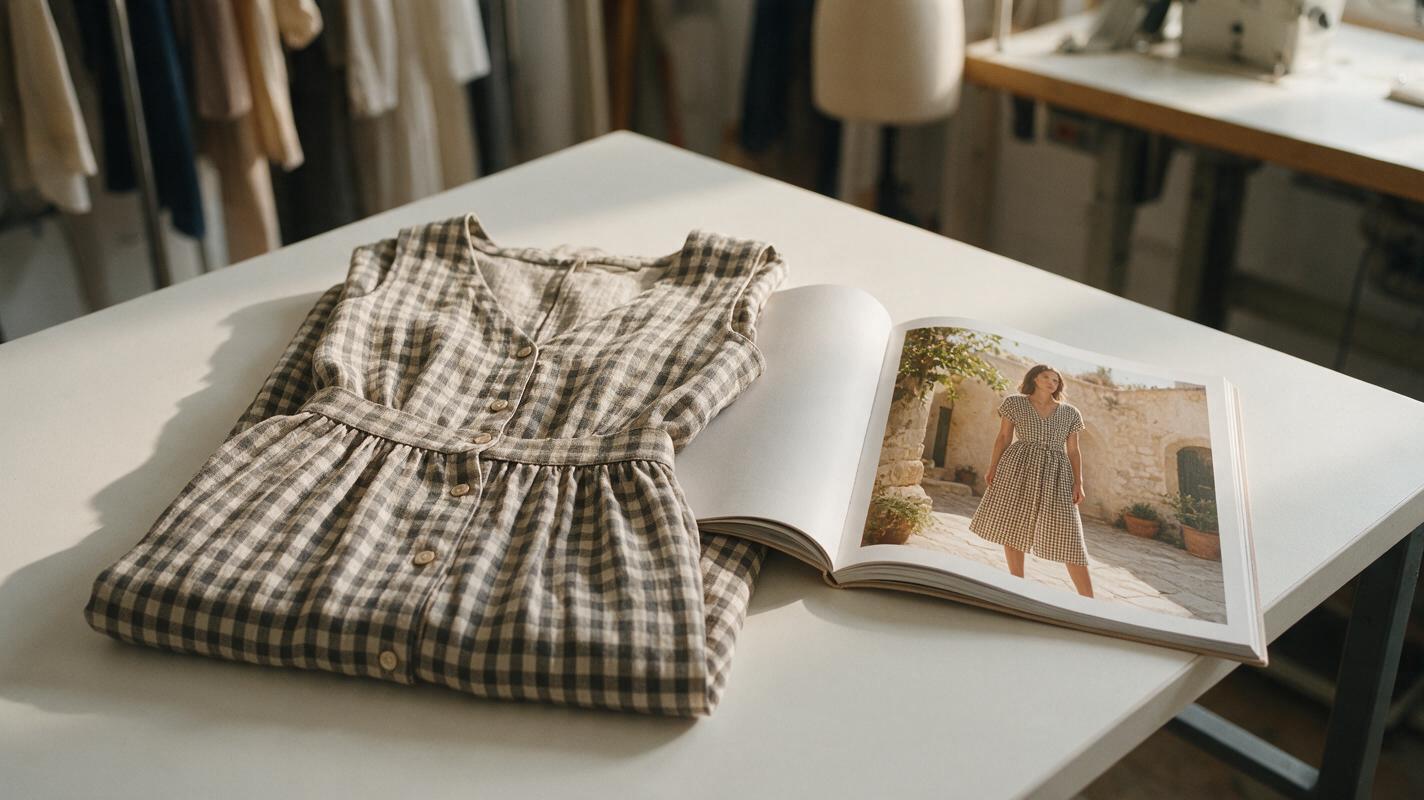
Table of contents
Your flat garment photos can become professional lookbook images — no shoot required
You have 10 new garment samples shot on hangers or mannequins in your studio, but no budget for a full model, photographer, and location shoot for your seasonal lookbook. Or you’re testing 3 print variations before production and need to see how each looks on a real model in an editorial setting — without waiting for samples to be sewn.
Flux’s reference-aware generation lets you map your exact garment onto a model in a polished, publishable setting, no reshoots required. This tutorial walks you through a 5-step workflow to create 8–12 consistent lookbook images that match your brand aesthetic, using only your flat garment photos as a base.
What you need before you start
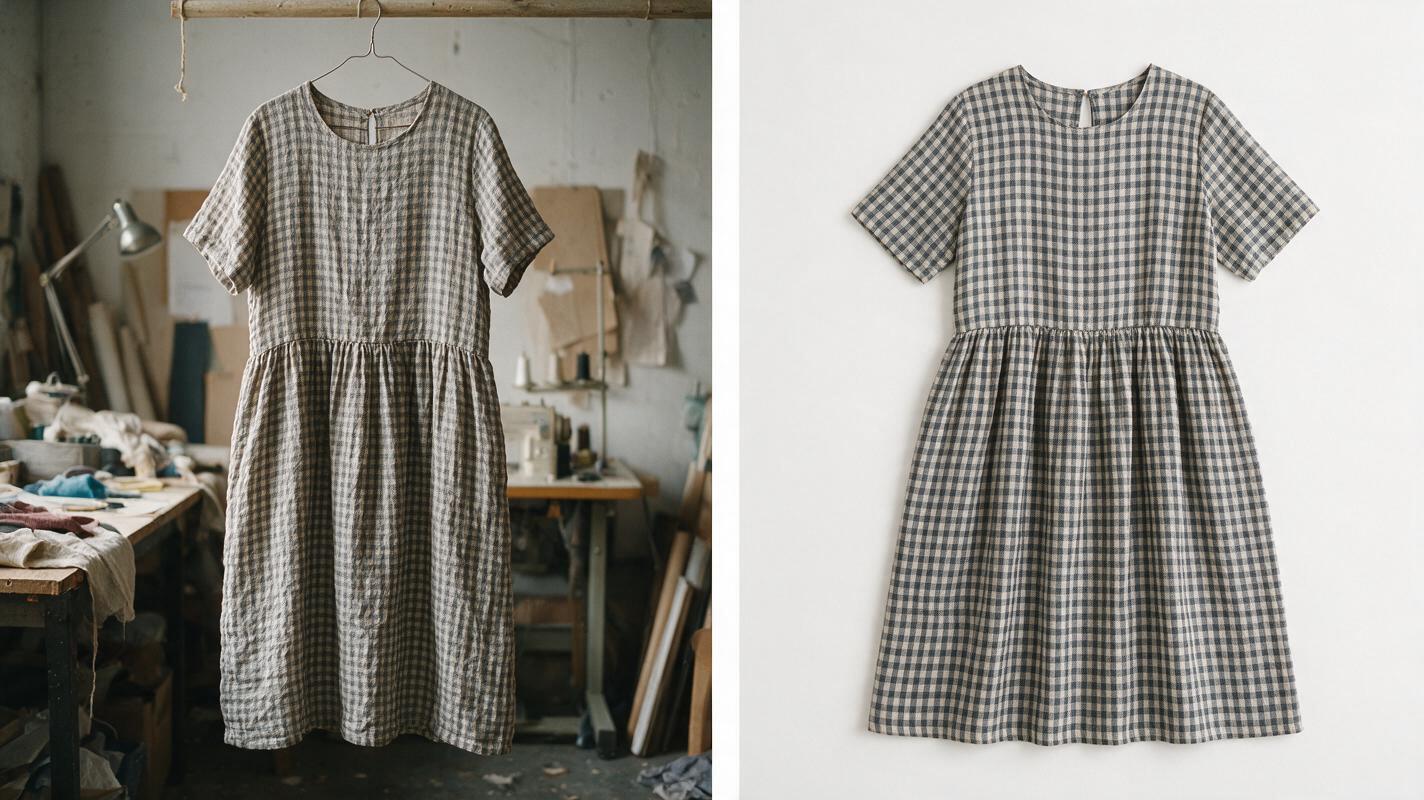
- High-res flat garment photos (front-facing, even lighting, minimal wrinkles, on a neutral hanger or mannequin — 1080px+ width for best detail)
- Flux access (Flux.1 [pro] or Flux.1 [dev] with reference image support, via the official interface or a supported platform)
- 1 reference image of your desired model (optional, but critical for consistency across multiple looks)
- Your brand’s style guide (color palette, lighting vibe, composition rules) to keep outputs on-brand
Step 1 — Prep your flat garment photo for accurate reference
Garbage in, garbage out applies especially to reference-based garment generation. A blurry, wrinkled, or poorly lit input photo will lead to distorted silhouettes, missing details, and incorrect fabric texture in your final lookbook image.
Spend 2–3 minutes prepping each garment photo first: crop the image to focus only on the garment (remove extra background space), adjust white balance to match your garment’s true colors, and steam or edit out major wrinkles that don’t reflect the garment’s intended fit. If you’re using a mannequin shot, you can leave the mannequin in place — Flux will replace it with a model — but crop out any stand base or distracting elements around the edges.
Pro tip: Shoot flat garments on a plain white background with soft, diffused studio light. This eliminates shadows that can confuse the reference model and ensures accurate color and texture capture.
Step 2 — Set up Flux reference mode for garment preservation
As an ai image generator built for fine-grained visual control, Flux’s reference mode outperforms many older tools at garment editing — it preserves print placement, seam lines, and fabric texture far more reliably than generic text-to-image models. The key is setting the right reference weight to balance accuracy and naturalism.
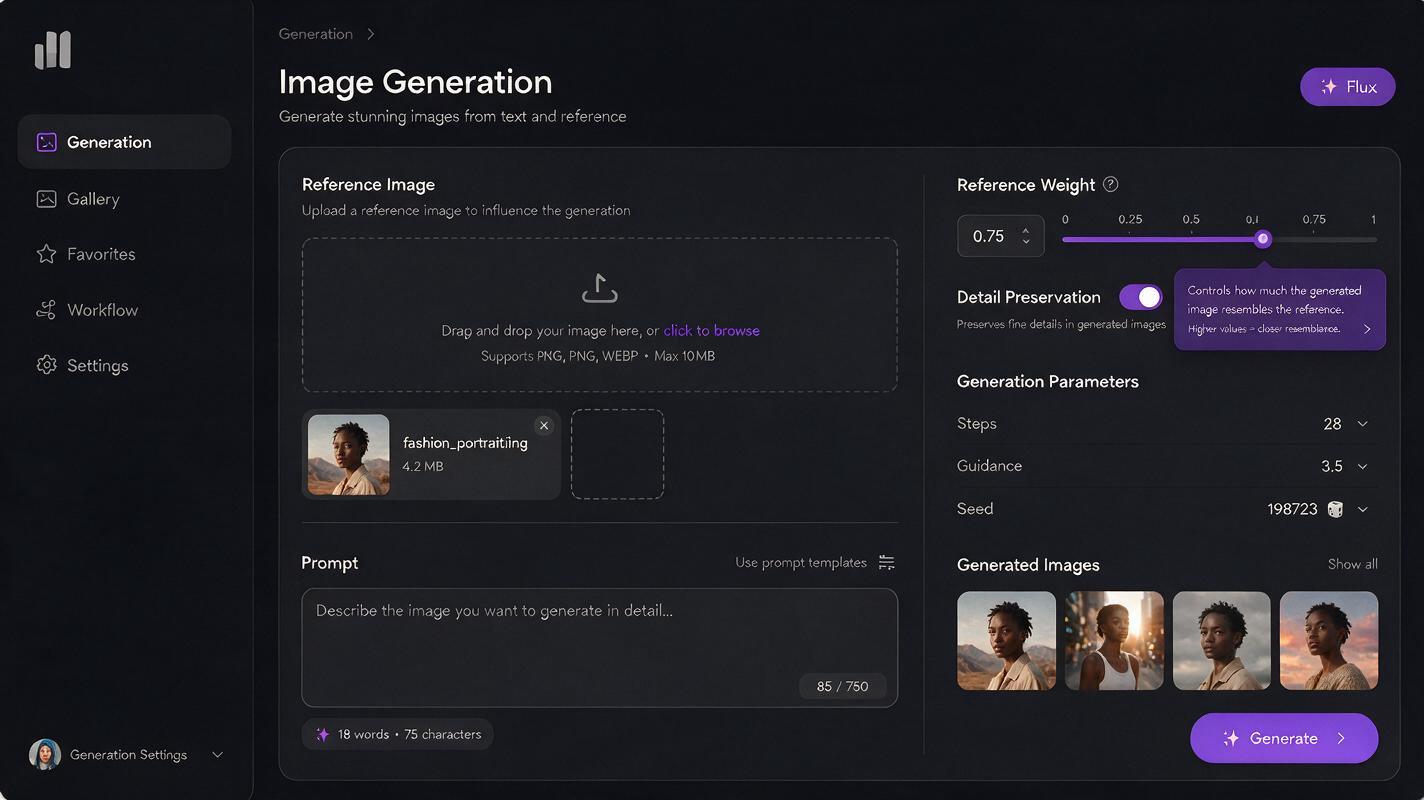
Upload your prepped flat garment photo as a reference image, then set the reference weight slider to 0.7–0.8. This sweet spot keeps all your garment’s key details intact without leaving hanger, mannequin, or background artifacts in the final image.
- Below 0.6: The model will take too many creative liberties, changing the silhouette, print, or fabric type.
- Above 0.8: You’ll see artifacts from the original photo (hanger hooks, mannequin shoulders, background edges) bleeding into the output.
If you’re using a separate model reference for consistency, upload that as a second reference and set its weight to 0.5–0.6 — high enough to keep facial features and body type consistent, low enough that the garment details still take priority.
Step 3 — Write prompts that lock in editorial lookbook quality
Your prompt works with the reference image to guide the output. Skip generic terms like “fashion photo” — instead, build your prompt in three specific parts to get editorial, publishable results:
- Garment reinforcement: Name your garment’s key details (silhouette, fabric, print, hardware) to reinforce what’s in the reference image.
- Model and setting: Specify a pose that shows off the garment, plus a setting that matches your brand aesthetic.
- Quality and style: Add technical photography details to get a professional, high-end look.
Use this reusable base prompt and swap in your own details:
Reference image: front-facing gingham linen midi dress, button-down front, puffed short sleeves, A-line silhouette
Full-body editorial fashion photo of a 27-year-old model with loose wavy auburn hair, standing in a sunlit stone courtyard in Provence, one hand resting on a weathered wooden table, soft natural golden hour light, 35mm film, sharp focus on the dress fabric, Vogue Paris aesthetic, muted warm tones, high detail
Add this negative prompt to avoid common flaws:
Warped fabric, distorted print, missing buttons, hanger, mannequin, blurry garment details, distorted hands, extra limbs, overexposed, cluttered backgroundCopy this base prompt and swap in your own garment details, model preferences, and brand aesthetic to test this prompt yourself with your first sample.
Step 4 — Generate and refine for consistency across all looks
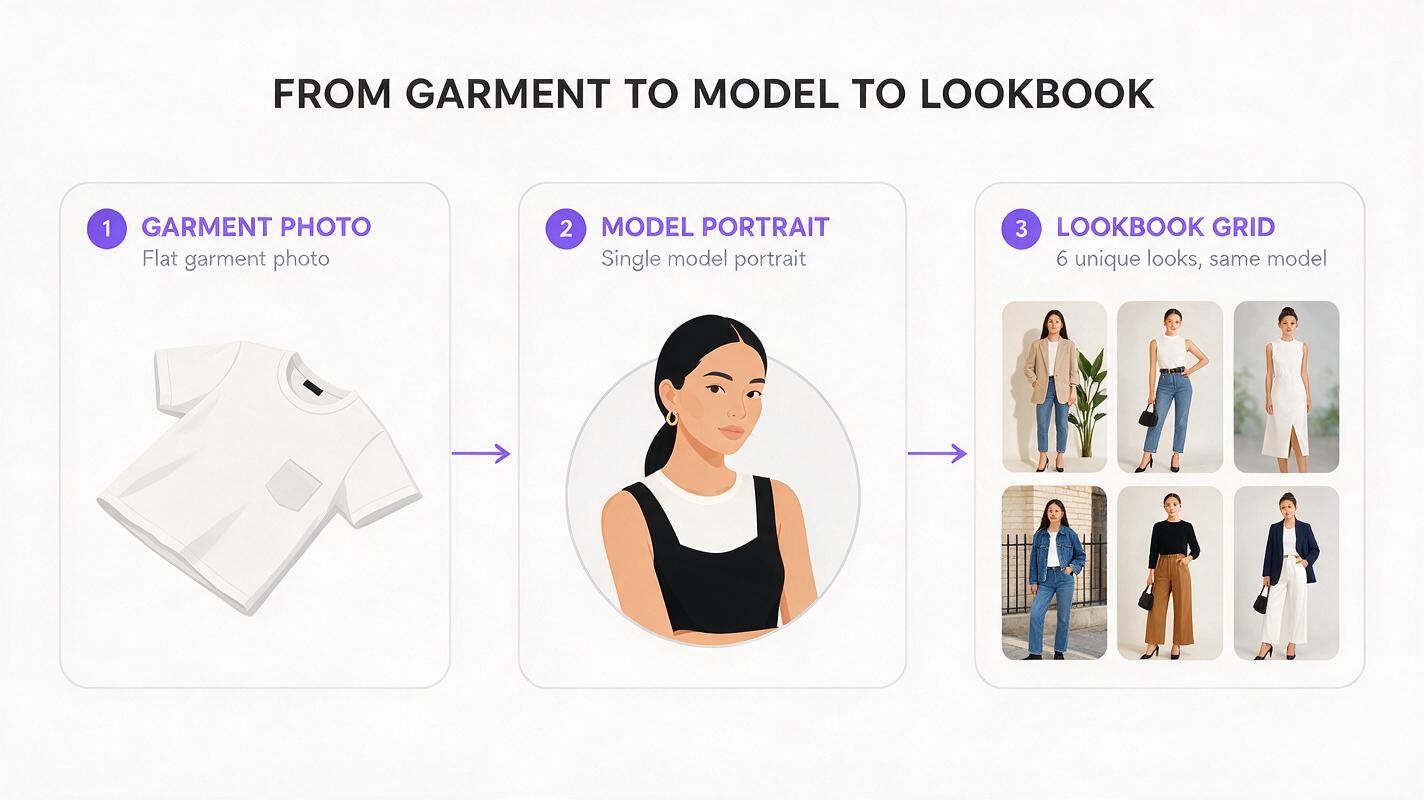
Once you get one lookbook image you love, don’t start from scratch for the next garment. Lock in your model, setting, lighting, and quality prompts so every look in your lookbook feels cohesive — the only thing that changes is the garment reference photo.
For maximum consistency across 8–12 looks:
- Save your first successful model output as a character reference image, and use it for every subsequent garment.
- Keep the same seed number (or vary it by no more than 100) to maintain consistent lighting and color grading.
- Use the exact same setting, pose style, and quality prompt for every generation.
This approach means you only need to nail the aesthetic once. After that, you can generate a full lookbook’s worth of images in an hour or two, no coordination with a production team required.
Step 5 — Fix common issues without starting over
Even with the right settings, you might run into small issues with your first few generations. Use these quick fixes to adjust outputs without reworking your entire workflow:
- Distorted or missing print: Increase garment reference weight by 0.1, and add “exact print placement from reference image” to your prompt.
- Wrong silhouette: Make sure your input photo is fully front-facing with no cropped edges, add “preserve exact garment silhouette from reference” to your prompt, and use a less dynamic pose.
- Model changes between looks: Add your saved model reference image at 0.6 weight, keep the seed consistent, and use identical model description text every time.
- Fabric texture looks off: Name the exact fabric (e.g., “matte wool twill”, “shiny silk charmeuse”) in your prompt, increase reference weight by 0.05, and add “sharp fabric weave detail” to your quality terms.
Final checklist
- Prep flat garment photos with even lighting, neutral backgrounds, and no distracting elements
- Set Flux garment reference weight between 0.7–0.8 for accurate detail preservation without artifacts
- Use a three-part prompt (garment reinforcement, model/setting, editorial quality) for publishable results
- Lock in a single model reference and consistent prompts for cohesion across your full lookbook
- Troubleshoot distortion or missing details by adjusting reference weight and adding explicit garment terms to your prompt
Keywords
flat garment photos to lookbook, flux lookbook tutorial, fashion campaign images, ai image generator, garment editing, consistent lookbook model, fashion ai prompts