How to Create Consistent Character Turnarounds With GPT Image
Learn how to turn one approved character concept into a consistent front, side, back, and three-quarter model sheet with GPT Image. This practical workflow covers reference preparation, prompt structure, correction passes, and fixes for costume drift, proportion changes, and unusable side views.
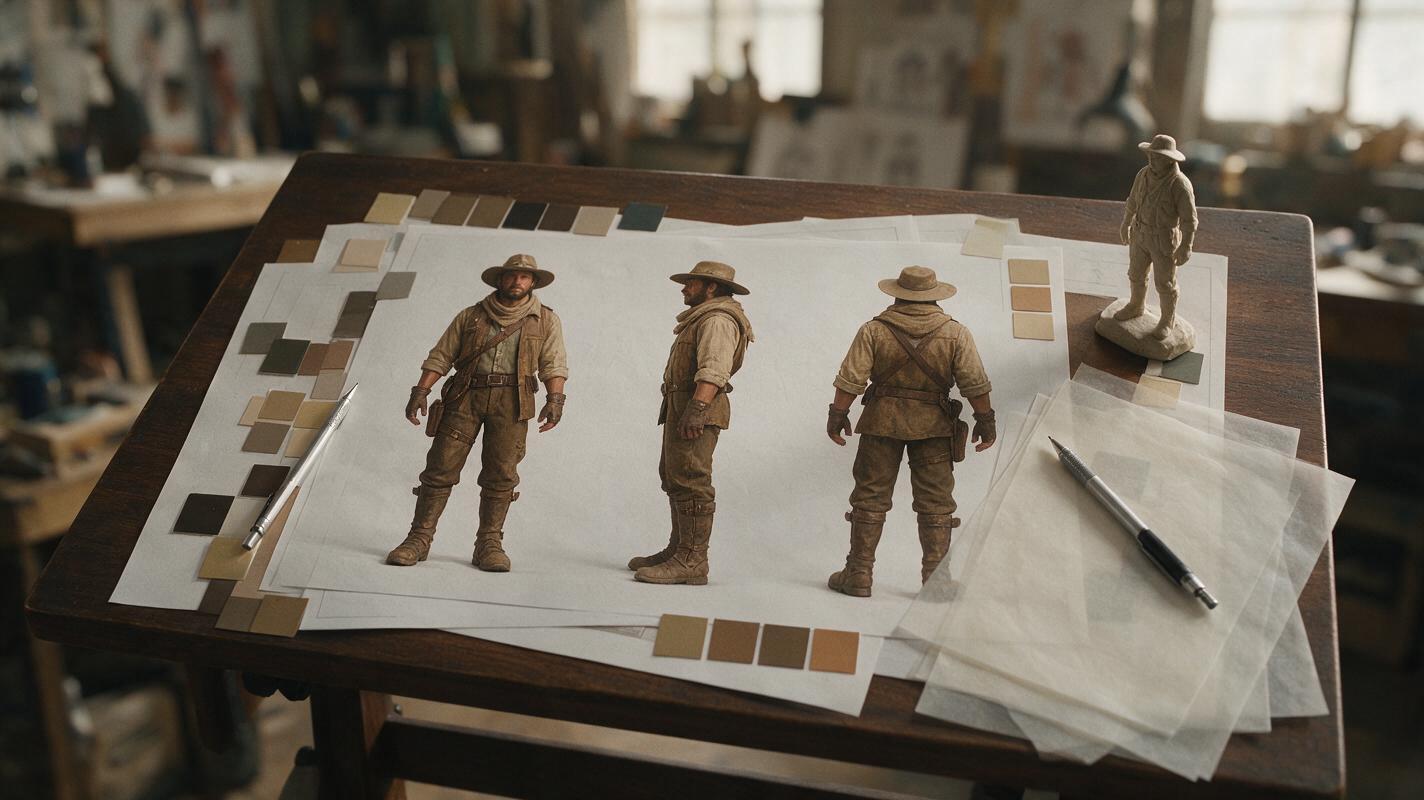
Table of contents
Create a Model Sheet That Survives Production
A useful character turnaround must preserve the same anatomy, costume construction, materials, and accessories from every angle—not merely generate four similar-looking characters.
That distinction matters when concept art moves into modeling, rigging, animation, or outsourced production. A beautiful front view cannot answer where a shoulder guard attaches, how a coat overlaps at the back, or whether a belt pouch sits on the character’s left or right side.
This tutorial shows how to use GPT Image as an iterative design assistant: establish one authoritative reference, generate controlled views, inspect structural landmarks, and repair individual errors without redesigning the entire character.
Best use: early model sheets, costume clarification, pitch materials, and pre-production handoff. A generated turnaround should still be reviewed by an artist before it becomes a modeling blueprint.
Step 1 — Choose One Authoritative Character Reference
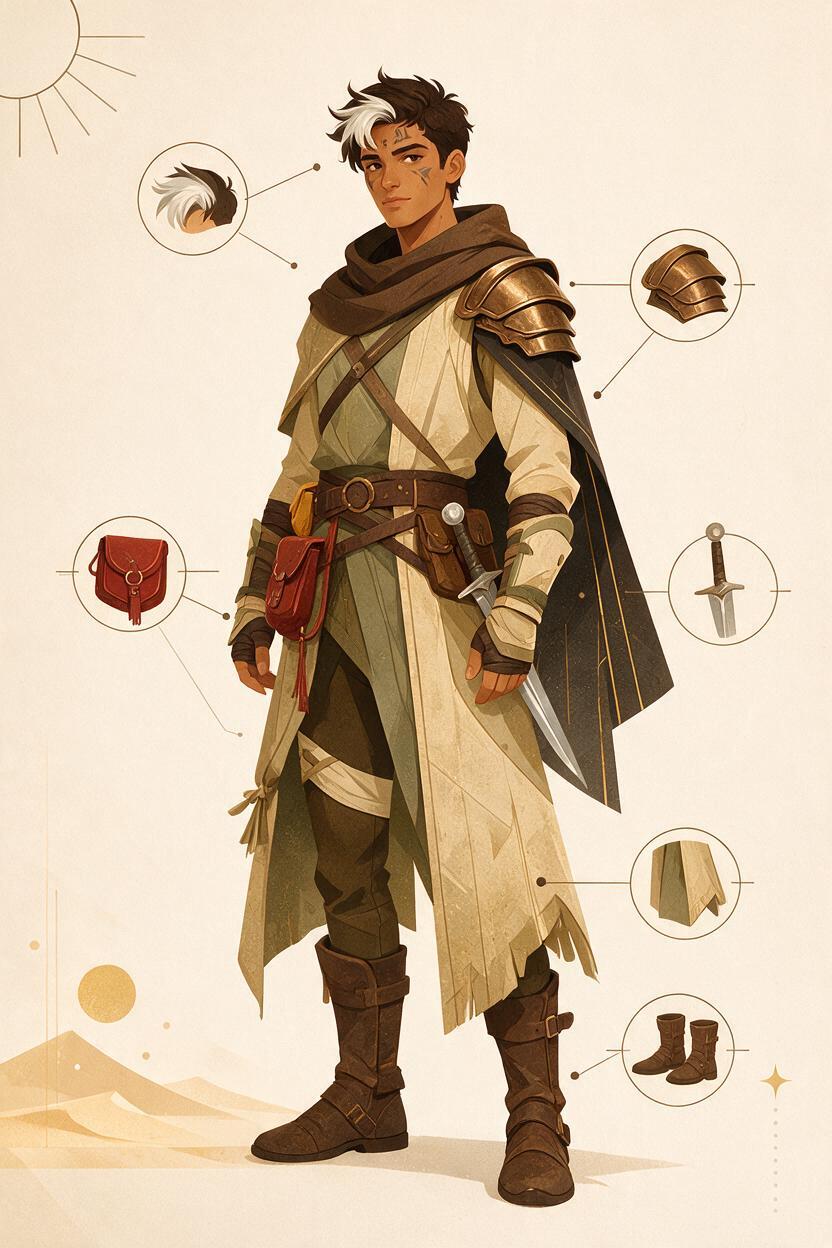
Do not begin with a folder of loosely related images. Select one approved image as the source of truth, preferably a neutral full-body view with clearly visible hands, footwear, silhouette, and costume layers.
The strongest reference has:
- A simple pose with minimal foreshortening
- Even lighting that does not hide garment construction
- A readable silhouette from head to toe
- Clearly separated weapons, bags, capes, and body parts
- No cropped boots, hands, horns, or hair
- A plain or unobtrusive background
If the original concept is a dramatic painting, first make a neutral design reference with an AI image generator or a manual paint-over. Remove atmospheric effects, extreme perspective, enemies, floating particles, and scenery that could be mistaken for part of the design.
Before generating anything, write a short identity lock. This converts visual decisions into language that can be repeated across every edit.
IDENTITY LOCK
Adult female desert ranger, athletic build, narrow angular face,
short black hair with one silver forelock, amber eyes.
Sand-colored hooded coat ending above the knees.
Dark teal fitted trousers, brown knee boots.
Bronze shoulder guard on her LEFT shoulder only.
Small red utility pouch on her RIGHT hip.
Curved dagger mounted horizontally at the lower back.
No cape, no gloves, no additional armor.
Use concrete relationships such as left shoulder, right hip, and lower back. Words like “interesting armor” or “detailed outfit” invite invention rather than consistency.
Step 2 — Define the Turnaround Before You Generate
Decide whether you need a presentation sheet or production views. A four-view sheet is fast and visually unified, but separate images usually provide more room for corrections and higher usable detail.
| Format | Best for | Main risk |
|---|---|---|
| Single four-view sheet | Pitch decks and quick design checks | Small details and distorted side views |
| Separate front, side, and back images | Modeling reference and iteration | More opportunities for design drift |
| Front plus back sheet | Costume construction and silhouette review | Missing depth information |
| Three-quarter rotation set | Presentation and volume evaluation | Harder to measure proportions |
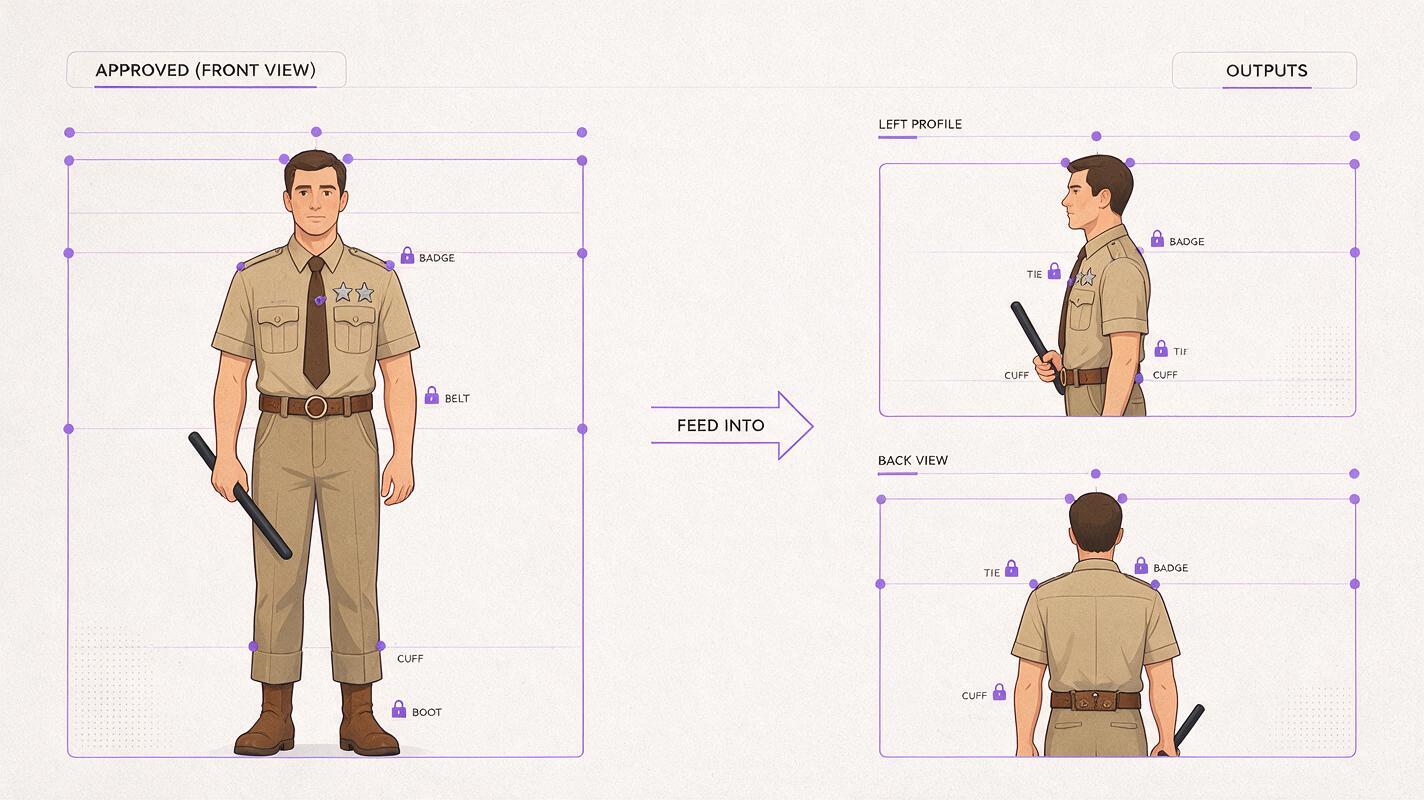
For production, generate the front view first, approve it, and use that result with the original concept as the reference pair for later views. This creates a stable neutral interpretation before the model must infer hidden areas.
Keep the frame conditions fixed:
- Orthographic-style presentation rather than dramatic perspective
- Full body centered in the frame
- Neutral standing pose with arms slightly separated
- Eye-level camera and consistent character scale
- Flat light-gray background
- Soft, even studio lighting
- No labels during the first generation pass
Step 3 — Generate a Clean Front View
Upload the approved concept and ask GPT Image to reinterpret it as a neutral model-sheet view. Treat this as a controlled image-editing task, not an invitation to develop a new design.
Using the attached character concept as the sole design reference,
create a full-body FRONT orthographic character turnaround view.

Preserve exactly:
- facial identity, age, body proportions, and hairstyle
- sand hooded coat and its seam placement
- bronze guard on the character's left shoulder only
- red pouch on the character's right hip only
- teal trousers, brown knee boots, and rear-mounted curved dagger

Neutral symmetrical standing pose, feet shoulder-width apart,
arms relaxed and slightly away from the torso, hands visible.
Eye-level camera, minimal perspective, even studio lighting,
plain light-gray background. No scenery, text, labels, extra props,
or costume redesign.
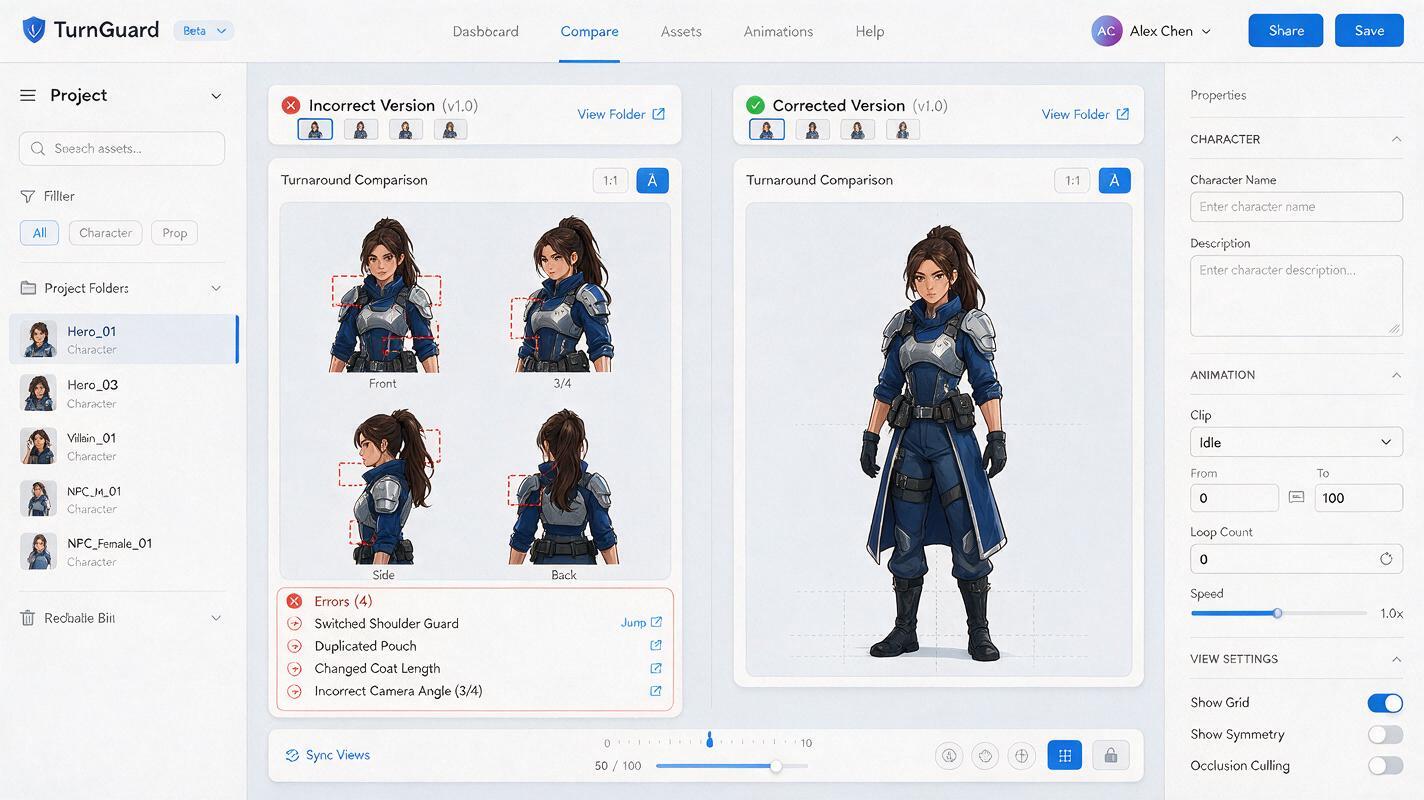
Inspect the result at full size. Compare head-to-body ratio, shoulder width, coat hem, belt height, knee position, and boot height against the original. These large landmarks matter more than decorative stitching.
If the front view is structurally wrong, regenerate it before moving on. Later angles will amplify an incorrect foundation.
Save each approved stage as a new reference. Do not rely on the conversation history alone to preserve every visual decision.
Step 4 — Build Side and Back Views From Locked Landmarks
A side view is where many generated turnarounds fail. The model may narrow the torso, move asymmetrical accessories, hide both arms, or convert decorative shapes into functional objects. Request one new angle at a time and repeat the identity lock.
For the profile, specify which side faces the camera. “Side view” alone is ambiguous.
Create the exact same character in a strict LEFT-FACING profile view.
Use the attached approved front view and original concept as references.
Do not redesign, simplify, or add costume elements.

Keep identical character height, head size, limb length, coat length,
belt height, boot height, colors, materials, and hairstyle.
The bronze shoulder guard remains on her LEFT shoulder.
The red pouch remains attached to her RIGHT hip and may be partly hidden.
Show the curved dagger mounted horizontally across the lower back.

Neutral posture, arms slightly offset so the torso silhouette is readable.
Eye-level orthographic-style camera, plain light-gray background,
even studio light, full body visible.
The back view requires a different kind of instruction because the source concept may not show its construction. Separate confirmed facts from areas that need a restrained design solution.
Create a full-body BACK orthographic view of the same character.
Preserve all visible design facts from the references.
For areas not shown in the original, use the simplest construction
consistent with the front and side views. Do not invent emblems,
armor plates, straps, pockets, or decorative patterns.

Show the rear coat seam, hood attachment, belt continuation,
right-hip pouch attachment, and horizontal lower-back dagger mount.
Match the approved proportions and neutral pose exactly.
This is more reliable than asking the model to “imagine the back.” It gives permission to resolve hidden geometry while limiting ornamental invention.
Ready to validate the method on an approved design? Test this prompt yourself with a character whose accessories and costume layers are already clearly defined.
Step 5 — Correct One Error at a Time
When an output is mostly correct, avoid regenerating the complete image with a long list of complaints. Make a focused edit that names the incorrect region, the required replacement, and everything that must remain unchanged.
Edit only the right-hip accessory area.
Replace the brown double pouch with one small rectangular red pouch,
matching the approved front reference.
Keep its attachment point at the same belt position.
Do not change the pose, anatomy, face, coat, lighting, camera,
background, weapon, or any other costume element.
A practical correction order is:
- Silhouette: height, body mass, head size, coat length
- Anatomy: shoulders, hands, feet, joint placement
- Construction: garment overlaps, straps, closures, weapon mounts
- Asymmetry: left-right placement of armor and accessories
- Materials and color: leather, metal, fabric, accent colors
- Small details: seams, buckles, stitching, wear
This order prevents wasted work. There is little value in perfecting a buckle on a view whose torso proportions are unusable.
Step 6 — Assemble and Label the Final Sheet
Once every angle is approved, place the views on a shared canvas at equal height. Align the crown, eye line, shoulders, hips, knees, and floor line. This immediately exposes scale drift that was difficult to notice in separate files.
Add labels during layout rather than asking the generator to render them. Use simple headings such as FRONT, LEFT, BACK, and 3/4. Include separate callouts for details that are too small in the full-body views:
- Face and hair construction
- Hand or glove design
- Footwear and sole shape
- Weapon attachment
- Material and color swatches
- Removable costume layers
If you need a fresh character rather than an existing reference, begin with a constrained text to image prompt that specifies a neutral full-body pose. Approve that concept first; do not attempt character design and a technically accurate turnaround in the same generation.
Step 7 — Troubleshoot Common Turnaround Failures
| Problem | Likely cause | Practical fix |
|---|---|---|
| Accessories switch sides | Ambiguous orientation language | State character-left or character-right in every prompt and verify it visually |
| Profile looks like a different person | Face was defined only from the front | Lock forehead, nose, chin, hairline, and jaw landmarks explicitly |
| Back becomes overdesigned | Hidden areas invite invention | Request the simplest compatible construction and prohibit new decoration |
| Views have different heights | Framing changed between generations | Repeat full-body, eye-level, fixed-scale instructions and align views during layout |
| Hands merge with clothing | Arms are too close to the torso | Ask for arms slightly separated with visible fingers and silhouette gaps |
| Armor changes material | Color was specified without surface properties | Define both material and finish, such as aged bronze with a low-gloss surface |
| Side view becomes three-quarter | The requested rotation was imprecise | Use strict profile, exactly 90 degrees, with one eye and one ear visible |
For an important production asset, finish with a manual paint-over. Straighten seams, standardize small shapes, remove accidental tangencies, and annotate uncertain construction. Generative output is most valuable as a fast structural draft, while final authority remains with the character artist and production team.
Final Checklist
- Use one approved concept as the authoritative design reference.
- Write an identity lock covering anatomy, costume, colors, and asymmetry.
- Approve a neutral front view before generating side and back views.
- Name the exact profile direction and preserve character-left and character-right.
- Ask for simple solutions in areas the original concept does not reveal.
- Correct silhouette and anatomy before polishing small details.
- Align every view to common anatomical landmarks on the final sheet.
- Review and paint over the result before handing it to a 3D artist.
Keywords
GPT Image, character turnaround, character concept art, model sheet, AI image generator, character consistency, game character design