How to Preview Recessed Lighting in a Room Photo with GPT Image
Use a room photo and GPT Image to compare recessed-lighting concepts without changing the architecture or furniture. This tutorial covers reference preparation, prompts for controlled lighting edits, and checks that keep concept images from being mistaken for technical lighting plans.
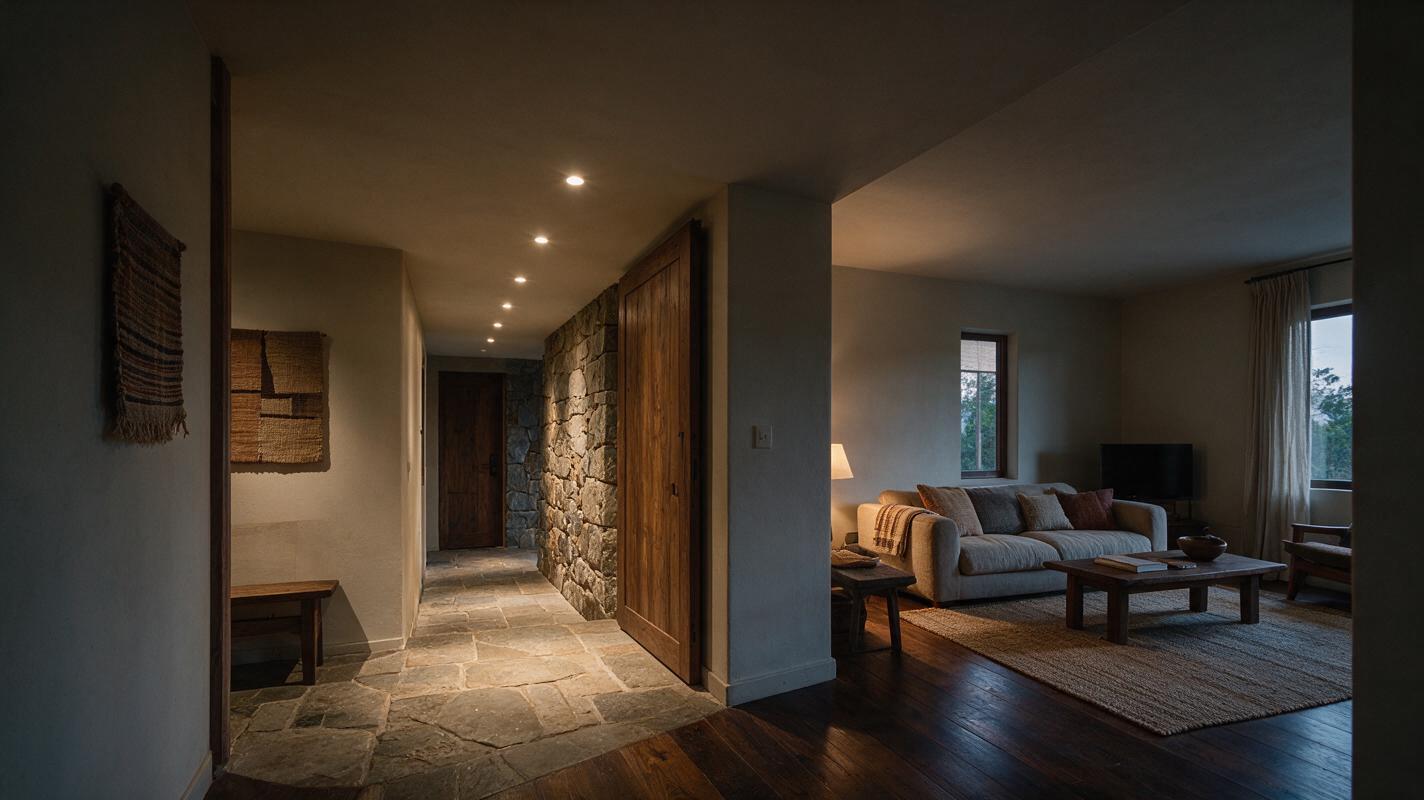
Table of contents
Preview the light, not a different room
A lighting concept is hard to judge when every generated image quietly changes the ceiling, furniture, or window. If you want to show a client what recessed lights might feel like in their actual room, start with one clear photo and ask GPT Image to edit the illumination while keeping the space recognizable. The result can help compare moods and fixture arrangements before you commit to a detailed lighting plan—but it is a concept image, not a prediction of measured light levels.
The method below creates two comparable views: a restrained daytime scheme and a warmer evening scheme. It also gives you a way to catch the most common failure: attractive lighting in a room that is no longer the client’s.
Step 1 — Choose a photo that makes the lighting question visible
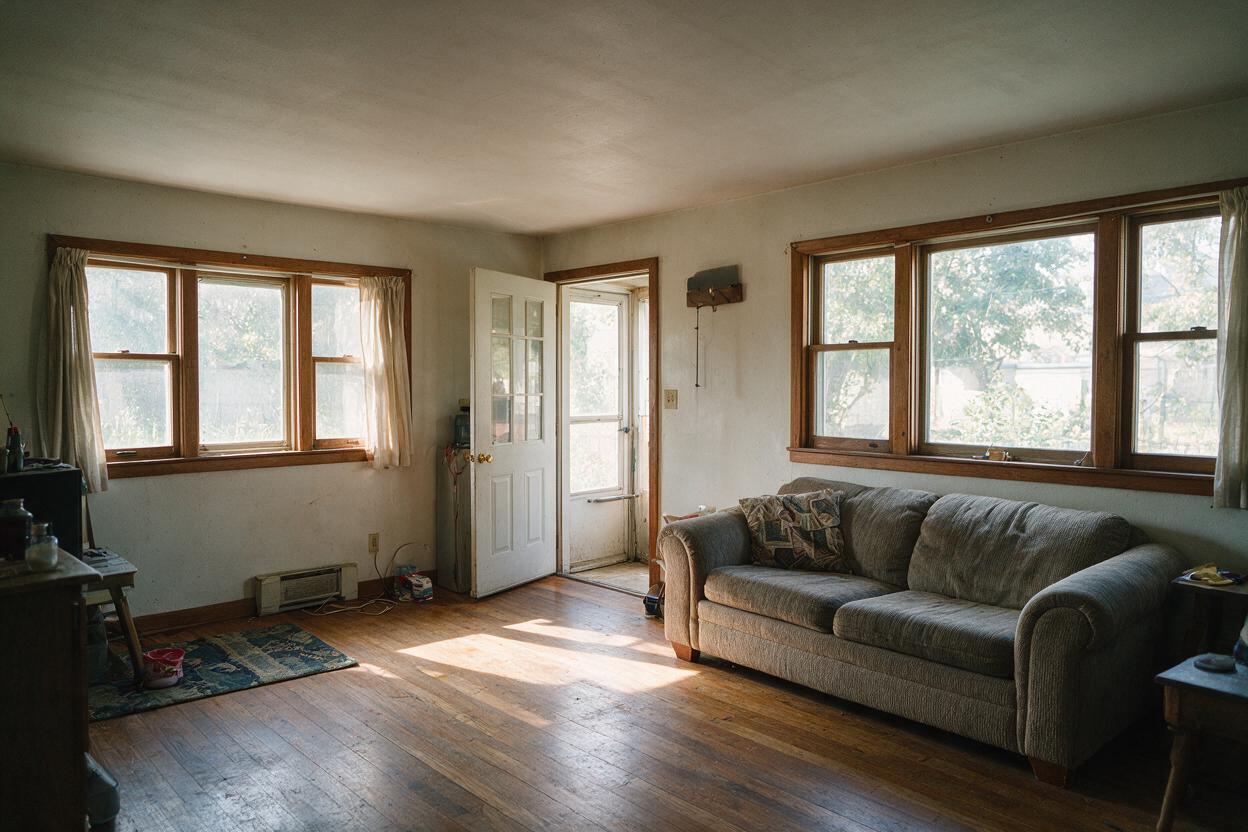
Use a straight, high-resolution room photo with the ceiling, key walls, windows, and main seating or work area in frame. An eye-level view from a corner often shows enough of the room to evaluate where light falls. Avoid an ultrawide image if it makes ceiling spacing difficult to read.
Before editing, decide what you are actually testing. “Make this room brighter” is too broad; “add a modest row of recessed downlights along the circulation route while leaving the sofa area softer” gives you a decision to evaluate.
- Keep: the original crop, camera angle, ceiling height, openings, furniture positions, finishes, and visible daylight direction.
- Change: the proposed light sources, their apparent output, and the resulting shadows and pools of light.
- Record separately: approximate fixture locations and the intended use of each zone. The image alone will not reliably communicate dimensions.
If the ceiling is largely out of frame, take another reference photo. A prompt cannot make an invisible fixture layout easy to review.
Step 2 — Make one controlled daylight edit
Upload the photo to a tool that supports GPT Image editing. Treat this as a reference-based edit, not a blank-canvas ai image generator task: the room photo is the source of truth. Ask for a modest lighting change first, so you can check whether the model preserves the geometry before exploring more dramatic moods.
Edit the uploaded living-room photo as a lighting concept. Preserve the exact camera position, crop, room geometry, ceiling plane, windows, doors, furniture placement, materials, and visible decor. Add a restrained arrangement of small recessed ceiling downlights along the circulation path, with soft, believable light on the floor and adjacent wall. Keep the window daylight direction and overall daytime exposure consistent with the source photo. Do not add pendant lights, move objects, change finishes, enlarge the room, or redesign the ceiling.Inspect the result beside the original at the same size. Look particularly at ceiling edges, window frames, furniture silhouettes, and floorboards: these reveal whether the edit has drifted. If anything structural changes, ask for a new edit from the original photo rather than repeatedly editing the flawed result.
Test this prompt yourself with a room where the ceiling and circulation route are visible. Save the original and every accepted version; you will need them for a fair comparison.
Step 3 — Create the evening version from the same original
For an honest before-and-after comparison, start again from the original photo. Do not use the daylight edit as the evening input: each extra generation can introduce small changes to the room. Reuse the same fixture arrangement, then change only the ambient conditions and lighting emphasis.
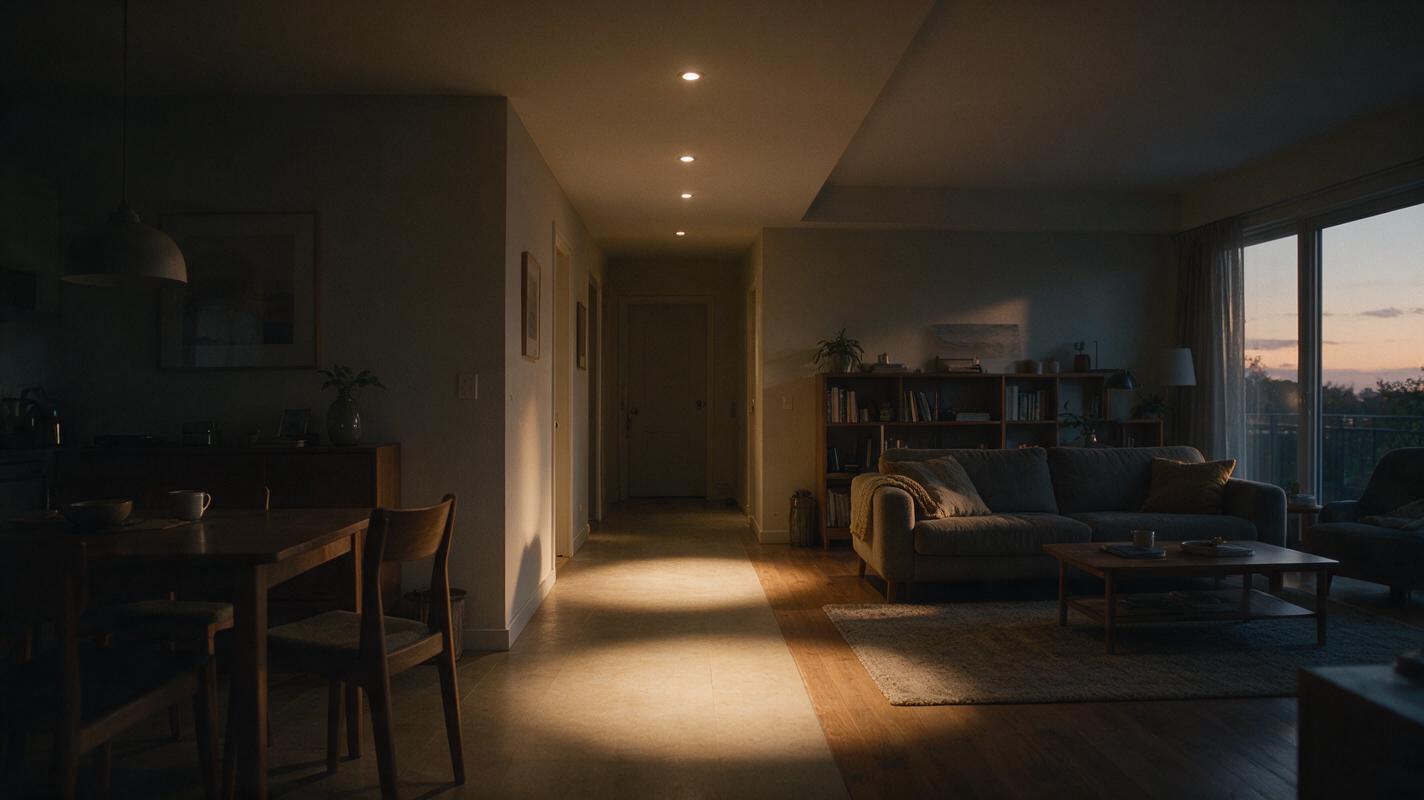
Edit the uploaded original room photo as an evening lighting concept. Preserve the exact camera position, crop, architecture, ceiling, furniture, materials, and decor. Show the same small recessed downlight positions specified in the daytime concept, now producing a warm, restrained evening atmosphere. Let the circulation path remain legible while the seating area stays comfortable and less brightly lit. Show plausible falloff and soft shadows rather than uniform brightness. Reduce visible daylight at the windows without changing their shape or view. Do not add new fixtures, move furniture, alter finishes, or create a false ceiling.If your first edit revealed a fixture arrangement worth keeping, describe its position explicitly in the second prompt—for example, “three downlights in a straight line above the walkway, not above the sofa.” Do not rely on “same as before” unless the editing tool can actually reference that image. For greater consistency, provide a simple annotated copy of the original showing proposed fixture centers, and ask the model to use those marks as placement guidance rather than as visible elements in the output.
Step 4 — Compare lighting decisions, not just attractive images
Place the original, daylight concept, and evening concept side by side at identical dimensions. Then review each against the design brief. An image can feel convincing while hiding glare, washing out a focal wall, or placing lights where a ceiling constraint makes them impractical.
| Review point | What to check in the concepts | What needs a separate technical check |
|---|---|---|
| Circulation | Does the route read clearly without turning the whole room equally bright? | Required illuminance and switch or dimming strategy |
| Seating | Are faces and surfaces comfortable, or do downlights create harsh hotspots? | Beam angle, glare rating, and actual fixture performance |
| Materials | Do finishes still look like the specified finishes in both views? | Color rendering and physical samples under proposed lamps |
| Ceiling | Do the proposed fixtures appear consistently placed in both views? | Joists, services, clearances, and installation feasibility |
Mark any mismatch directly in your review notes. If the evening view changes a wall color or invents a cove, reject it even if its atmosphere is appealing. The objective is to choose a lighting direction for the existing room, not to accidentally approve a different renovation concept.
Step 5 — Correct drift with smaller, explicit requests
When an edit fails, narrow the next request to the visible error. Starting from the original each time makes it easier to tell whether the correction worked.
- Ceiling shape changed: “Retain the original flat ceiling and its exact junctions with all walls; change illumination only.”
- Too many downlights: specify the count and zone: “Show three recessed fixtures over the walkway only.”
- Everything glows evenly: request visible falloff between lit and unlit areas while preserving a readable exposure.
- Furniture or finishes changed: name the affected item and ask for its original position, color, and material to remain unchanged.
- Day and evening views do not match: return to the original photo and use the same written fixture-location description for both edits.
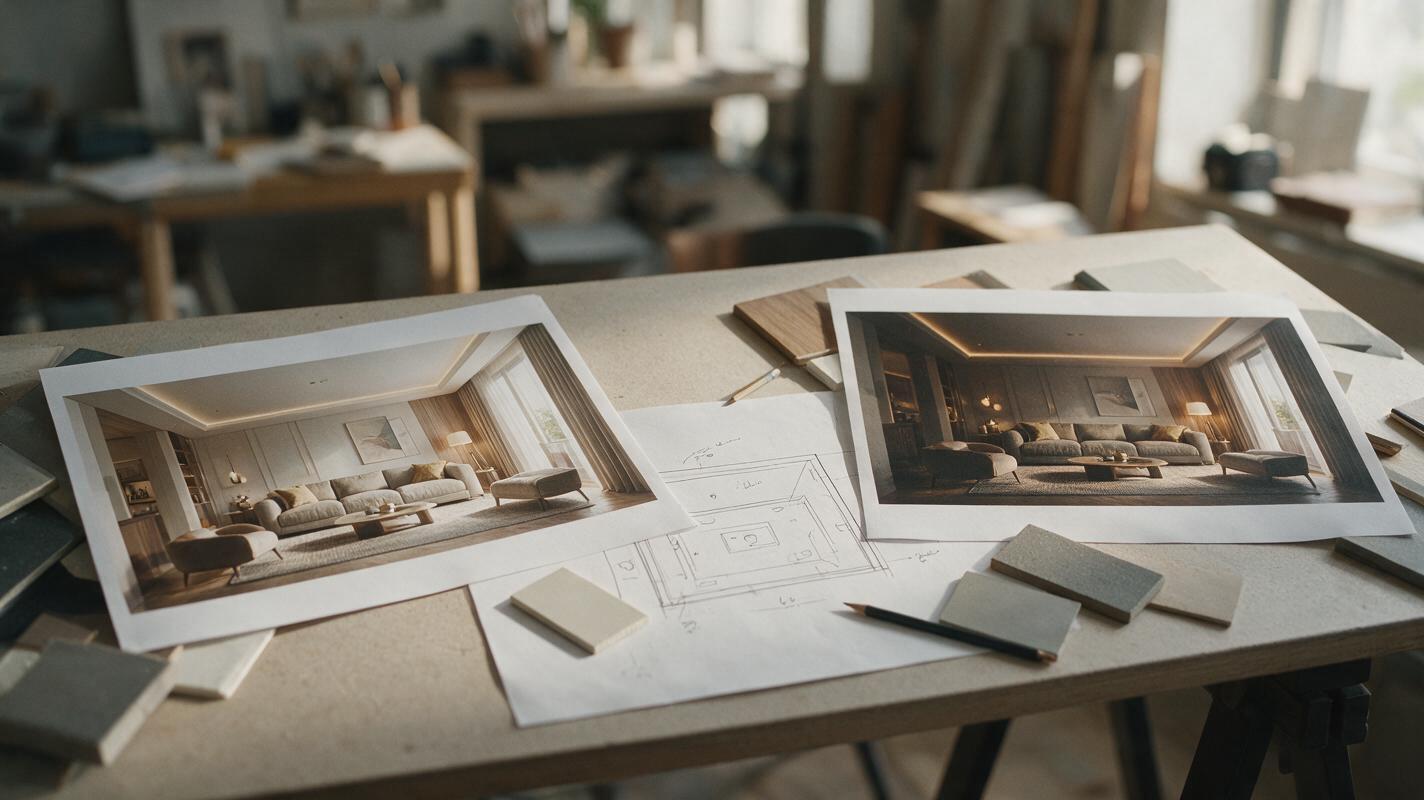
For client presentation, caption the images as lighting concepts. Pair them with a simple reflected-ceiling sketch or marked-up plan if fixture placement matters to the decision. GPT Image can communicate an intended atmosphere, but it cannot verify beam spreads, wiring, code compliance, or photometric performance from a photograph.
Final checklist
- Use one original photo with the ceiling and relevant room zones visible.
- Define what stays fixed before describing what the lighting should change.
- Generate daylight and evening concepts independently from the same source.
- Compare identical crops and reject images that alter architecture or finishes.
- Label the results as concepts and validate fixture performance separately.
Keywords
recessed lighting visualization, GPT Image interior editing, room lighting concepts, lighting design prompts, interior photo editing, warm vs cool lighting