GPT Image Prompts for Consistent Explainer Video Storyboards
Turn an explainer script into a coherent visual storyboard without characters, locations, or teaching details changing between frames. These GPT Image prompt templates help educators lock continuity, plan purposeful shots, and review each frame before producing a course video.
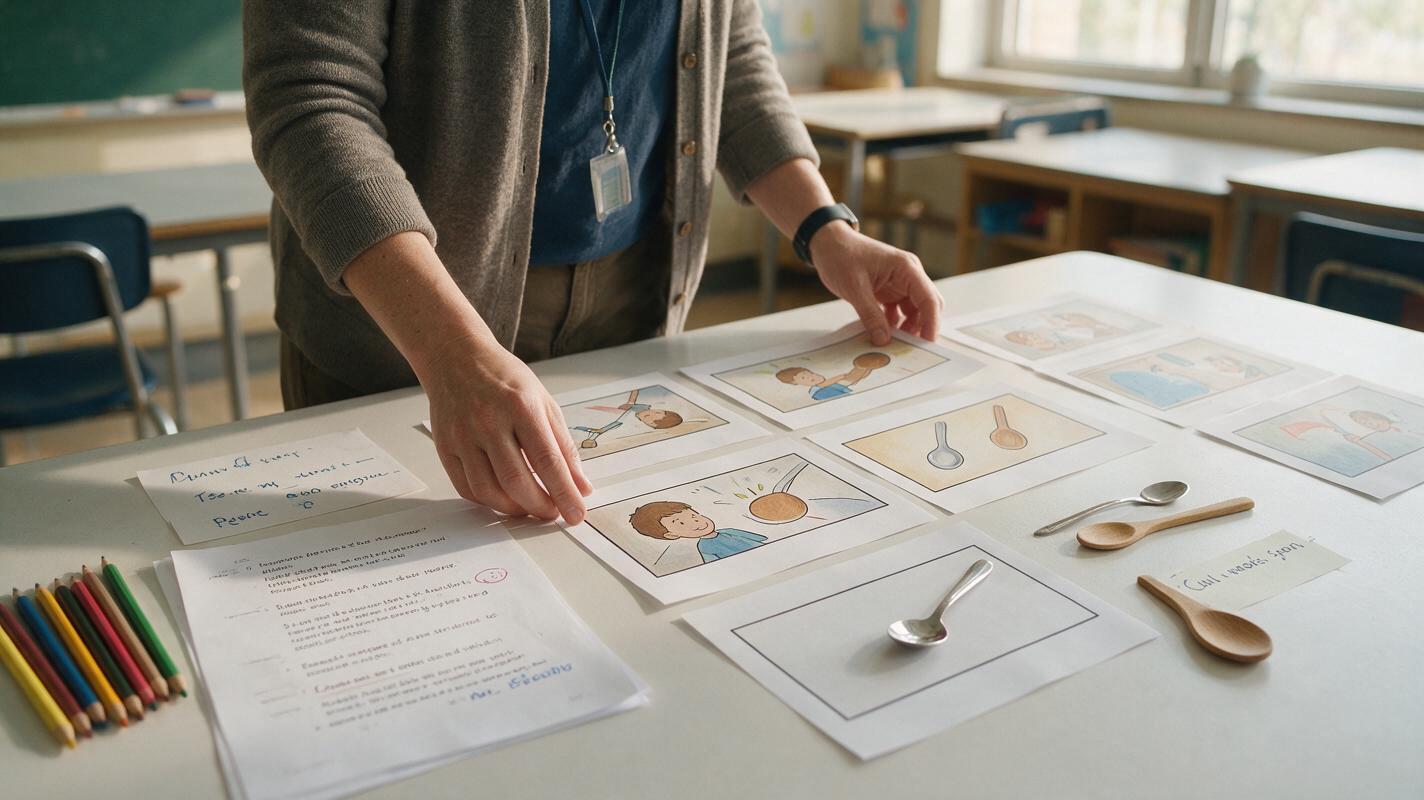
Table of contents
Plan every explainer shot before video production
A useful explainer storyboard must do more than look polished. It should show exactly what learners will see, preserve important details from shot to shot, and reveal where narration, labels, or transitions may cause confusion. The problem is that separately generated frames often redesign the presenter, move classroom objects, change diagrams, or introduce visual information that the script never mentioned.
GPT Image can help create a coherent storyboard when every prompt is treated as part of one controlled sequence. Instead of asking for six independent illustrations, establish a visual specification, define the teaching purpose of each shot, and change only what the next frame requires.
Best practice: use generated frames to plan composition, action, and continuity. Add final captions, formulas, interface text, and accessibility information in your editing or presentation software, where every character can be checked.
Translate the script into observable teaching beats
Do not create one image for every sentence. Break the script wherever the learner needs to see a new state, comparison, action, or piece of evidence. A 60-second explanation may need only five to eight purposeful frames.
For each frame, write a compact shot record containing:
- Narration purpose: what the learner should understand.
- Visible evidence: what must appear on screen to support that idea.
- Continuity locks: details that must remain unchanged.
- Permitted change: the one action, object, or viewpoint that may change.
- Text added later: labels, equations, captions, or interface copy reserved for editing.
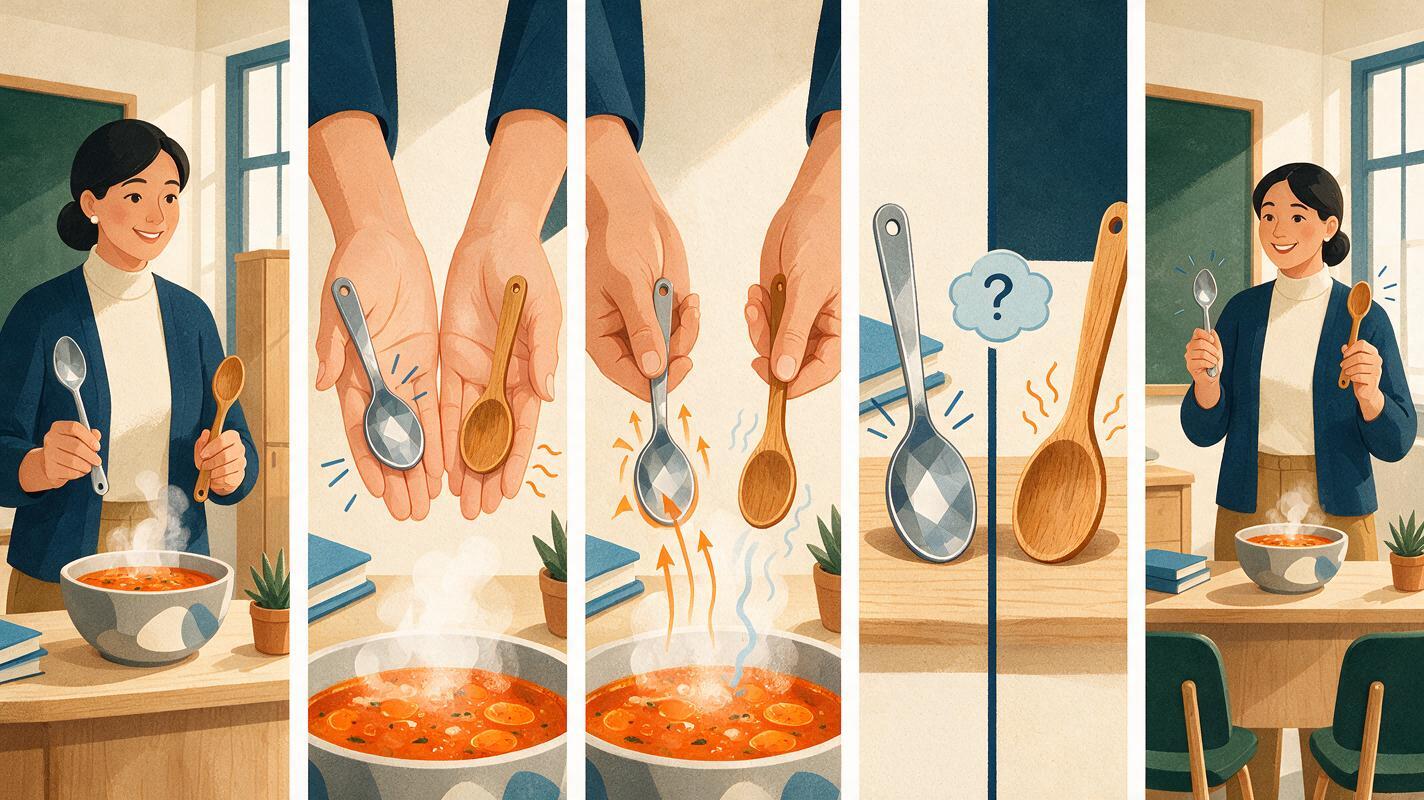
Consider a short lesson explaining why a metal spoon feels colder than a wooden spoon at the same room temperature. The teaching beats might be: establish equal conditions, show a hand touching both spoons, introduce heat transfer, compare transfer rates, and summarize the misconception. That sequence is more instructive than five decorative images of spoons.
Build a visual specification that survives every frame
Before generating the first shot, define a reusable visual specification. This becomes the fixed prefix for all later prompts. Use ai image generator controls to keep the aspect ratio and visual treatment stable, but place the most important continuity facts in the prompt itself.
PROJECT: 16:9 storyboard frames for a secondary-school science explainer
STYLE: clean editorial classroom illustration, realistic proportions, restrained colors
LOCATION: bright science classroom, pale gray workbench, blue cabinet in background
PRESENTER: adult teacher, short dark curly hair, green cardigan, charcoal shirt
PROPS: one silver metal spoon and one light-brown wooden spoon, equal size
CAMERA: eye-level instructional framing, moderate depth, no dramatic lens distortion
LIGHT: soft daylight from the left, consistent direction in every frame
CONTINUITY: preserve presenter, clothing, room layout, spoons, color palette, and lighting
TEXT: no written labels, captions, logos, watermarks, numbers, or decorative lettering
SAFETY: ordinary classroom demonstration, calm posture, uncluttered work surface
Specific nouns outperform vague continuity requests. “Keep everything consistent” gives the model little to verify. “Preserve the green cardigan, blue cabinet, two equal-size spoons, and daylight from the left” creates visible checkpoints.
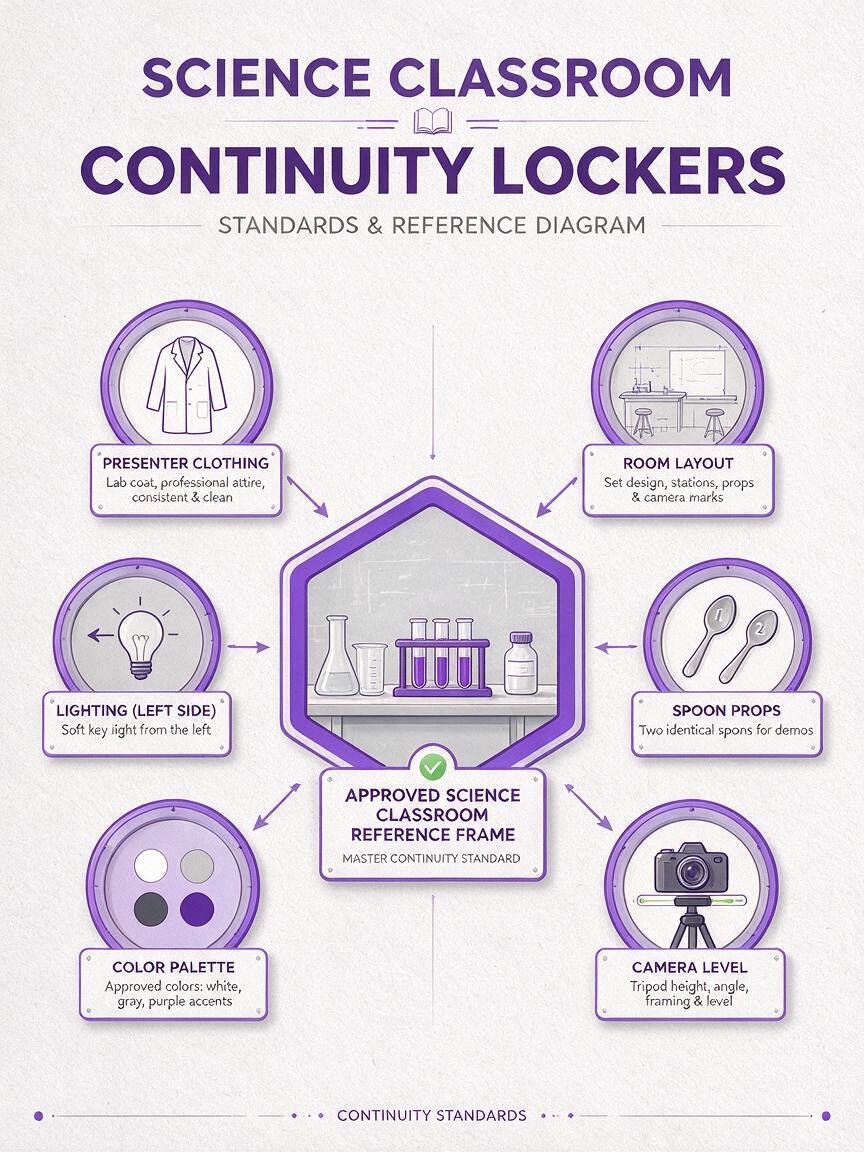
Generate a neutral continuity frame first
The first image should be a reference frame, not the most dramatic shot. Show the presenter, location, important props, and overall art direction clearly. Avoid crossed arms, hidden hands, extreme perspectives, or objects that overlap each other.
Create the continuity reference frame using the project specification above.

Wide-medium view of the teacher standing behind the workbench. The silver metal spoon lies on the left and the light-brown wooden spoon lies on the right, parallel and fully visible. The teacher's hands rest naturally beside the objects without touching them. Keep the blue cabinet visible in the background. Neutral instructional expression. Clear silhouettes, balanced empty space, no text.
Inspect this frame before proceeding. Check anatomy, object count, left-right placement, clothing, background geometry, and whether the composition leaves room for later overlays. If a foundational detail is wrong, regenerate now rather than carrying the mistake through the sequence.
Change one instructional variable at a time
Each new frame should inherit the specification and continuity reference while introducing one deliberate change. This reduces drift and makes differences between frames meaningful to the learner.
| Frame | Teaching purpose | Allowed visual change | Locked details |
|---|---|---|---|
| Establishing frame | Both spoons share the same room conditions | None | Presenter, room, spoon positions |
| Touch comparison | The learner observes the perceived difference | Teacher touches both handles | Same spoons and workbench |
| Heat-transfer model | Energy leaves the hand at different rates | Add simple colored flow overlays | Hand and spoon geometry |
| Side-by-side comparison | Metal conducts energy faster | Closer crop on both contacts | Object identity and lighting |
| Summary frame | Feeling colder does not mean starting colder | Return to wider composition | Original room and presenter |
For the touch frame, use a prompt that identifies both the preserved scene and the permitted action:
Continue from the approved continuity frame. Preserve the same teacher, clothing, classroom, workbench, spoon designs, left-right positions, lighting direction, and illustration style.

Change only the hand action: the teacher lightly touches the end of the metal spoon handle with the left index finger and the end of the wooden spoon handle with the right index finger. Both hands must be fully visible and anatomically natural. Keep both spoons resting flat and parallel. Medium instructional shot, calm expression, no text or added objects.
If the model changes the cabinet, clothing, or utensils, do not describe all errors in a completely new prompt. Return to the approved reference, restate the locks, and request the smallest possible correction.
Separate conceptual overlays from literal objects
Educational explainers often visualize invisible processes such as heat transfer, electrical current, airflow, or data movement. Learners must be able to distinguish a conceptual overlay from something physically present in the scene.
Generate the underlying physical scene first. Then create or add the explanatory overlay as a separate layer. Use consistent conventions throughout the lesson: for example, translucent orange paths for energy transfer and dotted outlines for inferred boundaries.
Preserve the approved touch-comparison frame exactly. Add a restrained conceptual overlay only: translucent orange energy-flow bands moving from each fingertip into its spoon. The band entering the metal spoon is wider than the band entering the wooden spoon. The overlays must appear diagrammatic and semi-transparent, not like flames, glowing liquid, or physical objects. No arrows, labels, numbers, or extra symbols.Never rely on color alone to communicate the comparison. Pair color with a second visual cue such as width, pattern, direction, or shape, then explain the convention in narration or accessible text.
Protect labels, equations, and interface text
Storyboard images are planning assets, so they do not need finished typography. Generated text may distract reviewers from the shot’s real purpose and can introduce spelling, notation, or factual errors.
Reserve clean areas for text instead. Write placeholders in the shot record, such as “definition appears in upper-right safe area” or “verified equation added during editing.” For a screen-recording course, use a simplified interface placeholder rather than generating a realistic product screen with unreadable controls.
- Keep formulas in an editable equation tool.
- Add labels after subject-matter review.
- Maintain caption-safe space near the bottom of the frame.
- Check contrast after overlays and text have been added.
- Include essential visual information in narration or descriptive text.
Diagnose continuity failures without restarting
Most storyboard problems can be traced to an unclear lock, too many simultaneous changes, or a reference frame that hides important details.
| Problem | Likely cause | Focused correction |
|---|---|---|
| Presenter changes appearance | Character description is too general | Restate observable hair, clothing, age range, and silhouette details |
| Props multiply or switch sides | Object count and position are not locked | Name the exact count and left-right arrangement |
| Hands become distorted | Too much contact or overlap | Simplify the gesture and request fully visible hands |
| Camera jumps unexpectedly | Shot size is requested without continuity context | Specify the retained axis, eye level, and intended crop |
| Conceptual overlay looks literal | Visual metaphor lacks a boundary | Request translucent diagrammatic treatment and forbid physical effects |
| Every frame feels static | Continuity has been confused with identical composition | Vary crop or emphasis while preserving scene facts |
When correcting a frame, compare it against the last approved image rather than the latest failed variation. This prevents accidental changes from becoming part of the visual specification.
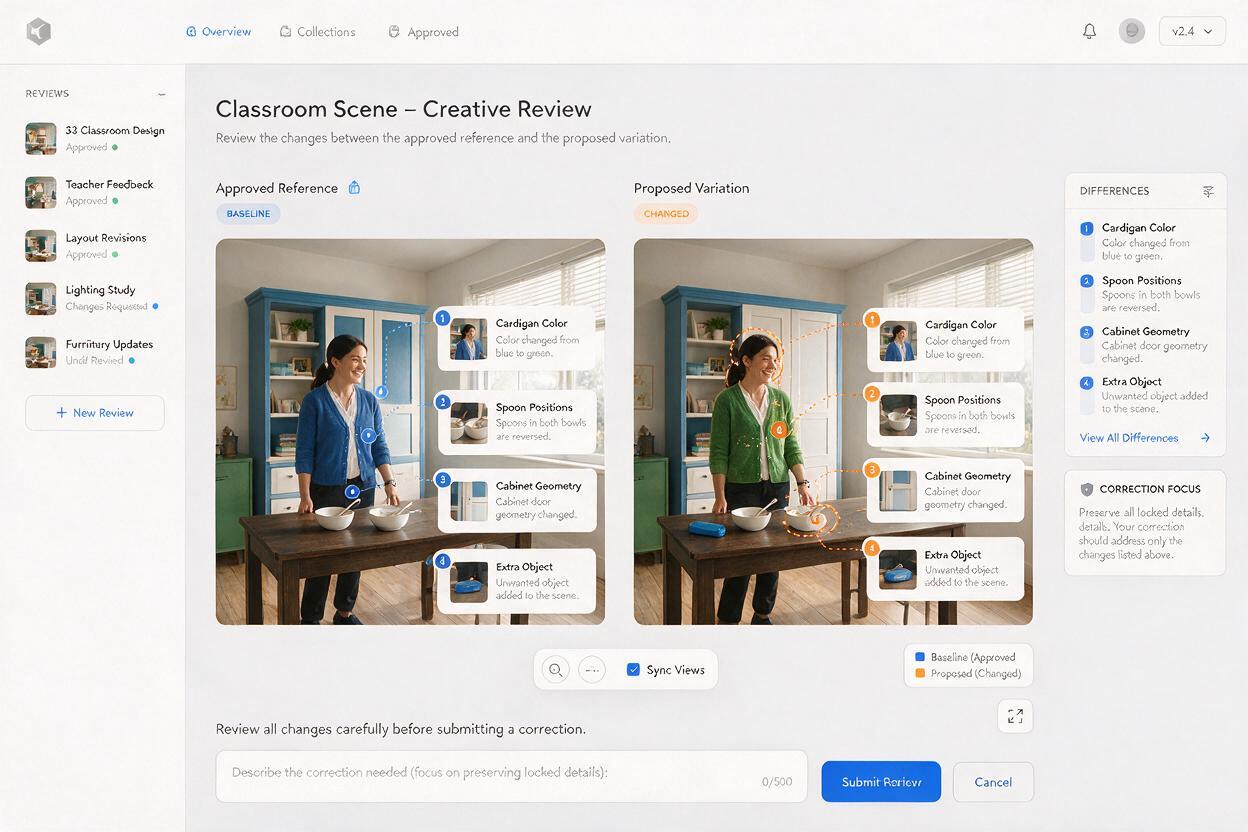
Review the storyboard as a learning sequence
A visually consistent storyboard can still teach poorly. Place all frames in order and review them without narration. Ask whether a learner can identify what changes, why it changes, and which details matter.
Then read the narration alongside the frames. Remove shots that merely repeat the voice-over, and add a frame where the script refers to a relationship that is not visible. This is also the right time to check pacing: a complex comparison may require longer screen time than an establishing shot.
Invite a subject-matter reviewer to check accuracy and an accessibility reviewer to check contrast, caption space, reading order, and dependence on color. Only after those checks should the frames become references for animation, filming, or slide production.
Reusable storyboard prompt template
Continue from the approved reference frame for [PROJECT].

PRESERVE EXACTLY:
- [character appearance and clothing]
- [location and background layout]
- [important object count, design, and position]
- [lighting direction and visual style]
- [camera axis or viewpoint that must not change]

TEACHING PURPOSE:
The learner should understand [one specific idea].

CHANGE ONLY:
[one visible action, comparison, crop, or conceptual overlay].

COMPOSITION:
[shot size], [subject placement], with clear space for [caption or label location].

DO NOT ADD:
extra people, extra objects, written text, logos, decorative symbols, dramatic effects, or unrequested changes.

ACCESSIBILITY:
Use clear silhouettes and more than color alone to distinguish [important comparison].
Adapt the bracketed fields to your lesson, then test this prompt yourself with one reference frame and one controlled change before generating the full sequence.
Final checklist
- The script has been divided into observable teaching beats.
- Every frame has one defined learning purpose.
- The visual specification names concrete continuity locks.
- A neutral reference frame was approved before the sequence expanded.
- Each prompt changes only what the next teaching beat requires.
- Conceptual overlays are visibly different from literal objects.
- Final text, formulas, and labels remain editable.
- Accuracy, accessibility, and pacing have been reviewed.
Once the first reference and shot record are ready, try these models for free and build a short three-frame test before committing to the entire explainer.
Keywords
gpt image prompts, explainer video storyboard, ai storyboard, educational video, shot consistency, course creation, lesson visuals