How to Change a Product Photo Background Without Changing the Product
A new background can make a product photo fit your store or campaign, but AI edits often alter labels, colors, or packaging along the way. This guide shows sellers how to protect the product, build a believable scene, and check the result before publishing.
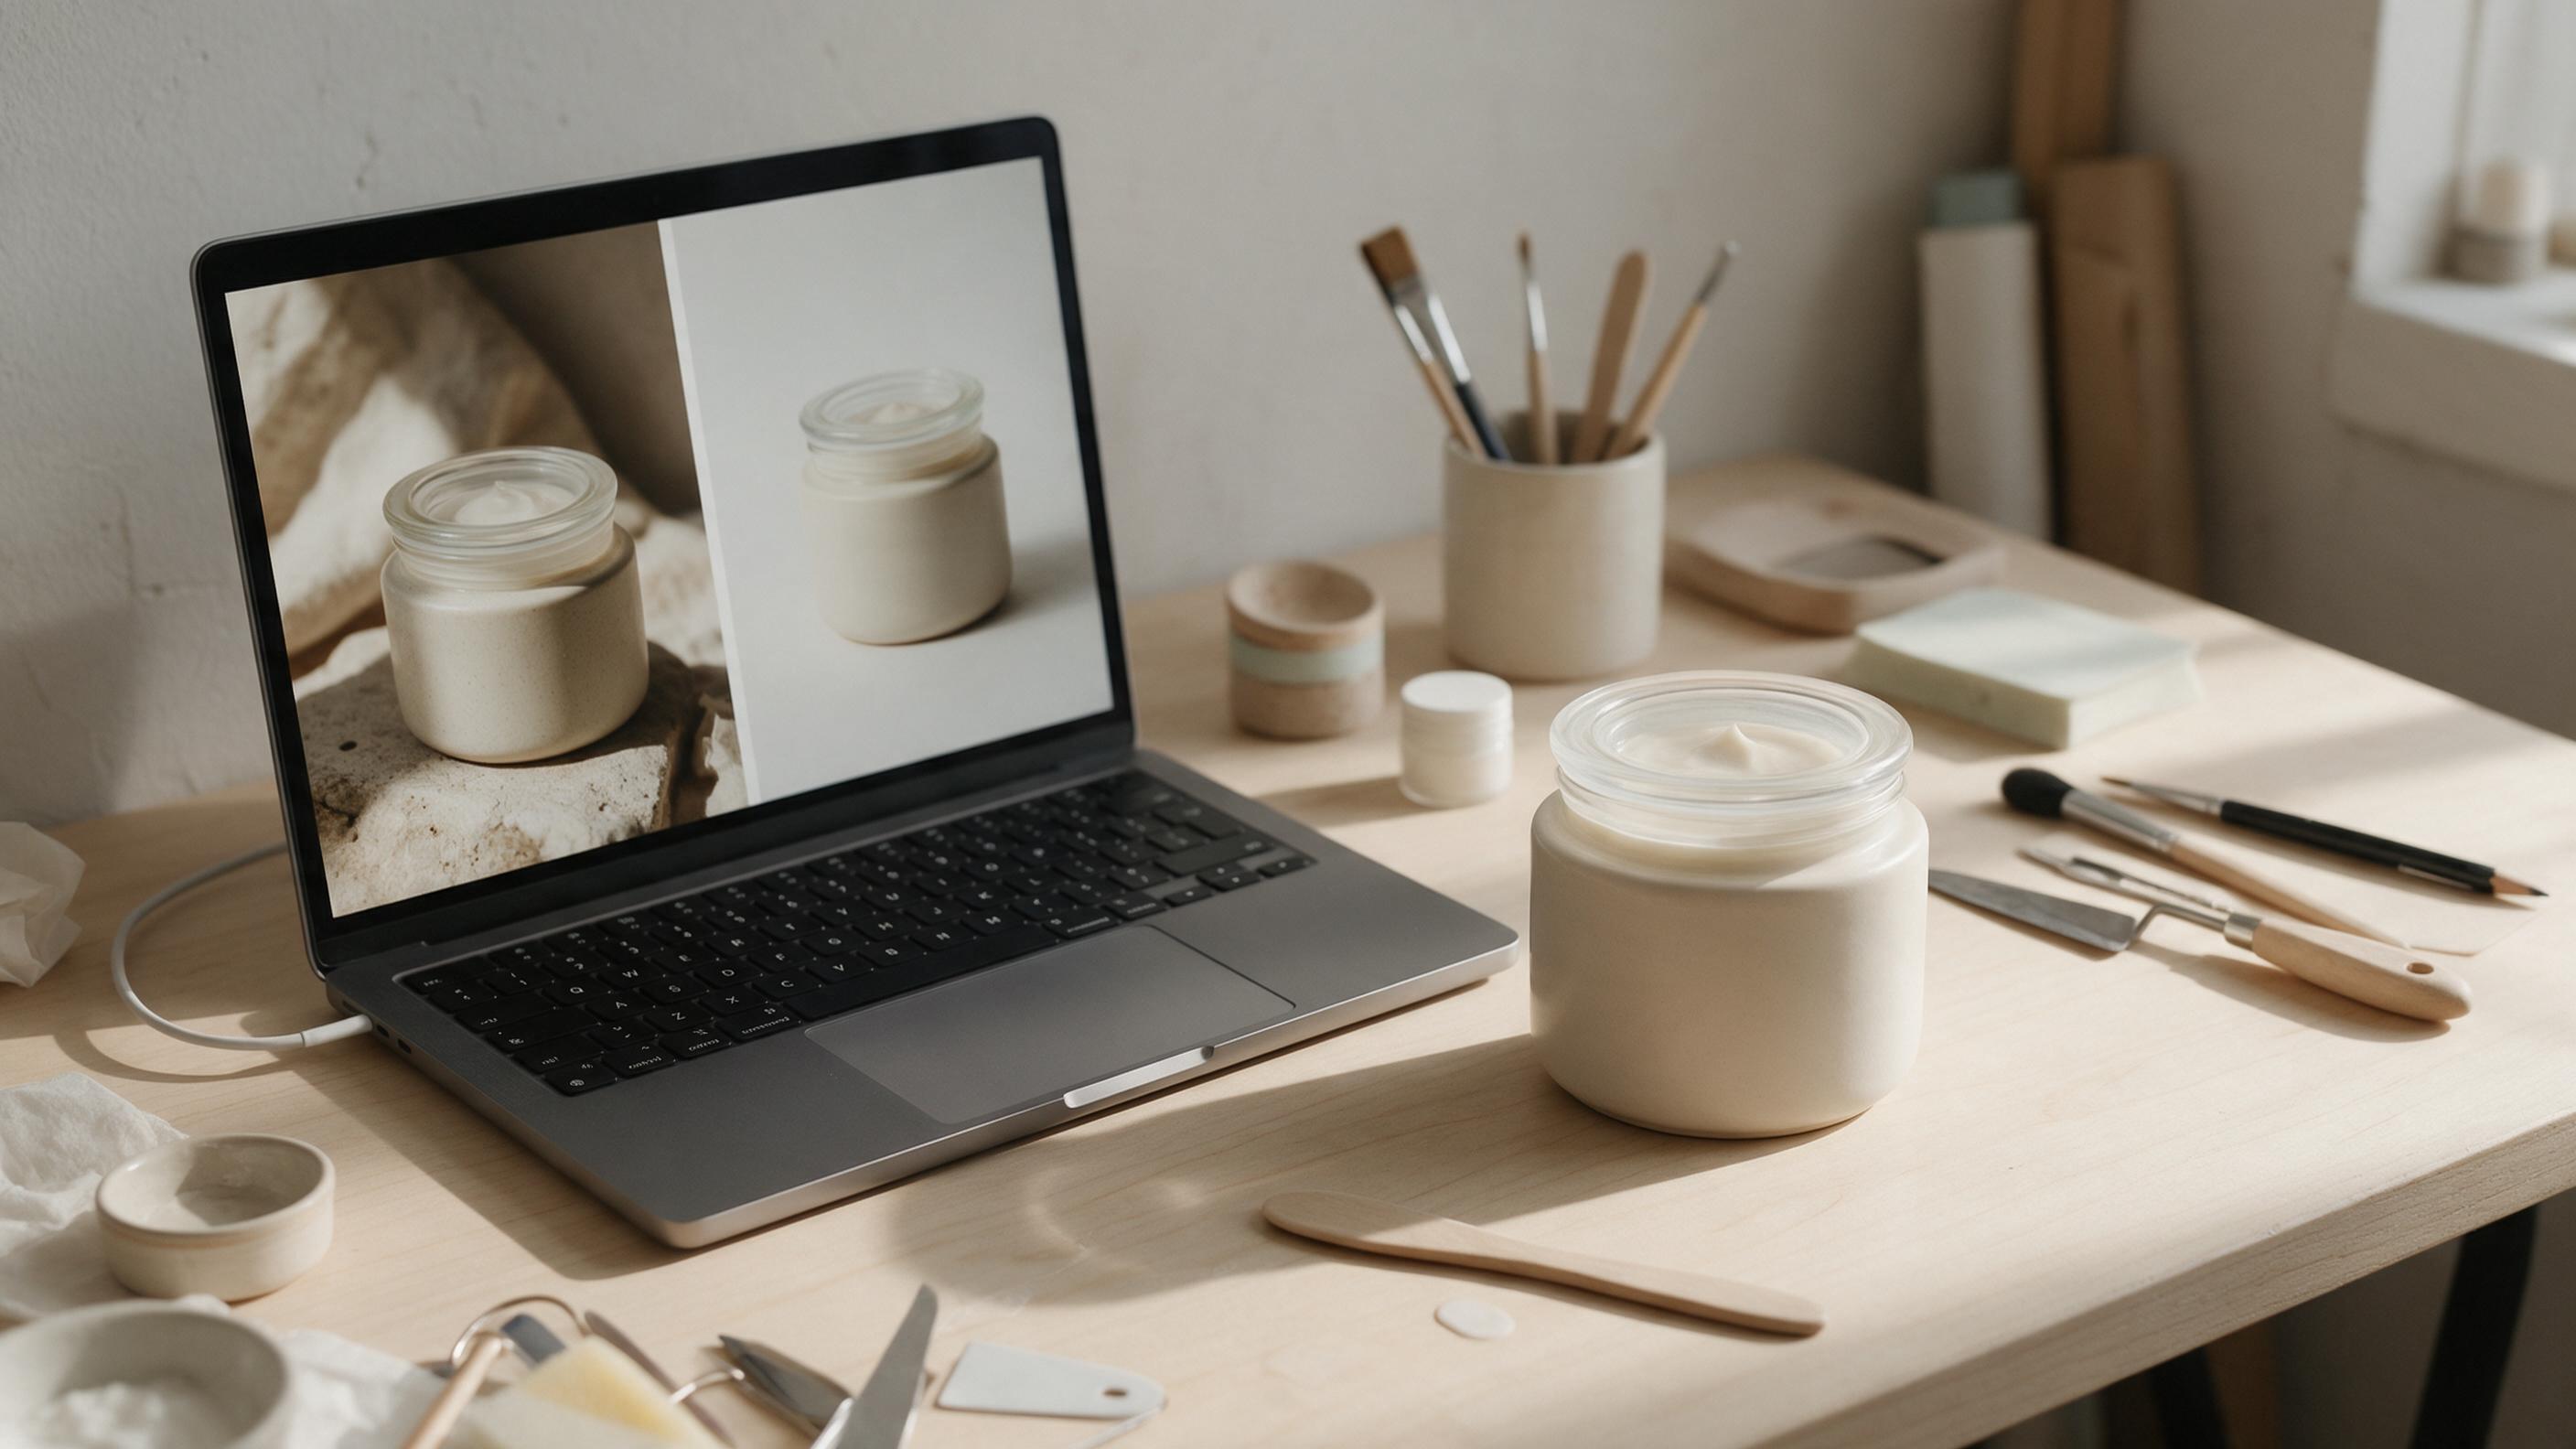
Table of contents
Keep the product. Change the scene.
You have a usable product photo, but its background does not fit your listing or campaign. The challenge is replacing the setting without letting AI redraw the label, shift the color, smooth away texture, or invent a different package. The safest approach is to treat your original product as fixed and generate only what belongs around it.
This tutorial uses a ceramic skincare jar as an example, but the process also works for candles, packaged goods, homeware, and accessories. You will finish with a clean catalog image and a lifestyle variation that still look like the same item.
Step 1 — Start with a photo worth preserving
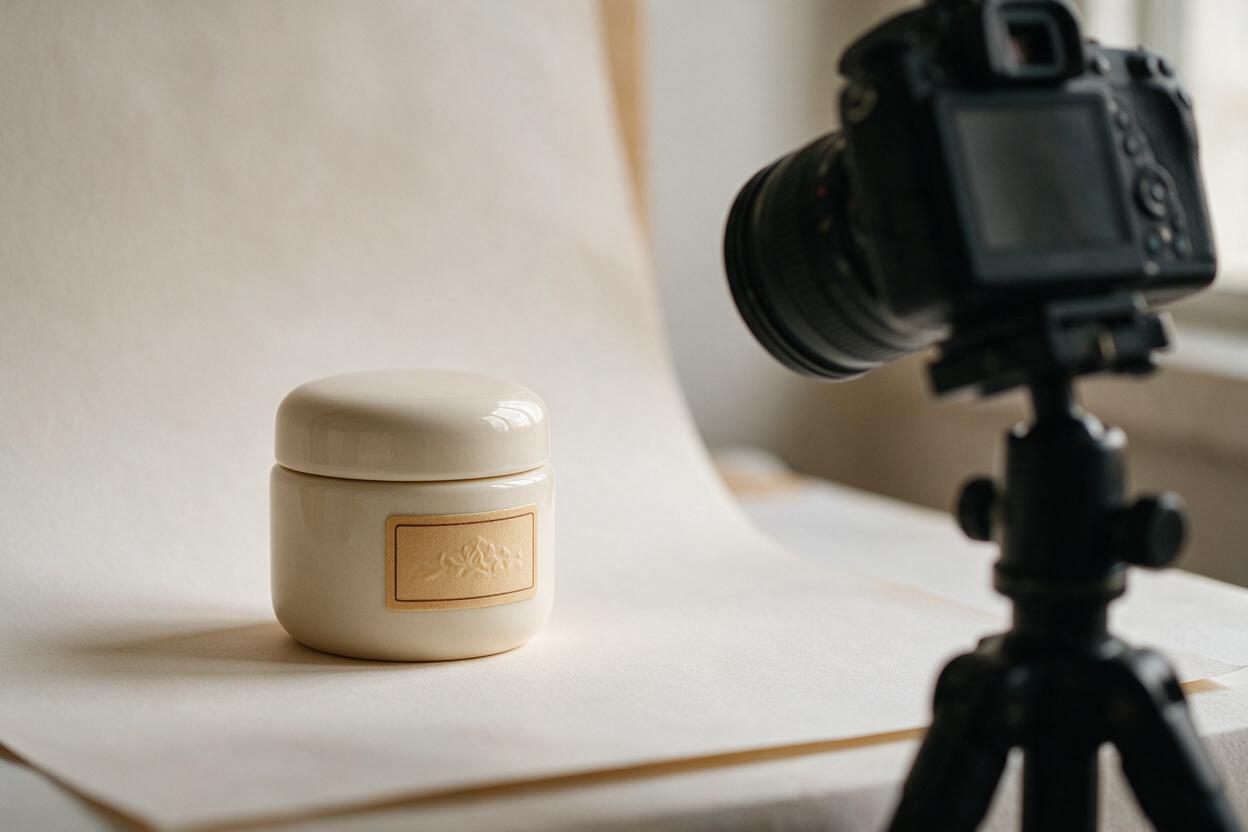
Choose the sharpest original you have, preferably one that shows the complete product with room around its edges. A background replacement cannot reliably recover a cropped lid, unreadable label, or detail hidden by your hand.
- Use the actual item. Photograph the exact color, size, packaging, and variant you sell.
- Check focus at full size. Small label text and distinctive surface details should be legible in the source.
- Keep a master copy. Never overwrite the untouched photograph; you will need it for comparison.
- Watch reflective edges. Clear glass, glossy plastic, and metallic finishes may carry colors from the old surroundings. These need closer inspection after editing.
If the source has a strong colored backdrop, a careful cutout can help. Keep the true edge of the product, including handles and narrow gaps, rather than cutting into it for a tidier silhouette.
Step 2 — Protect the product before describing the background
Use a reference-based image editor that lets you upload the original photo. If it offers a selection or mask, select the background for editing and leave the product unselected. Check how your particular editor defines the selected area before generating: some tools edit the selection, while others protect it.
This is a better fit than starting with text to image alone. A description can suggest a similar jar, but it cannot establish that a newly generated jar has your exact label or proportions. An ai image generator is most useful here when it can work from your real photo and limit changes to its surroundings.
Practical rule: If the product changes, reject the image—even when the new background looks excellent.
For the first pass, ask for a simple surface and backdrop. Save elaborate props for a separate lifestyle version. Fewer objects make it easier to spot edge errors and unwanted changes.
Step 3 — Generate a clean catalog background
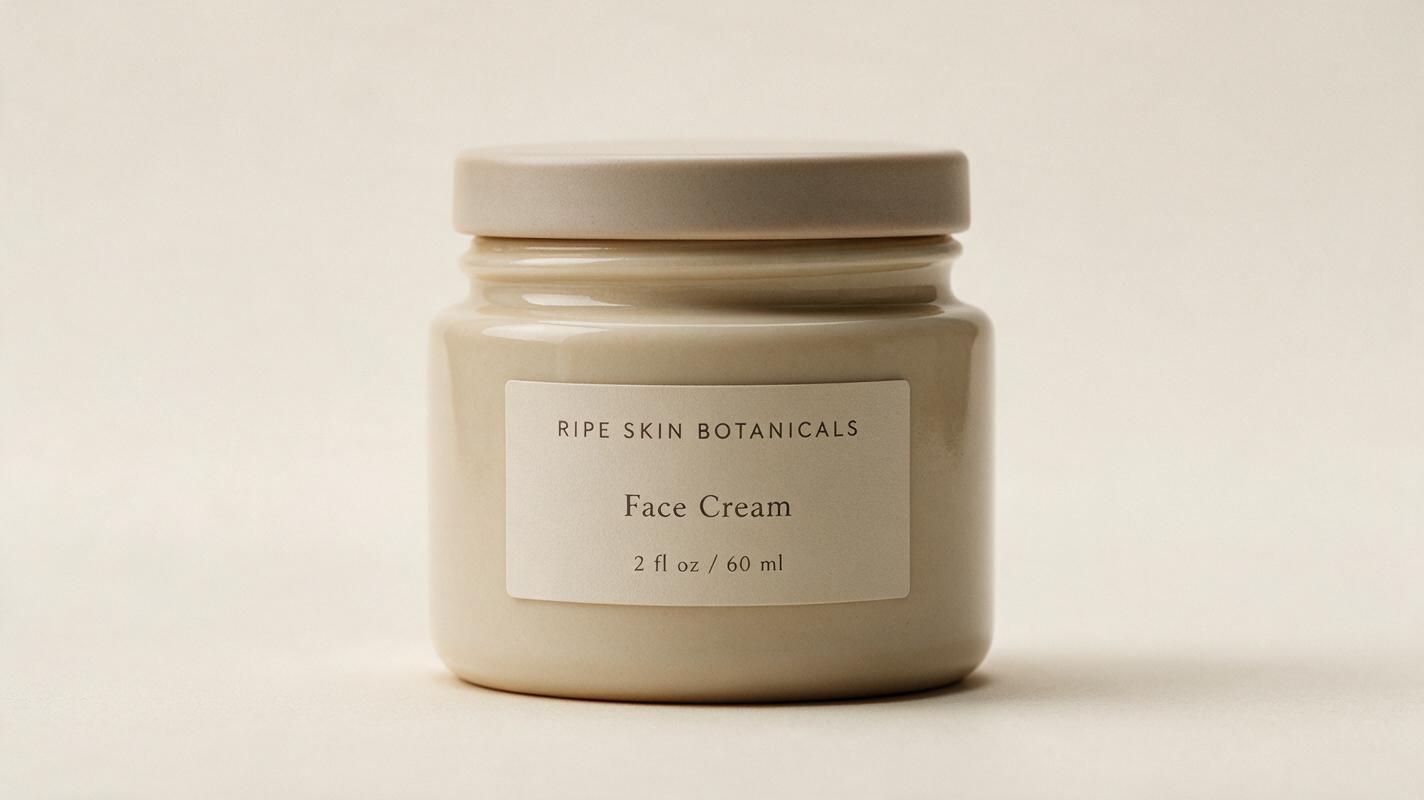
A catalog edit should be intentionally plain: an even background, natural contact shadow, and no competing objects. For a store listing, this also gives you a flexible base image that can be cropped into different formats.
Upload the source photo, protect the jar, and adapt this prompt:
Replace only the background around the photographed skincare jar with a clean, neutral off-white studio backdrop. Keep the original jar, lid, label, printed text, color, shape, texture, and proportions unchanged. Place it on a flat off-white surface with a soft, realistic contact shadow directly beneath it. Match the original camera angle and lighting direction. Do not add props, extra text, reflections, or a new version of the product.Make two or three variations rather than accepting the first. Compare them at the product edge, beneath the base, and around any fine details. A shadow should make the item feel supported, not make it appear to float.
Marketplace note: Do not assume a styled or off-white image is suitable as every marketplace’s main listing image. Check the current image rules for your marketplace and category, and prepare a compliant main image separately if required.
Step 4 — Build a lifestyle scene around the same item
Once the catalog version passes inspection, create a second image for a product page, secondary listing slot, or campaign creative. Choose a setting that gives useful context rather than a pile of decorative props. For the jar, a bathroom shelf can suggest scale and use without making unsupported claims about what the product does.
Keep the photographed skincare jar completely unchanged, including its lid, label, printed text, color, dimensions, and surface finish. Replace only the surrounding background with a calm bathroom shelf scene in natural window light. Put the jar on a pale stone shelf with a folded neutral towel softly out of focus in the distance. Match the original perspective and lighting direction. Add a believable contact shadow. Do not add hands, ingredients, claims, extra products, or text.Use the original photo as the reference again, not an already edited version. Repeated edits can compound small distortions. If the scene calls for a camera angle that does not match the source, choose a different scene or photograph the product from the needed angle; a prompt cannot make a mismatched perspective trustworthy.
| Version | Best use | What to check |
|---|---|---|
| Clean background | Catalog and listing preparation | Clear silhouette, accurate color, suitable background for the destination |
| Lifestyle background | Secondary images and store creative | Believable scale, perspective, shadow, and uncluttered context |
Step 5 — Inspect the output against the original
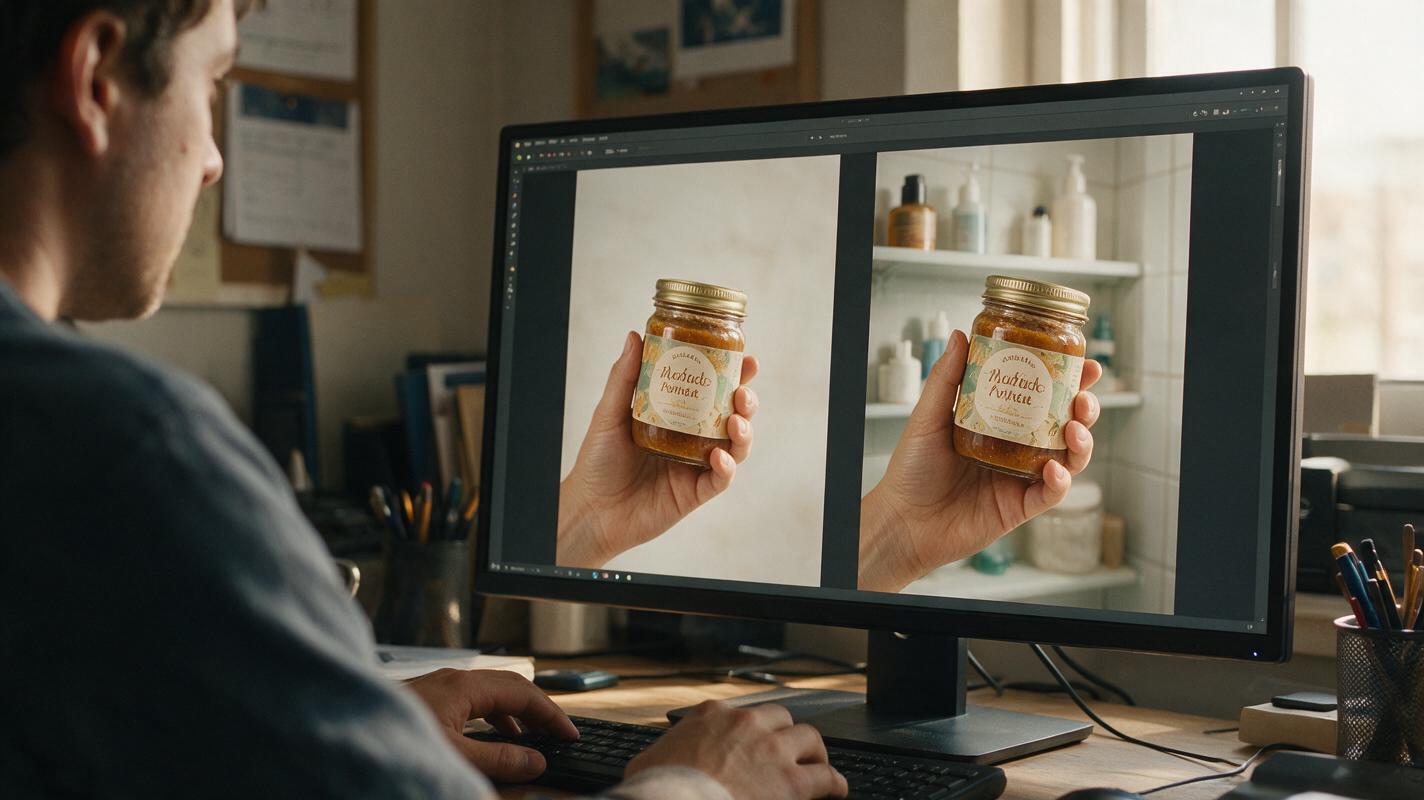
Open the original and edited image side by side at the same zoom level. Do not judge accuracy from a small thumbnail: the most costly errors are often tiny.
- Read every visible word. Reject altered labels, changed quantities, missing symbols, or invented text. Restore the original product layer in a conventional editor if necessary.
- Compare color and shape. Look at the lid, seams, corners, material texture, and any distinctive marks.
- Inspect the edge. Zoom in on handles, transparent areas, and the gap between the item and its shadow for halos or remnants of the old background.
- Check physical plausibility. The shelf angle, light direction, reflection, and contact shadow should agree with the photographed product.
- Review the whole crop. Leave enough space for the destination format without shrinking the product so far that shoppers cannot assess it.
If the product itself has changed, tighten the mask or composite your untouched product over the generated setting. If only the shadow looks wrong, regenerate or retouch that area instead of rerolling the entire image. Test this prompt yourself with one product before applying the method across a catalog.
Final checklist
- The final image shows the exact product and variant being sold.
- Labels, colors, shape, and surface details match the original photograph.
- The background fits the image’s purpose and the destination’s current rules.
- Edges, reflections, perspective, and contact shadow hold up at full size.
- The original file and approved edits are saved separately.
Keywords
product photo background, ai product photography, product background replacement, product listing images, shopify product images, etsy product photos, product photo editing