How to Change Facade Materials with GPT Image Without Moving the Windows
Create convincing facade material options from one architectural render while keeping openings, camera position, and building massing consistent. This tutorial covers reference preparation, targeted prompts, comparison, and a practical way to catch geometry drift before presenting options.
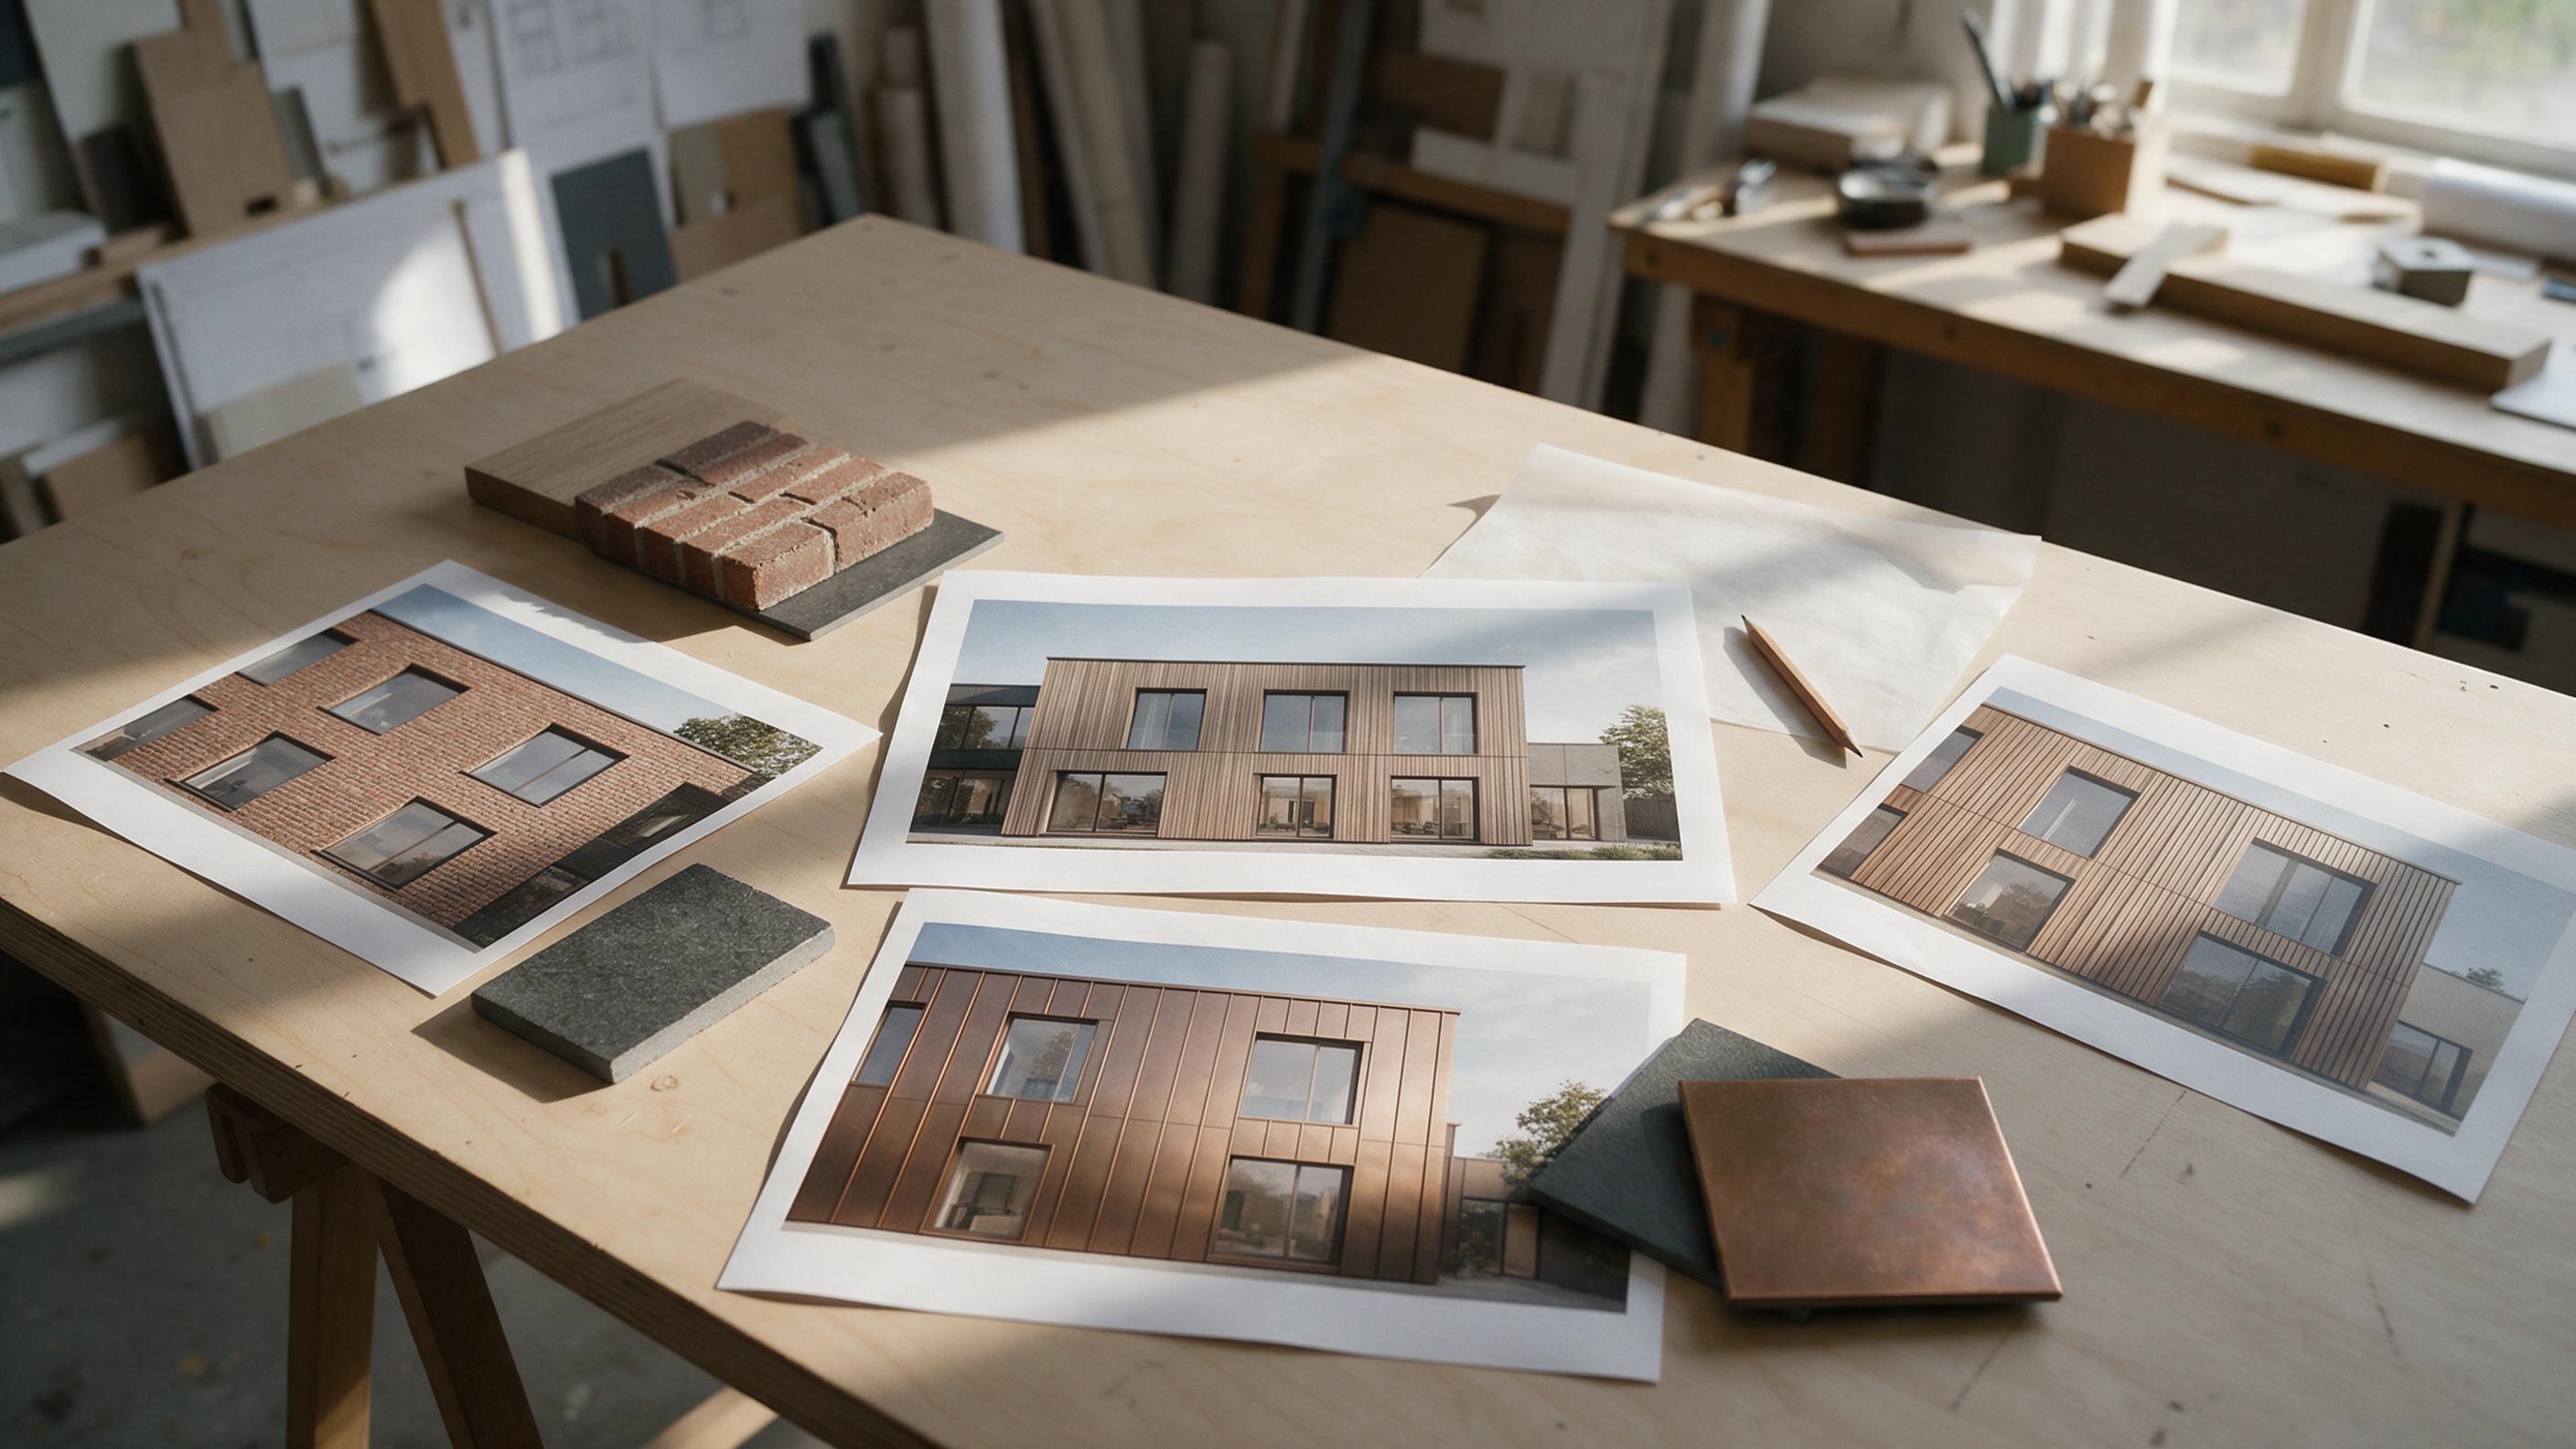
Table of contents
From one facade render to three believable cladding options
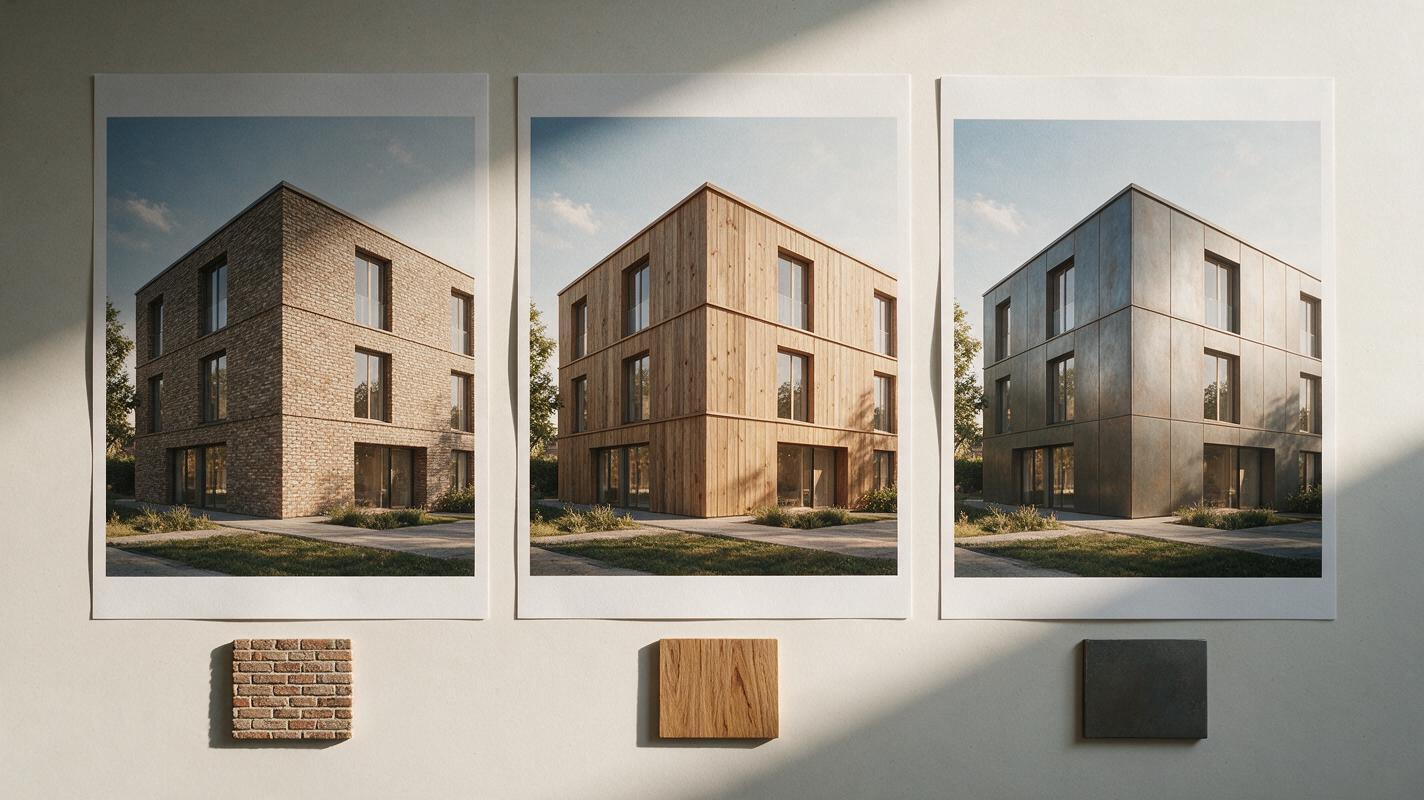
You need to show a client what the same building would look like in brick, timber, and metal—not three subtly different buildings. The difficult part is keeping window positions, balcony edges, proportions, and camera framing fixed while the exterior finish changes. GPT Image can help produce fast visual options from a reference render, but the result needs a controlled input, a precise edit request, and a geometry check before it belongs in a presentation.
This method is for design exploration and visual communication. It does not replace a measured material schedule or a final render from your architectural model.
Step 1 — Prepare a reference that makes the geometry unambiguous
Start with a clean, reasonably high-resolution view exported from your rendering software. Use the same camera you intend to show in the client comparison. A straight-on or modest three-quarter view makes changes to openings easier to spot than a dramatic wide-angle perspective.
- Keep: the full facade, visible roofline, ground level, and enough neighboring context to read the building’s scale.
- Remove or minimize: large foreground trees, people blocking the elevation, heavy lens effects, and deep shadows that conceal cladding boundaries.
- Decide what is fixed: openings, mullions, balcony slabs, parapets, steps, and surrounding site elements.
- Decide what may change: the named cladding surfaces, their color and texture, and the way light reads across those surfaces.
If you have a facade elevation or a material-zone diagram, keep it nearby as a checking reference. For a complex facade, a quick marked-up copy of the render can help distinguish the wall areas to edit from glazing, soffits, and structural elements that should remain untouched.
Practical rule: If you cannot point to the exact surfaces allowed to change, the prompt is not ready yet.
Step 2 — Generate one material change at a time
Upload the base render to a GPT Image editing workflow. Use the ai image generator as an image-editing tool here, not as a way to invent a new building from text. Ask for one finish per run and retain the original image as the reference for every option; do not feed the brick result into the timber run. Reusing an edited output can compound small geometry changes.
Start with a prompt that defines both the permitted edit and the parts of the scene that must remain fixed:
Edit the supplied architectural render to explore one facade material option. Change only the opaque main-wall cladding to warm, light-red brick with subtle natural variation and realistic mortar joints. Keep the building massing, roofline, window and door positions, window sizes, mullions, balcony edges, ground level, camera viewpoint, crop, landscaping, and neighboring context unchanged. Preserve the direction of daylight and the existing shadow pattern. Do not add openings, decorative features, signage, or extra floors. Produce a believable architectural visualization of the same design.For timber or metal, replace the material description while leaving the preservation instructions intact. Describe physical details that affect plausibility: board direction and joint spacing for timber; panel size, seams, and reflectivity for metal. Avoid vague requests such as “make it modern,” which invite changes to form as well as finish.
Test this prompt yourself with a single wall material first. Once the boundaries hold, generate the other options from the same original render.
Step 3 — Compare options without changing the design brief
A useful comparison changes one primary variable at a time. If the timber option is shown at sunset with new planting and the brick option is shown in overcast light, the viewer is judging mood as much as material.
| Option | Specify in the prompt | Check in the result |
|---|---|---|
| Brick | Brick color, scale, mortar tone, bond or laying character | Joint scale and whether brick has appeared over glazing |
| Timber | Species appearance, board orientation, approximate width, finish | Consistent board direction around corners and openings |
| Metal | Panel or standing-seam character, color, sheen, seam spacing | Believable reflections and uninterrupted window edges |
Keep the camera, season, lighting direction, and landscaping as similar as possible. Label each option by material rather than by a claimed performance benefit. Appearance alone cannot establish fire rating, weathering behavior, cost, or code suitability.
If the facade uses multiple materials, work by clearly described zones: for example, “change only the recessed upper volume to dark bronze metal; retain the ground-floor masonry.” Fewer simultaneous edits make it easier to diagnose a bad result.
Step 4 — Inspect the openings before presenting anything
Place each generated image beside the original at the same display size. Scan the silhouette first, then trace every window, door, and balcony edge. Look especially at repetitive elements: a row of identical windows makes a missing mullion or shifted opening easy to catch.
- Count openings. Confirm that each elevation has the same number of windows and doors.
- Compare edges. Check rooflines, slab edges, parapets, corners, and the boundary between wall and glazing.
- Check scale cues. Brick units, timber boards, and metal panels should read at a credible size relative to a door.
- Inspect intersections. Look for cladding that crosses a window, obscures a railing, or changes the depth of a reveal.
- Check context. Trees, paving, adjacent buildings, and shadows should not imply a different site or time of day.
For a stricter check, overlay the option on the original in an image editor at partial opacity. Misaligned edges will appear as doubled lines. If the building has moved, regenerate from the original reference with a narrower instruction. Do not try to describe a geometry error as an intentional design refinement.
Step 5 — Fix material failures with narrower prompts
When an option is close but wrong, name the visible defect and the exact area to correct. “Improve realism” is less useful than “keep the existing window reveals and reduce the brick scale on the left-hand wall.” If your editing interface supports a selected region, restrict the edit to the affected wall surface; otherwise, restart from the base render and tighten the prompt.
If windows move or disappear
Reduce the scope to one facade plane and explicitly preserve the number, shape, and location of openings. If the problem persists, use the output as a mood study rather than a direct comparison, or apply the material in your rendering software where model geometry remains fixed.
If the texture looks oversized
Give a relative scale cue: “small-format brick units relative to the adjacent standard-height entrance door” or “narrow vertical timber boards, not broad panels.” Review the entire elevation; a convincing close-up texture can still look wrong across a full building.
If lighting changes between options
Repeat the original lighting conditions in every prompt: daylight direction, approximate sky character, and whether existing shadows should remain. Exact pixel-level consistency is not guaranteed, so choose the closest outputs rather than pretending materially different lighting is a controlled comparison.
Step 6 — Present the options as concepts, not specifications
Export the original and the selected variations at a consistent crop and aspect ratio. A simple four-image board—base render plus three material options—lets a client focus on the design decision. Add short captions identifying the proposed finish and any intentional differences in joint pattern or color.
Before the board is shared externally, compare it with the architectural model one last time. If a generated image contains an incorrect detail that could influence a decision, correct it in a controlled image edit or rebuild the option in your renderer. Make clear that these images illustrate material appearance, while final products, detailing, buildability, and approvals require separate review.
Final checklist
- All options start from the same original render and camera view.
- Prompts name the editable wall surfaces and the geometry that must stay fixed.
- Material scale, joints, and reflections look plausible at building scale.
- Every opening, edge, and site element has been checked against the original.
- Presentation captions distinguish visual concepts from specified materials.
Keywords
facade material variations, GPT Image architecture, architecture render editing, facade visualization, ai image generator, architectural cladding options, render consistency