How to Keep One Character Consistent Across Lesson Illustrations
Create a reusable educational character that remains recognizable across slides, worksheets, explainers, and course thumbnails. This tutorial uses a character sheet, reference-based generation, controlled prompts, and targeted editing to reduce unwanted changes in clothing, colors, proportions, and facial features.

Table of contents
Create a Recognizable Character for Every Lesson
A good lesson mascot should look like the same character in every scene—not a different person wearing similar clothes.
The most reliable way to achieve that result is to create a detailed reference sheet first, then use it as an image input while changing only the pose, expression, or setting. This approach works well for fictional tutors, laboratory assistants, historical-story narrators, safety-training guides, and recurring characters in children’s learning materials.
This tutorial uses GPT Image as the main example, but the method can also be adapted to other reference-based image models. Interface labels may differ, so focus on the sequence: design, anchor, generate, inspect, and repair.
Use fictional characters or properly licensed references. Do not upload identifiable student images unless you have the required consent and a suitable privacy process.
Step 1 — Define the Character Before Generating Scenes
Consistency begins with a compact visual specification. If the description changes from prompt to prompt, the model has to reinterpret the character each time.
Write down five categories before opening an AI image generator:
- Identity: approximate age, role, body type, and presentation.
- Face: face shape, hair, eyebrows, glasses, freckles, or another stable feature.
- Clothing: garment type, exact colors, shoes, and accessories.
- Visual style: flat vector, soft 3D, watercolor, textbook realism, or another defined treatment.
- Production rules: background treatment, outline weight, lighting, aspect ratio, and empty space for lesson text.
Choose two or three distinctive anchors rather than adding dozens of minor details. For example, round purple glasses, a mustard cardigan, and a planet-shaped badge are easier to preserve and recognize than a long list of subtle facial traits.
Character specification:
Name: Dr. Mira, a fictional science guide
Appearance: adult woman, warm oval face, short dark curly hair,
round purple glasses, friendly attentive expression
Clothing: mustard cardigan over a navy shirt, dark trousers,
small silver planet badge on the left side
Style: clean educational illustration, soft dimensional shading,
clear silhouette, restrained color palette
Rules: preserve facial features, glasses, badge position,
clothing colors, body proportions, and illustration style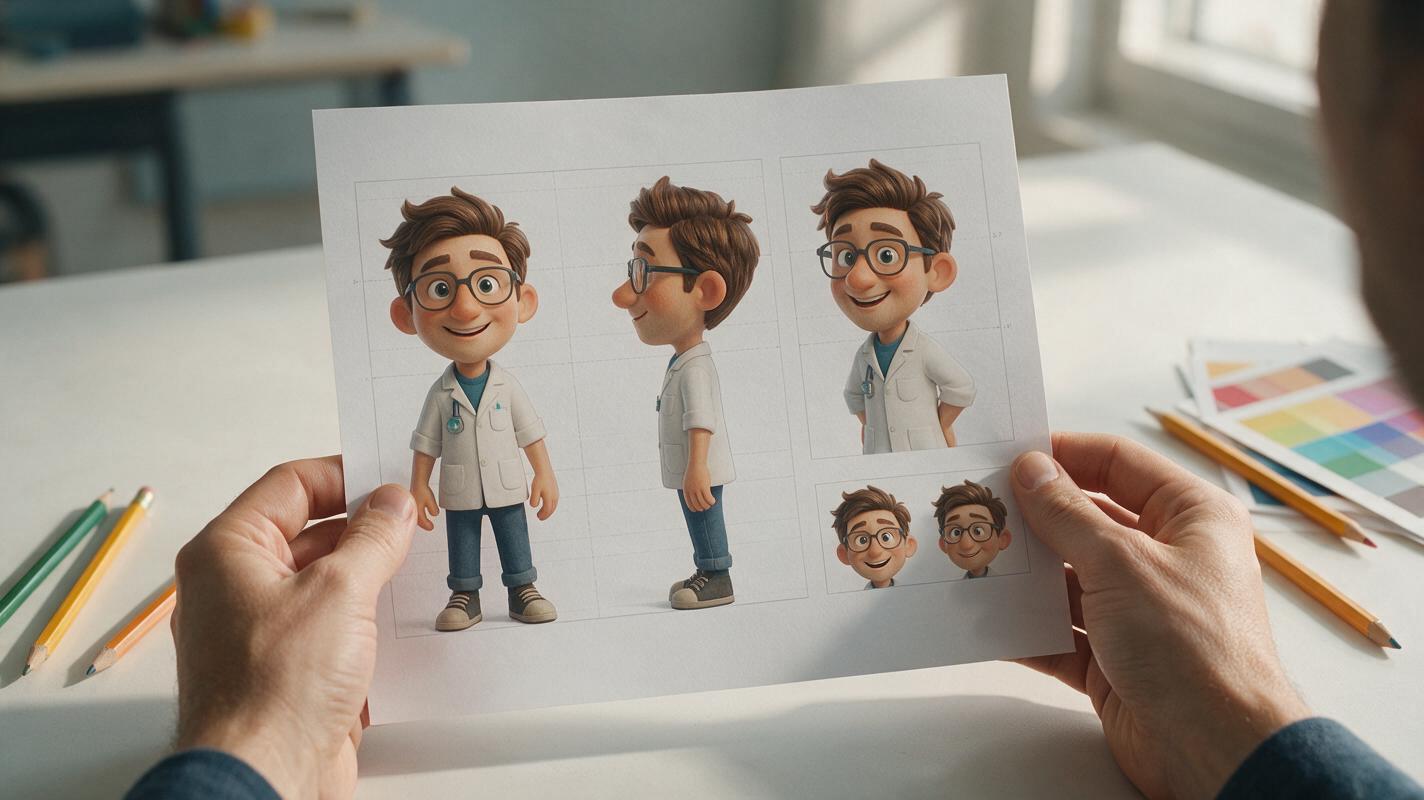
Step 2 — Generate a Neutral Character Reference Sheet
Use text to image to create the first reference, but do not begin with an action-heavy classroom scene. A neutral character sheet gives the model clearer information about proportions, clothing, and identifying features.
Ask for front, three-quarter, and side views on a plain background. Include one full-body view and a few facial expressions. Avoid props covering the hands or torso.
Create a professional character reference sheet for Dr. Mira using the
specification below. Show one full-body front view, one three-quarter view,
one side view, and four head-and-shoulder expressions: neutral, encouraging,
curious, and concerned. Use a plain warm-white background and even studio
lighting. Keep the face, hairstyle, round purple glasses, mustard cardigan,
navy shirt, silver planet badge, colors, and body proportions identical in
every panel. Clean educational illustration, soft dimensional shading,
no text, no labels, no additional characters.

[Paste the character specification]
Generate several candidates, then select one sheet as the canonical reference. Do not alternate between near-matching designs later. Small differences in the source images can accumulate into a noticeably different character.
Quality check: Zoom in before approving the sheet. Confirm that the glasses, badge, fingers, hairstyle, and clothing layers remain coherent across all views.
Step 3 — Build Each Lesson Scene from the Same Reference
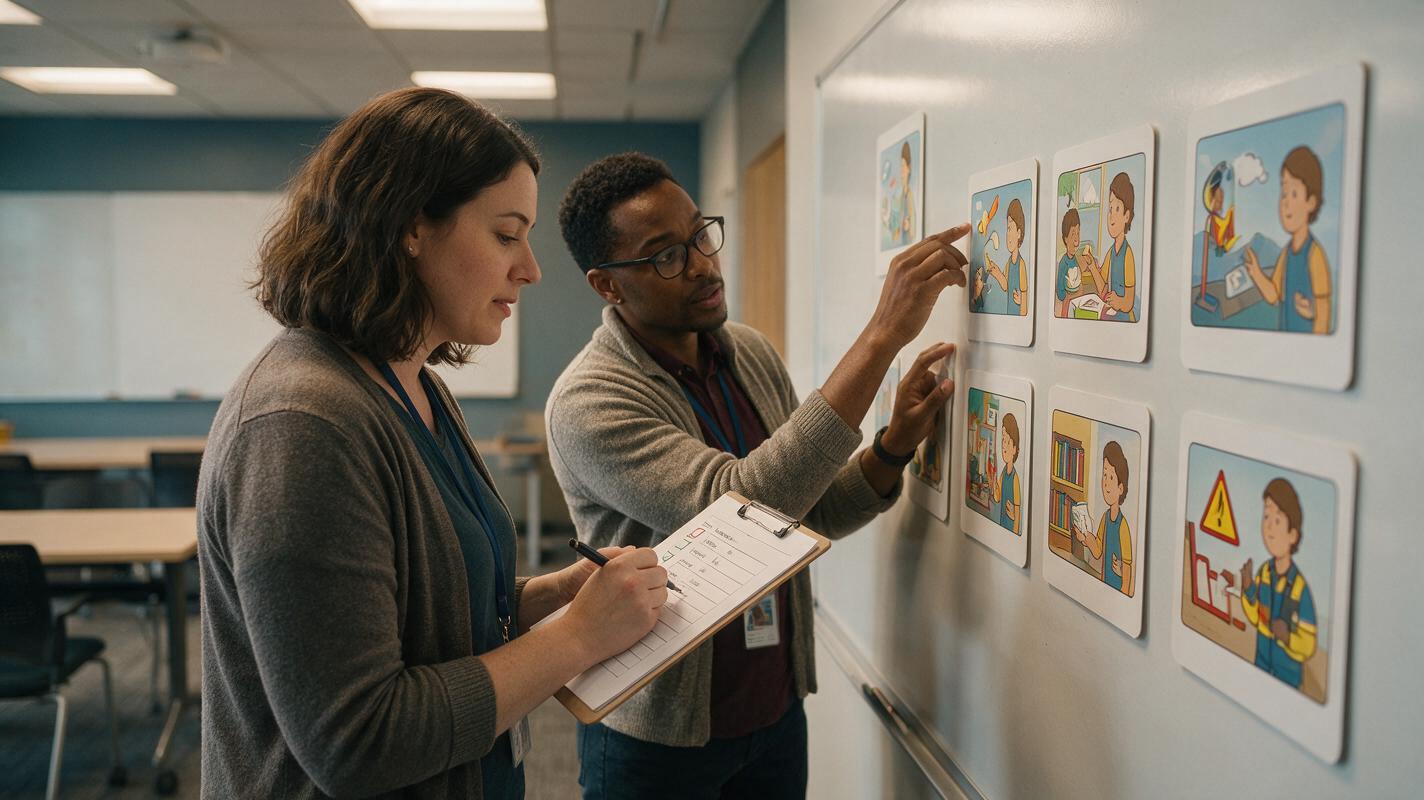
Upload the approved sheet for every new scene. Phrase the request as a controlled transformation: preserve the character, change the educational action.
A useful scene prompt has four parts:
- State that the uploaded image is the authoritative character reference.
- List the features that must remain unchanged.
- Describe one clear action and setting.
- Specify composition, framing, and space for instructional content.
Use the uploaded character sheet as the authoritative reference.
Preserve Dr. Mira's face, short dark curly hair, round purple glasses,
mustard cardigan, navy shirt, silver planet badge, body proportions,
and illustration style.

Create a medium-wide scene of Dr. Mira beside a tabletop model of the
solar system. She points toward Earth with her right hand while looking
at the model. Show the planets as a simplified teaching aid rather than
a scale scientific diagram. Bright classroom setting, uncluttered desk,
clear hand pose, no other people, no text. Leave generous empty space on
the upper right for a lesson heading. Landscape 16:9 composition.
Generate one scenario at a time. Requests such as “make ten scenes with different poses and rooms” increase the number of variables the model must manage. Separate outputs also make individual errors easier to replace.
Try these models for free now and create your own version using one approved character sheet before expanding the lesson set.
Step 4 — Control What Changes and What Stays Fixed
A consistency prompt should distinguish locked features from scene variables. This prevents the model from treating every detail as open to redesign.
| Keep fixed | Change by scene | Specify when needed |
|---|---|---|
| Face and hairstyle | Pose and gesture | Camera angle |
| Glasses and badge | Facial expression | Amount of empty space |
| Clothing colors | Teaching prop | Portrait or landscape format |
| Body proportions | Room or environment | Lighting direction |
| Illustration treatment | Instructional action | Foreground and background depth |
Keep each action physically simple. “Standing beside a board and pointing to one diagram” is more controllable than “running through a laboratory while holding three objects and speaking to a group.” Complex actions can produce obscured costume anchors, confused hands, or a character whose proportions drift.
Step 5 — Repair a Good Scene Instead of Regenerating Everything
If the composition works but one feature is wrong, use an editing pass rather than starting over. Provide the reference sheet again and identify both the repair area and the elements that must remain untouched.
Edit only the character's glasses and cardigan in the scene.
Match the uploaded reference sheet exactly: round purple glasses and a
mustard cardigan over a navy shirt. Preserve the existing face, hair,
pose, hands, planet model, classroom background, lighting, framing,
and empty title space. Do not add text or new objects.
Make one repair request at a time. Combining facial correction, hand repair, background replacement, and wardrobe adjustment can cause successful parts of the image to change unnecessarily.
Use this troubleshooting guide when a repeated issue appears:
- The face keeps changing: request a closer framing, reuse the clearest reference, and repeat two or three facial anchors.
- Clothing colors drift: name the garment and color together every time; do not rely on “same outfit.”
- The badge moves or disappears: identify its exact side and location, and keep that area visible.
- The style changes: reuse the same short style sentence instead of introducing new art terminology.
- The character appears mirrored: describe screen-relative placement and verify directional details before publishing.
- Hands obscure identity features: simplify the gesture or request an unobstructed torso and face.
Step 6 — Create a Reusable Scene Prompt Template
Once the character is stable, save a template for future lessons. Replace only the bracketed variables. This reduces accidental wording changes across a course production team.
Use the uploaded reference sheet as the authoritative character design.
Keep [CHARACTER NAME]'s [LOCKED FACE FEATURES], [HAIRSTYLE],
[CLOTHING], [ACCESSORIES], [COLORS], and [ART STYLE] unchanged.

Scene: [ONE EDUCATIONAL ACTION]
Setting: [LOCATION]
Teaching object: [PROP OR CONCEPT]
Expression: [EXPRESSION]
Framing: [SHOT TYPE AND ASPECT RATIO]
Layout: leave empty space at [LOCATION] for lesson text
Accuracy rule: [IMPORTANT SUBJECT-SPECIFIC CONSTRAINT]
Exclude: text, logos, extra fingers, duplicate props, extra characters
Keep on-image labels out of the generated illustration whenever accuracy matters. Add titles, equations, vocabulary, and accessibility text later in your presentation or authoring software, where spelling and placement remain editable.
Step 7 — Test the Character as a Complete Learning Set
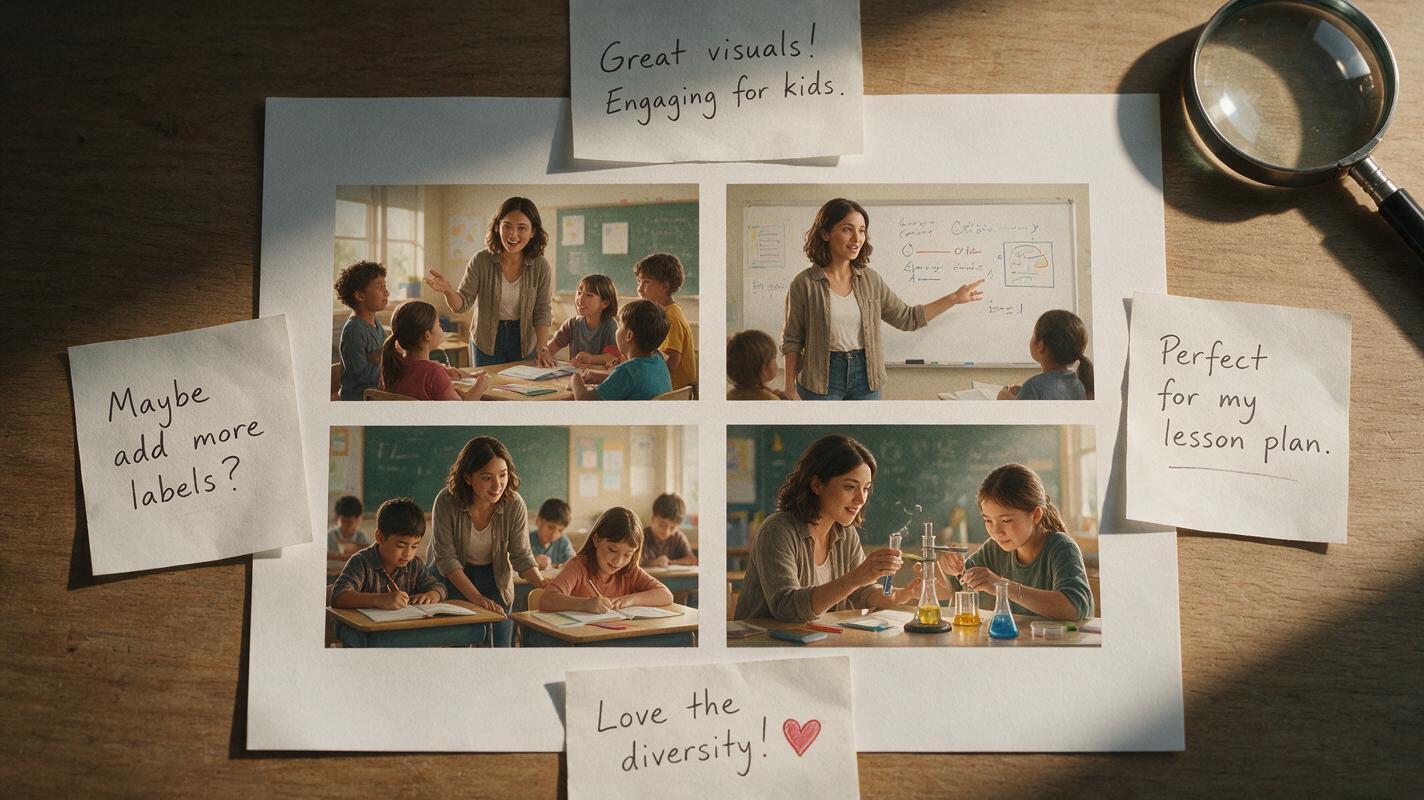
A character can look consistent in isolated images yet feel uneven when the full lesson is assembled. Review the illustrations together as a contact sheet or slide overview.
Check the set at three levels:
- Identity: Would a learner immediately recognize the same guide in every image?
- Instruction: Does each pose direct attention toward the correct object or concept?
- Layout: Is there enough clean space for captions, questions, and interface controls?
Also review educational accuracy independently from visual quality. A polished scene can still contain a misleading object arrangement, unsafe laboratory behavior, incorrect historical detail, or oversimplified scientific relationship. Treat generated images as drafts that require subject-matter review.
Final Checklist
- Create one canonical character sheet before producing lesson scenes.
- Reuse that same sheet as the reference for every image.
- Lock the face, clothing, colors, accessories, proportions, and style.
- Change only the pose, expression, prop, setting, and composition.
- Generate scenes individually instead of requesting an entire set at once.
- Repair local errors with targeted edits rather than full regeneration.
- Add critical labels and instructional text in an external layout tool.
- Review consistency, accessibility, safety, and subject accuracy before publishing.
Keywords
consistent ai character, lesson illustrations, gpt image prompts, character reference sheet, educational visuals, ai image generator, course creation