How to Make a Consistent Character Sheet with GPT Image
Learn how to build a production-ready character reference sheet with GPT Image before creating character motion. This step-by-step workflow covers anchor images, turnarounds, expressions, poses, animation tests, and common consistency problems.
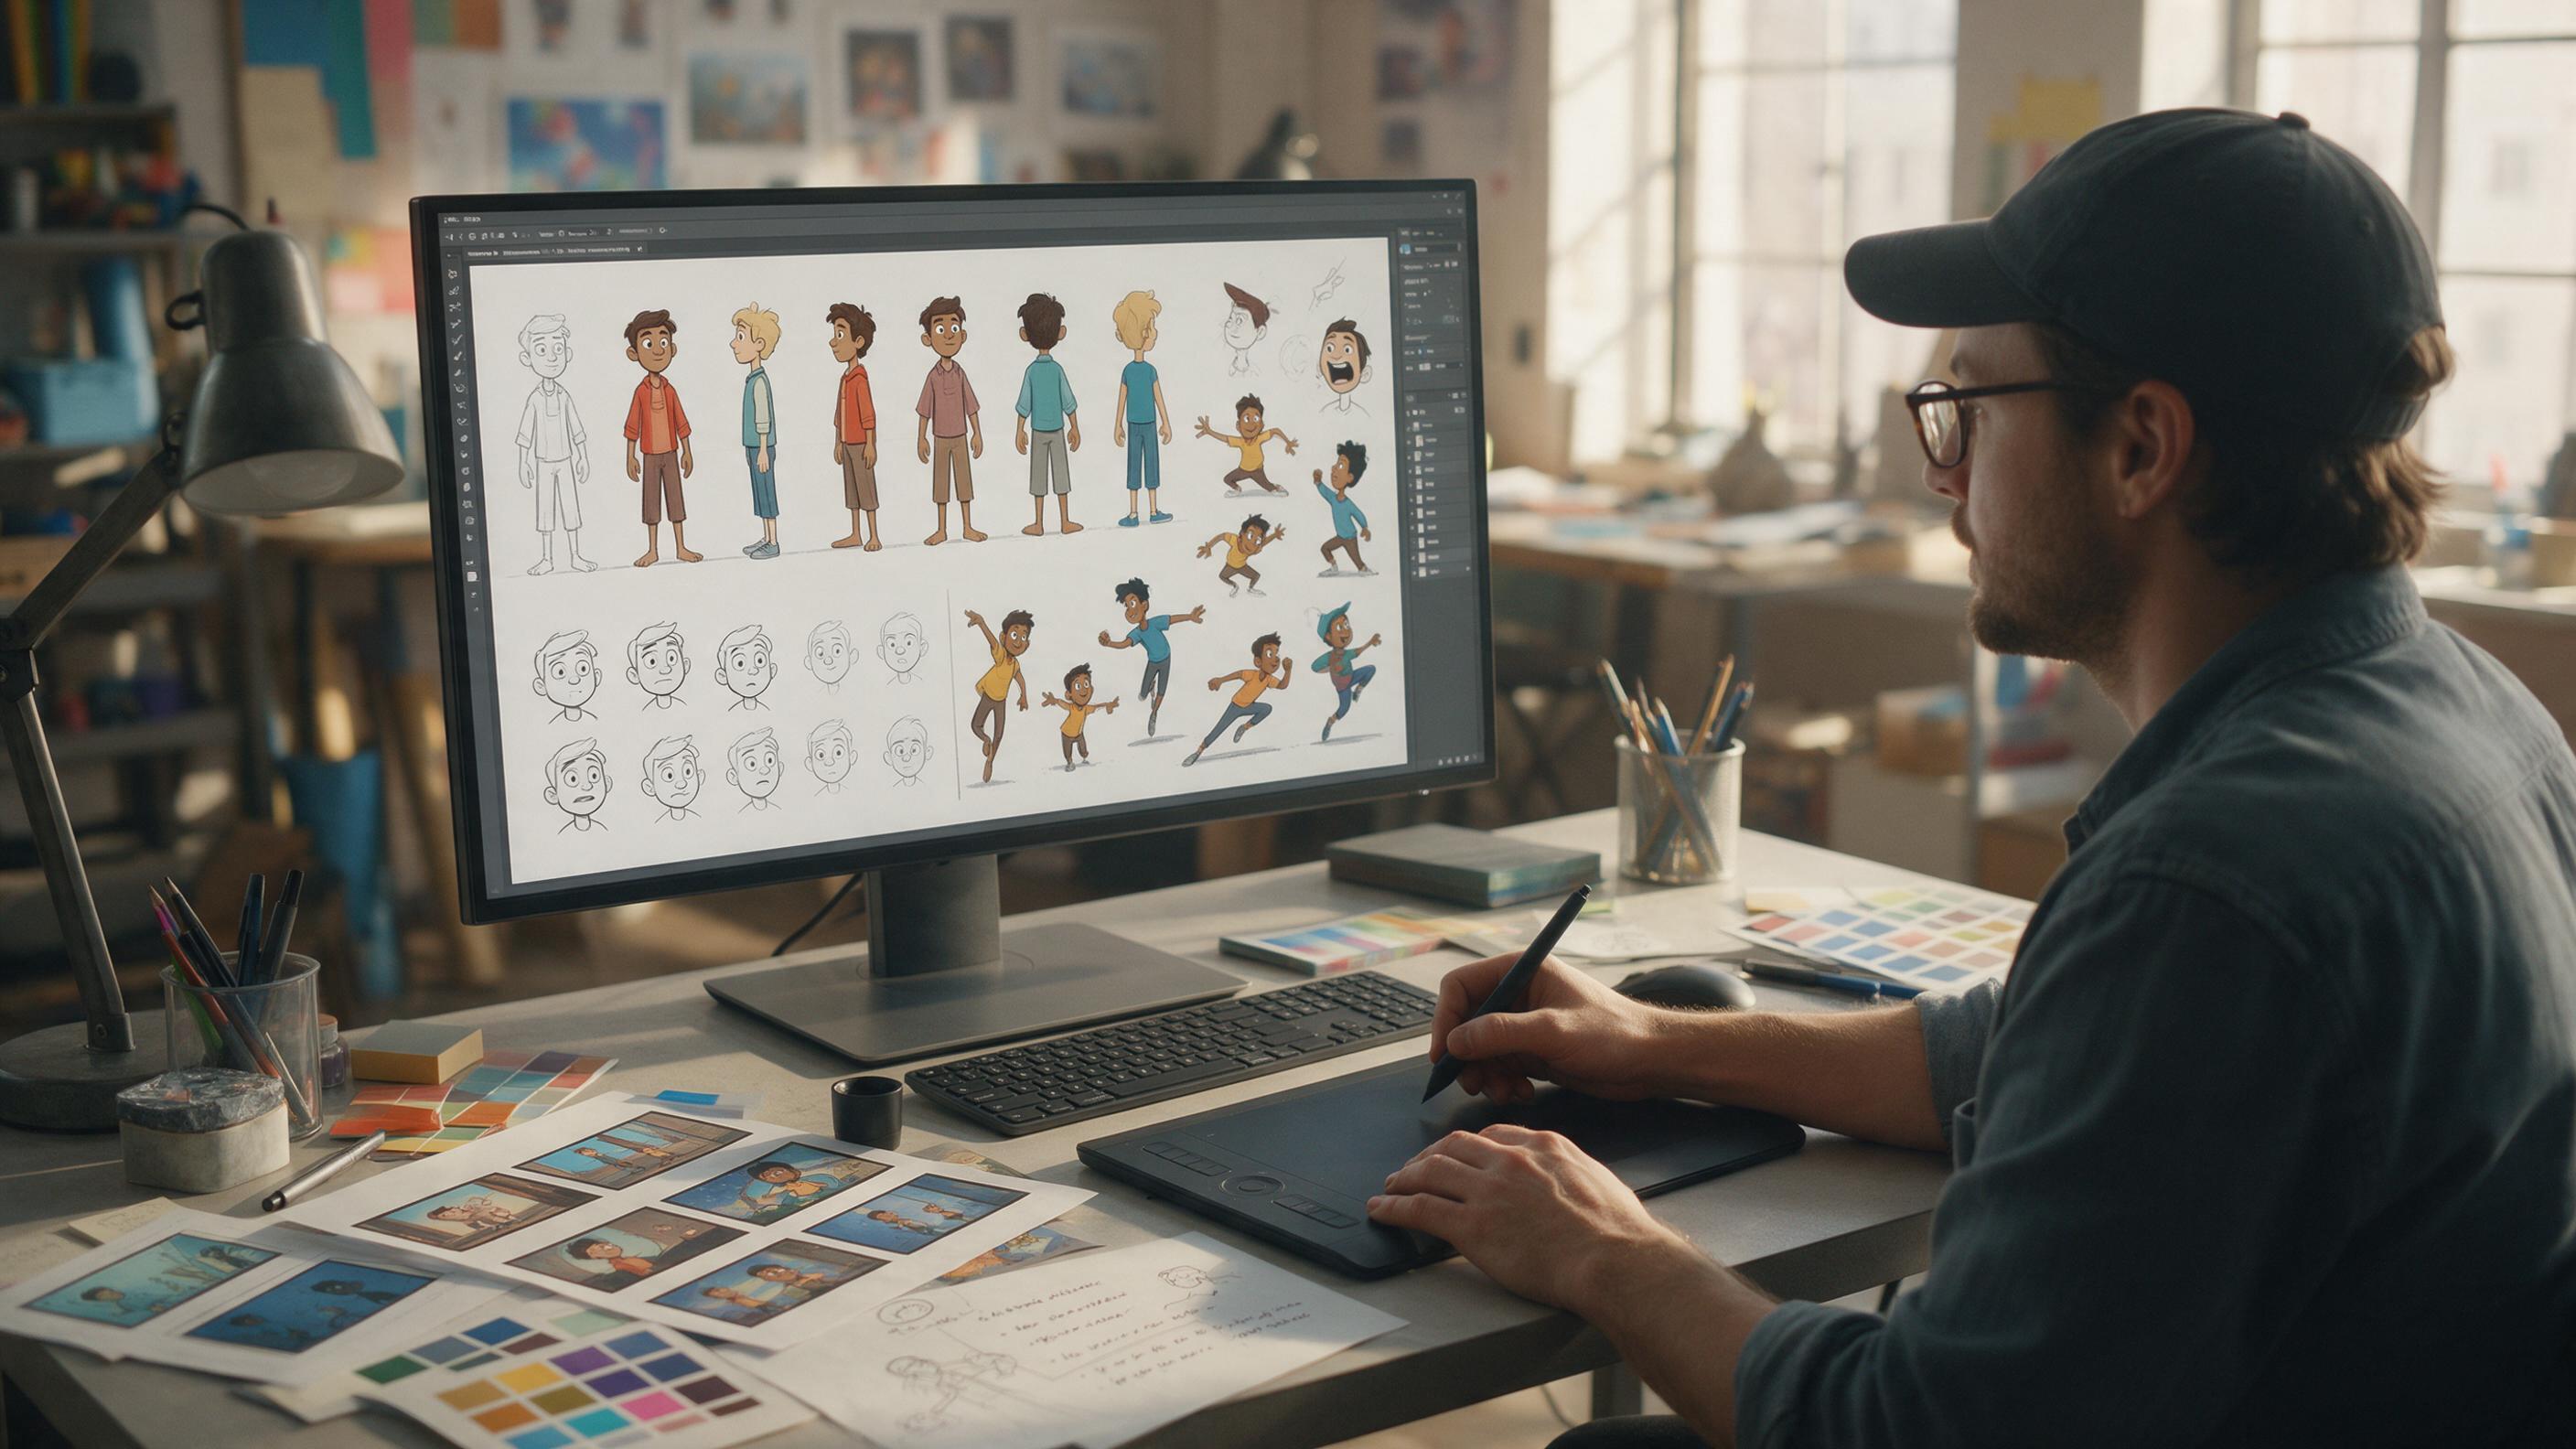
Table of contents
Build the reference pack before you animate
A strong character sheet gives every generated shot the same face, silhouette, costume, proportions, and visual language.
If your animated character changes hairstyle, clothing details, or body proportions between shots, the problem often begins before animation. A single attractive portrait is not enough production reference. You need a controlled set of images that explains how the character looks from different angles, which details must remain fixed, and how the design behaves in motion.
This tutorial shows how to use GPT Image as an AI image generator for a practical character pack containing an anchor portrait, turnaround views, expressions, action poses, and an animation-ready frame. The method is designed for stylized motion graphics, illustration animation, title sequences, and short character-led scenes.
Step 1 — Write an identity brief with fixed and flexible traits
Start by separating the character's permanent identity from details that may change between shots. This prevents later prompts from accidentally treating every visual element as optional.
Create two short lists:
- Fixed traits: face shape, hairstyle, skin tone, body proportions, costume construction, palette, signature accessory, and illustration style.
- Flexible traits: pose, expression, camera angle, hand position, lighting direction, and background.
A useful identity brief is visual and measurable. Instead of writing “interesting jacket,” describe “cropped violet bomber jacket with a high collar, two silver snaps, and no visible logo.” Replace “cartoon proportions” with “head approximately one quarter of total standing height, narrow shoulders, large hands, and short legs.”
Character identity brief:
Young courier with a rounded triangular face, warm brown skin, short black curls, thick straight eyebrows, and a small gap between the front teeth. Compact stylized proportions with a large head, narrow shoulders, large hands, and short legs. Cropped violet bomber jacket with high collar and two silver snaps, cream T-shirt, charcoal cargo trousers, orange sneakers, and one teal cross-body satchel. Flat editorial illustration, clean dark outlines, limited five-color palette, subtle paper texture. Keep every listed identity detail unchanged.
Avoid combining several alternative outfits, hairstyles, or art directions in this brief. Those choices create ambiguity precisely where you need consistency.
Step 2 — Generate one clean anchor image
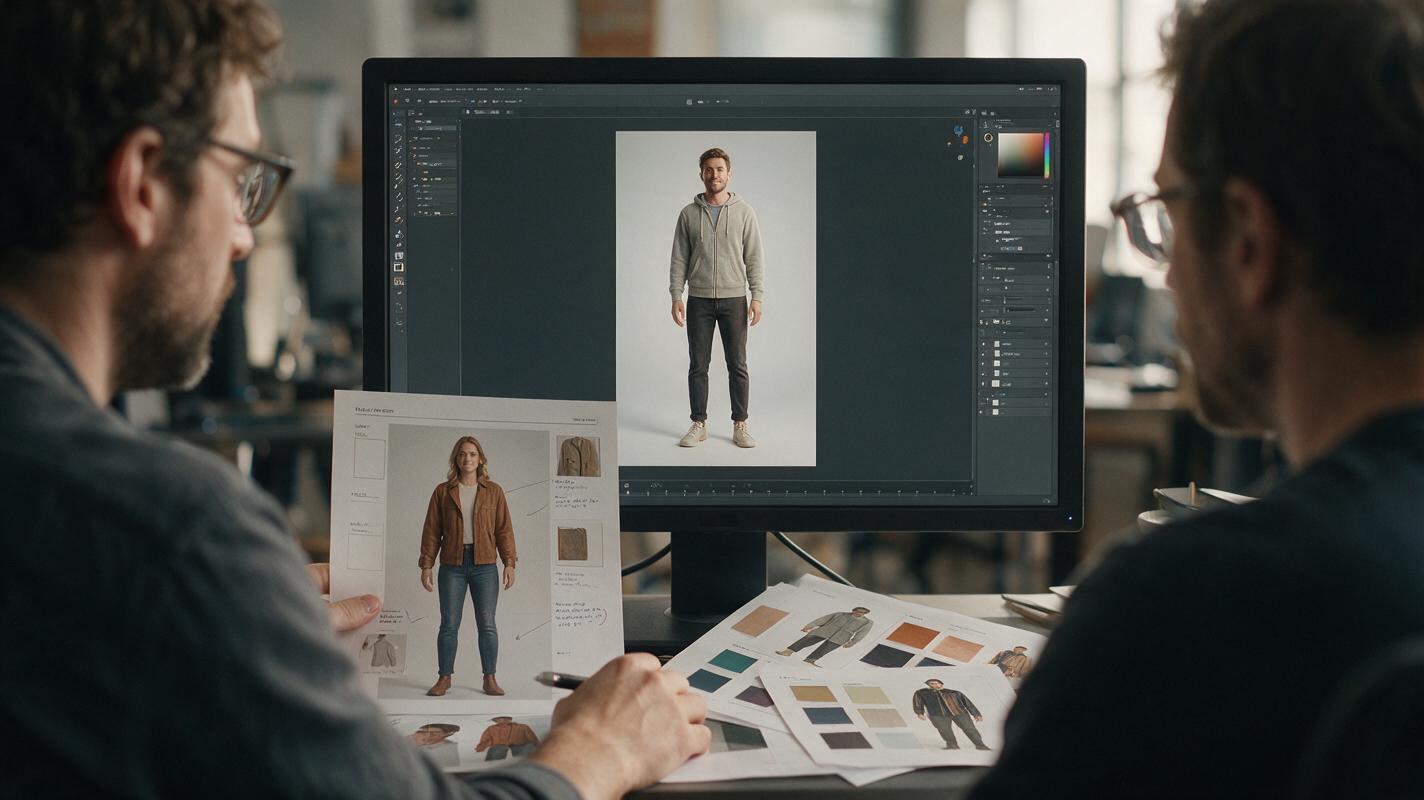
The anchor is the clearest statement of the design. Generate it before asking for turnarounds or emotional poses. Use a neutral standing position, an unobstructed face, even lighting, and a plain background.
A three-quarter view is usually more informative than a dramatic profile because it shows the face, torso, costume layers, and signature props together. Keep hands visible if they matter to the design.
Create a full-body three-quarter character design using the identity brief below. Neutral relaxed standing pose, arms slightly away from the torso, both hands visible, direct natural expression, eye-level camera, soft even studio lighting, plain warm-gray background. Present one character only. No text, labels, border, props, alternate outfits, or extra views. Prioritize a readable silhouette and exact costume construction.

[Paste identity brief]
Review the result at full size. Check the number and placement of fasteners, garment seams, color boundaries, hair shape, footwear, and accessory attachment points. If one detail is wrong, edit that detail rather than regenerating the whole design with a radically different prompt.
Consistency rule: approve one anchor image and reuse it as the visual reference for every later generation. Do not quietly replace it with whichever new result looks most polished.
Step 3 — Create the turnaround one view at a time
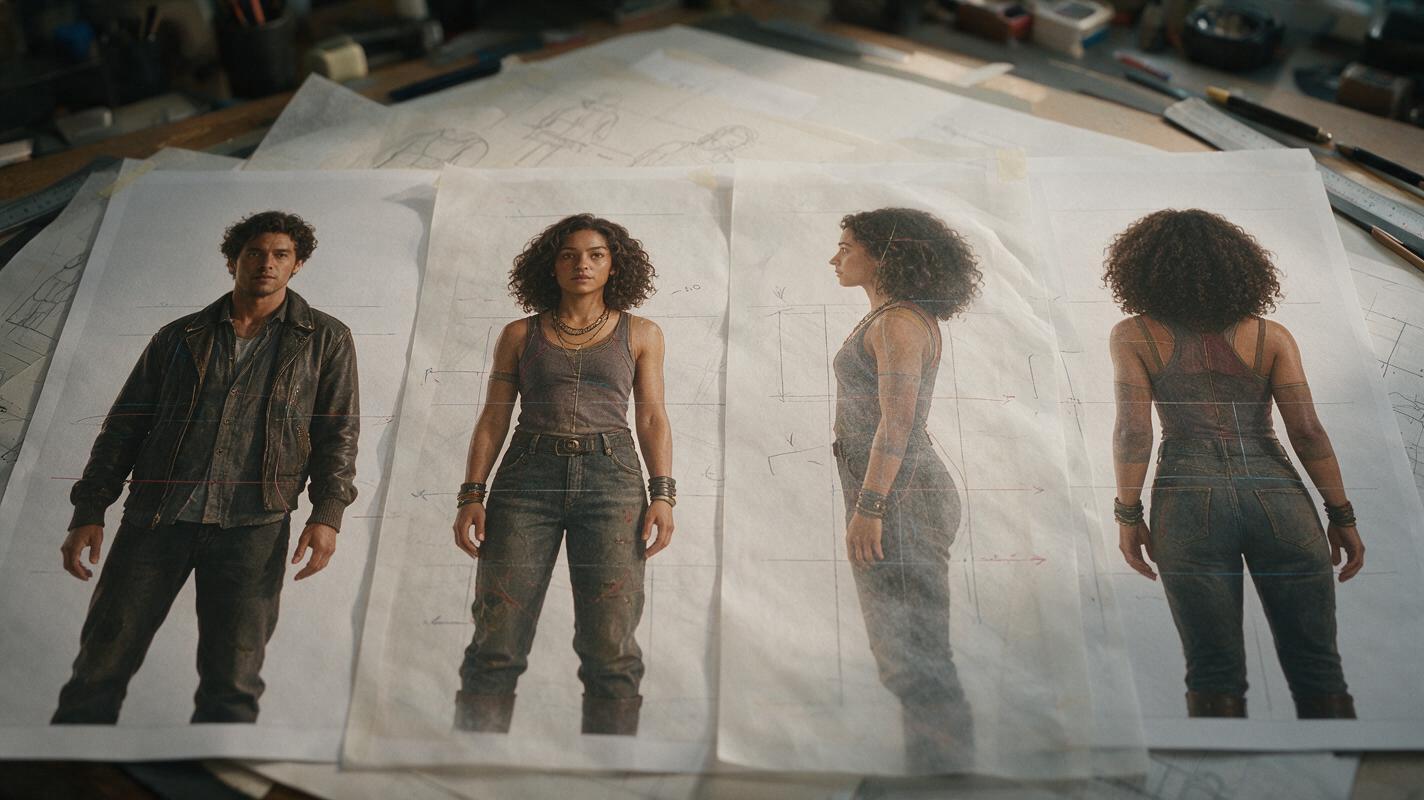
A turnaround reveals whether the design can survive camera changes. Front, side, three-quarter, and back views are normally enough for generated motion tests. However, requesting all four in one crowded sheet can produce mismatched faces, uneven scale, or incorrect costume details.
For stronger control, generate each view separately from the approved anchor. Change only the viewing angle while keeping the stance, framing, lighting, and expression neutral.
Using the supplied character image as the identity reference, show the same character in a strict left-side orthographic view. Preserve the exact facial structure, hairstyle volume, body proportions, jacket construction, color palette, shoes, and teal satchel. Neutral standing pose, full body, arms slightly separated from torso, plain warm-gray background, soft even lighting. No perspective distortion, no text, and no redesign.Repeat the prompt for the front, back, and opposite three-quarter views. Place the finished images together only after generation. This gives you control over spacing and labels in your design software instead of relying on generated typography.
| View | What to inspect | Common failure |
|---|---|---|
| Front | Facial spacing, symmetry, costume closure | Accessory moves to the wrong side |
| Profile | Nose shape, hair volume, posture | Head or chest becomes too deep |
| Three-quarter | Overall identity and costume layering | Face becomes a different character |
| Back | Hair silhouette, jacket seams, bag strap | Invented graphics or extra pockets |
Step 4 — Build expressions without changing the face
Expression sheets often fail because the prompt asks for extreme emotions before defining stable facial landmarks. Begin with low-intensity variations: attentive, pleased, concerned, annoyed, and surprised. Then add exaggerated expressions if the design remains recognizable.
Describe which facial parts should move and which should not. For example, smiling can raise the cheeks and expose the tooth gap while preserving eye spacing, jaw width, and eyebrow thickness.
Create five separate head-and-shoulder expression studies of the referenced character: neutral, pleased, concerned, annoyed, and surprised. Preserve identical face shape, eye spacing, nose structure, skin tone, hairstyle silhouette, eyebrow thickness, and tooth gap in every panel. Change only the expression through brows, eyelids, cheeks, and mouth. Same camera angle, scale, lighting, clothing, and background. No text or labels.Do not use an expression sheet as the only reference for a final shot. Pair it with the clean anchor so the emotional deformation does not become the new default face.
Step 5 — Generate motion-ready key poses
Now test whether the character can perform the actions required by your project. Choose poses from the actual storyboard rather than making a generic collection. A courier character might need to run, brake suddenly, inspect a map, lift a parcel, and look over one shoulder.
Generate one pose at a time. Ask for a clear line of action, readable hand placement, and separation between overlapping limbs. Keep the camera approximately perpendicular to the action when you want a graphic, cutout-like result.
Using the approved character reference, create a full-body anticipation pose immediately before a sprint. Weight over the rear foot, front knee lifted slightly, torso leaning forward, one hand securing the teal satchel, other arm extended behind for balance. Strong readable silhouette with separated limbs. Preserve the exact face, proportions, hairstyle, outfit construction, palette, and illustration style. Plain background, no motion blur, no text, one character only.For rigging or compositing, avoid poses in which both arms merge into the torso or the feet overlap. Clean negative space makes masking, puppet construction, and manual corrections easier.
Step 6 — Test one controlled character motion
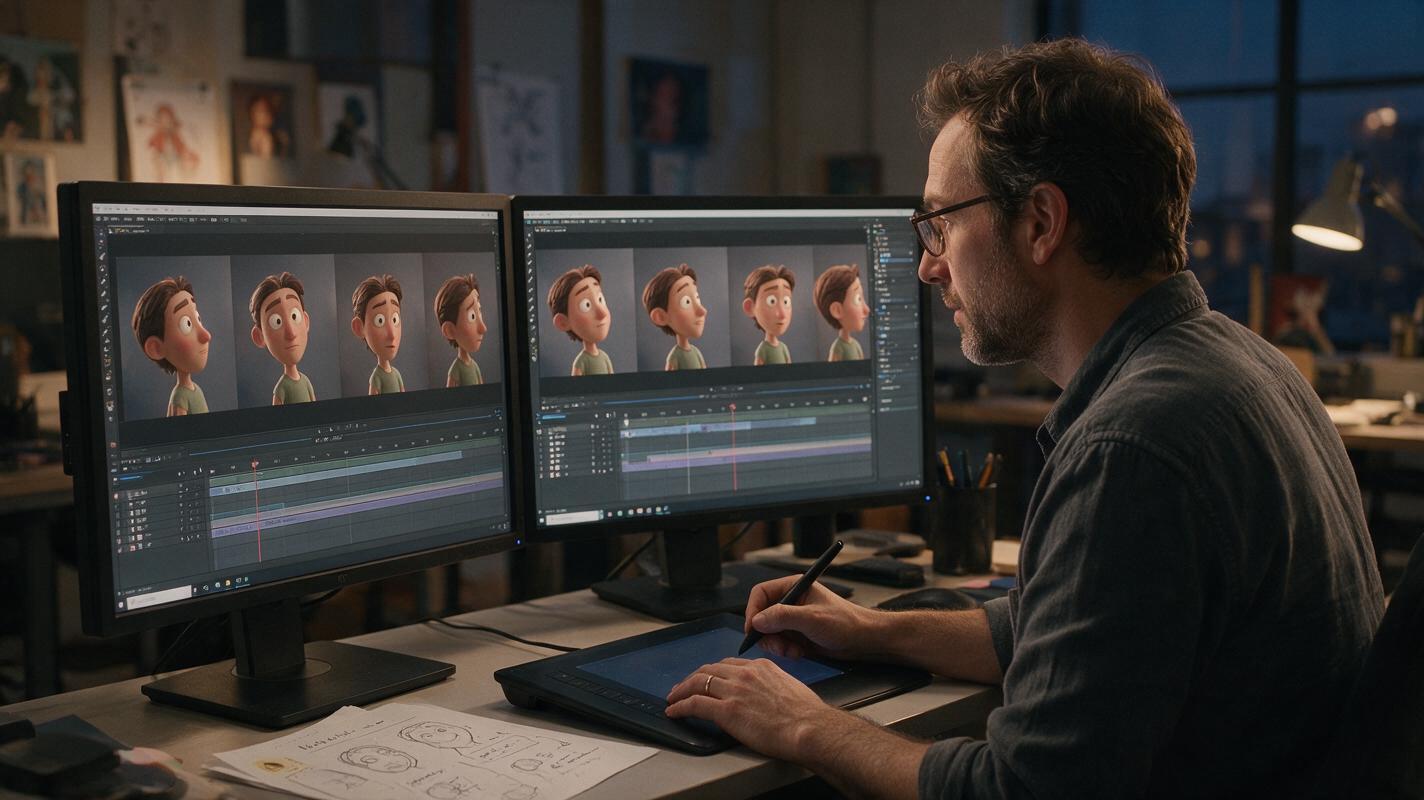
Before producing a sequence, send one approved pose through an image to video test. Choose a small action that exposes identity drift without demanding a complete body transformation: a blink, a head turn, a weight shift, or a hand reaching toward an object.
Your motion prompt should describe behavior, timing, and camera constraints. It should not redescribe the character from scratch because new appearance language can compete with the visual reference.
The character notices something off-screen, blinks once, then turns the head slightly to the left while the shoulders remain nearly still. The teal satchel settles with a small delayed movement. Locked camera, no zoom, no cut, restrained motion, stable facial features, unchanged clothing and body proportions, clean silhouette throughout.Inspect the test frame by frame. Watch the hairline, eyes, teeth, hands, jacket fasteners, and satchel strap. These high-information details often reveal drift before the overall silhouette looks wrong.
If the test remains stable, use the same approved reference pack for the next shot. If it fails, reduce the movement range or divide the action into two shorter clips. You can turn your image into a video once the reference is clean enough to support motion rather than asking animation to repair an unresolved design.
Step 7 — Troubleshoot character consistency problems
| Problem | Likely cause | Practical fix |
|---|---|---|
| Face changes between views | Angle and expression changed together | Return to neutral expression and alter only the camera angle |
| Costume details multiply | Brief uses vague decorative language | Specify exact fastener, pocket, seam, and accessory counts |
| Body proportions drift | Pose prompt dominates the identity reference | Restate proportion landmarks and reduce pose complexity |
| Hands become unclear | Fingers overlap props or the torso | Use a simpler gesture with visible negative space |
| Animation redesigns the character | Motion range is too large for one generation | Split the action into restrained beats and edit them together |
| Style changes across assets | Each prompt contains different style adjectives | Copy one fixed style sentence into every image prompt |
When correcting an image, use the smallest possible instruction. “Keep everything unchanged; restore two silver jacket snaps and remove the added pocket” is more controllable than rewriting the entire creative brief.
Final checklist
- The character has one approved anchor image.
- Fixed identity traits are written in specific visual language.
- Front, profile, three-quarter, and back views preserve the same proportions.
- Expression tests change emotion without redesigning facial structure.
- Action poses come from real storyboard requirements.
- Hands, limbs, and accessories remain readable against the body.
- The first motion test uses a locked camera and restrained movement.
- Corrections target one problem at a time.
A consistent character is not created by repeating a long prompt indefinitely. It comes from a hierarchy of approved references: identity brief, anchor image, turnaround, expression set, pose set, and motion test. Build that hierarchy once, and every later shot becomes easier to direct, compare, and repair.
Keywords
GPT Image, character sheet, character consistency, character animation, AI image generator, image to video, motion design