How to Turn a Lesson Script Into a 60-Second AI Explainer Video
Create a focused 60-second educational explainer by reducing your lesson to one objective, planning visual beats, generating controlled source frames, and animating them as short clips. This tutorial includes reusable prompts, model-selection guidance, pacing tips, and a troubleshooting table for common AI video problems.
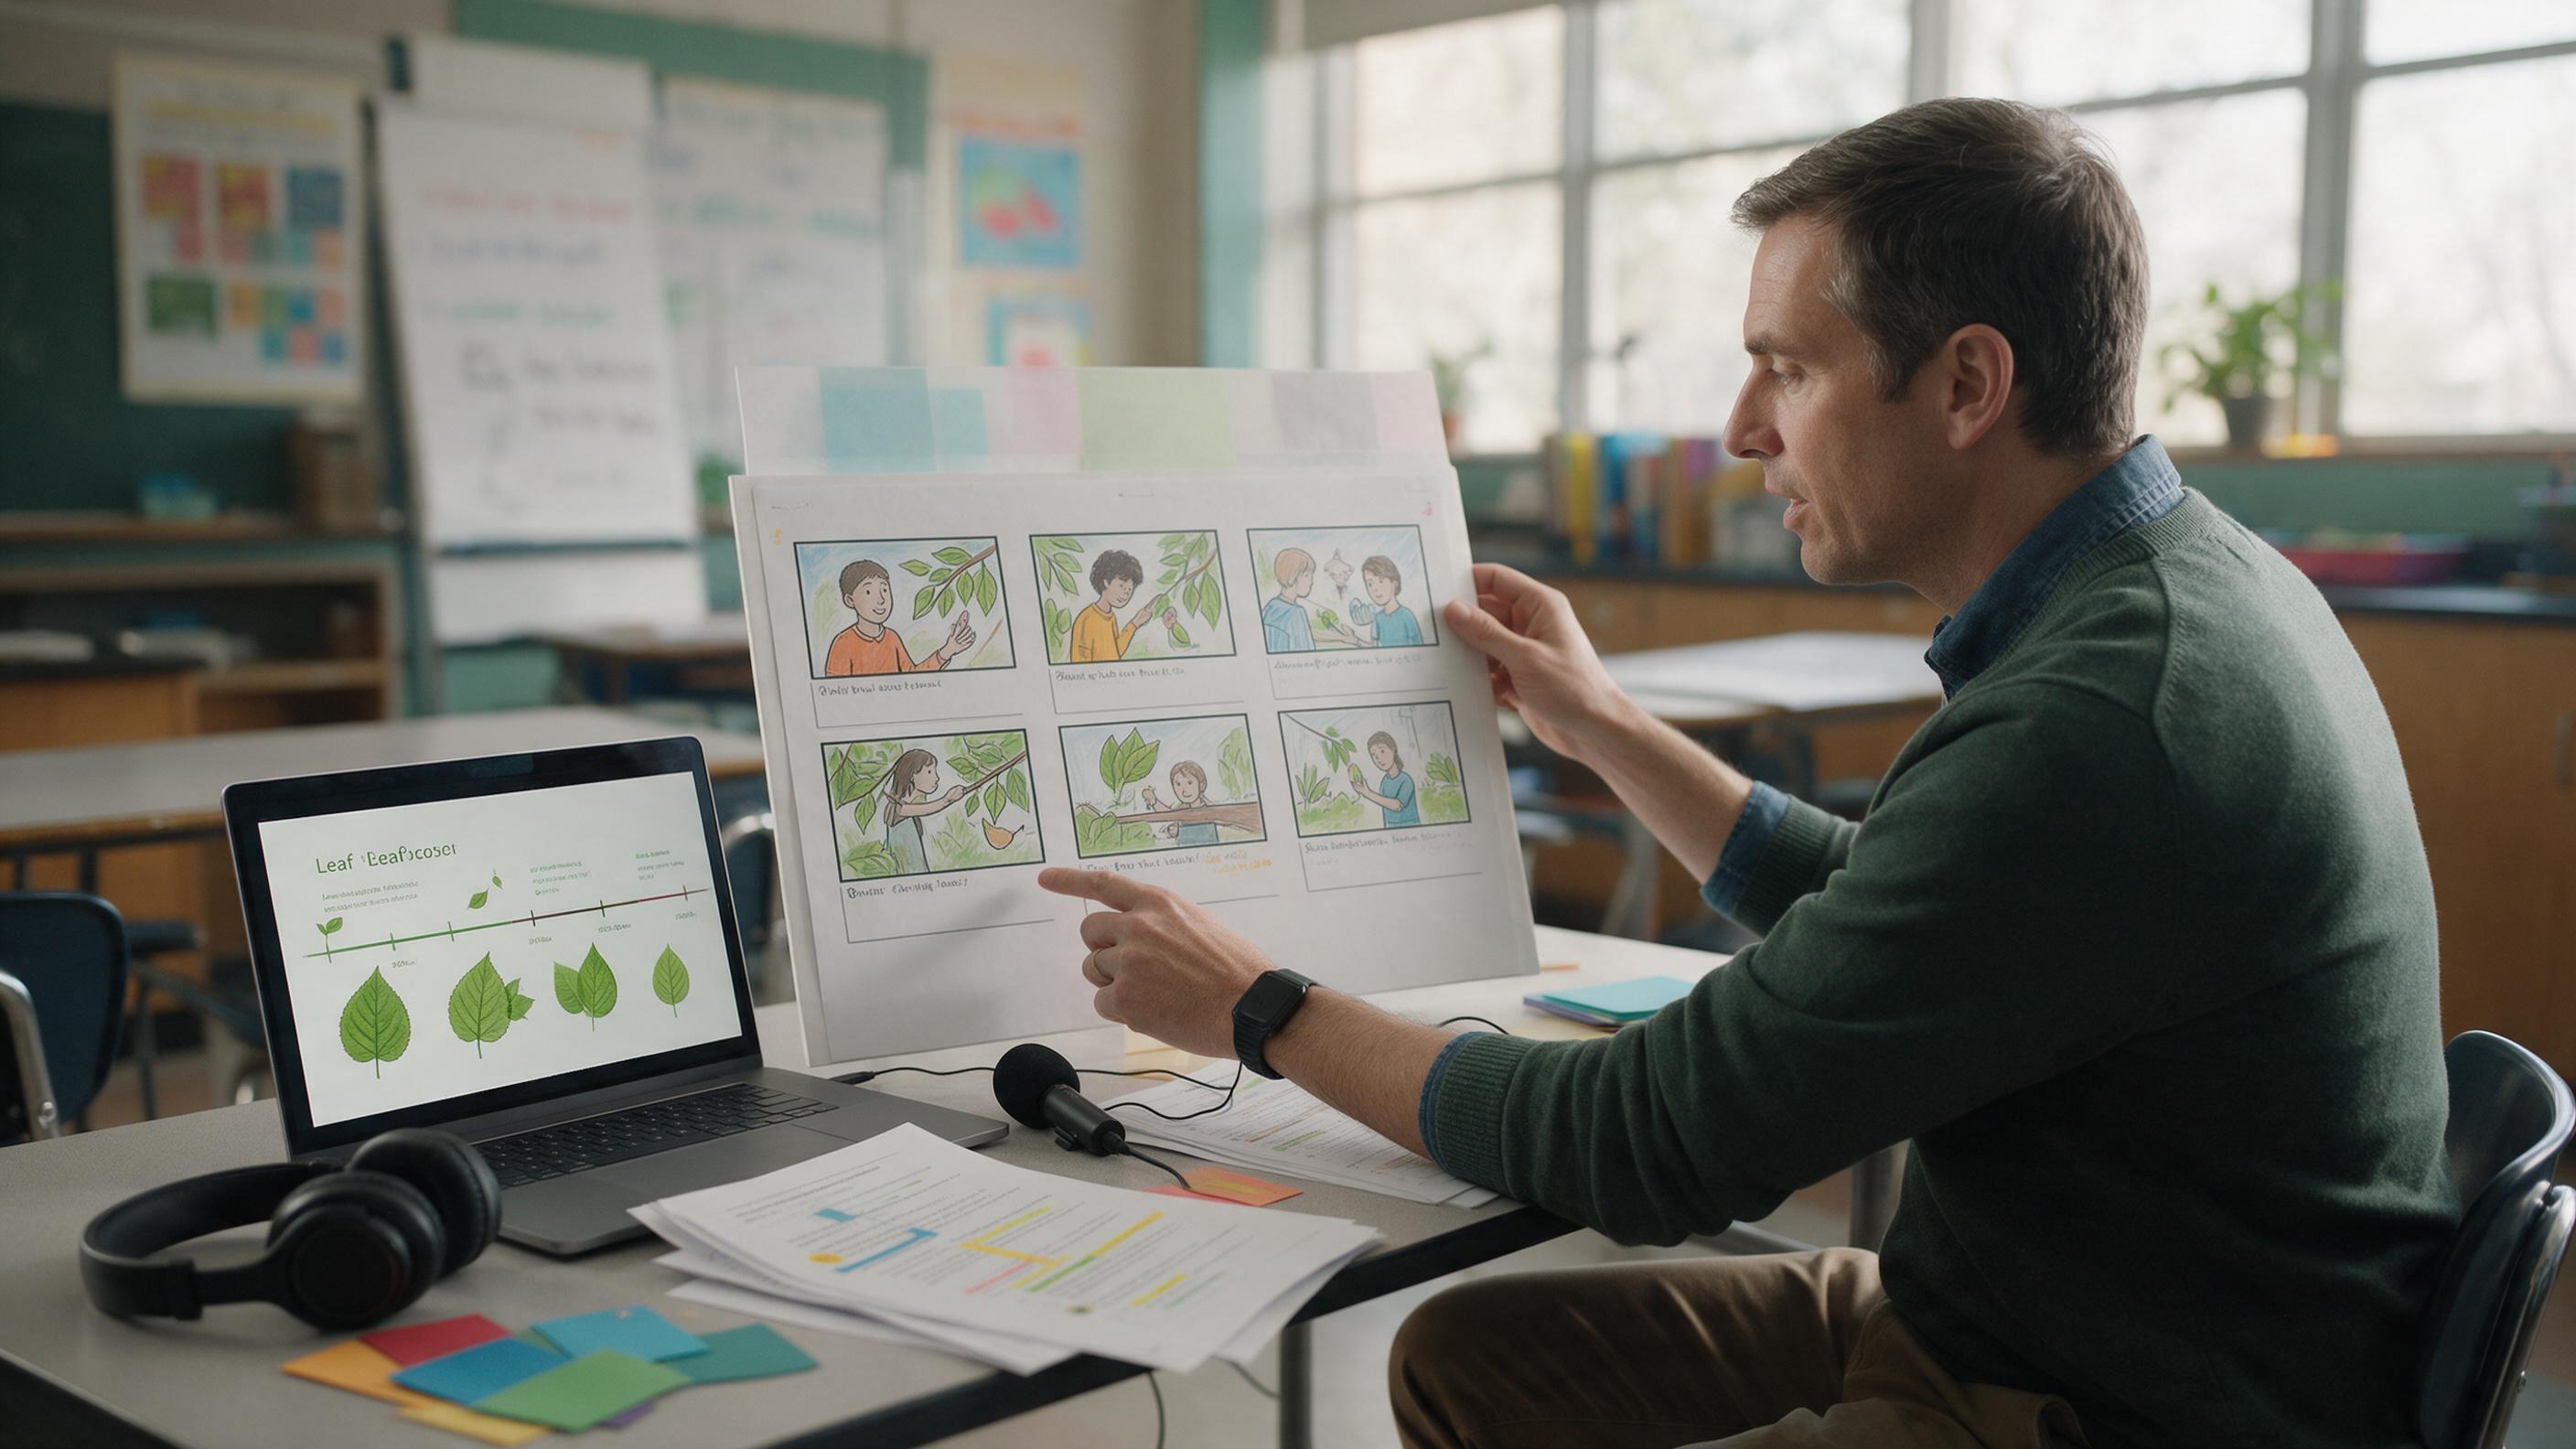
Table of contents
Make Every Second Teach One Idea
A good 60-second explainer does not compress an entire lesson—it helps learners understand one important idea quickly.
The most reliable approach is to separate instructional planning from video generation. First define the learning outcome, then divide the explanation into visual beats, create controlled source images, and animate only the elements that support comprehension.
This method works for course previews, lesson recaps, microlearning modules, flipped-classroom materials, and short training videos. It also reduces common failures such as rushed narration, decorative motion, inconsistent scenes, and visuals that contradict the script.
Step 1 — Define One Observable Learning Outcome
Before opening a video model, complete this sentence:
After watching, the learner should be able to explain, identify, compare, or perform one specific thing.
“Understand photosynthesis” is too broad for one minute. “Explain how light energy helps a plant produce glucose” is narrow enough to visualize clearly.
Set four constraints:
- Audience: What does the learner already know?
- Outcome: What should the learner be able to say or do?
- Evidence: What final question could confirm understanding?
- Exclusions: Which related details belong in a later lesson?
For comfortable pacing, aim for approximately 110–130 spoken words. This leaves room for pauses, transitions, and time to inspect the visuals instead of forcing the narrator to race.
| Time | Instructional purpose | Example |
|---|---|---|
| 0–5 seconds | Create curiosity | Where does a plant’s stored energy come from? |
| 5–15 seconds | Activate prior knowledge | Show sunlight, water, and carbon dioxide. |
| 15–45 seconds | Explain the mechanism | Follow energy into the leaf and show glucose forming. |
| 45–55 seconds | Restate the relationship | Connect inputs, process, and outputs. |
| 55–60 seconds | Check understanding | Ask which input supplies the energy. |
Step 2 — Rewrite the Script for Voice and Screen
A lesson script often contains definitions, examples, qualifications, and transitions that sound fine in a lecture but overload a short video. Rewrite it so that each sentence introduces only one new relationship.
Separate the narration from what appears visually. If the narrator says everything shown on screen, the learner must process duplicate information. Let narration explain the idea while the visual demonstrates location, sequence, scale, or change.
Use this planning prompt with your preferred language model:
You are editing a 60-second educational explainer.

Audience: learners aged 12–14
Learning outcome: explain how light energy contributes to glucose production in plants
Source material: [paste approved lesson notes]

Create:
1. A narration script of 110–130 words.
2. Six visual beats, each teaching one idea.
3. A short on-screen caption for each beat, maximum six words.
4. One final retrieval question.

Use only facts in the source material. Flag anything that requires verification. Avoid metaphors that could create a scientific misconception.
Read the result aloud and time it. Replace long introductory phrases with direct statements, but keep essential qualifications. If a sentence cannot be represented with a clear visual, consider whether it belongs in the video at all.
Step 3 — Convert the Explanation Into Six Shot Cards
Create one shot card for every five to ten seconds. Each card should describe the instructional purpose before its visual style.
- Teaching point: the fact or relationship introduced.
- Visual evidence: what the learner must see.
- Motion: the single change that clarifies the idea.
- Narration: the matching spoken sentence.
- Caption: a brief reinforcement, not a transcript.
A useful shot card might read:
Teaching point: Light provides energy for the process.
Visual evidence: Sunlight reaches a leaf cross-section.
Motion: A soft pulse travels from the sun into leaf cells.
Narration: The plant captures light energy inside its leaves.
Caption: Light supplies energy.
Avoid: Glowing roots, moving labels, fantasy particles, rapid camera motion.
This shot-based plan is more dependable than sending the complete script directly into a text to video model. Short prompts give you tighter control over visual meaning, clip duration, and revisions.
Step 4 — Create Accurate Source Frames
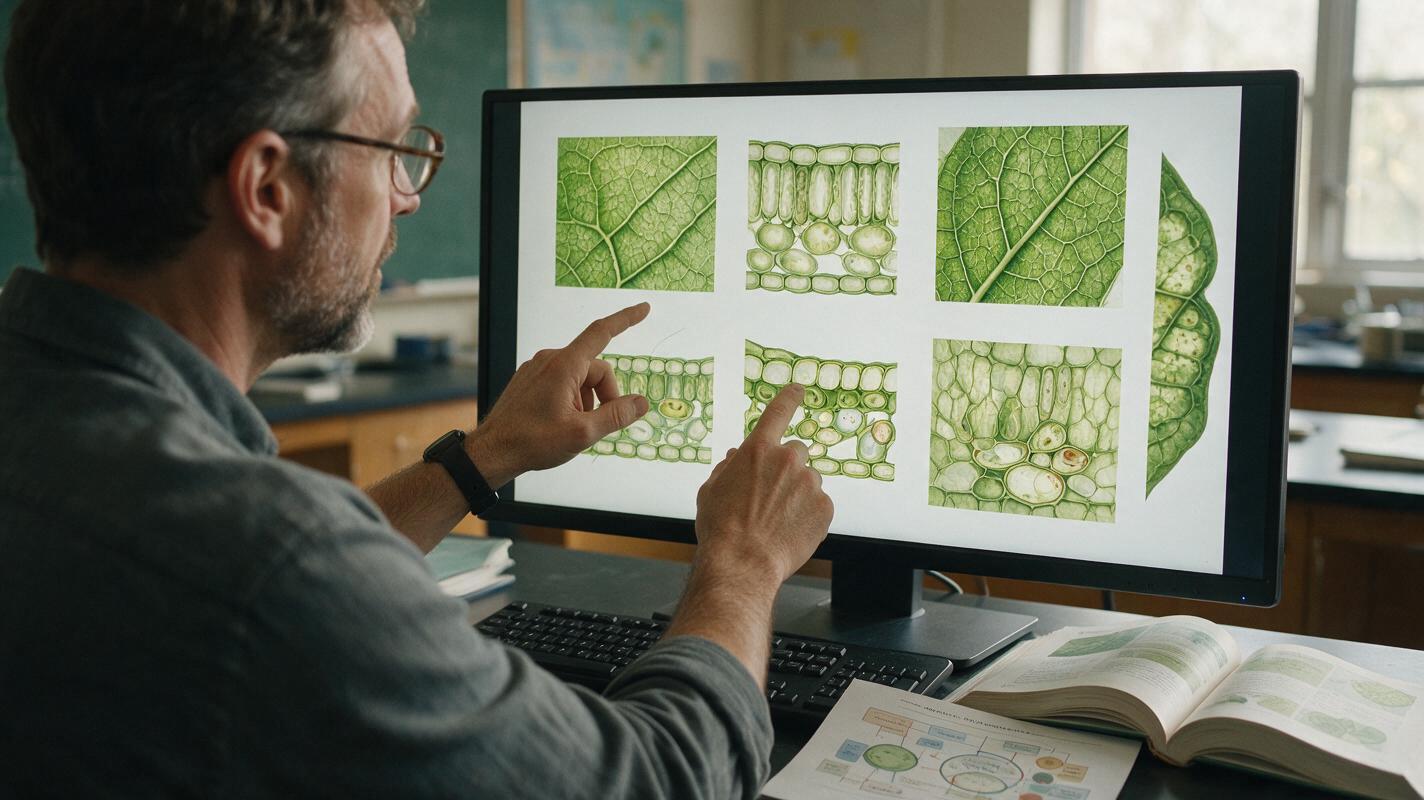
Generate a still frame for each shot before adding motion. You can test image models such as GPT Image, Imagen, Seedream, Flux, or Midjourney, depending on the visual style and controls available in your current workspace.
For educational content, the prompt should define the subject, viewpoint, composition, relevant structures, age level, and exclusions. Do not rely on style words alone.
Clean educational cutaway illustration of a healthy green leaf,
side view showing the upper surface and internal cell layers,
sunlight entering from the upper left, water arriving through the stem,
carbon dioxide approaching the leaf from the surrounding air,
large uncluttered shapes suitable for learners aged 12–14,
reserved empty space on the right for editor-added labels,
scientifically plausible proportions, neutral pale background,
no written text, no decorative icons, no fantasy glow
Add technical labels, formulas, measurements, and accessibility text later in a design or video editor. This makes corrections easier and avoids treating generated lettering as authoritative lesson content.
Accuracy checkpoint: Compare every source frame with your approved textbook, curriculum document, or subject-matter reference before animation.
Keep the same aspect ratio, palette, viewing angle, and visual complexity across all frames. For a course platform, 16:9 is usually a practical starting format; create a separate composition if the lesson will also be published vertically.
Step 5 — Animate One Meaningful Change per Clip
For most explainers, image to video offers stronger composition control because the approved still frame acts as the visual anchor. Direct generation from a written prompt can be useful for simple establishing shots, but it may introduce unnecessary objects or alter important structures.
| Method | Best used for | Main risk |
|---|---|---|
| Written prompt to video | Simple environments and nontechnical transitions | Unplanned details or changing composition |
| Reference image animation | Diagrams, processes, controlled lesson scenes | Over-animation or deformation |
| Manual editor motion | Arrows, labels, highlights, charts | More assembly time |
Veo, Kling, Runway, Seedance, and other video models can be tested for individual shots. Model interfaces and controls change, so compare outputs using the same source frame and prompt rather than assuming one model will be best for every lesson.
Use a motion prompt that states what moves, what remains fixed, and how the camera behaves:
Animate only the sunlight: a subtle warm pulse travels from the upper left
into the leaf cells over four seconds. Keep the leaf anatomy, background,
colors, proportions, and camera completely fixed. No zoom, no rotation,
no new objects, no text, no morphing, no flicker. Calm educational pacing.
Generate two or three variations, then choose the clearest rather than the most dramatic. If the model repeatedly distorts an essential structure, keep that frame static and animate an overlay manually. Test this prompt yourself with one approved lesson frame before generating the complete sequence.
Step 6 — Add Narration, Captions, and Deliberate Pauses
Record the narration yourself or use a licensed synthetic voice that suits the learners and delivery context. Keep the tone conversational and steady. Pronunciation matters more than theatrical emphasis, especially for technical terms, names, abbreviations, and formulas.
Build pauses into the edit:
- Allow a brief pause after the opening question.
- Show a process before naming its result when discovery supports the lesson.
- Hold the completed visual long enough for inspection.
- Pause before the final retrieval question.
Captions should be added as editable text, not embedded inside generated footage. Check line breaks, contrast, spelling, reading level, and safe placement on both desktop and mobile screens. Captions must match the final narration, including any last-minute corrections.
Use sound effects sparingly. A quiet transition cue may direct attention, but constant clicks, swooshes, or musical changes can compete with the explanation. For training and accessibility, also confirm that the video remains understandable with sound muted and with visuals hidden.
Step 7 — Troubleshoot the First Draft
Review the assembled video once for factual accuracy, once for visual clarity, and once as a learner seeing the concept for the first time. Trying to judge everything simultaneously makes subtle problems easy to miss.
| Problem | Likely cause | Practical fix |
|---|---|---|
| The video feels rushed | Too many concepts or too much narration | Remove a supporting detail and add two short pauses. |
| Objects change between shots | Each scene was generated independently | Reuse approved source frames and match composition explicitly. |
| Motion looks impressive but confusing | Several elements move at once | Animate only the element carrying instructional meaning. |
| Learners miss the key term | The term appears only in narration | Add a concise editor-created caption when it is introduced. |
| A scientific structure deforms | The video model has too much freedom | Use a static frame with manual arrows, masks, or highlights. |
| The ending feels abrupt | No consolidation beat | Hold the final relationship and ask one retrieval question. |
Test the draft with at least one person who matches the learners’ knowledge level. Ask them to explain the main idea without replaying the video. Their answer is more useful than asking whether they “liked” it.
Step 8 — Package the Video for the Lesson
A short explainer works best when it has a defined role. Place it before a lesson to introduce a mechanism, during instruction to visualize a difficult transition, or after instruction as a retrieval prompt.
Publish it with:
- A descriptive title rather than “Video 1.”
- A transcript that can be searched and reviewed.
- Alternative text or an equivalent description for essential visuals.
- The source or reference used to verify factual content.
- One follow-up question aligned with the stated outcome.
Save the narration, shot cards, source frames, prompts, and editable captions together. When the curriculum changes, you can replace one scene instead of recreating the whole explainer.
Final Checklist
- The video teaches one observable learning outcome.
- The narration fits the runtime without hurried delivery.
- Every shot has a clear instructional purpose.
- Generated visuals have been checked against approved sources.
- Only one meaningful change occurs in each animated clip.
- Labels and captions remain editable.
- The final question checks the stated learning outcome.
- The lesson remains understandable with captions enabled.
Keywords
ai explainer video, lesson script, text to video, image to video, educational video, course creation, video prompts