How to Turn Environment Concept Art Into Game Trailer Flythroughs With Kling
Static environment concept art is great for design reviews, but game teams often need moving footage for pitch decks and trailer teasers without building a full 3D scene. This tutorial walks through using Kling’s image-to-video tool to generate smooth, style-consistent flythroughs that preserve every detail of your original concept art, with troubleshooting for common issues like perspective warp and prop drift. You’ll learn exact input prep steps, optimized settings, and reusable prompt templates to create usable flythrough footage in minutes.
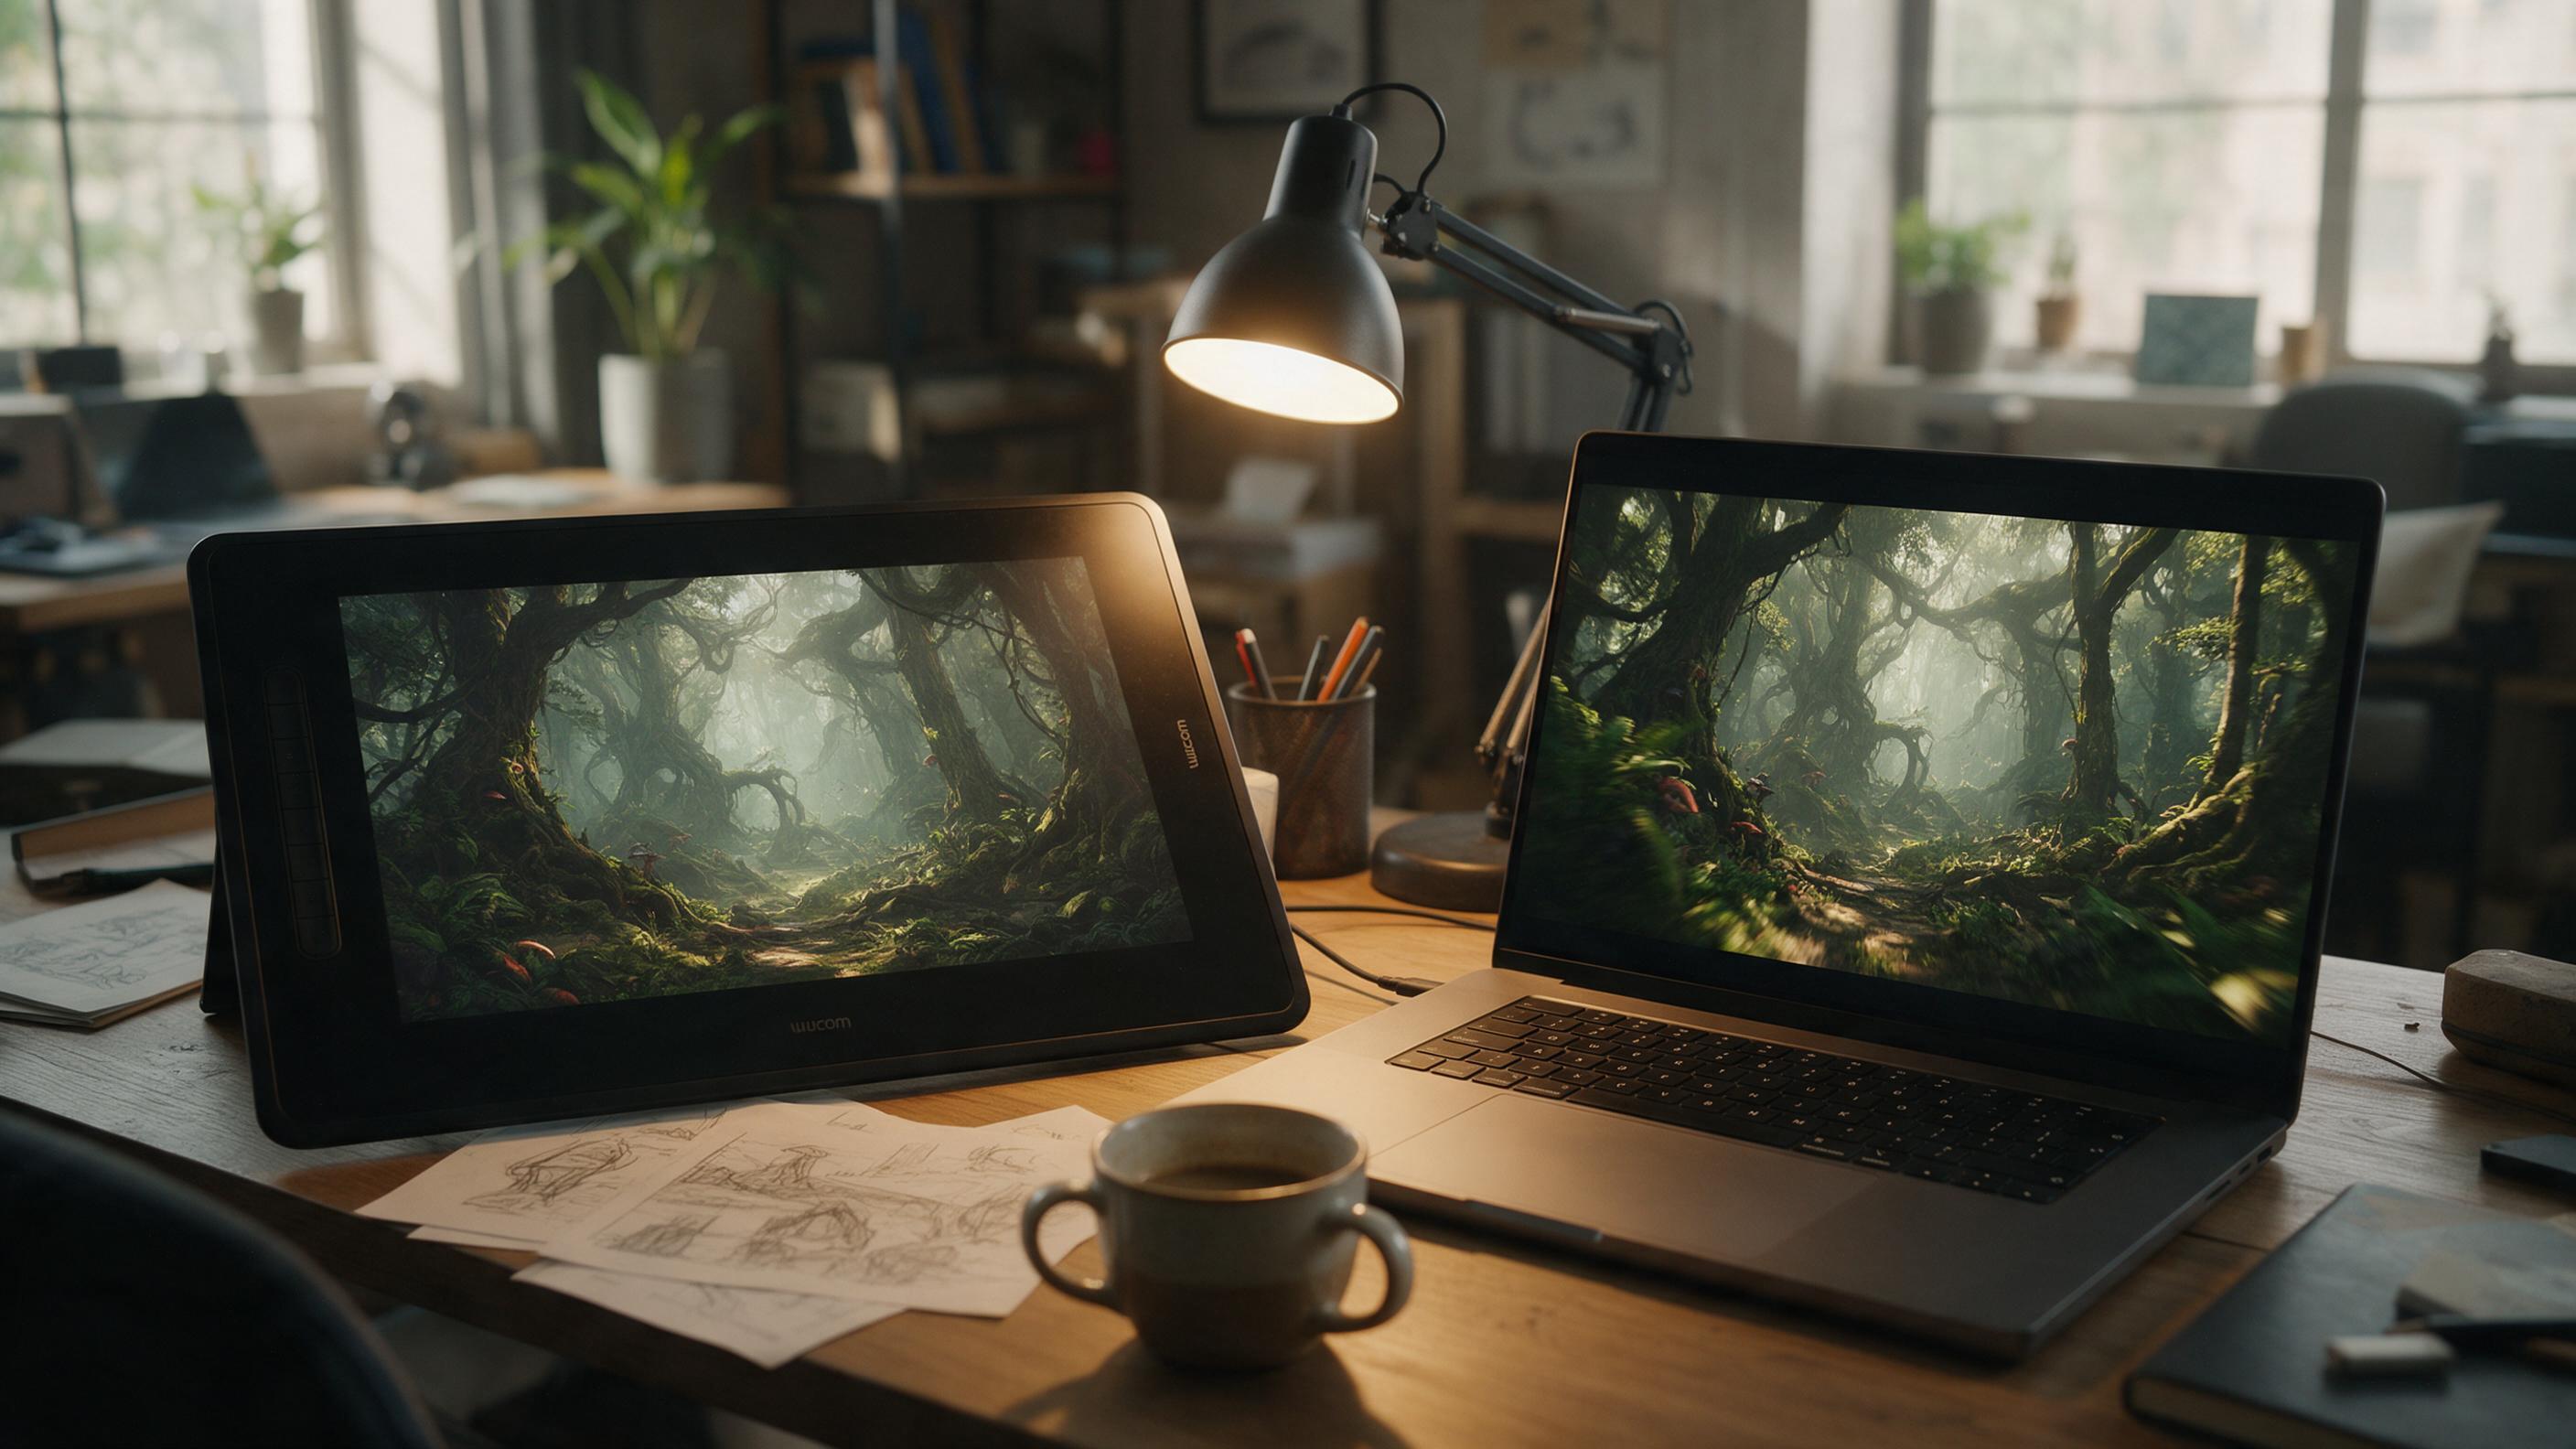
Table of contents
Before you start
Static environment concept art can only sell so much of your world’s vibe—turning it into a smooth flythrough lets you prove pacing, scale, and atmosphere for pitches and trailer teasers in minutes, no 3D modeling required.
Game designers and concept artists often spend weeks polishing environment art for design reviews, only to hit a wall when stakeholders ask to “see it in motion” for a pitch deck or early game trailer. Building a rough 3D blockout can take days, and generic AI video tools often warp props, shift art style, or ignore key world details. This tutorial uses Kling’s image to video mode, which is optimized for preserving reference image detail while generating smooth, controllable camera motion ideal for environment flythroughs.
By the end, you’ll have an 8–12 second style-consistent flythrough ready to drop into trailer drafts, pitch decks, or design review presentations.
Step 1 — Prep your concept art for reference stability
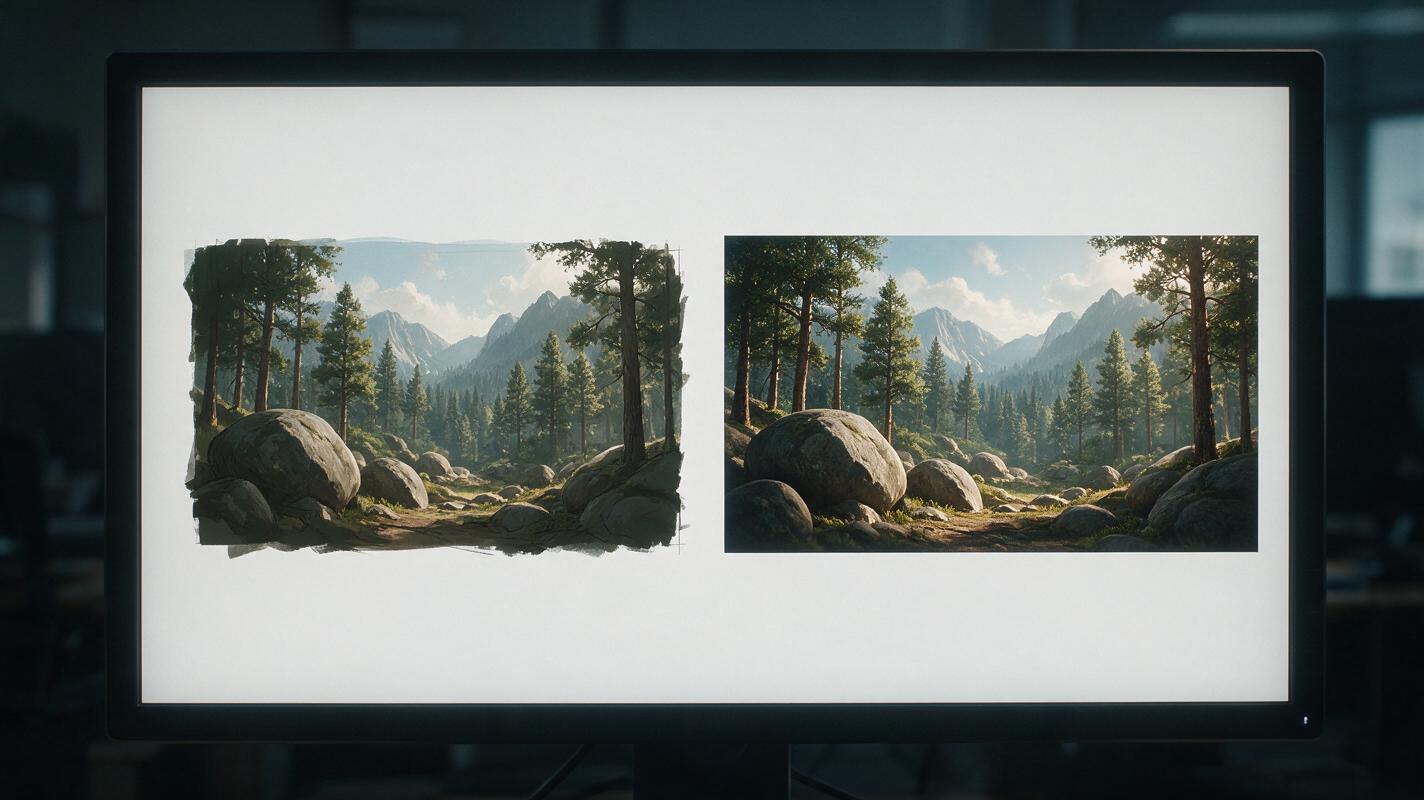
The quality of your input concept art directly impacts how consistent your flythrough will be. Take 2–3 minutes to prep your file before uploading to avoid common warping and drift issues.
- Crop to 16:9 aspect ratio: This matches standard game trailer dimensions and reduces edge distortion from the model resizing your image. Aim for a resolution of at least 1920x1080; higher resolution art will preserve fine details like prop textures and lighting.
- Remove all text, watermarks, and sketch layers: The model will try to animate any visible text or rough sketch lines, leading to flickering or distorted elements. Clean up your art to only show the final painted environment.
- Reinforce depth layers: If your concept has flat or ambiguous depth (common with stylized art), add a subtle 10–15% blur to the farthest background elements and a slight atmospheric haze to midground areas. This cues the model to create realistic parallax during camera motion.
- Avoid heavily cropped foreground elements: If large props are cut off at the edges of your frame, the model may warp them during motion. If you can’t adjust the crop, add a thin 2–3% black border around your image to reduce edge distortion.
Step 2 — Configure Kling image-to-video settings for environment flythroughs
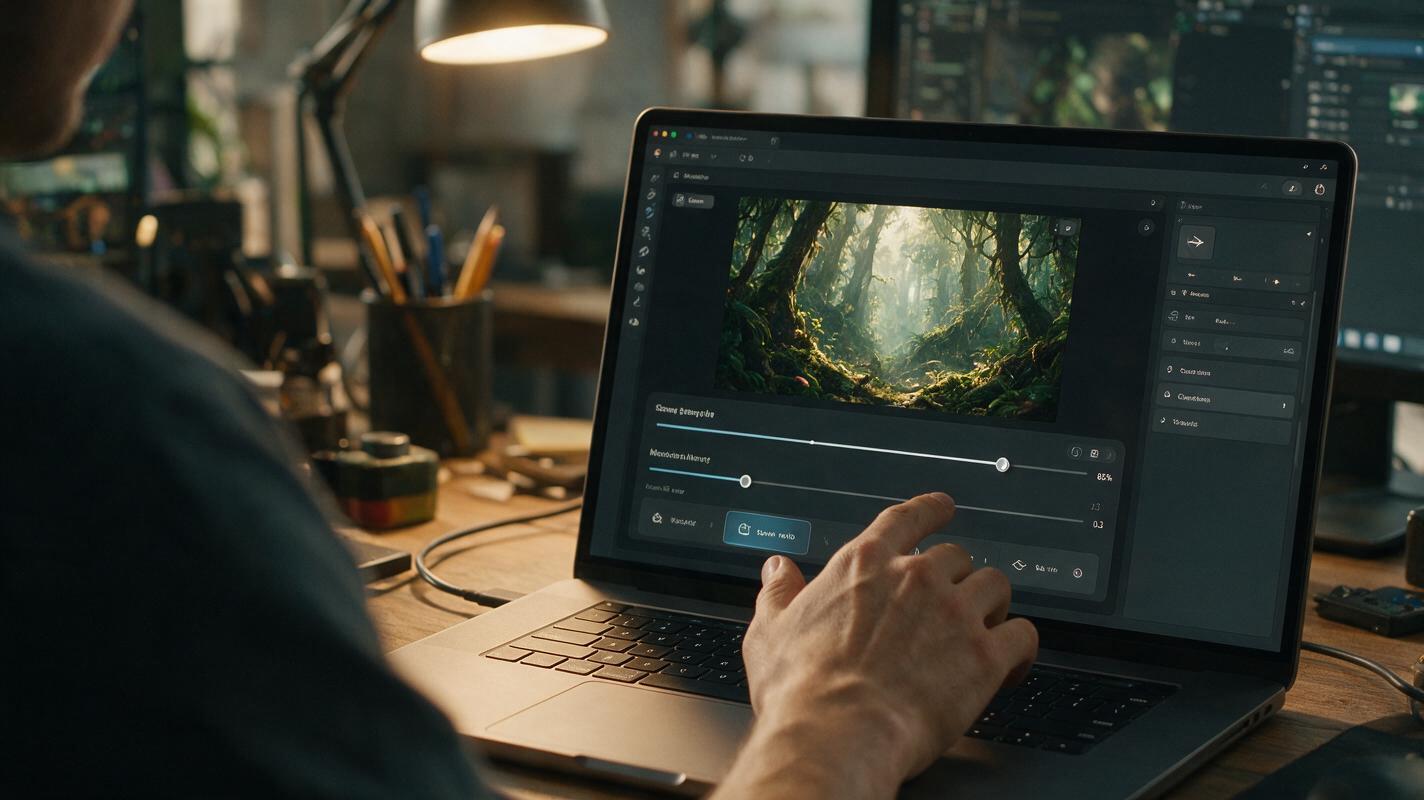
Once your art is prepped, open Kling’s image to video mode and upload your concept art as the sole reference input. Use these settings as a starting point for smooth, style-consistent flythroughs:
| Setting | Recommended Value | Why it works |
|---|---|---|
| Duration | 10 seconds | Long enough for a meaningful trailer tease, short enough to minimize style drift |
| Reference Strength | 0.85 | Preserves 90%+ of your concept art’s style and props while allowing natural camera motion |
| Motion Intensity | 0.3 | Creates slow, smooth movement without shaky camera or prop drift |
| Camera Motion | Slow forward push | Ideal for showing environment depth and scale; use "slight pan left/right + push" for wider open worlds |
| Aspect Ratio | 16:9 | Matches standard game trailer and presentation dimensions |
Your prompt should focus on motion and consistency, not describing the environment itself—your reference art already handles the visual details. Here’s a reusable prompt template for fantasy forest environments (swap in details for your own setting):
Smooth cinematic game flythrough, slow forward eye-level camera movement, gentle sway of grass and small plants, dappled sunlight filtering through tree canopy, soft drifting fog in the background, no camera shake, 100% consistent art style matching reference image, 4K game cinematic quality, no warping, no floating objectsUse this negative prompt to eliminate common artifacts:
blurry edges, distorted architecture, floating props, changing art style, camera shake, text, watermarks, humanoid characters, sudden cuts, low resolution, pixelationTest this prompt yourself with your own environment concept art to see how much detail Kling preserves in first-pass output.
Step 3 — Refine and fix common flythrough issues
Even with perfect prep, you may run into small artifacts or consistency issues on your first generation. Use these troubleshooting fixes for the most common problems:
Edge warping or distorted foreground props
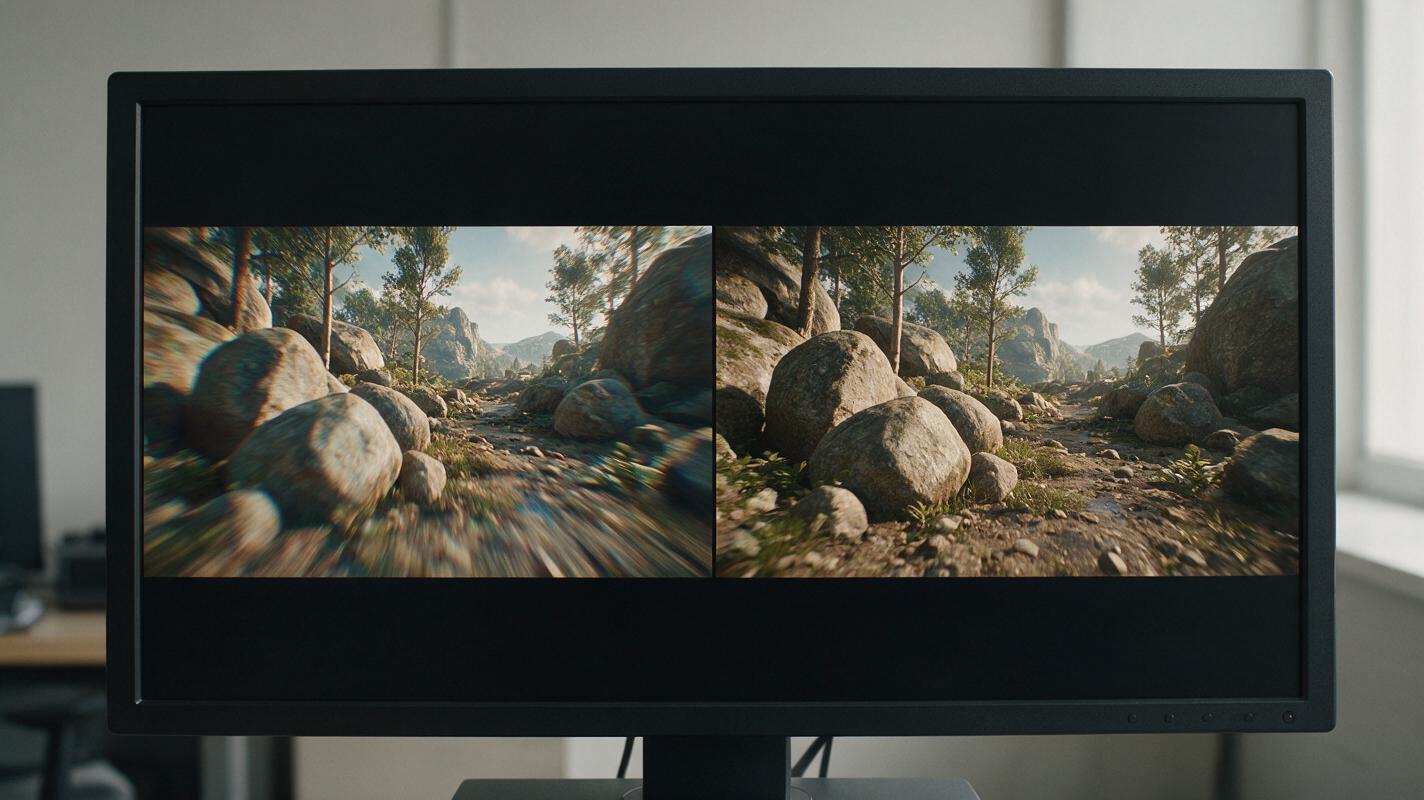
Caused by motion intensity being too high, or reference strength being too low. Fix by bumping reference strength to 0.88, lowering motion intensity to 0.25, and adding "no edge warping, stable foreground props" to your negative prompt. If the issue persists, add that thin 2% black border to your input image to give the model clear edge boundaries.
Style drift or color shift halfway through the clip
Caused by duration being too long, or prompt terms conflicting with your reference art. Fix by shortening duration to 8 seconds, removing all style descriptors (like "oil painting" or "cel-shaded") from your positive prompt, and adding "exact color and style match to reference image" to your prompt. Never describe the art style in your prompt when using a reference image—let the reference carry the style.
Flat, depthless motion with no parallax
Caused by your concept art having ambiguous depth layers, or camera motion being too subtle. Fix by adding a subtle depth-of-field blur to the background of your input art, and switching camera motion from "slow push" to "slight downward pan + forward push" to create more visible parallax between foreground and background elements.
Random objects appearing in the scene
Caused by ambiguous shapes in your concept art, or vague prompt terms. Fix by adding "no new objects, no floating items" to your negative prompt, and add a short clarifying line to your positive prompt describing any ambiguous shapes (e.g., "moss-covered stone boulders in foreground").
Pro tip for longer flythroughs: If you need a 20–30 second clip for a full trailer scene, chain two 10-second generations together. Use the last frame of your first flythrough as the reference image for the second generation, and keep the same camera direction and settings to maintain seamless continuity.
Final checklist
- Concept art is cropped to 16:9, high-res, and free of text, watermarks, and sketch layers
- Depth layers are clear, with subtle background blur added if needed for parallax
- Reference strength is set between 0.8–0.88 for style consistency
- Motion intensity is set to 0.2–0.3 for smooth, shake-free movement
- Prompt focuses on camera motion and consistency, not environment description
- Negative prompt includes warping, style drift, floating objects, and camera shake
- Test a 4-second preview first before generating the full 10-second clip
Keywords
environment concept art, game trailer flythrough, kling image to video, concept art to cinematic, game design pitch, ai video generator, environment animation tutorial