How to Turn One Product Photo into Five Social Posts with GPT Image
A single product photo can become a week of distinct social images without making the product look like five different items. This tutorial shows how to plan, prompt, and check five GPT Image concepts for a cohesive campaign.
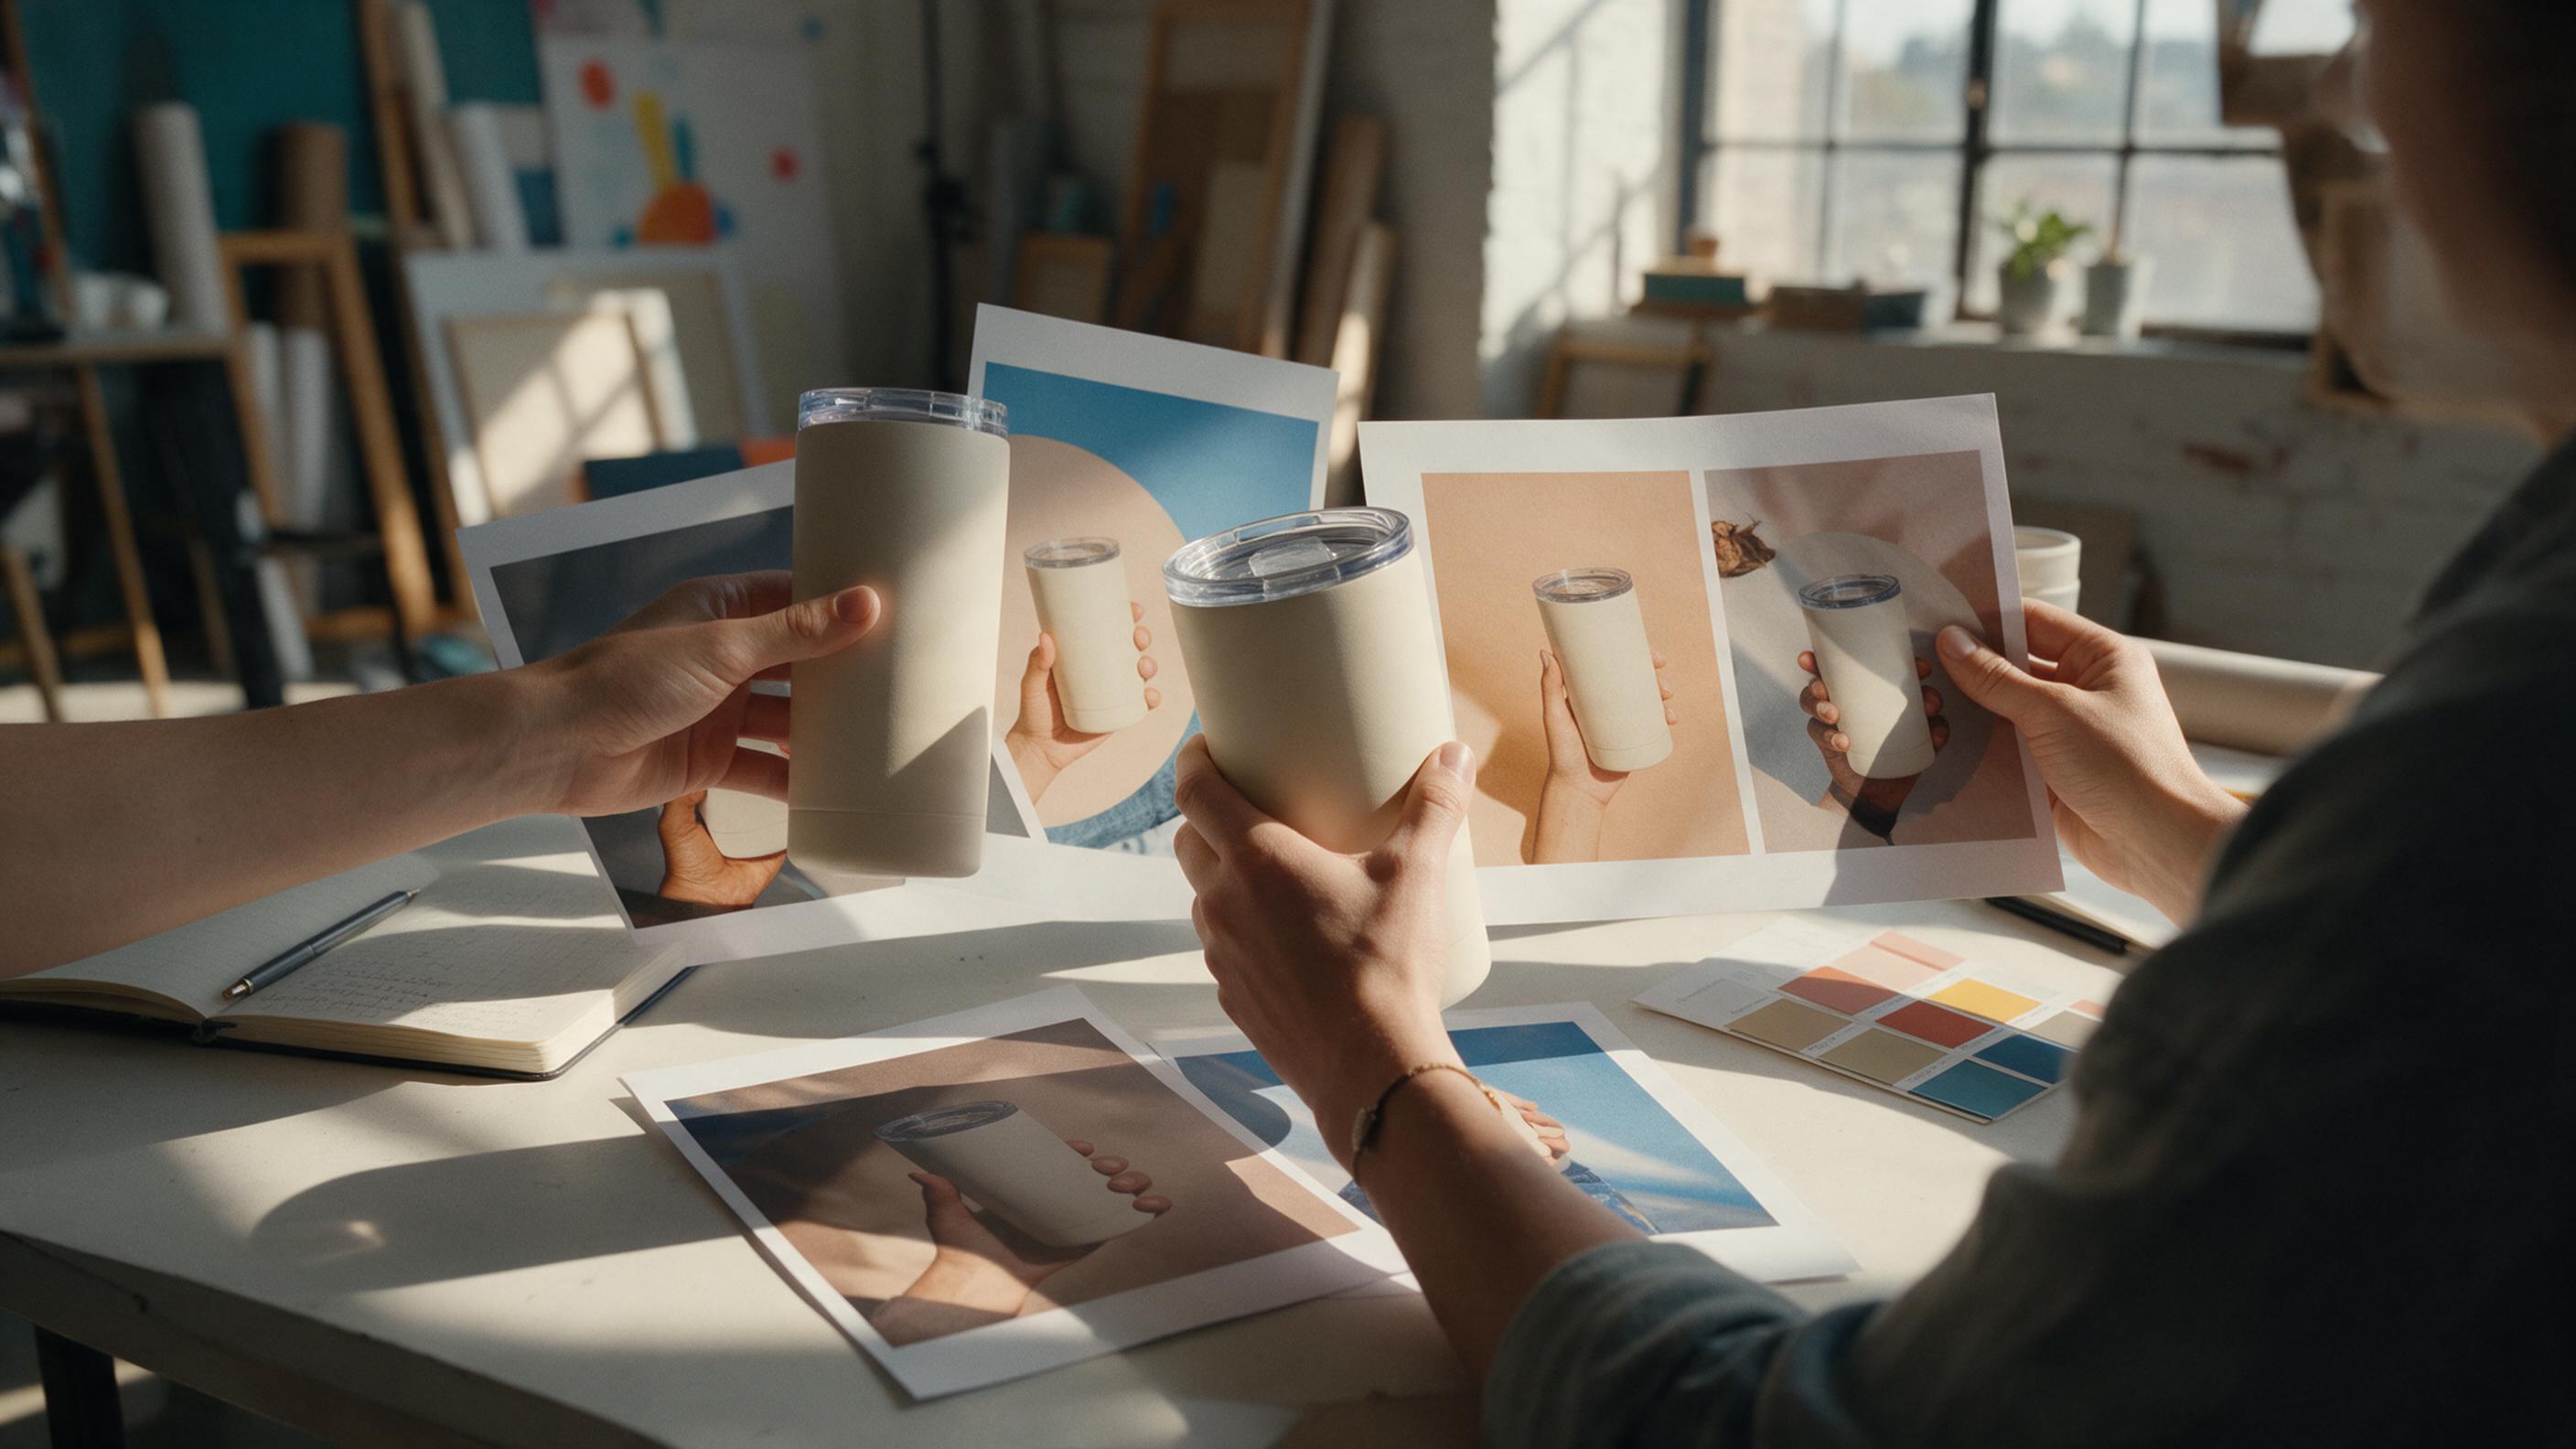
Table of contents
Turn one product photo into a campaign
One usable product photo does not have to become one repetitive post. With GPT Image, you can develop five distinct social concepts around the same product: a launch image, a detail shot, a lifestyle scene, a benefit-led post, and a closing reminder. The challenge is keeping the product recognizable while changing the setting and composition.
This tutorial uses an unbranded insulated tumbler as an example. Substitute your own product and approved claims, and treat every generated image as a draft that needs a visual check before publication.
Step 1 — Start with a photo the model can actually use
Choose a sharp, well-lit image that shows the product’s true shape, color, and important details. A clean background helps, but the product does not need to look like a finished ad. If you have several angles, select one primary photo for this campaign so the set feels consistent.
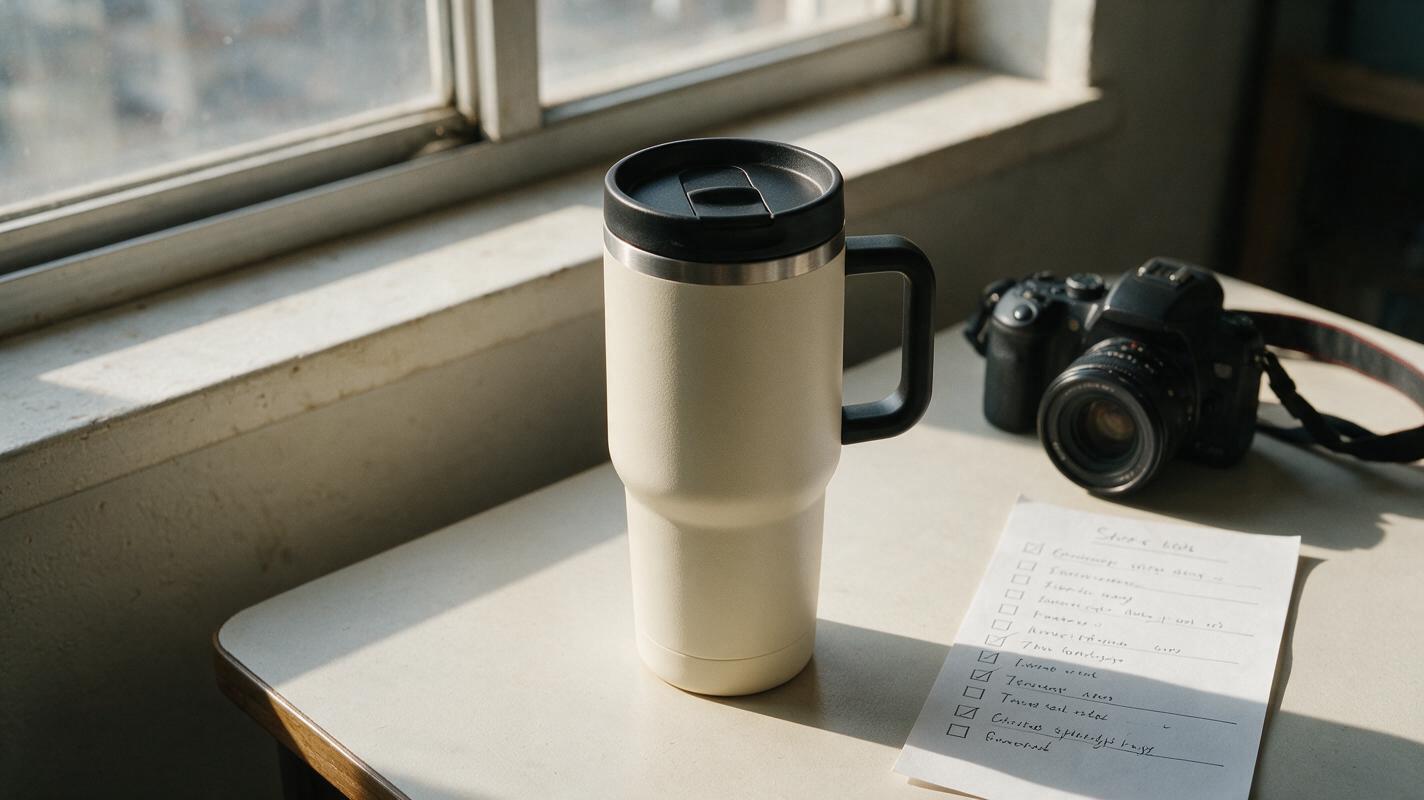
Before generating anything, write a short product lock: the features that must not change. For the example tumbler, that might be its matte cream finish, straight-sided body, black lid, and small handle. Also list anything the model must not invent, such as a logo, capacity marking, or extra button.
- Keep: silhouette, materials, color, lid, handle, and any genuine branding.
- Change: background, props, lighting mood, crop, and surrounding space.
- Reserve: a clear area for copy that you will add later in your design editor.
If a label, packaging detail, or safety-critical feature must be exact, keep the original photographed product and generate only the background. Composite the real product over it rather than relying on a generated reconstruction.
Step 2 — Give each post a different job
Five images with five backgrounds are not automatically a campaign. Assign each image a purpose before you write prompts. That makes the set more useful across a feed, carousel, or short-form video cover sequence.
| Post | Purpose | Visual direction | Space for copy |
|---|---|---|---|
| 1. Launch | Introduce the product | Clean hero shot | Above or beside product |
| 2. Detail | Show a real feature | Closer view of lid and handle | One short callout |
| 3. Lifestyle | Show a plausible use moment | Desk or café setting | Quiet background area |
| 4. Benefit | Support one approved message | Product with relevant props | Room for the claim |
| 5. Reminder | Prompt a final look | Simple alternate composition | Room for a call to action |
For a Reels or Shorts cover, place the important product details near the center rather than against the edges, where interface elements or a crop may obscure them. For feed posts, decide the intended crop before generating. Check the result in the actual publishing template, not just in the generator preview.
Step 3 — Generate the first image as your visual reference
Upload the source photo to an ai image generator that accepts image references or editing instructions, and begin with the simplest concept: the launch post. Ask for a new scene while explicitly protecting the product’s appearance. You can reuse the following GPT Image prompt, replacing the product details with your own.
Use the uploaded product photo as the reference for the product. Create a polished social campaign image of this exact matte cream insulated tumbler. Preserve its straight-sided shape, black lid, small handle, proportions, and existing surface details. Place it on a light stone tabletop with soft natural window light and a warm neutral background. Leave uncluttered space above the tumbler for a headline. Do not add logos, labels, text, duplicate products, or new product features. Make the result look like a believable product photograph.Check this image before making the other four. Is the handle on the correct side? Is the lid shape intact? Are any markings newly invented? If the product has changed, tighten the product lock or switch to generating a background for the original photo. Do not use a flawed first image as the reference for the rest of the set; small errors can multiply.
Once the launch image passes inspection, record its useful art-direction choices: warm neutral palette, soft window light, believable tabletop texture. Those become the common thread, not a requirement that every post use the same scene.
Step 4 — Change the story, not the product
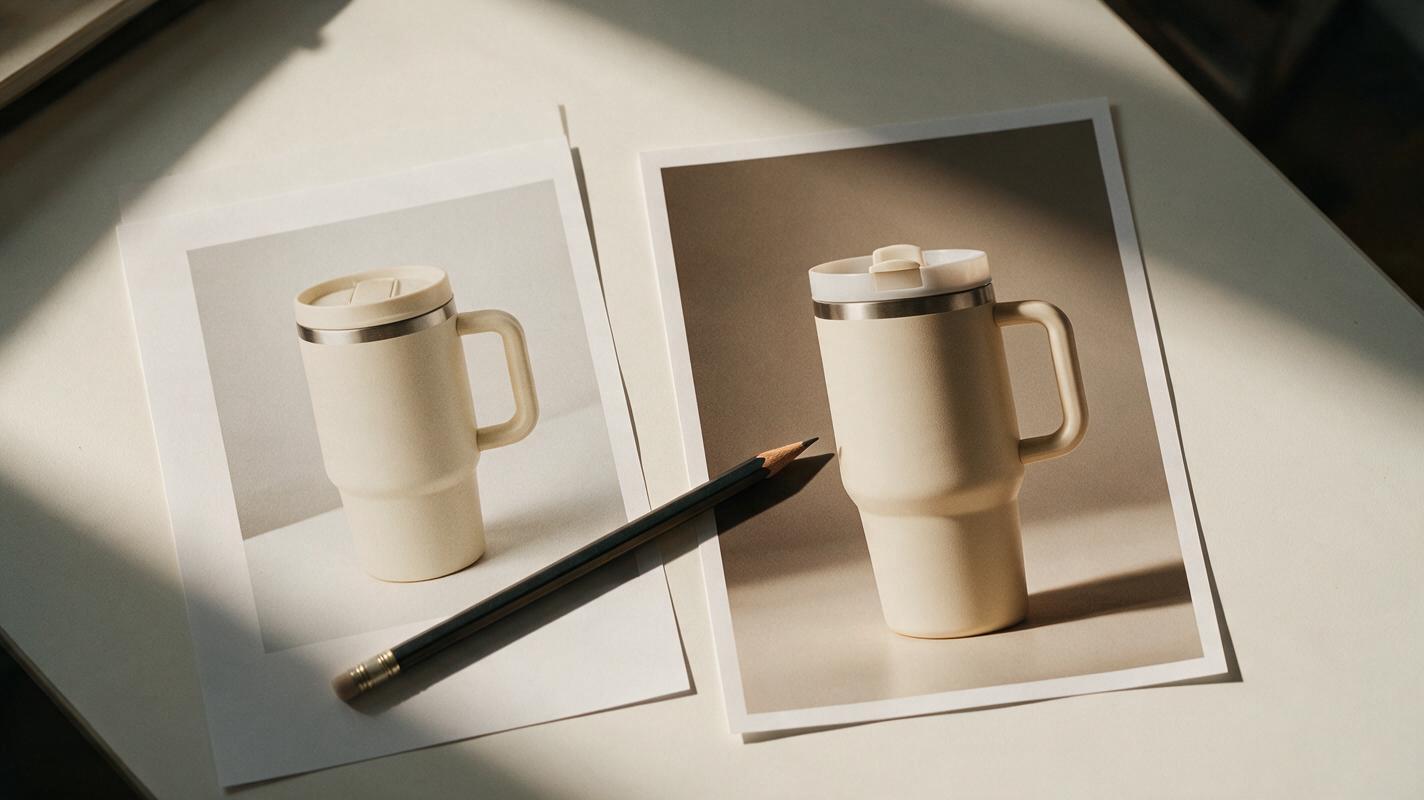
Make the remaining images one at a time from the original product photo. Keep the product lock and the shared palette, then replace only the scene instructions. This is more controlled than asking for five unrelated outputs in a single prompt.
Detail post
Use the original product photo as the reference. Preserve the tumbler's exact shape, matte cream finish, black lid, and small handle. Create a closer editorial product photograph that clearly shows the lid and handle on a warm neutral background. Use soft side lighting and leave a small, uncluttered area for one short feature callout. Do not invent mechanisms, markings, text, or branding.Lifestyle post
Use the original product photo as the reference. Keep the tumbler's appearance unchanged. Place it naturally on a tidy desk beside a closed notebook and a pen, lit by a nearby window. Use a warm neutral palette consistent with the launch image. Keep the tumbler unobstructed and leave calm background space for later copy. No people, readable text, new logos, or extra product features.Benefit and reminder posts
For the benefit post, choose props that support an approved message without trying to depict an unverified performance claim. If your approved copy is about an easy morning routine, a bag and notebook may provide context; steam or condensation should not be used to imply a tested temperature result you cannot substantiate. For the reminder post, simplify the composition again: a different crop, a contrasting surface within the same palette, and enough empty space for a call to action.
To create those final two prompts, copy the launch prompt and change only the scene, crop, and copy placement. Test this prompt yourself with one variation at a time; you will be able to tell which change improved or weakened the image.
Step 5 — Add copy and check every crop
Export the selected images and add headlines, prices, and calls to action in your design editor. This keeps campaign copy editable and makes it easier to apply your actual fonts and accessibility standards. A generated background may contain shapes that resemble letters, so inspect it for accidental text before placing your own.
Review all five images together at the size people will see in a feed. Check for mismatched product proportions, changing colors, implausible shadows, props that compete with the product, and copy areas that disappear when cropped. Then check each intended placement separately, including vertical video covers if you plan to repurpose the set for TikTok, Reels, or Shorts.
If one image fails, revise that image rather than regenerating the whole campaign. For example, replace “make it more dynamic” with a specific correction: “Keep the photographed handle fully visible; move the notebook behind the tumbler and leave clear space above it.” The final set should look related without looking duplicated.

Final checklist
- The same real product is recognizable in all five images.
- Each post has a distinct purpose, not just a different backdrop.
- Branding, product features, and marketing claims have been checked against the source material.
- Text is editable and legible in the final design.
- Feed and vertical-cover crops have been reviewed at their actual display sizes.
Keywords
gpt image social posts, product photo social media, ai image generator, instagram campaign images, social image prompts, product image editing, content repurposing