Imagen Prompts for Accurate Cutaway Science Illustrations
Create clear cutaway science illustrations with Imagen while reducing clutter, invented labels, and misleading internal structures. This guide provides reusable prompts, revision patterns, and a practical accuracy review for classroom and course visuals.
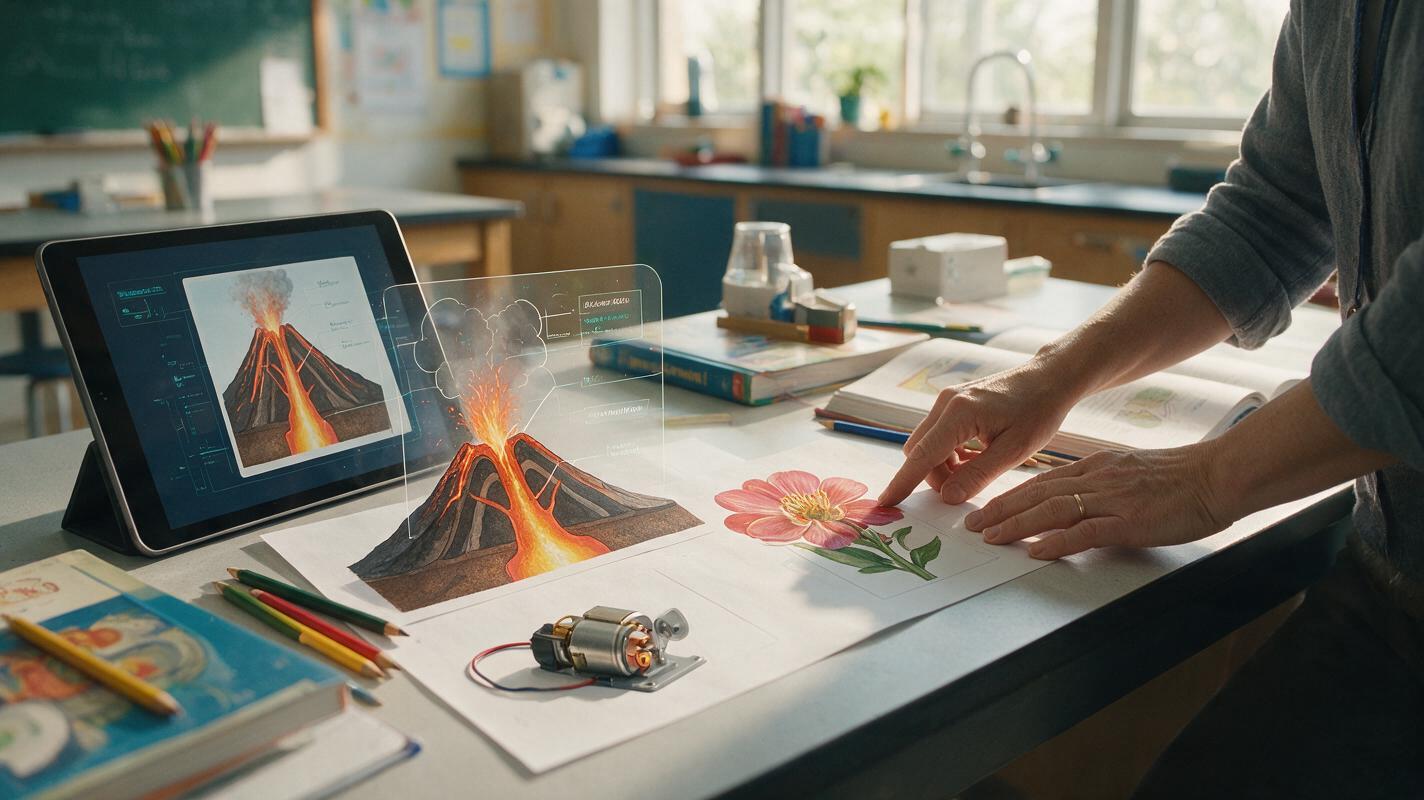
Table of contents
Create cutaway diagrams students can actually read
A useful cutaway illustration must reveal hidden structure without turning the subject into an attractive scientific mistake. With Imagen, educators can produce volcano interiors, plant structures, mechanical components, and other lesson visuals—but only if the prompt defines the viewing angle, visible layers, spatial relationships, and instructional purpose.
The safest method is to generate the visual structure without embedded labels, review it against trusted references, and add verified terminology afterward in a presentation or design tool. This keeps uncertain AI-generated text out of the lesson while giving you more control over readability.
Treat the generated image as an editable visual explanation, not as scientific evidence. The educator remains responsible for checking every structure, proportion, and relationship.
Choose the instructional view before choosing a style
Start by deciding what learners should understand from the image. A cutaway is not automatically the best view for every concept. It works well when students need to see how an exterior relates to hidden interior parts.
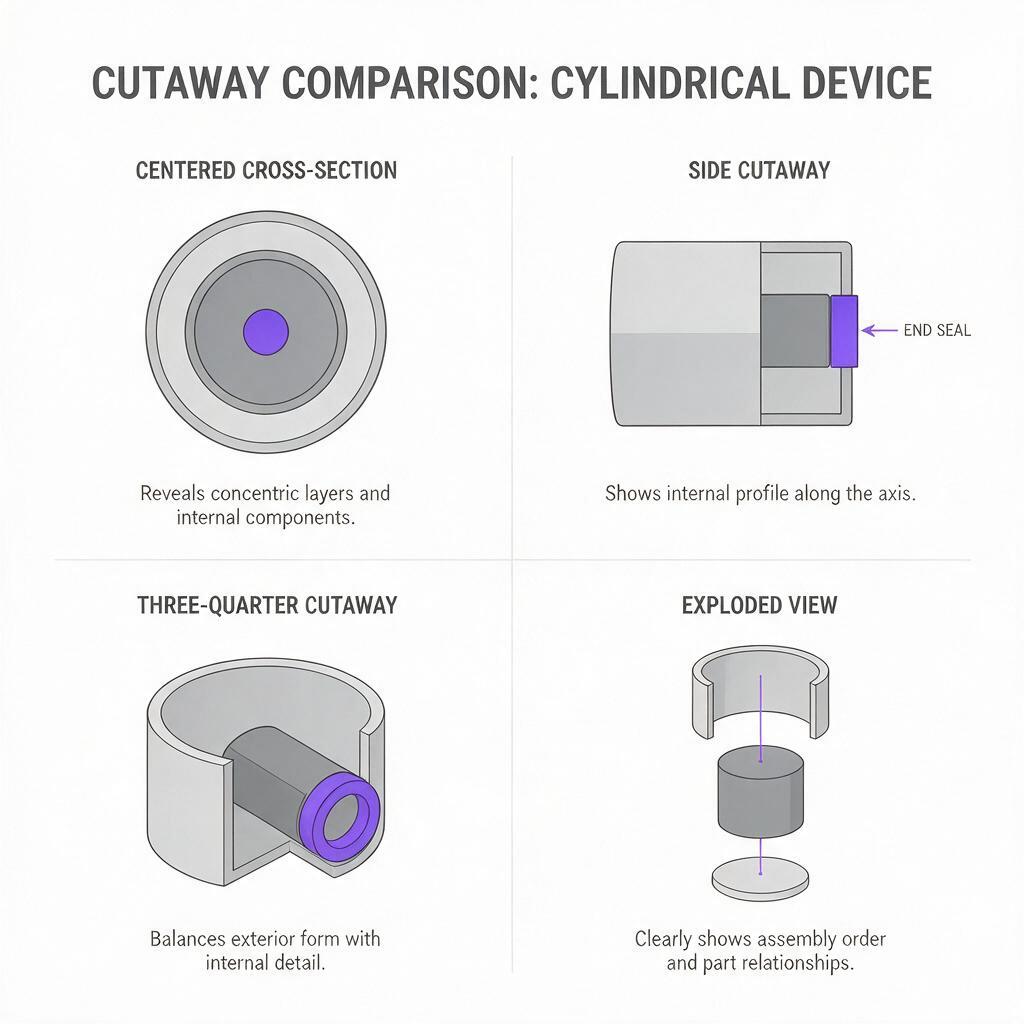
| Learning objective | Useful view | What to avoid |
|---|---|---|
| Compare nested layers | Centered cross-section | Perspective that hides thin layers |
| Trace a path through a system | Side cutaway with open channels | Decorative textures covering the route |
| Connect exterior and interior features | Three-quarter cutaway | Removing so much of the exterior that the object becomes unrecognizable |
| Compare components | Exploded cutaway | Parts floating without clear alignment |
| Teach relative position | Flat orthographic section | Dramatic camera angles that distort placement |
Write one sentence stating the intended takeaway before opening an ai image generator. For example: “Students should see that a volcano has a connected system rather than a single straight tube.” That sentence becomes the test for every visual decision.
Build the prompt around visible relationships
A reliable prompt describes the subject from the outside inward. It should identify the view, the parts that must remain visible, the relationship among those parts, and the details that should be excluded.
Create a clear educational cutaway illustration of [subject] for [learner level].

View: [cross-section, side cutaway, three-quarter cutaway, or exploded view].
Show: [required exterior features] and [required internal structures].
Relationships: [which parts connect, surround, contain, or pass through other parts].
Visual hierarchy: emphasize [main teaching point]; simplify secondary detail.
Style: clean textbook illustration, restrained colors, plain light background.
Composition: one centered subject, generous empty space around the object.
Do not include: labels, letters, numbers, legend, decorative border, people, or unrelated objects.
The relationship line is especially important. A list of parts tells Imagen what objects to include, but it does not explain where those objects belong. Phrases such as “surrounding,” “connected to,” “embedded within,” and “shown as a continuous channel” establish the spatial logic students need to see.
Reusable Imagen prompts for science lessons
Volcano interior without the single-tube misconception
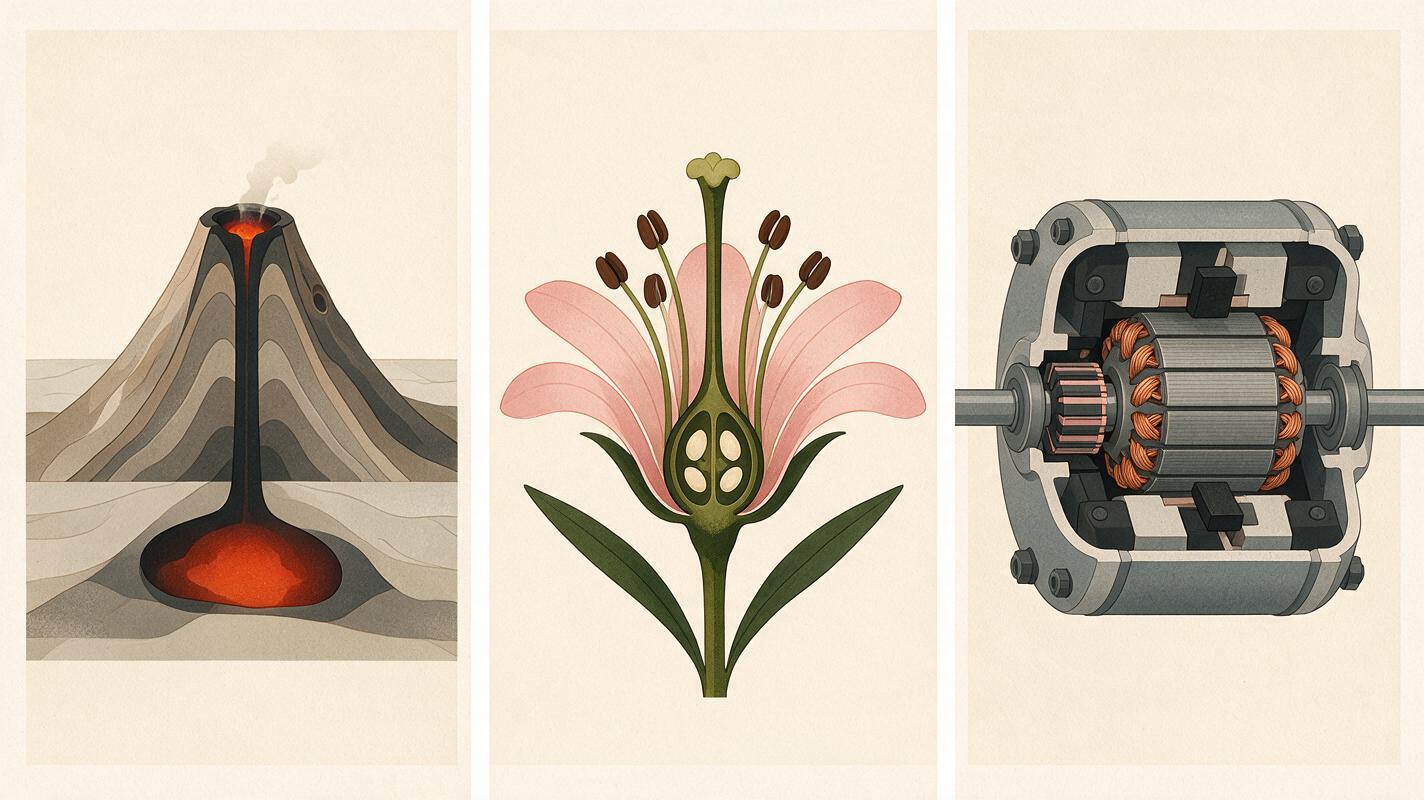
Create a clean educational three-quarter cutaway illustration of a composite volcano for middle-school earth science. Keep the volcanic cone and crater recognizable from the exterior. Reveal an underground magma reservoir connected to branching conduits, the central vent, a smaller side vent, and alternating internal layers formed by previous eruptions. Show the reservoir below the cone rather than inside its summit. Emphasize connected underground structure and simplify rock texture. Restrained earth colors, crisp boundaries, plain off-white background, no smoke spectacle, no labels, no arrows, no letters, no legend.This prompt deliberately asks for branching conduits and locates the reservoir below the cone. Review the result carefully: the precise geometry of real volcanic systems varies, so the image should be presented as a simplified conceptual model rather than a universal blueprint.
Flower cutaway for structure and reproduction
Create a front-facing educational cutaway illustration of one generalized flower for an introductory biology lesson. Preserve several complete petals and sepals while cutting away part of the flower to reveal the central reproductive structures. Clearly separate stamens from the central pistil and show the stigma, style, ovary, and ovules as distinct visible regions. Use botanical textbook illustration, balanced bilateral composition, natural but restrained colors, sharp edges, uncluttered light background, no labels, no text, no insects, no extra flowers, no decorative scenery.Because floral structures differ among species, identify the result as a generalized teaching illustration unless the image has been checked against a specific specimen and botanical reference.
Electric motor cutaway for technical training
Create a precise educational side cutaway of a simple brushed DC motor for beginner technical training. Keep half of the cylindrical housing intact and reveal the internal arrangement of the stator magnets, rotor, shaft, windings, commutator, and two brushes. Maintain a clear shared axis through the housing, rotor, and shaft. Show components seated in their operating positions rather than floating apart. Clean technical illustration, neutral gray housing, limited accent colors for component groups, white background, no labels, no dimensions, no sparks, no motion blur, no tools, no hands.This version prioritizes alignment. If the shaft, rotor, and housing do not share a credible axis, revise that relationship before spending time on color or surface detail.
Once you have replaced the bracketed details with your own subject and learner level, test this prompt yourself and compare the result with at least one authoritative reference.
Keep generated text out of the master image
Asking the model to label every component creates two problems: text may be misspelled, and a correctly spelled term may point to the wrong structure. Generate a clean, unlabeled master instead. Add labels later using editable text and leader lines.
A practical labeling pass should follow these rules:
- Use one label per visible target. Do not point to a region hidden behind another component.
- Keep leader lines separate. Crossing lines force learners to decode the layout before they can study the content.
- Match terminology to the course. Do not switch between specialist and beginner terms without explanation.
- Place the legend outside the object. Preserve the cutaway itself as the primary visual evidence.
- Retain an unlabeled copy. It can become a retrieval-practice or assessment version.
For a projected lesson, check the visual at actual presentation size. Fine structures that look clear on a large editing canvas may disappear at the back of a classroom or inside a mobile course player.
Correct one defect without redesigning the image
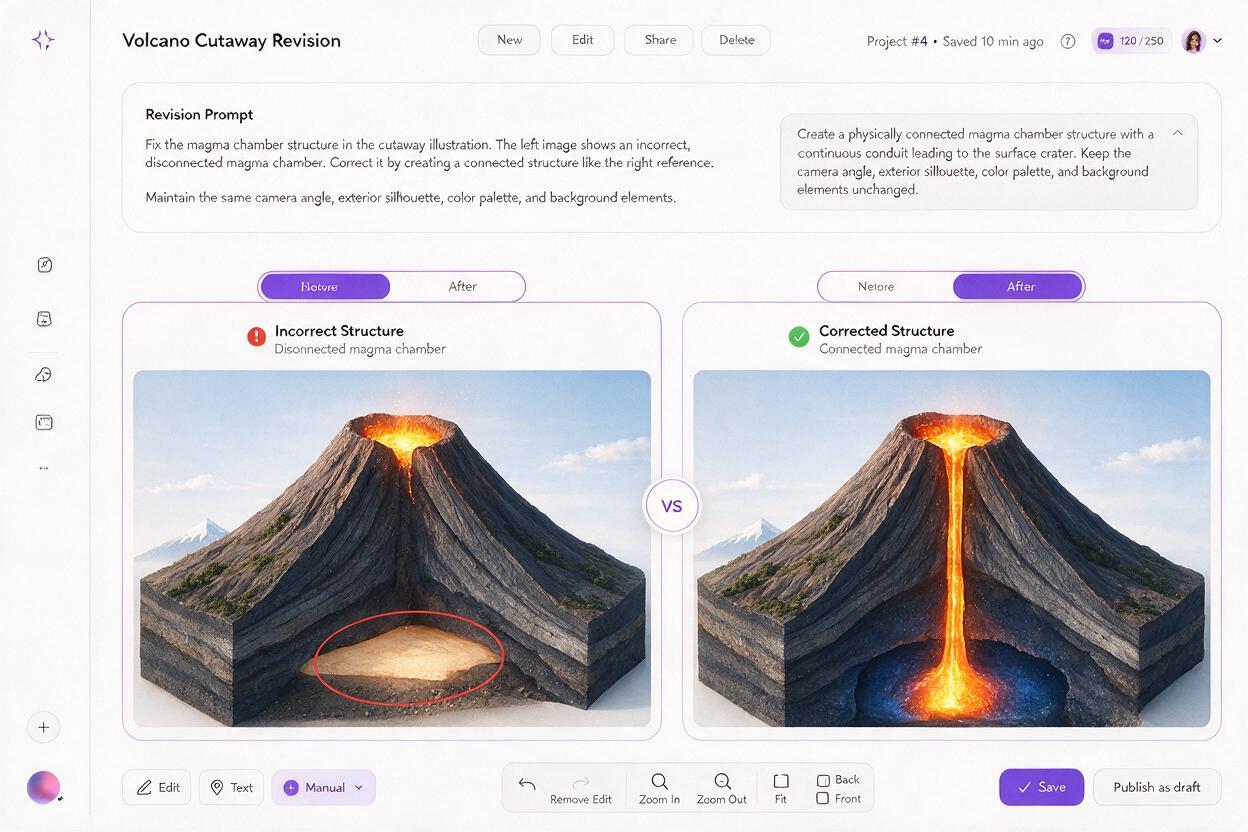
When a result is almost usable, avoid rewriting the entire prompt. A broad regeneration may fix one defect while changing the composition, color system, or useful exterior details. Instead, describe the specific correction and explicitly preserve everything else.
Revise only the internal structure of the existing illustration. Keep the same subject position, cutaway boundary, camera angle, exterior silhouette, background, color palette, and textbook style. Correct [specific defect] so that [required relationship]. Do not add labels, text, arrows, extra components, or decorative details.Useful correction requests include:
- “Move the reservoir below the cone and keep its conduits visibly connected.”
- “Align the rotor and shaft on one continuous central axis.”
- “Separate the ovules into the ovary rather than placing them along the style.”
- “Restore the intact exterior edge so students can recognize the whole object.”
If two targeted revisions fail to repair the same structural problem, return to the original prompt and simplify it. Repeatedly editing an unstable image can introduce new inconsistencies around the corrected area.
Turn one master illustration into a lesson sequence
A strong master image can support more than one slide or screen. Reusing the same composition also reduces the cognitive cost of asking students to interpret a newly designed diagram each time.
- Orientation view: show the complete unlabeled cutaway while naming the system.
- Guided explanation: reveal verified labels in small groups rather than all at once.
- Process view: overlay arrows or highlights only after the static structure is understood.
- Retrieval prompt: remove labels and ask learners to identify selected parts.
- Transfer question: ask what would change if one component were blocked, damaged, or removed.
Keep the crop and scale stable across these variants. If the subject jumps position between slides, students may interpret the shift as a change in the system rather than a change in the annotation.
Review scientific accuracy and accessibility
Check the illustration in three separate passes. First, review scientific structure: Are required parts present, correctly placed, and connected? Next, review instructional clarity: Does the image emphasize the intended relationship without unnecessary detail? Finally, review accessibility: Can important regions be distinguished without relying on color alone?
Use patterns, boundaries, direct highlighting, or short text cues in the final layout when adjacent parts are visually similar. Confirm that labels remain readable under magnification and that essential meaning is available in alternative text. For graded or safety-critical material, ask a qualified subject reviewer to approve the final visual.
A polished image that communicates the wrong relationship is worse than a plain diagram that communicates the right one.
Common cutaway failures and prompt fixes
| Failure | Likely cause | Prompt-level fix |
|---|---|---|
| The interior looks like random decorative layers | Parts were listed without spatial relationships | State what surrounds, contains, crosses, or connects to each part |
| The cutaway removes too much exterior context | The prompt emphasized internal visibility only | Specify which exterior features must remain intact and recognizable |
| Important structures are hidden | The selected camera view conflicts with the teaching objective | Switch to a flat side section or orthographic cross-section |
| The image contains fake terminology | Labels were requested during generation | Request no text and add verified labels afterward |
| Components appear disconnected | The model interpreted the prompt as an exploded view | Say that all components must remain seated in operating position |
| The result is realistic but hard to teach from | Surface texture dominates the visual hierarchy | Request simplified textbook rendering and crisp structural boundaries |
Final checklist
- The chosen view supports one explicit learning objective.
- The prompt defines required parts and their spatial relationships.
- The exterior remains recognizable around the cutaway.
- The generated master contains no labels, letters, or invented legend.
- Every structure has been compared with a trusted reference.
- Targeted revisions preserve the useful composition.
- Final labels use verified terminology and editable text.
- Color is not the only method used to distinguish components.
- The visual remains readable at its real classroom or course-player size.
- A subject expert reviews high-stakes scientific or technical content.
Keywords
Imagen prompts, cutaway science illustrations, educational illustrations, scientific visualization, lesson visuals, AI image generator, science diagram prompts