Imagen Prompts for Product Photo Backgrounds That Keep Packaging Accurate
Create several campaign-ready backgrounds from one product photograph without asking AI to redraw the packaging. These Imagen prompts focus on lighting, surface contact, and composition while keeping the photographed product as the final foreground.
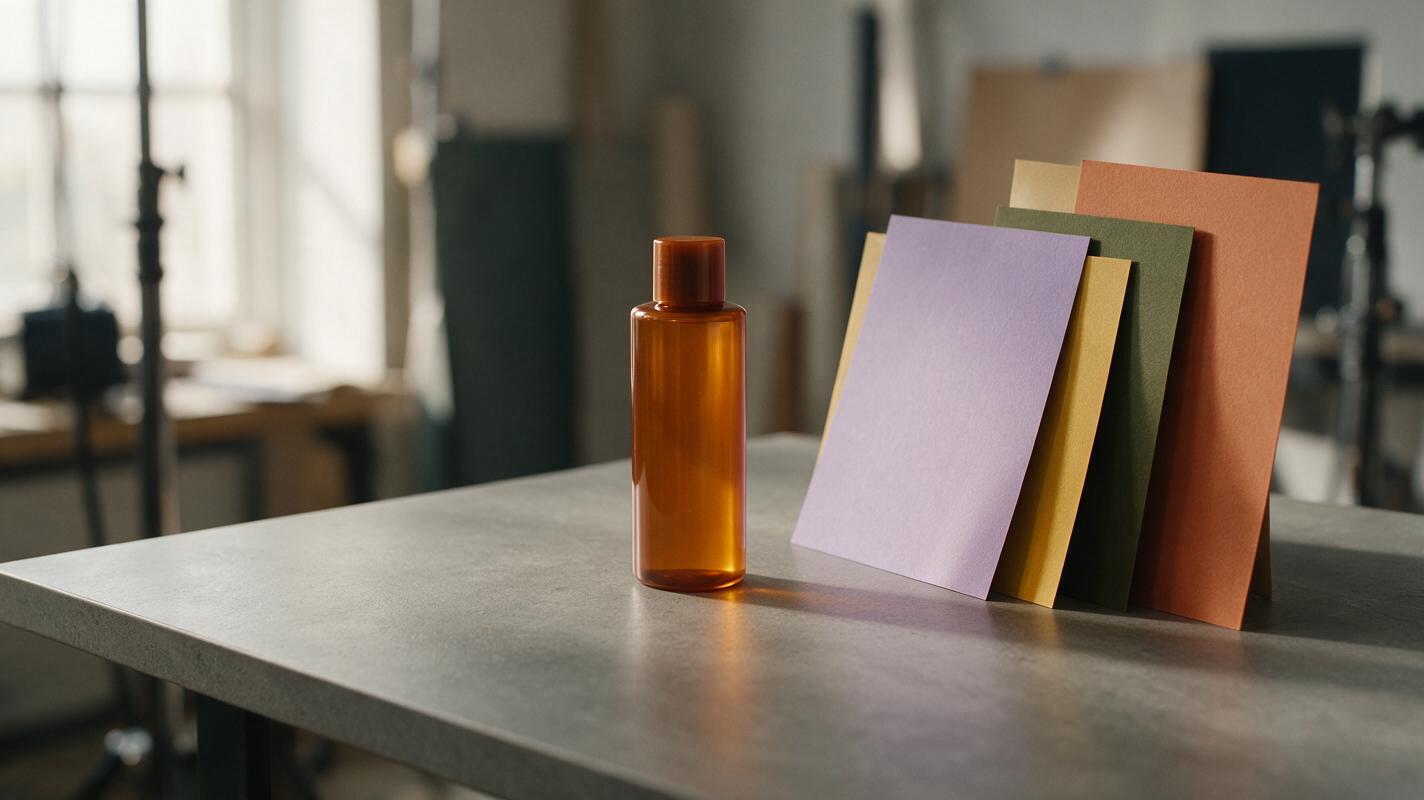
Table of contents
One product shot, several backgrounds—without a new label
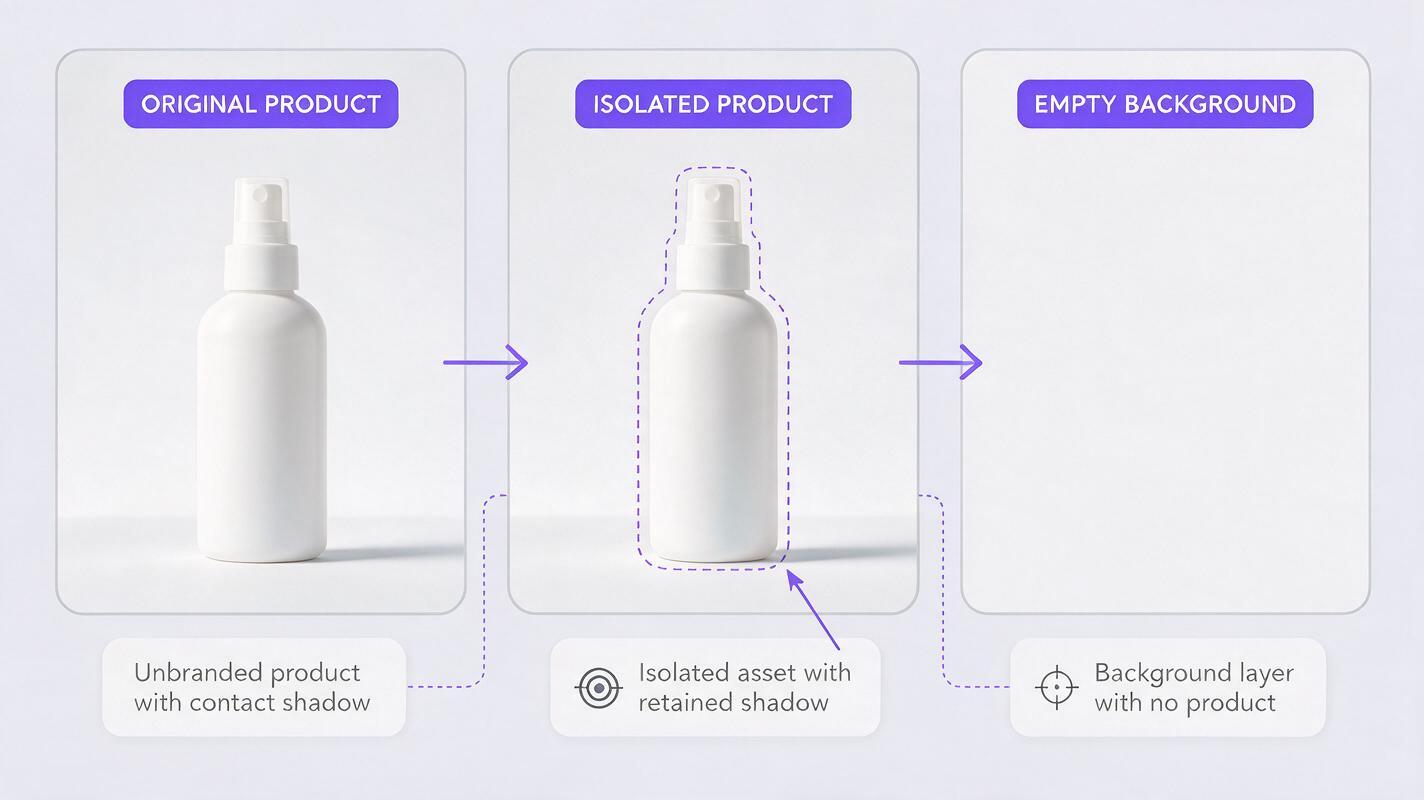
A generated background can give a product photograph a new campaign setting, but it can also quietly alter the logo, ingredients, cap, or bottle shape if the whole image is regenerated. For commercial work, that is usually the wrong trade. Keep the approved product photograph intact, generate the setting separately with Imagen, and composite the original product over it.
The prompts below are for three useful outcomes: a restrained studio backdrop, a daylight lifestyle scene, and an editorial color-block set. Each is written to leave a clear place for your photographed product rather than inventing a replacement. You will still need to match perspective, shadows, and color in your editor.
Protect the product before changing the scene
Start with a high-resolution image whose packaging is sharp and approved for use. Make a precise cutout, but retain the original photograph as a reference layer. Keep a little of the real contact shadow when it separates cleanly; otherwise, plan to rebuild a restrained shadow during compositing. Transparent glass, reflective metal, and fine hairline edges may need manual masking.
Record the camera angle, the direction of the main light, and where the product touches the surface. A background that looks attractive on its own can still fail when its tabletop is viewed from a different height or its shadows point against those on the product.
Packaging rule: Use the photographed product pixels in the deliverable. A prompt saying “preserve the label” is not a substitute for checking every printed detail against the approved image.
Minimal studio backdrop for a clean catalog image
This option suits a product that already has controlled studio lighting. Use an ai image generator to create only the empty set, leaving space for the cutout. Describe the lighting you can actually see on the product—not the lighting you wish had been there.
Create a photorealistic empty product photography set. Warm off-white seamless backdrop curving into a matte tabletop, viewed from a camera slightly above table height. Soft key light from the upper left, gentle falloff toward the right, subtle surface texture, restrained natural shadows. Leave the center foreground clear for a separately photographed upright product. No product, packaging, logo, lettering, hands, props, or graphic overlays. Horizontal composition with useful negative space on the right.If the source product has a crisp hard-edged shadow, swap “soft key light” for a directional light description. Do not solve that mismatch by painting a conflicting shadow underneath the cutout. When the background is ready, place the product on the tabletop and inspect the contact point at full size.
Daylight lifestyle setting without distracting props
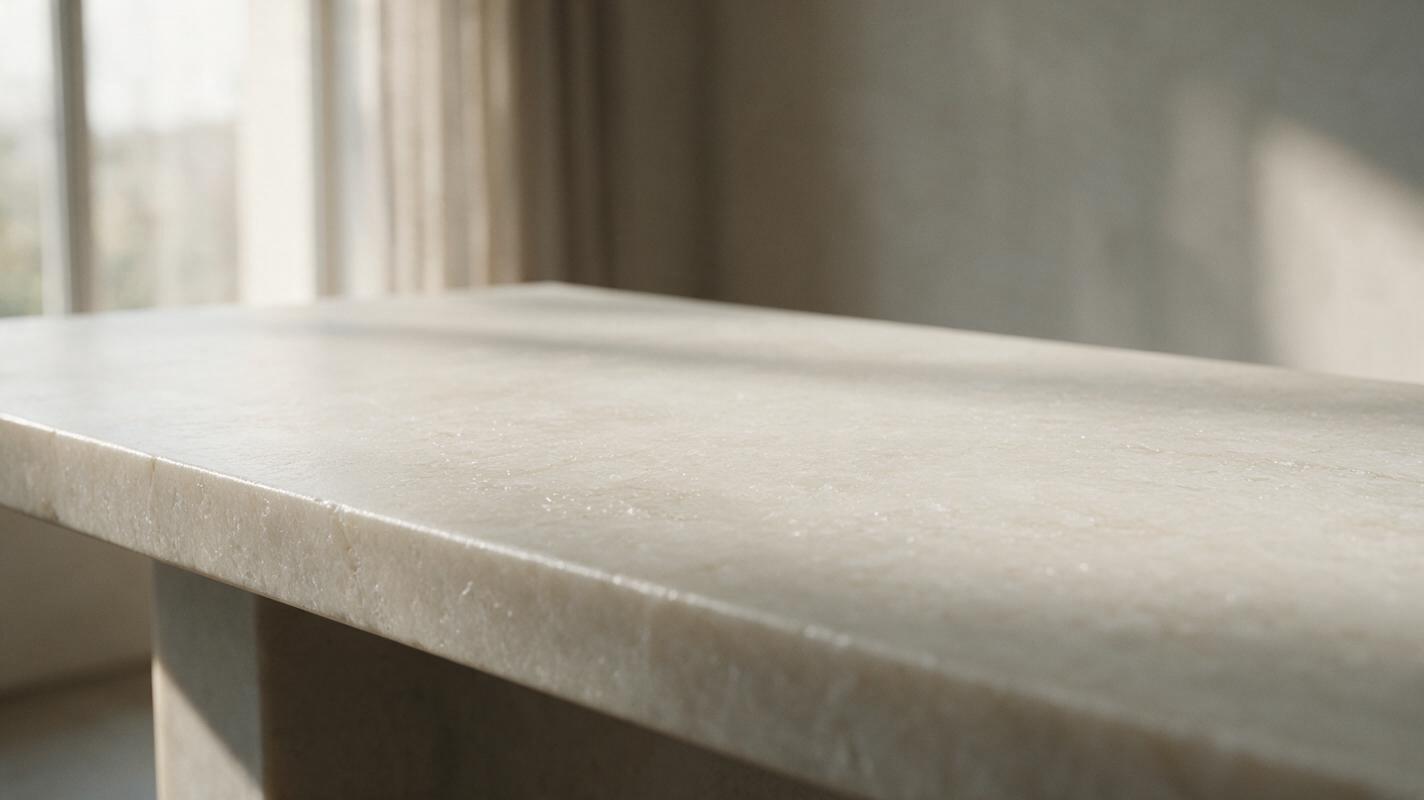
A lifestyle background can make a commercial image feel less like a catalog listing, but it needs believable scale. A narrow shelf, distant wall, and simple window light are easier to match than a crowded kitchen or a tabletop full of objects. The prompt deliberately excludes a product so the generated scene cannot introduce a competing label.
Photorealistic empty interior product photography background: pale stone countertop near a large window, softly out-of-focus neutral wall and one distant linen curtain. Morning daylight enters from camera left. Camera at countertop height with a natural three-quarter view; countertop occupies the lower third. Reserve an unobstructed area near the center for a separately photographed small product bottle. Realistic materials and restrained contrast. No bottles, boxes, readable text, logos, hands, food, or foreground props.Check whether the tabletop horizon and the visible top of your product agree. If they do not, generate a new background from the correct camera height rather than distorting the photographed packaging to fit. For reflective packaging, the new surroundings may imply reflections that the original photograph does not contain; a simpler, less reflective setting often produces the more convincing result.
Editorial color blocks with room for campaign copy
For a campaign variation, specify the physical set rather than asking Imagen for “a luxury ad.” Colored paper, a plinth, and controlled light give you design flexibility without inviting invented typography. Choose background colors that separate from the product edge and remain compatible with the brand’s approved palette.
Empty editorial product photography set made from physical paper backdrops: muted lavender wall, slightly warmer lavender tabletop, one low matte rectangular plinth positioned left of center. Camera level with the plinth, medium-format commercial photography feel, broad soft light from upper right, believable falloff and a subtle shadow beneath the plinth. Leave the plinth top empty for a separately photographed product; leave clean negative space on the right for copy added later. No products, labels, letters, logos, people, or floating objects.Place the original product on the plinth only if its photographed angle and lighting support that placement. If its base was shot flat on a tabletop, placing it high on a visible plinth may expose a perspective mismatch. A version with no plinth is often the safer choice.
Make the composite believable at the contact point
The product-background boundary is where viewers notice a mismatch first. Work from the largest structural issues toward small polish:
- Scale and perspective: Check the product’s base against the surface plane. Straighten the background or regenerate it before warping printed packaging.
- Light direction: Compare the brightest edge of the product with the brightest side of nearby surfaces. If they oppose each other, try another backdrop.
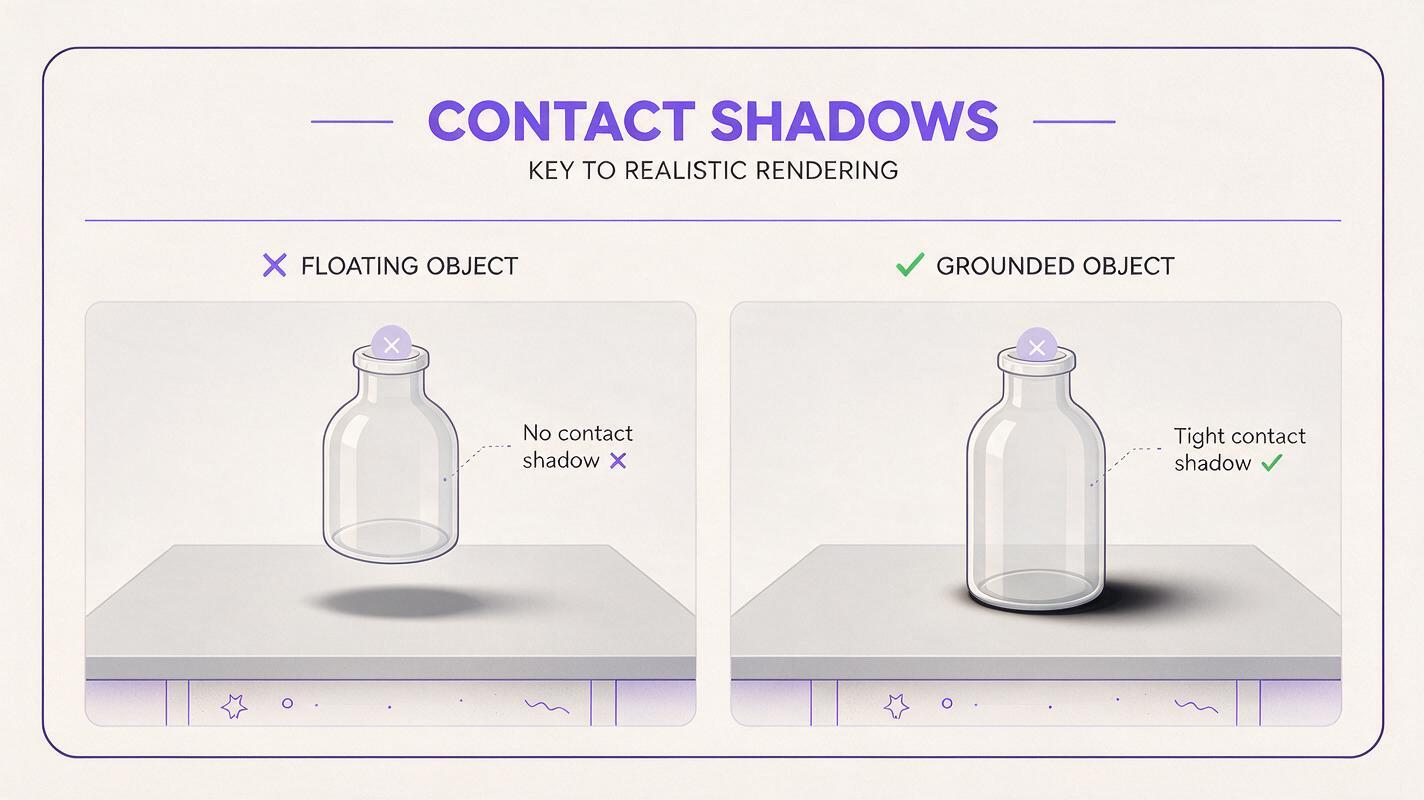
- Contact shadow: Add a compact, darker shadow immediately beneath the base, then a softer falloff only if the scene calls for it. Avoid a uniform gray oval.
- Color spill: A saturated backdrop can tint reflective edges. Apply any edge treatment selectively; do not recolor the label or product contents.
- Edge quality: Inspect glass, translucent plastic, and metallic trim at both full resolution and final delivery size.
Keep the cutout, generated background, shadows, and color adjustments on separate layers. That makes it easier to produce alternate crops without repeating the entire edit. If you need another direction, test this prompt yourself with the lighting and camera-height descriptions changed to match your source photograph.
Review the image as an advertisement, not just a composite
Before delivery, compare the finished image with the approved source. Read every visible character on the packaging. Check the cap, fill level, color, proportions, and any legally required markings. Verify that added props or scenery do not imply an unsupported use, ingredient, or product claim.
Also decide how the image should be described to the client. The product may be a real photograph while its setting is generated. Keeping that distinction clear supports straightforward approvals and revisions, especially when one product image is adapted into multiple campaign placements.
Final checklist
- Use the approved product photograph as the final foreground.
- Generate an empty background with a camera angle and light direction that match it.
- Keep packaging text, shape, and color untouched.
- Inspect the contact shadow, reflective edges, and final crop.
- Confirm the setting makes no unintended product claims.
Keywords
imagen prompts, product photo backgrounds, ai product photography, commercial photo editing, product backdrop ideas, packaging accuracy