How to Turn an Architecture Render into a Camera Flythrough with Kling
A single architecture render can become a short, convincing camera move—but it cannot reveal parts of a building the image never showed. This tutorial explains how to prepare a render, prompt Kling for restrained motion, spot geometry drift, and assemble longer walkthroughs from multiple verified views.
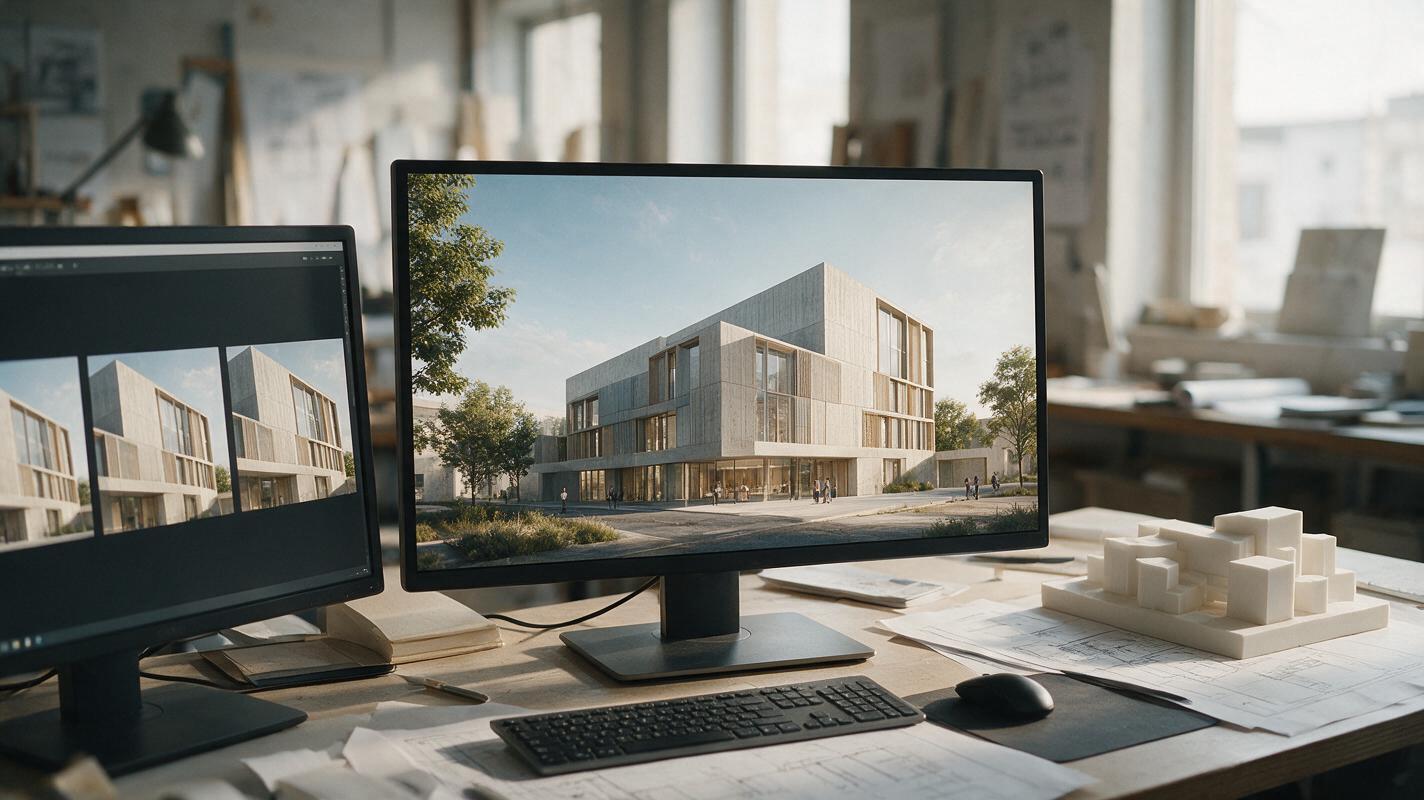
Table of contents
Turn a still render into a camera move—not a changing building
A client wants to see a design in motion, but you have a finished exterior render rather than a completed animation. Kling can turn that still into a short moving shot. The challenge is keeping the windows, roofline, and facade where they belong while the camera appears to move. Start with a restrained push-in or lateral glide; save a true route around the building for views rendered from your 3D model.
This method is for presentation clips and early design reviews. It is not a substitute for a dimensionally reliable walkthrough: areas hidden behind the original view must be inferred, and inferred architecture can be wrong.
Step 1 — Choose a render that can survive motion
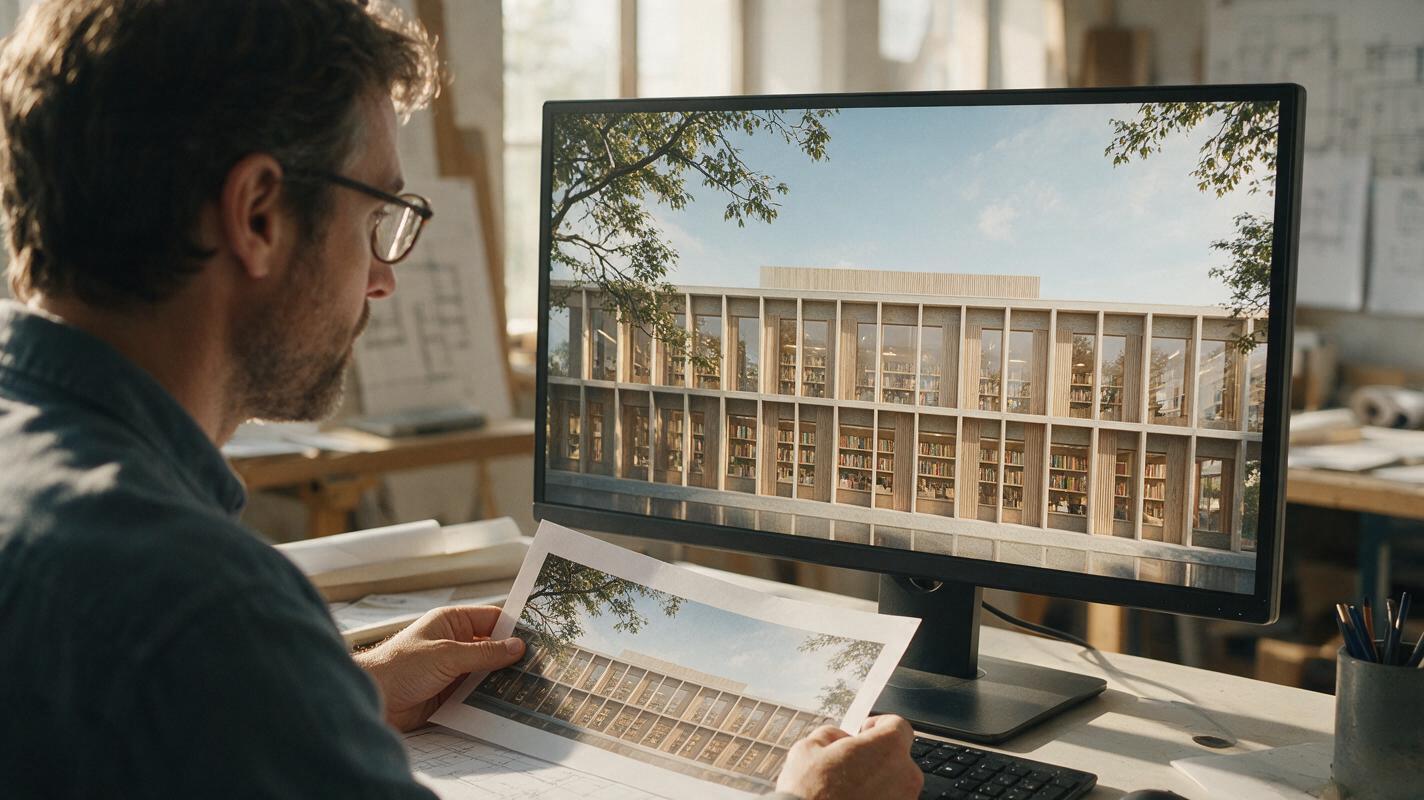
Pick one clean, high-resolution exterior view with a clear foreground, building plane, and background. Those depth layers give a moving shot room to breathe. An image with a tree branch in front of the facade, for example, can support gentle parallax; a tightly cropped elevation offers much less visual depth.
- Keep the building readable: use a view where major edges, glazing bays, and entrances are visible rather than obscured by heavy foliage.
- Leave breathing room: a camera move may crop the frame, so allow space around the roof and sides of the building.
- Remove temporary markup: hide dimensions, selection outlines, and review comments before upload.
- Decide what must not change: note the number of floors, window rhythm, roof profile, and any distinctive facade joints.
If you control the original 3D scene, export a slightly wider frame than the intended final composition. Keep a copy of that source render beside your generated clips for comparison.
Step 2 — Pick a camera move the still can support
The safest animation asks for a small change in viewpoint. A long orbit or a move through a doorway demands surfaces that a single image does not contain. Use the desired result to choose the source material:
| Desired shot | Best starting material | Main risk |
|---|---|---|
| Gentle push toward the entrance | One wide exterior render | Window frames or paving may warp as they grow |
| Short sideways glide across the facade | A three-quarter view with visible depth | Newly exposed wall edges may be invented |
| Turn a corner or pass through the building | Multiple verified views or a 3D animation | A single still cannot establish hidden geometry |
For a first test, choose a slow push toward the entrance. It conveys movement without asking the model to reconstruct an entire second elevation.
Step 3 — Prompt Kling for one restrained shot
Upload the render in a Kling mode that accepts an image as the starting frame. This is an image to video task: the render supplies the design, while the prompt describes camera movement and limited environmental motion. Controls and labels may vary by interface, so use the available motion or duration settings to favor a brief, gentle shot.
Copy this prompt and replace the bracketed details with features visible in your image:
Use the supplied architectural render as the exact starting view. Create one continuous, slow camera push toward [the main entrance]. Preserve the building's floor count, window spacing, roofline, facade joints, and overall proportions. Keep vertical edges straight. Allow only subtle natural movement in [foreground trees or planting] and soft daylight changes. Do not add doors, windows, balconies, signage, people, or new building volumes. No orbit, no abrupt zoom, no scene cut. End on a slightly closer view of the same building.Describe only visible details. If the source has no planting, remove that instruction. Avoid combining a push-in, an orbit, a tilt, and a dramatic weather change in one request; when something goes wrong, you will not know which instruction caused it.
A preservation instruction is a constraint to test, not a guarantee. Judge the result against the original render before showing it as a representation of the design.
Test this prompt yourself with a short clip first. A brief result is easier to inspect and revise than a long shot with several seconds of accumulated geometry drift.
Step 4 — Check the building, frame by frame
Play the clip once at normal speed to assess whether the movement feels plausible. Then pause near the beginning, middle, and end and compare each frame with the source. Pay particular attention to elements a viewer may accept at a glance but a project team will notice immediately.
- Count repeated features: did a row of five windows become six, or did a mullion disappear?
- Trace hard edges: do parapets, columns, and roof corners remain straight and attached?
- Inspect material boundaries: does brick stay on the same wall rather than flowing over glazing?
- Watch the ground plane: do paving lines and entrance steps remain coherent as the camera advances?
- Check the final frame: does it still depict the approved design, rather than a plausible redesign?
If the building changes, reduce the amount of motion and try again. You can also simplify the prompt by removing environmental animation. Do not treat a longer negative prompt as the only fix: a shot that exposes too much unseen geometry may simply need a different source view.
Step 5 — Build a longer flythrough from verified views
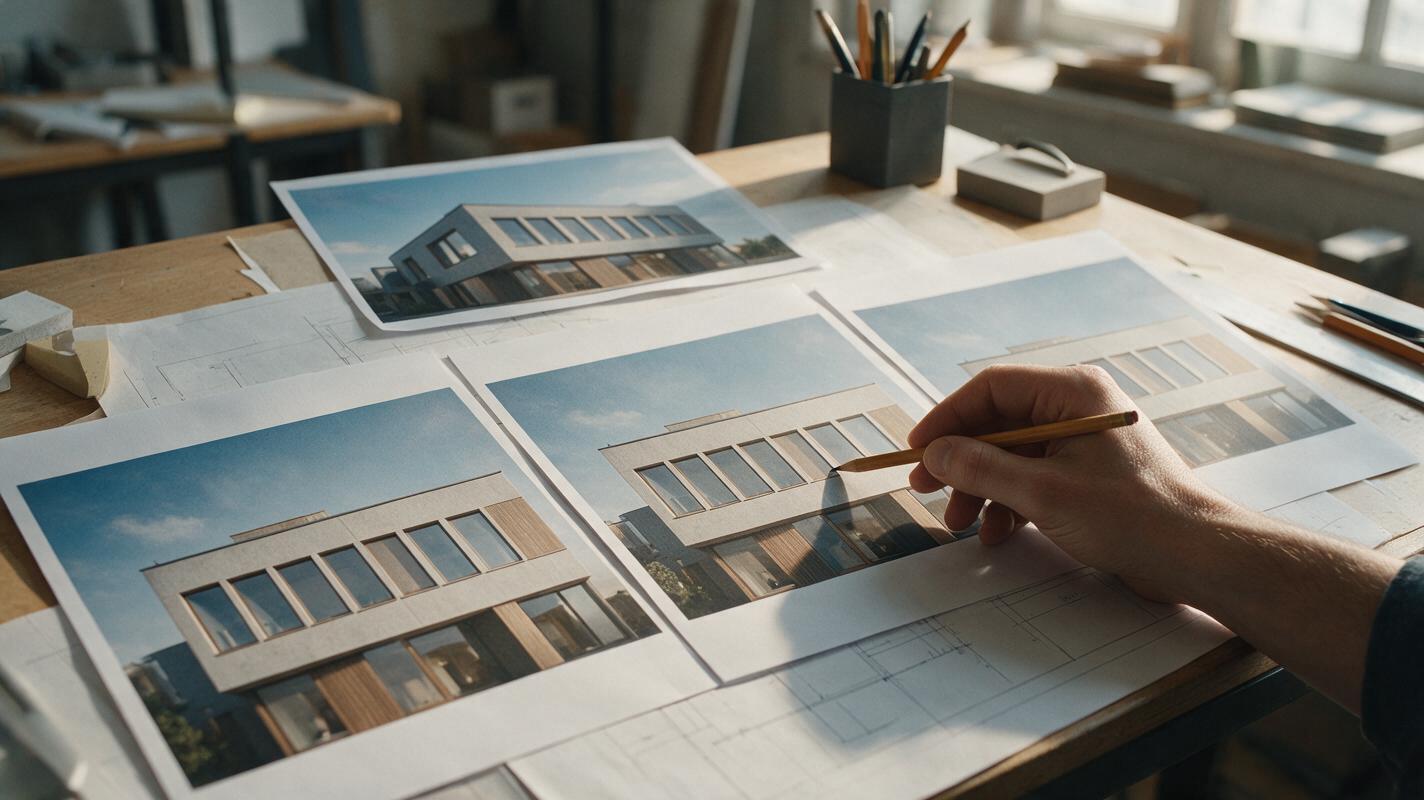
To show more than one side of a building, render several deliberate camera positions from the 3D model: approach, entrance, corner, and courtyard, for example. Generate a short moving shot from each approved view, then cut between them. This gives every segment an architectural reference instead of asking one image to invent a route around the project.
Before assembling the sequence, match time of day, facade materials, landscaping, and approximate eye level across your source renders. Use straightforward cuts when the perspective changes substantially. A dissolve can disguise an awkward transition, but it can also make two different geometries appear to melt together.
If the brief requires a continuous, dimensionally faithful camera flythrough—including turns, precise glazing layouts, or passage through an entrance—animate the camera in the 3D scene instead. Use generated clips where they add atmosphere, not where they would have to prove spatial facts.
Step 6 — Deliver the clip with the right expectations
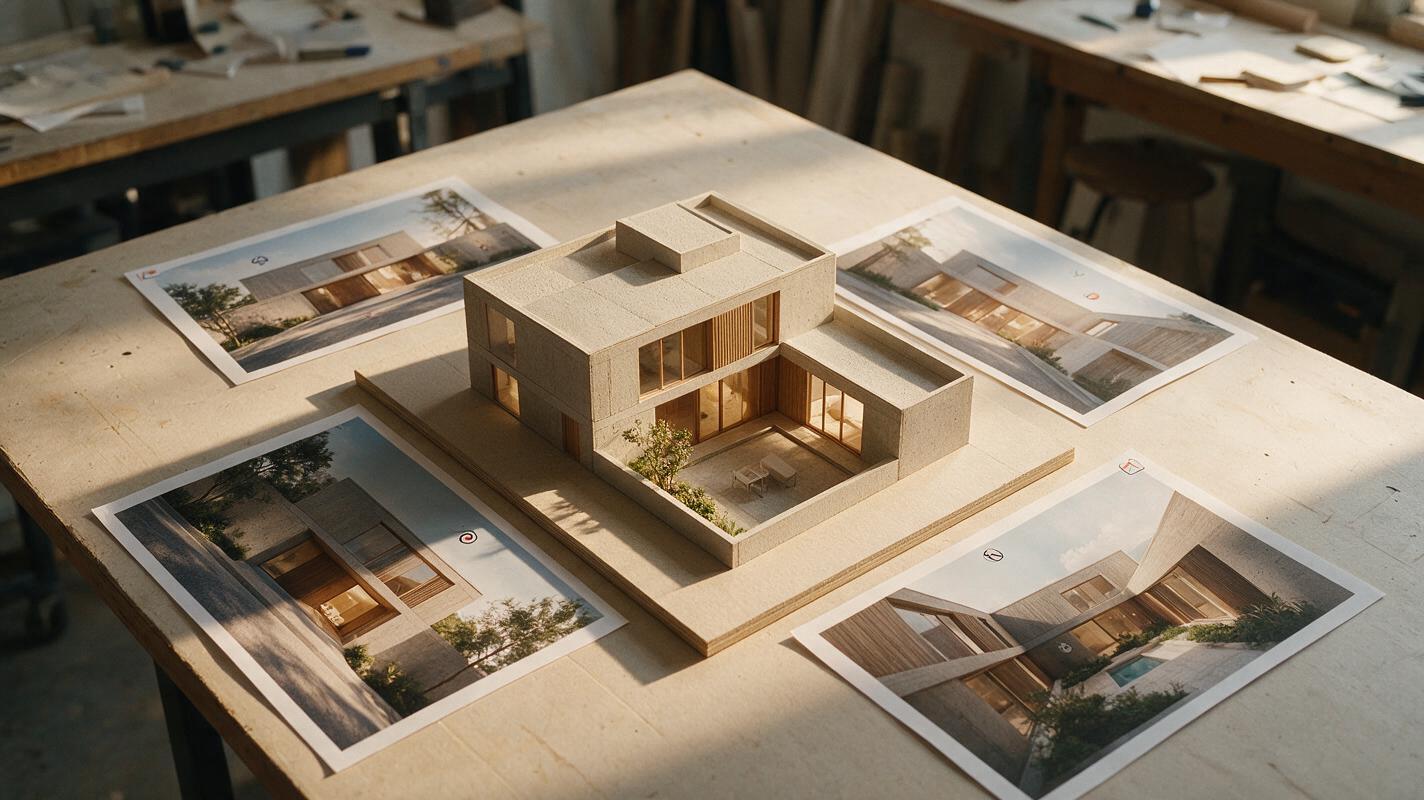
Export a version suited to the presentation and retain the source render, prompt, and selected output together. Label an AI-assisted clip as a design visualization when appropriate to the review context. If people are deciding on architectural details, include a still render or drawing alongside the motion so they can inspect the approved geometry without compression or movement.
A useful final pairing is a short, restrained opening shot followed by the unchanged source image. The video attracts attention; the still gives viewers a dependable reference.
Final checklist
- Start from a clean, slightly wide render with visible depth.
- Ask for one modest camera move, not an entire route.
- Check window counts, roof edges, material boundaries, and the final frame.
- Use separately rendered views—or 3D camera animation—for unseen parts of the building.
- Keep the approved still available wherever design accuracy matters.
Keywords
architecture render animation, Kling image to video, architectural camera flythrough, render to video, facade geometry, architectural walkthrough, AI video prompts