Manga Panel to Anime Frame: Fix Bad 16:9 Reframing With Seedream 4.5
Turning a narrow manga panel into a widescreen anime shot often causes stretched poses, missing props, invented scenery, or weak composition. This guide shows how to reframe panels with Seedream 4.5 while protecting the original staging and creating animation-ready 16:9 artwork.
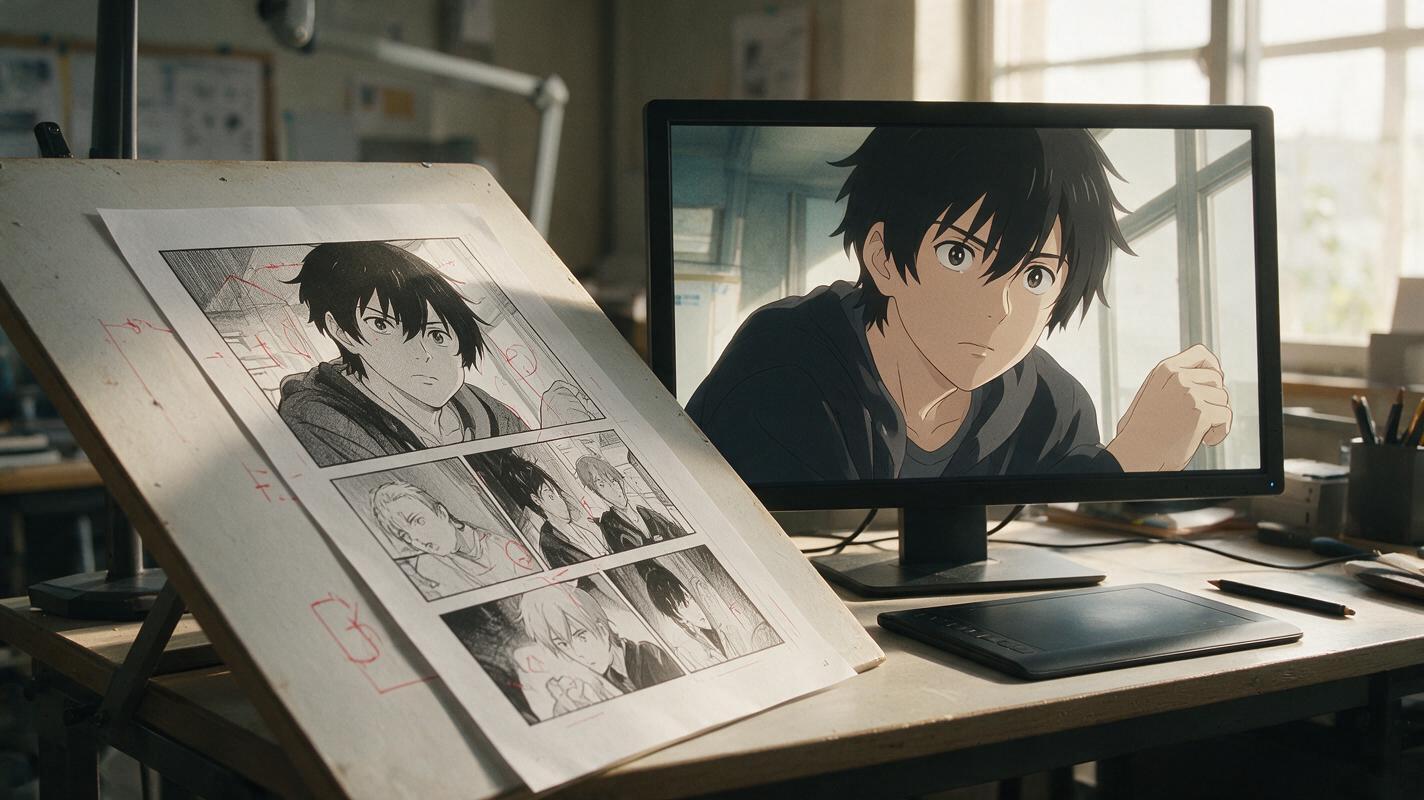
Table of contents
Turn a Manga Panel Into a Widescreen Anime Shot
A narrow manga panel cannot become a convincing 16:9 anime frame through simple cropping or uncropping. Cropping removes story information, while uncontrolled expansion can stretch the character, relocate props, or invent scenery that weakens the original composition.
The safer approach is to treat reframing as an art-direction task. Preserve the panel’s narrative core, define what the wider shot must reveal, and generate only the missing visual information. A controlled seedream 4.5 editing pass can help rebuild the frame without asking the model to redesign everything at once.
The central rule: expand the world around the panel, not the character inside it.
Why Direct 16:9 Expansion Usually Fails
Manga and animation use different composition systems. A vertical panel may rely on cropped limbs, speed lines, dialogue placement, or an intentionally compressed background. A widescreen anime shot must instead account for horizontal eye travel, safe title or subtitle space, environmental continuity, and possible camera movement.
When a generator receives only “make this widescreen,” it has to guess what exists beyond the borders. Common failures include:
- Pose drift: shoulders rotate, hands move, or the head changes angle.
- Scale drift: the character becomes smaller because the model interprets expansion as a zoom-out.
- Prop duplication: a sword, railing, chair, or doorway appears twice.
- Perspective conflict: new architecture uses a different horizon or vanishing point.
- Empty extensions: both sides receive vague texture instead of useful scene information.
- Composition collapse: the subject lands in the center even when the panel depended on directional tension.
These are not merely prompt-writing problems. They happen because the source image does not specify which information is fixed and which areas may be invented.
Define the Target Frame Before Expanding the Panel
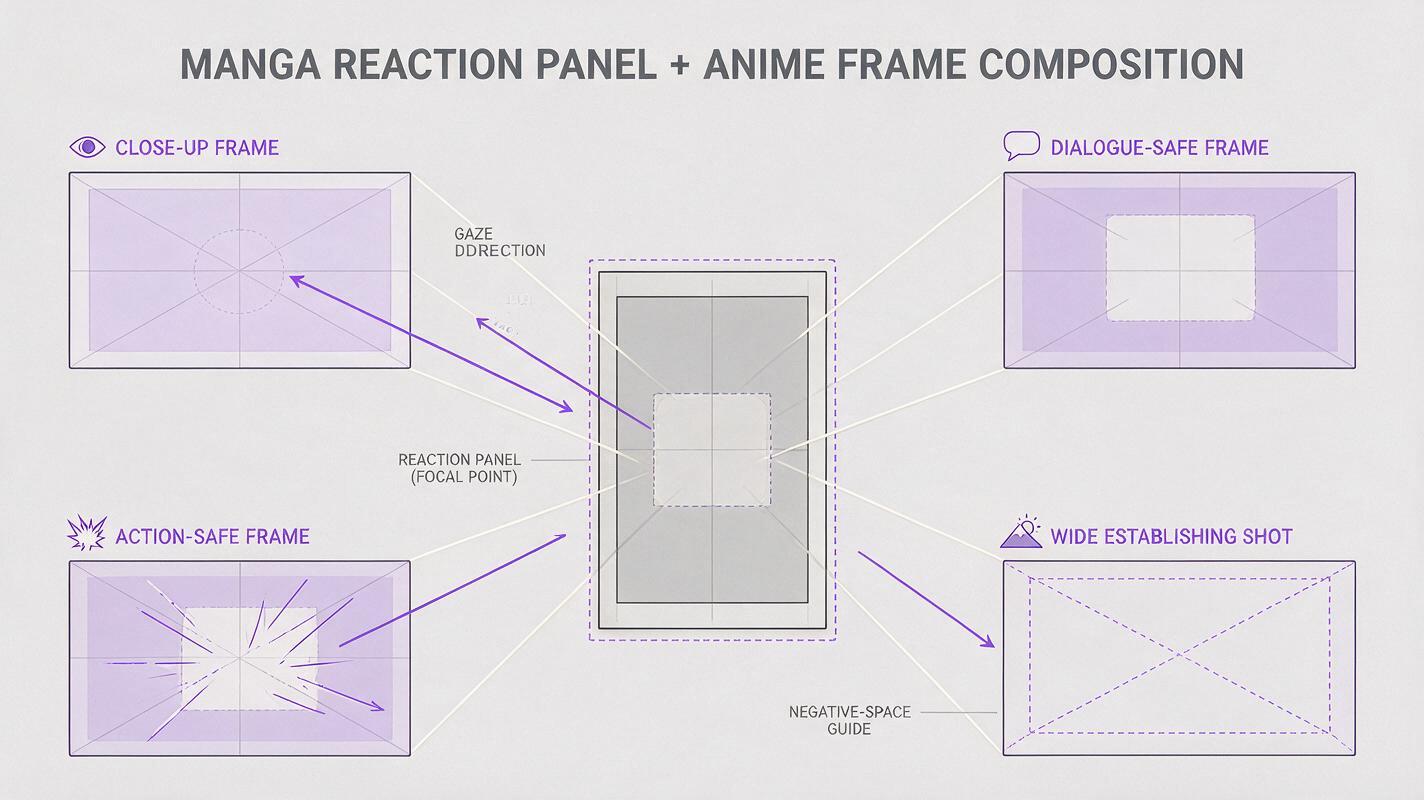
Start by deciding what kind of anime shot the panel should become. Do not expand first and compose later. Choose a target such as a close-up, medium shot, over-the-shoulder shot, or wide establishing shot based on the dramatic function of the panel.
| Panel function | Useful anime framing | Safe information to add |
|---|---|---|
| Emotional reaction | Close-up or medium close-up | Hair silhouette, shoulder line, soft background depth |
| Character confrontation | Two-shot or over-the-shoulder | Opponent silhouette, floor plane, directional negative space |
| Attack preparation | Medium or wide shot | Weapon clearance, stance, arena landmarks |
| Location reveal | Wide establishing shot | Architecture, foreground layers, atmospheric depth |
| Quiet dialogue | Balanced medium shot | Furniture, windows, restrained environmental detail |
Mark the source panel’s protected region before editing. This region should include the face, hands, costume emblems, important props, and any silhouette that already reads clearly. If possible, place the panel on a 16:9 canvas yourself and decide whether it belongs left, right, or near the center.
Use gaze and movement to choose that placement. A character looking right usually needs more open space on the right. A sword swinging left needs clearance on the left. This “look room” or “action room” gives the expanded image a reason to be wide.
Protect Staging While Rebuilding the Side Areas
Ask for preservation and expansion as separate instructions. The prompt should identify the fixed subject, describe the missing environment, and state what must not change. Avoid requesting a complete redraw unless the panel is too small or damaged to support editing.
Reframe this manga panel as a polished 16:9 anime production frame.
Preserve the character's exact pose, facial expression, costume design,
body proportions, weapon shape, line direction, and position in the frame.
Extend the environment horizontally beyond the original panel borders.
Continue the existing floor plane, perspective, architecture, and lighting.
Add useful negative space in the direction of the character's gaze.
Do not zoom out, recenter the character, duplicate props, rotate the torso,
or alter the camera angle. Clean anime line art, controlled cel shading,
coherent background perspective, animation-ready composition.
The environmental description should be concrete but limited. “Continue the school corridor with two additional windows and the same afternoon light” gives the model a bounded task. “Add a beautiful detailed background” invites a new location, excessive detail, and conflicting perspective.
Expand one compositional problem at a time
If both sides require major reconstruction, test them separately. First establish the side that contains important action or gaze space. Then extend the less important side using the accepted result as the new source. This reduces the chance that one generation will alter the subject while solving two unrelated background gaps.
When the original panel crops a hand, weapon, or foot at the border, do not hide that challenge inside a general expansion prompt. State the missing anatomy or object explicitly:
Complete only the cropped right forearm and sword hilt using the visible pose
and perspective as constraints. Keep the elbow position fixed. The hand wraps
naturally around one consistent hilt. Do not change the face, torso, or sword angle.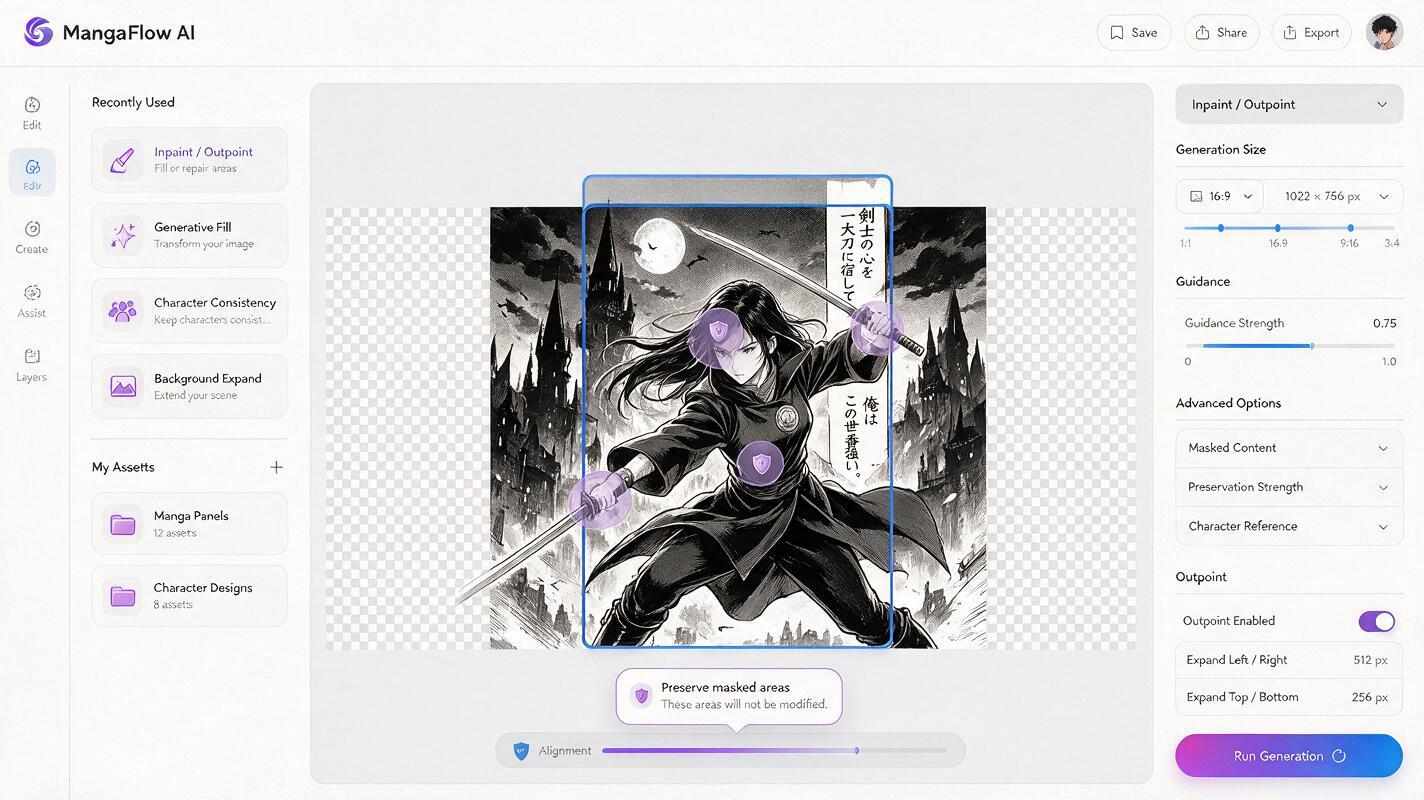
Match Perspective Instead of Merely Adding Detail
A successful extension should look as if the manga artist could have drawn it beyond the original border. Find structural clues already present in the panel: floor seams, desk edges, window frames, horizon height, converging walls, and repeated architectural spacing.
Describe those clues in relational language. Useful phrases include:
- “Continue the existing floor lines toward the same vanishing point.”
- “Keep the horizon at shoulder height.”
- “Repeat the window spacing visible in the source.”
- “Maintain the foreground railing in front of the character.”
- “Extend the wall behind the subject without changing camera height.”
Depth order matters just as much as geometry. If a foreground object overlaps the character in the source, preserve that overlap. Removing it may make the shot cleaner, but it also changes the camera position and visual depth.
Preserve Manga Energy Without Copying Panel Artifacts
Not every mark in a manga panel should survive into the anime frame. Speech bubbles, panel borders, screentone seams, and printed speed lines may need interpretation rather than literal preservation.
Separate marks into three groups:
- Story-critical marks: impact debris, tears, blood, magical symbols, or shadows affecting the scene.
- Medium-specific marks: speech bubbles, narration boxes, panel gutters, and print texture.
- Motion cues: speed lines, repeated limbs, directional hatching, and impact bursts.
Keep story-critical marks where appropriate. Remove medium-specific marks from the clean animation plate. Translate motion cues into pose direction, displaced clothing, debris, lighting, or a separate effects layer. Literal speed lines embedded in the character can become warped textures when the frame is animated.
For animation, create a clean base frame first. Add speed lines, impact flashes, and typography later as independent layers.
Use Composition Variants Instead of Chasing One Perfect Generation
Create a small set of deliberate framing variants rather than repeatedly regenerating with the same vague request. Useful alternatives include:
- Faithful extension: original subject scale and camera angle remain unchanged.
- Dialogue-safe frame: controlled negative space is reserved for subtitles or another speaker.
- Action-safe frame: extra space appears along the anticipated movement path.
- Parallax-ready frame: foreground, subject, and background have clear depth separation.
Compare variants at thumbnail size. The best frame should communicate the same beat as the manga panel before the viewer notices costume detail or background rendering. If the emotional emphasis changes, the reframing has failed even if the image looks polished.
Check the Frame Before Animation
Inspect the completed frame before sending it into an image to video workflow. Animation will amplify small inconsistencies, especially malformed hands, disconnected clothing, uncertain weapon edges, and backgrounds with competing perspective lines.
Run these checks at full size and as a thumbnail:
- Does the face match the source panel’s expression and viewing angle?
- Did the character retain the same scale and screen position?
- Do extended lines converge consistently with the original environment?
- Is there enough clearance for the planned movement?
- Are foreground and background objects clearly separated?
- Were speech bubbles and panel borders removed without leaving blank scars?
- Can effects be animated separately from the character?
For a dialogue shot, a stable face and clean shoulder silhouette may matter more than a richly detailed room. For combat, weapon clearance and readable movement direction matter more than decorative scenery. Judge the image according to its next production task.
Build a Short Manga-to-Anime Sequence
A single reframed panel is not yet a sequence. Select neighboring panels that represent distinct story beats, then convert each into a compatible shot. Keep recurring landmarks, light direction, costume details, and character scale consistent across the set.
Do not force every panel into the same framing. Manga may move from an extreme close-up to a wide reaction panel for emphasis, and the anime adaptation should preserve that rhythm. What must remain consistent is the scene logic: where characters stand, which direction they face, and where important objects are located.
A practical three-shot unit might contain an establishing frame, a character action frame, and a reaction close-up. Once all three clean plates pass inspection, add restrained motion based on the purpose of each shot rather than applying identical camera movement everywhere.
Final Checklist
- Choose the intended anime shot before expanding the panel.
- Lock the face, pose, costume, props, subject scale, and camera angle.
- Place the panel according to gaze direction or action room.
- Continue existing perspective instead of inventing unrelated scenery.
- Remove print artifacts while preserving story-critical visual information.
- Generate a few purposeful composition variants.
- Repair hands, props, and depth conflicts before animation.
- Keep effects separate from the clean character plate.
When your panel, target framing, and protected details are ready, try this prompt for free and compare a faithful extension with an action-safe variant.
Keywords
manga to anime, manga panel animation, seedream 4.5, anime frame generator, anime image editing, comic to video, anime composition