Why Manga Parallax Shots Tear—and How to Keep Line Art Stable
Animating a manga panel with parallax can produce broken outlines, invented scenery, and sliding screentones when the model must reveal artwork that never existed. This guide explains a layer-first Runway workflow for creating controlled camera depth while preserving faces, ink, and panel composition.
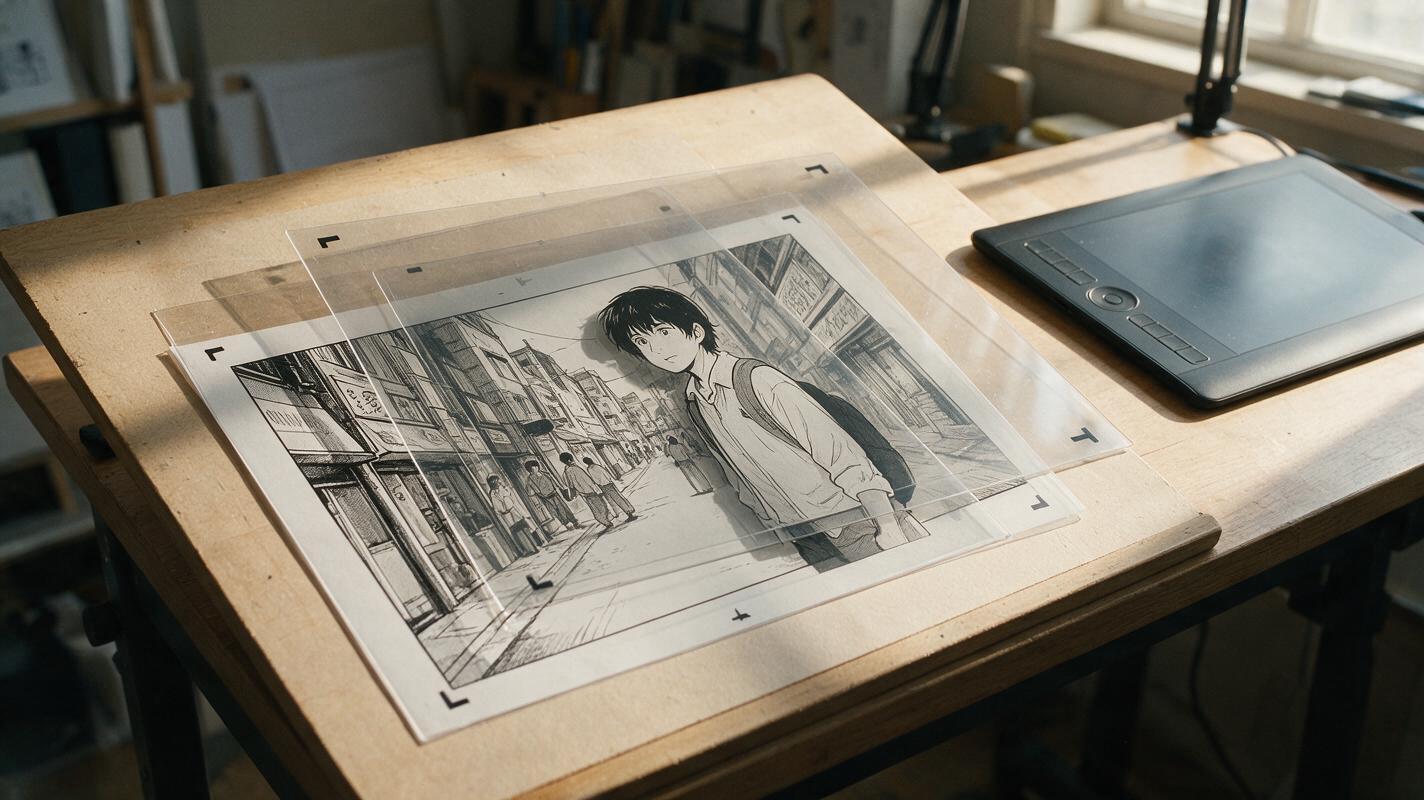
Table of contents
Animate the panel without redrawing it
A convincing manga parallax shot should feel like a camera entering the panel—not like the artwork is stretching under a sheet of rubber.
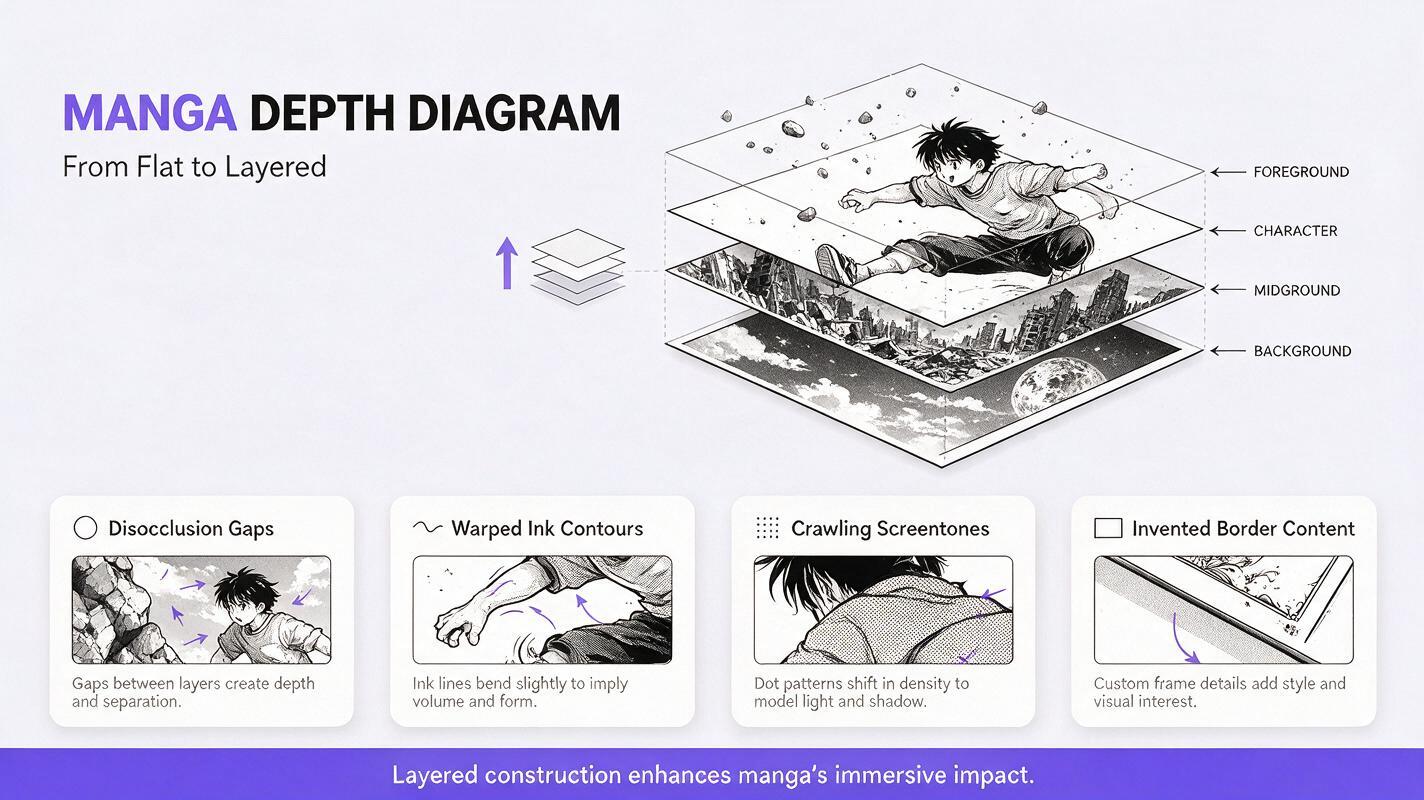
The most common failures are warped outlines, sliding screentones, duplicated speed lines, and newly invented objects appearing at the frame edges. These problems occur because a manga panel is a flat composition. When the virtual camera moves, the video model must guess what exists behind the character, foreground debris, speech effects, or cropped scenery.
The reliable solution is to prepare the panel as a shallow 2.5D scene before using Runway for image to video. Separate the visible depth planes, reconstruct only the hidden areas that motion will expose, and keep the requested camera movement within the artwork's available visual information.
Why a flat manga panel breaks during parallax
Parallax depends on objects at different depths moving at different apparent speeds. A foreground railing may cross the frame quickly, the character may shift slightly, and the distant city may barely move. A finished manga panel does not contain those independent surfaces. It contains one flattened arrangement of ink, tones, and white space.
If the entire panel is submitted as one image, the model must simultaneously interpret depth, preserve the drawing, reveal occluded regions, and animate the camera. Every uncertainty becomes an opportunity for visual drift.
| Visible failure | Likely cause | Best correction |
|---|---|---|
| Character outline bends with the background | Subject and environment were treated as one surface | Isolate the character on a separate depth layer |
| Screentone pattern crawls or changes scale | Camera motion is too large for the fine texture | Reduce motion and simplify the tone before animation |
| White gaps open around hair or clothing | The layer mask has no overlap allowance | Extend reconstructed background beneath the silhouette |
| New windows, props, or limbs appear | The camera exposes undefined image regions | Fill hidden areas manually and tighten the crop |
| Face changes during a push-in | The prompt asks for acting and camera motion together | Lock the pose and request camera movement only |
Not every panel needs parallax. A close-up face with dense hatching and almost no visible environment often works better as a restrained hold with blinking, hair movement, or a tiny lighting change. Choose depth motion when the composition already contains a readable foreground, subject plane, and background.
Choose a panel with usable depth
Look for a panel that can be divided without destroying its storytelling. Strong candidates include a character framed by a doorway, a rooftop scene with foreground fencing, or a street composition with signs at several distances.
Avoid beginning with panels where:
- multiple bodies overlap in a complicated action pose;
- speed lines cover both characters and scenery;
- large sound effects hide essential anatomy;
- the subject is cropped through the face or hands;
- cross-hatching is so dense that every small displacement becomes visible;
- the intended camera move would reveal an entire unseen side of the scene.
Before separating anything, decide what the shot is meant to communicate. A slow push toward a worried face creates tension. A lateral slide past foreground bars suggests confinement. A pullback can reveal isolation. One clear camera intention produces a cleaner result than combining a push, orbit, tilt, character turn, and wind effect in the same clip.
Prepare clean depth layers before animation
Start with the highest-quality panel available. Clean scanning noise, accidental gray borders, and compression blocks, but do not erase intentional paper texture or line variation. Preserve the original panel as a locked reference so every edited layer can be checked against it.
A practical manga parallax scene usually needs three to five transparent layers:
- Foreground: rails, leaves, debris, fabric edges, or architectural framing.
- Primary subject: the character or central object that must remain recognizable.
- Midground: nearby furniture, vehicles, walls, or secondary figures.
- Background: sky, distant buildings, landscape, or interior depth.
- Effects: speed lines, dust, rain, glow, or typography that may need independent control.
Use a small overlap margin around every extracted silhouette. The background should continue beneath the character rather than ending exactly at the visible outline. Otherwise, even a slight layer displacement can uncover bright seams around hair, sleeves, or weapons.
Hidden-region reconstruction should be conservative. If half of a window is visible behind a character, extend its existing frame and perspective rather than designing a new building. For missing areas, ai image generator can assist with localized completion, but the result should be compared with the original line weight, screentone frequency, and vanishing points.
Localized reconstruction prompt:
Complete only the masked background behind the character. Continue the existing manga wall, window frame, and screentone pattern with matching perspective and black ink weight. Preserve all unmasked pixels exactly. Add no people, text, props, symbols, or new architectural features.
After reconstruction, temporarily offset each layer by a few pixels in an editor. If white holes or abrupt texture endings appear, repair them before generating video. This simple test exposes weak masks more reliably than inspecting the normal composite.
Build an animation-safe start frame
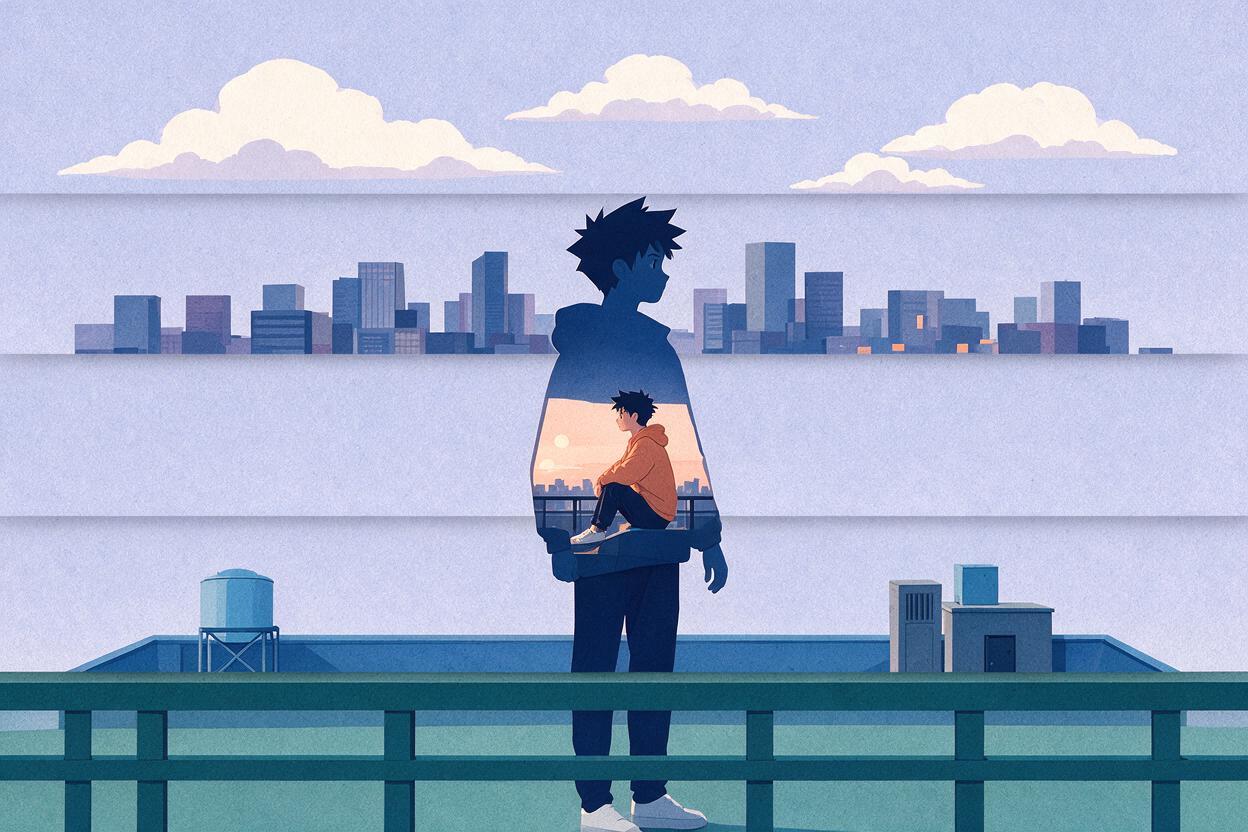
Reassemble the layers into a clean start frame at the final aspect ratio. Do not ask the video model to reframe the panel and animate it at the same time. If the source panel is narrow or vertical, establish the wider composition first and approve it as a still image.
Protect the character's most recognizable details:
- eye shape and pupil placement;
- hairline, bangs, and outer silhouette;
- costume closures and emblem geometry;
- finger count and hand contact with props;
- weapon length and handle design;
- distinctive scars, jewelry, or facial markings.
Fine screentones can shimmer after resizing. Test the frame at delivery resolution before animation. If a tone already produces moiré in the still, slightly soften or replace that specific region rather than blurring the entire drawing.
Keep extra image area outside the intended crop whenever possible. This overscan gives the camera room to move without forcing Runway to invent content at the borders. For an initial test, a subtle displacement of a few percent of the frame is usually safer than a dramatic simulated dolly.
Prompt Runway for restrained camera motion
The prompt should describe what moves, what remains fixed, and how depth behaves. Avoid broad phrases such as “make this manga cinematic.” They offer no protection for line art or character identity.
Slow controlled camera push toward the character. Foreground railing moves slightly faster than the character plane; distant city remains nearly static. Preserve the exact manga drawing, facial features, pose, costume, ink contours, screentones, and background architecture. No body movement, no head turn, no redrawing, no new objects, no changing line weight. Stable black-and-white comic artwork.For a sideways reveal, change the movement description while retaining the preservation constraints:
Gentle lateral camera slide from right to left through a layered manga panel. Foreground leaves cross the frame with limited motion, the character remains centered and completely still, and the background shifts minimally. Maintain exact facial identity, anatomy, ink lines, hatching, screentones, and panel composition. No perspective morphing, no added scenery, no duplicated details.Generate a short test before committing to a longer shot. Inspect the first, middle, and final frames at full size. If the first half is stable but the ending melts, shorten the usable section rather than assuming another long generation will solve the underlying depth problem.
Motion rule: If the character must act, generate the camera move and the acting as separate passes whenever possible. Combining parallax, blinking, hair motion, and a head turn makes it harder to identify the source of drift.
Control each depth plane instead of the whole picture
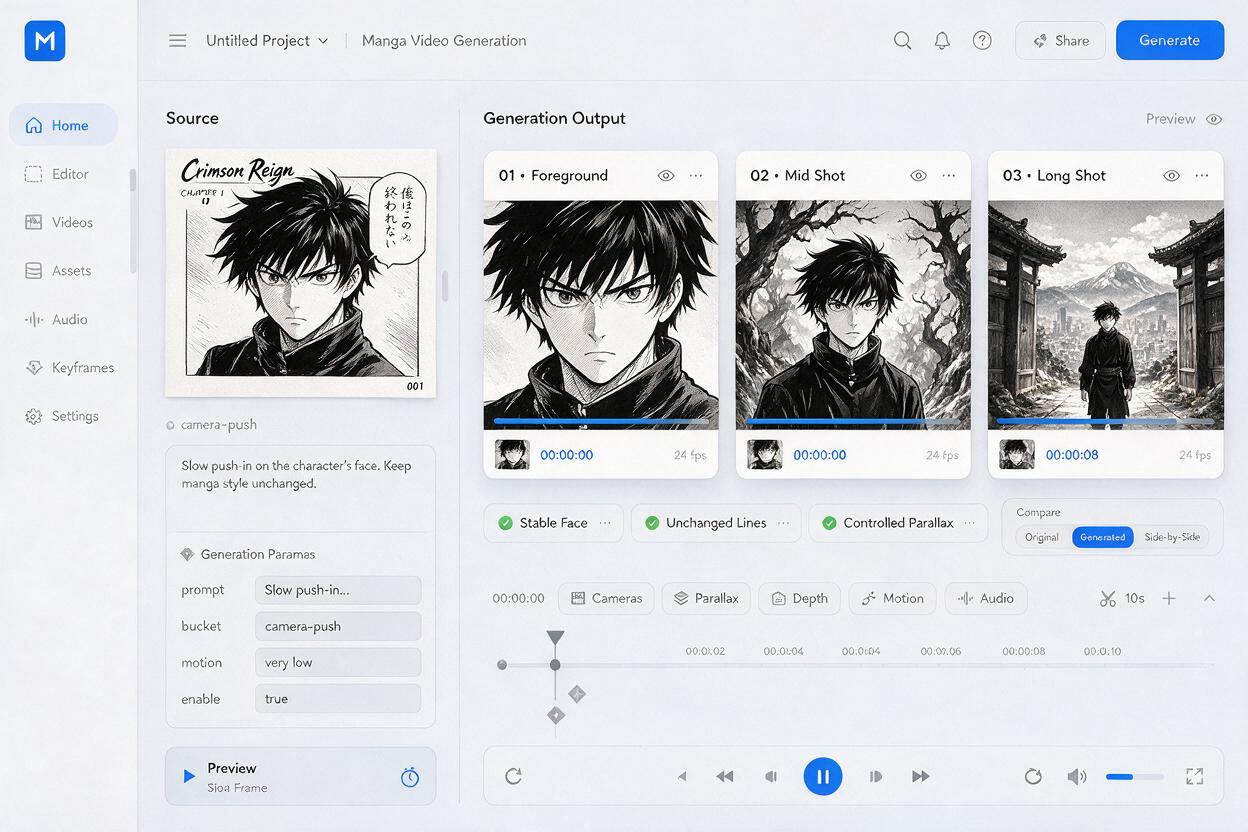
When a single generated clip remains unstable, animate the prepared planes separately. A compositor can move foreground, subject, and background layers with simple scale and position keyframes while Runway supplies only selective organic motion such as drifting dust or gently moving clouds.
This hybrid method is especially useful for black-and-white manga because geometric layer movement does not regenerate the ink. It also lets you decide exactly how much parallax each plane receives.
| Plane | Suggested motion behavior | Main risk |
|---|---|---|
| Foreground | Largest lateral shift or scale change | Distracting speed and exposed mask edges |
| Character | Minimal shift; often held nearly fixed | Face and silhouette drift |
| Midground | Moderate movement supporting the camera direction | Perspective conflict with the background |
| Background | Very small movement or slow scale change | Invented scenery at frame boundaries |
| Effects | Independent movement based on wind or atmosphere | Covering important ink contours |
Use these relationships as starting points, not rigid numerical rules. The correct amount depends on focal length, panel perspective, and the implied distance between objects. If the result looks like paper cutouts sliding over one another, reduce the separation between plane speeds and add only subtle atmospheric motion.
Repair the smallest unstable region
Do not discard an otherwise successful shot because three frames contain a broken eye or a crawling tone patch. Export the damaged frame, correct only the affected region, and blend the repaired frame back into the sequence. A localized fix preserves more of the original motion than regenerating the entire clip.
For recurring instability, identify which category it belongs to:
- Mask problem: visible gaps, halos, or clipped hair require better layer overlap.
- Motion problem: warped perspective or stretched anatomy requires a smaller camera move.
- Texture problem: crawling tones require simpler patterns or reduced resizing.
- Prompt conflict: pose changes require removing acting language from the camera prompt.
- Missing-content problem: invented objects require reconstruction before animation.
Watch the result once at normal speed and once frame by frame. Normal playback reveals distracting pops, while frame inspection exposes the exact origin of a tear. Also test the clip on a phone-sized display: dense manga texture can appear stable on a large monitor yet flicker badly after compression.
When a pure 2.5D shot is the better choice
Generative motion is not mandatory. Use compositor-only parallax when the panel contains iconic artwork that cannot tolerate redrawing, extremely detailed cross-hatching, typography integrated into the composition, or a face occupying most of the frame.
Use Runway when the shot benefits from small natural changes that are difficult to keyframe, such as smoke curling between layers, cloth settling after movement, drifting rain, or a subtle change in light. The strongest workflow often combines deterministic camera motion with narrowly targeted generative animation.
Once the layered still is ready, test this prompt yourself with a short, restrained camera move before adding character action or effects.
Final checklist
- Choose a panel with readable foreground, subject, and background planes.
- Define one camera intention for the shot.
- Separate depth layers without changing the original composition.
- Reconstruct hidden regions beneath extracted silhouettes.
- Add overlap margins to prevent white seams.
- Approve the final aspect ratio as a still image before animation.
- Prompt for camera motion while explicitly locking the character and ink.
- Inspect the opening, middle, and final frames at full resolution.
- Repair local defects instead of regenerating every successful frame.
- Use compositor-only parallax when line-art fidelity matters more than organic motion.
Keywords
manga parallax animation, animate manga image, manga image to video, Runway anime animation, stable manga line art, comic panel animation, 2D animation AI