Match Skin Tones Across Mixed-Light Wedding Photos With Nano Banana Pro
Reception lighting can leave the same person looking warm in one wedding photo and green in the next. This guide combines consistent RAW editing with a restrained Nano Banana Pro edit for stubborn, localized color casts while preserving the real photograph.
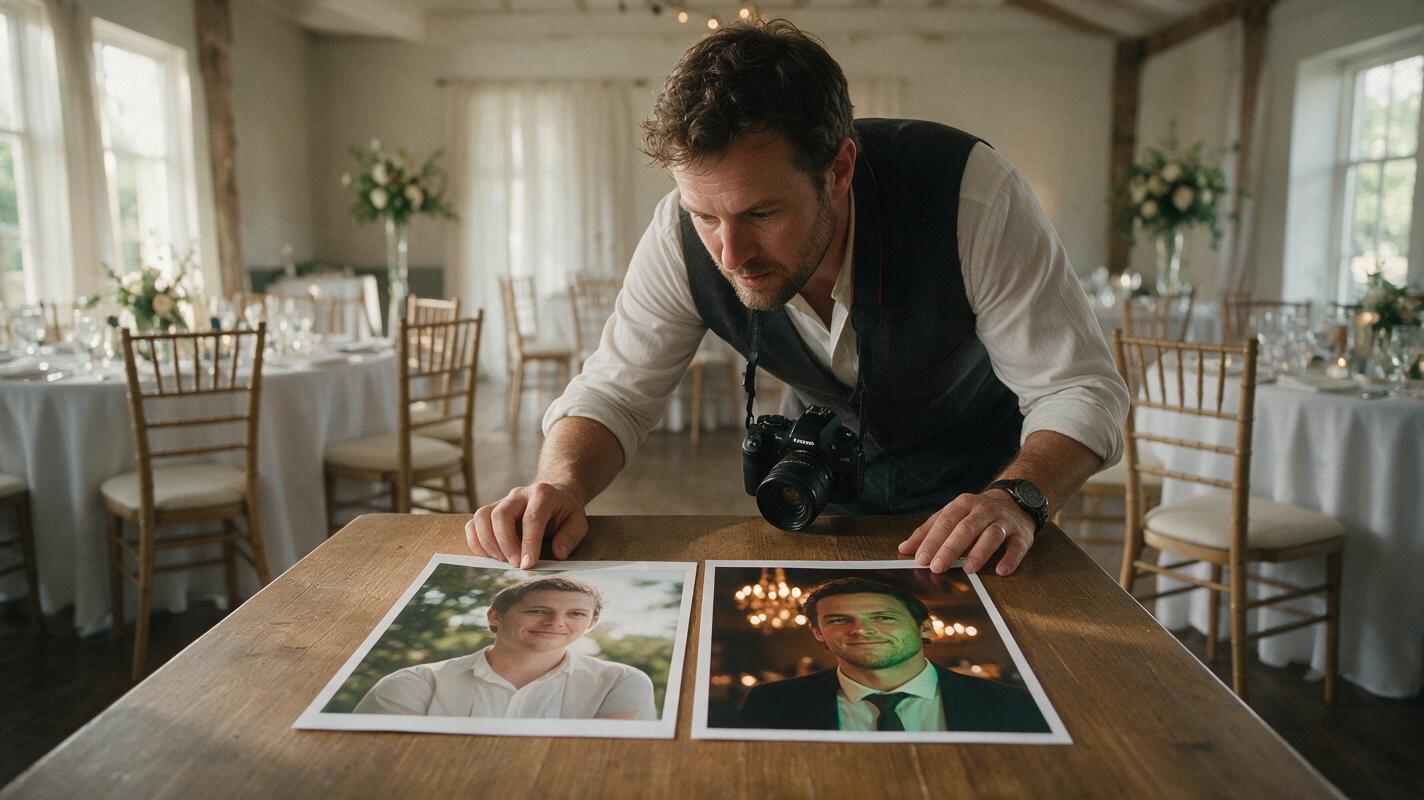
Table of contents
Keep the reception atmosphere, not the green skin
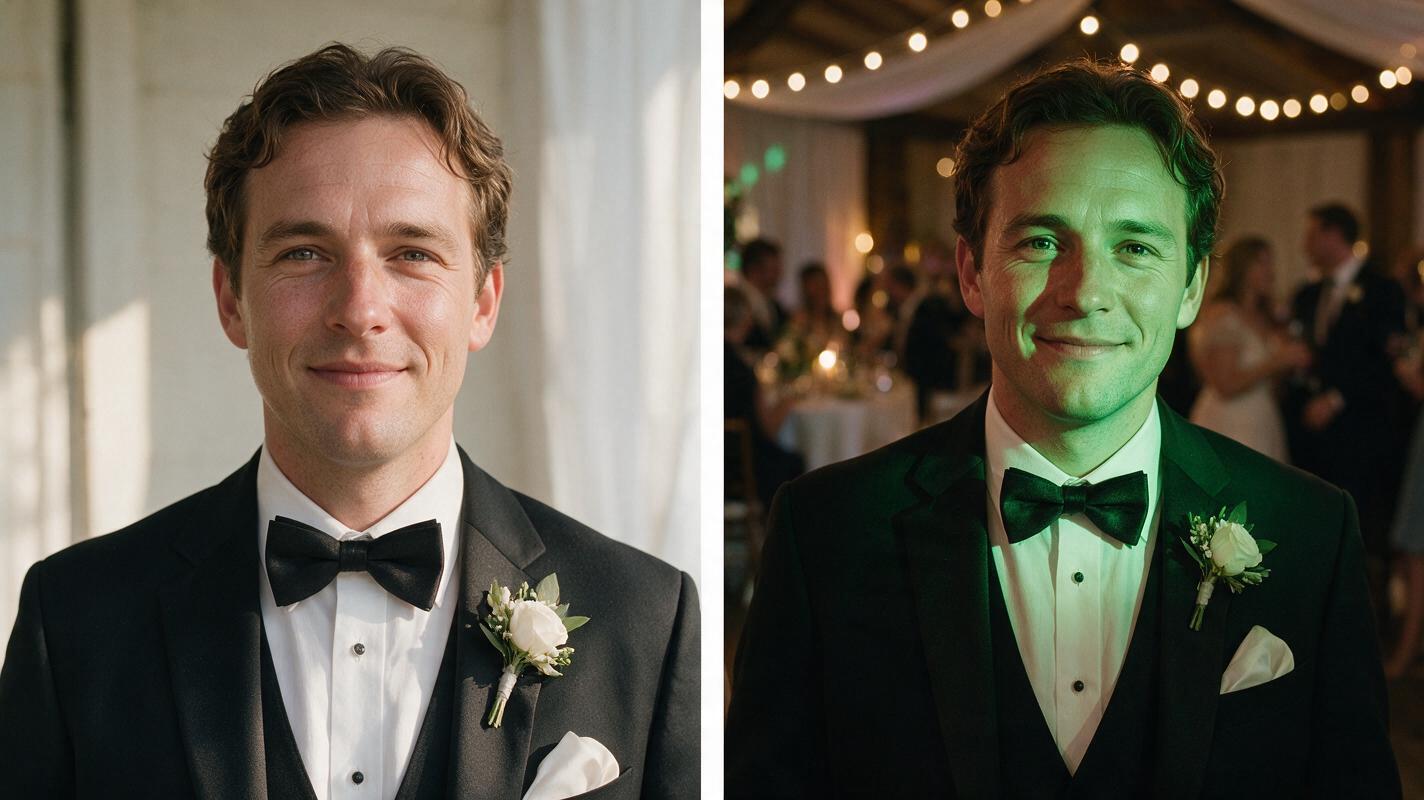
The same guest can look naturally warm in a window-lit portrait and faintly green beneath reception LEDs. Matching those images does not mean making every background neutral. It means giving the person a believable, consistent complexion while keeping the color that made each scene distinctive.
Start with your RAW editor for exposure and white balance. If one face still carries a patchy color cast that ordinary local adjustments cannot remove cleanly, use Nano Banana Pro for a tightly limited edit. Treat its output as a candidate repair—not a replacement for the wedding photograph.
Choose a trustworthy skin-tone reference
Pick a well-exposed photograph of the same person from the event, preferably made under daylight or another broad, stable light source. Choose a frame with a similar amount of makeup and visible skin. An outdoor portrait from earlier that day is more useful than a stock image or an unrelated guest’s face.
The reference establishes a range, not one RGB value to copy. Skin changes with angle, shade, reflected light, and the warmth of the room. Keep natural variation in cheeks, forehead, hands, and shadows.
- Use the original RAW files as your source of truth.
- Set the reference and target to comparable exposure before judging color.
- Inspect the face and any visible neck, shoulders, and hands together.
- Exclude colored spotlights and strongly tinted reflections from your reference judgment.
Correct the whole frame before touching the face
Make a consistent baseline edit across the gallery first. Adjust exposure, choose a sensible white balance, and use the same camera profile where appropriate. Then compare adjacent images at the size a client will actually see them.
If a global white-balance change makes the face better but drains the candlelight and colored reception décor, put it back. Work locally with a skin mask or brush: reduce the offending green or magenta cast, ease saturation where necessary, and blend the adjustment into the surrounding light. Use a neutral object only if you know it was neutral in the scene; a cream dress or amber wall is not a reliable gray card.
A successful match makes the person recognizable across photographs. It does not make a dance-floor image look as though it was taken outdoors at noon.
Many frames need nothing beyond conventional RAW adjustments. Reserve generative editing for a difficult patch—for example, green light crossing one cheek while the rest of the face remains warmly lit.
Ask for a local color repair, not a new portrait
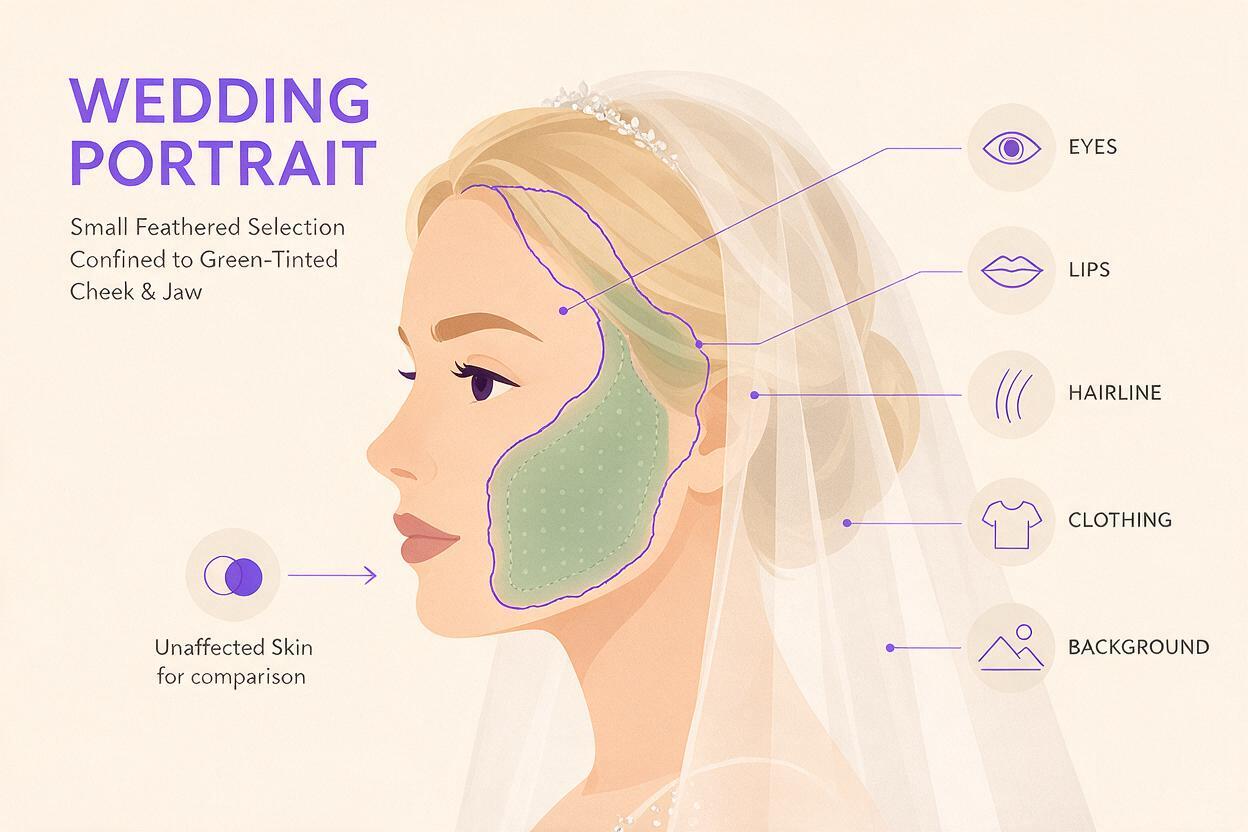
Export the baseline-edited target at high quality and keep the original edit untouched. For a stubborn cast, use nano banana pro with the target and, if the interface permits reference images, your approved portrait of the same person. Select or mask only the affected skin and a small feathered boundary. Capabilities and controls vary by interface, so use the closest available localized-edit option rather than assuming a particular mask setting exists.
Keep the request about color. Instructions such as “beautify the face” can alter features, makeup, or expression when all you wanted was a more plausible complexion.
Use the target wedding photograph as the composition and identity source. Correct only the green color cast on the illuminated cheek and adjacent jaw so the skin looks plausible beside the unaffected skin. Use the reference portrait only to judge this person's natural complexion. Preserve facial structure, expression, pores, freckles, makeup, hair, clothing, hands, room lighting, and background exactly as photographed. Keep gentle green spill at the edge of the light where physically believable. Do not smooth skin or relight the whole image.If the result looks flat, do not ask for a stronger correction. Try a smaller edit region or describe a gentler transition. You want to remove the distracting color, not erase evidence of the light source.
Composite and inspect at two scales
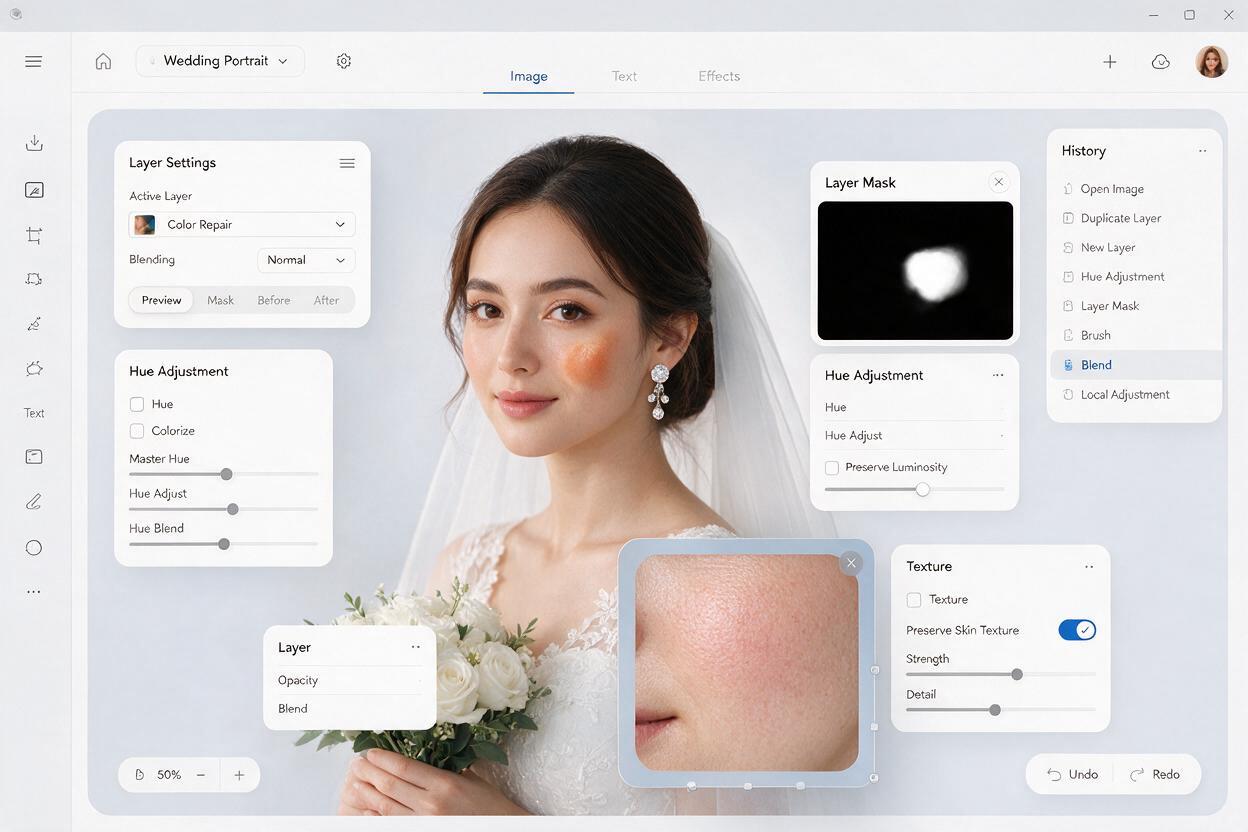
Bring the candidate repair back into the original editing file as a separate layer. Align it precisely, then reveal only the corrected skin with a soft mask. Keep the original eyes, lips, hairline, jewelry, and background wherever possible. If the generated region changes facial anatomy or makeup, discard that candidate rather than trying to hide the difference with more blending.
Inspect at 100% for skin texture, mask edges, and color discontinuities. Then zoom out and place the photograph between the preceding and following gallery images. A correction can look convincing alone yet read as oddly neutral beside photographs from the same reception.
| What you notice | Likely cause | Better response |
|---|---|---|
| Face looks gray beside warm shoulders | Too much green removal or an overly broad mask | Reduce the repair and compare neck and shoulders |
| Hairline has a colored halo | Mask crosses fine hair and background light | Keep the original hairline and refine the mask inward |
| Skin is smooth or features look different | Generated pixels changed more than color | Reject the result; use a smaller local adjustment |
| Every reception frame looks identical | Reference color was treated as a universal target | Restore each scene’s natural lighting character |
Be clear about what the finished image represents
For wedding coverage, preserve the photographed moment and avoid presenting generated facial changes as documentary capture. A local color repair should not change someone’s expression, remove a defining feature, or invent detail hidden by light. Keep the original files and an editable version of the repair. Follow your client agreement and obtain any needed permission before uploading identifiable photographs to a third-party service.
Want to check whether a restrained prompt helps your difficult frame? test this prompt yourself on one image first, then compare it with a RAW-only correction before applying the approach elsewhere.
Final checklist
- Reference the same person under credible, relatively neutral light.
- Finish global RAW adjustments before considering a generated repair.
- Limit the edit to the affected skin; protect identity and texture.
- Composite over the original and inspect at 100% and gallery size.
- Keep enough ambient color for the reception to feel like the reception.
Keywords
wedding photo editing, mixed lighting photography, skin tone correction, nano banana pro, wedding portrait color, localized color cast