Motion Transfer AI Video: Direct Better Microdrama Performances
Learn how to turn a recorded body performance into a controlled vertical microdrama scene using motion transfer AI video. This production workflow covers performance planning, source recording, character preparation, prompting, generation, editing, and targeted repairs.
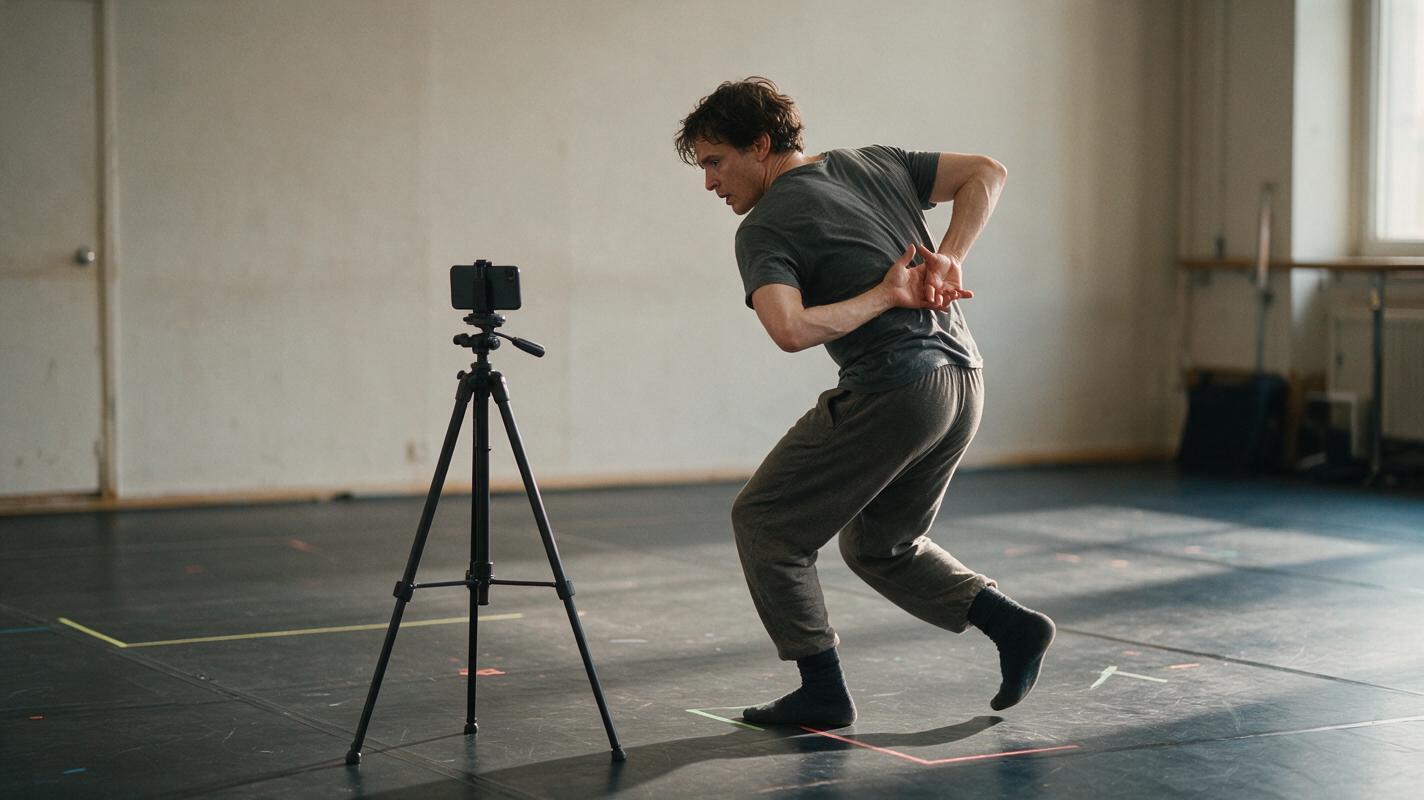
Table of contents
Turn a Simple Performance into a Directed AI Drama Scene
Motion transfer AI video works best when you treat the source clip as an acting blueprint, not as footage that a model should copy blindly.
The basic workflow is straightforward: record a clean driving performance, prepare a compatible character image, transfer the movement, and cut the generated result into a dramatic scene. The difficult part is preserving readable gestures, stable anatomy, and intentional framing at the same time.
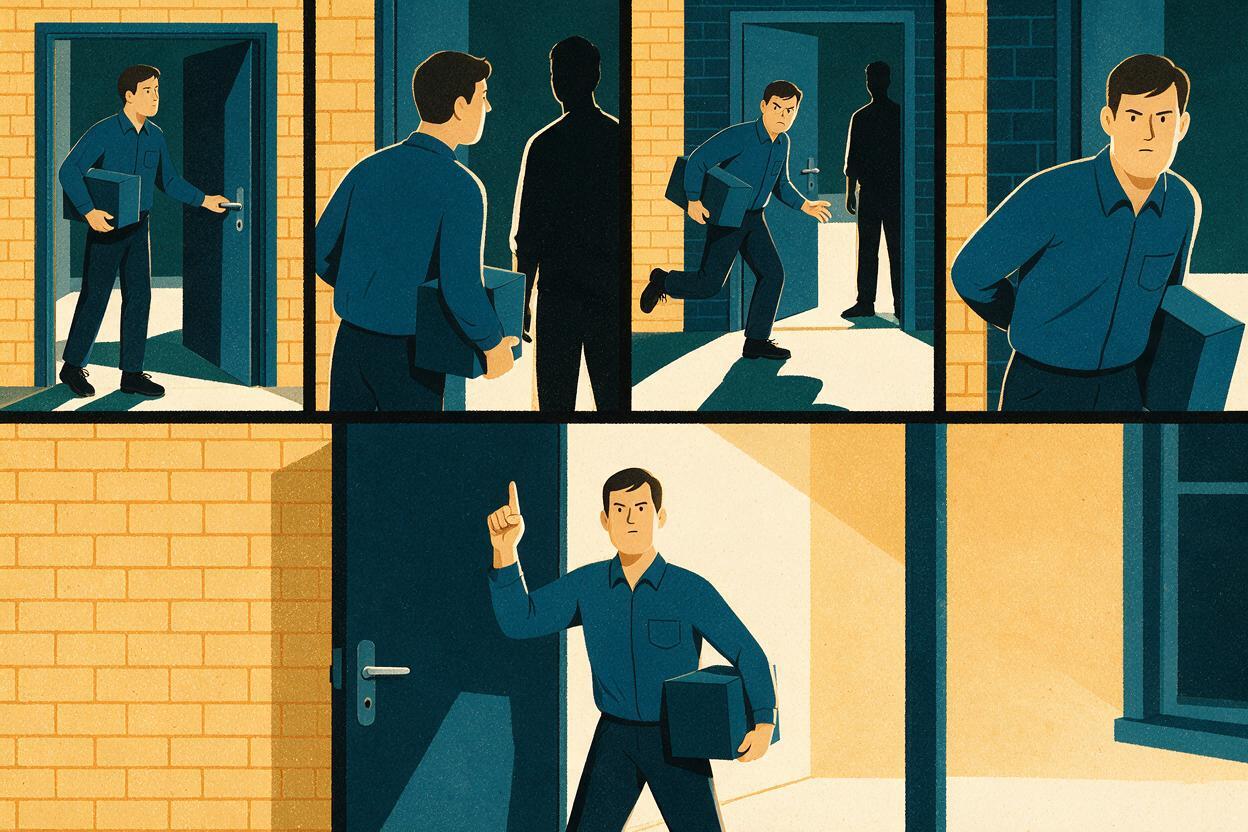
This tutorial builds one vertical confrontation scene for an ai short drama: a courier enters an apartment, recognizes someone off-camera, steps back, and hides a key behind her body. Because each production decision affects the next, the sequence matters.
Step 1 — Reduce the Scene to Physical Story Beats
Do not begin by recording the full screenplay. First translate the scene into actions that remain understandable without dialogue. A useful motion-transfer take usually has one emotional turn and a small number of distinct physical beats.
| Beat | Visible action | Story meaning |
|---|---|---|
| Arrival | Character enters and slows | She expects an empty room |
| Recognition | Head turns, shoulders tighten | Someone unexpected is present |
| Defense | She steps back and closes one hand | She feels threatened |
| Concealment | Closed hand moves behind her hip | She hides the key |
| Decision | She raises her chin and holds position | She chooses not to flee |
Keep gestures separated by short moments of stillness. Those pauses make the performance easier to read, give the generator cleaner motion states, and provide natural edit points.
If the scene cannot be understood as a silent silhouette, the source performance is probably carrying too many ideas.
Step 2 — Record a Clean Driving Performance
Record the performer against an uncluttered background with even light. The performer should remain fully visible whenever the scene depends on feet, weight shifts, or hand placement. Use a locked camera unless camera movement is essential to the story.
- Match the target composition: Record vertically when the final scene is a vertical drama video.
- Keep limbs separated: Avoid crossing both hands over the torso or placing arms directly in front of the face.
- Use controlled speed: Sudden turns and fast hand movements create more difficult transitions than deliberate actions.
- Leave clean handles: Hold the opening and closing pose briefly so the shot can be trimmed or connected.
- Remove accidental business: Do not adjust clothing, look toward the camera operator, or drift between marks.
Exaggerate intention rather than speed. A visible shoulder contraction often communicates fear more reliably than a rapid full-body recoil. For the hidden-key beat, mime the hand closure and concealment without requiring the model to reproduce a detailed finger-object interaction.
DRIVING PERFORMANCE NOTES
Format: vertical full-body recording
Opening: enter frame, walk two measured steps, stop
Recognition: turn head first, then rotate shoulders slightly
Reaction: shift weight backward, one short step
Secret action: close right hand, move it behind right hip
Final pose: chin raised, shoulders tense, hold still
Camera: locked, eye-level, no zoom
Performance: restrained fear becoming defiance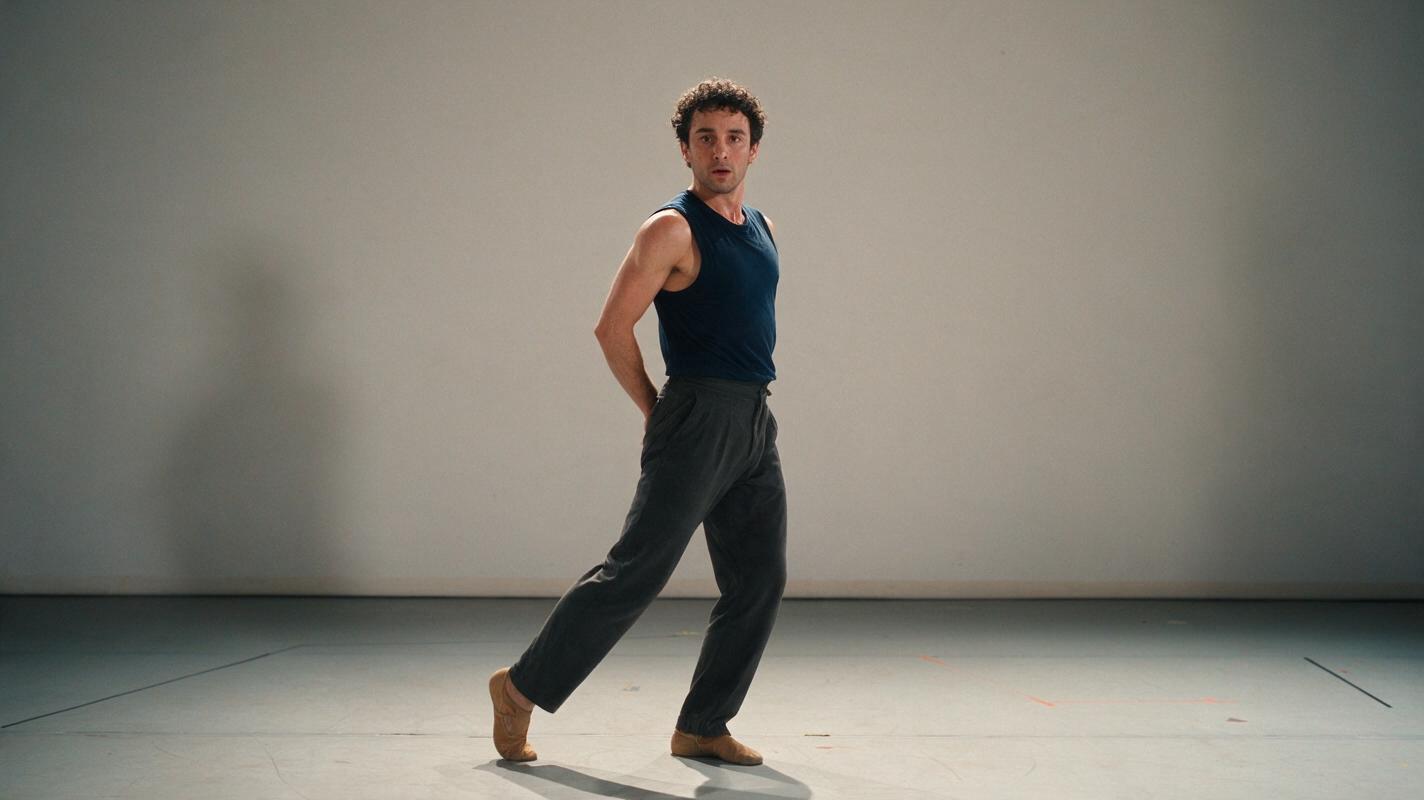
Step 3 — Prepare a Character Frame That Matches the Take
The character image should agree with the source clip before any movement is transferred. Match body orientation, visible limb placement, camera height, shot size, and wardrobe mobility. A close portrait is a poor source for a take built around full-body movement.
Create a neutral starting frame showing the courier near the apartment entrance. Her hands must be visible and separated from her torso. Leave space behind her for the backward step and preserve clear vertical framing around the head and feet.
CHARACTER FRAME PROMPT
A cautious young adult courier standing just inside a modest apartment doorway,
three-quarter body orientation toward camera left, both hands clearly visible,
practical dark green jacket over plain clothing, messenger bag resting at the left hip,
alert but neutral expression, realistic human proportions, eye-level camera,
vertical cinematic composition, natural window light, grounded contemporary drama,
uncluttered background, no text, no logo
Generate several candidates and reject any frame with hidden hands, ambiguous feet, extreme perspective, or clothing that merges with the background. If needed, use an image to video workflow to preserve the approved character frame as the visual starting point.
Step 4 — Build the Motion-Transfer Prompt
The driving clip already contains the choreography, so the prompt should define what motion must be preserved and what visual details should remain stable. Avoid adding actions that are absent from the performance.
MOTION TRANSFER PROMPT
Use the supplied performance as the motion reference.
Preserve the exact order of actions: entrance, recognition, backward step,
right-hand concealment, then a still defiant pose.
Keep the courier's face, dark green jacket, messenger bag, body proportions,
and apartment doorway consistent throughout.
Movement is restrained and realistic, with natural balance and grounded feet.
The camera remains locked at eye level in a vertical composition.
Maintain clear hands, stable facial structure, and coherent clothing folds.
No extra gestures, no camera orbit, no sudden zoom, no background movement.
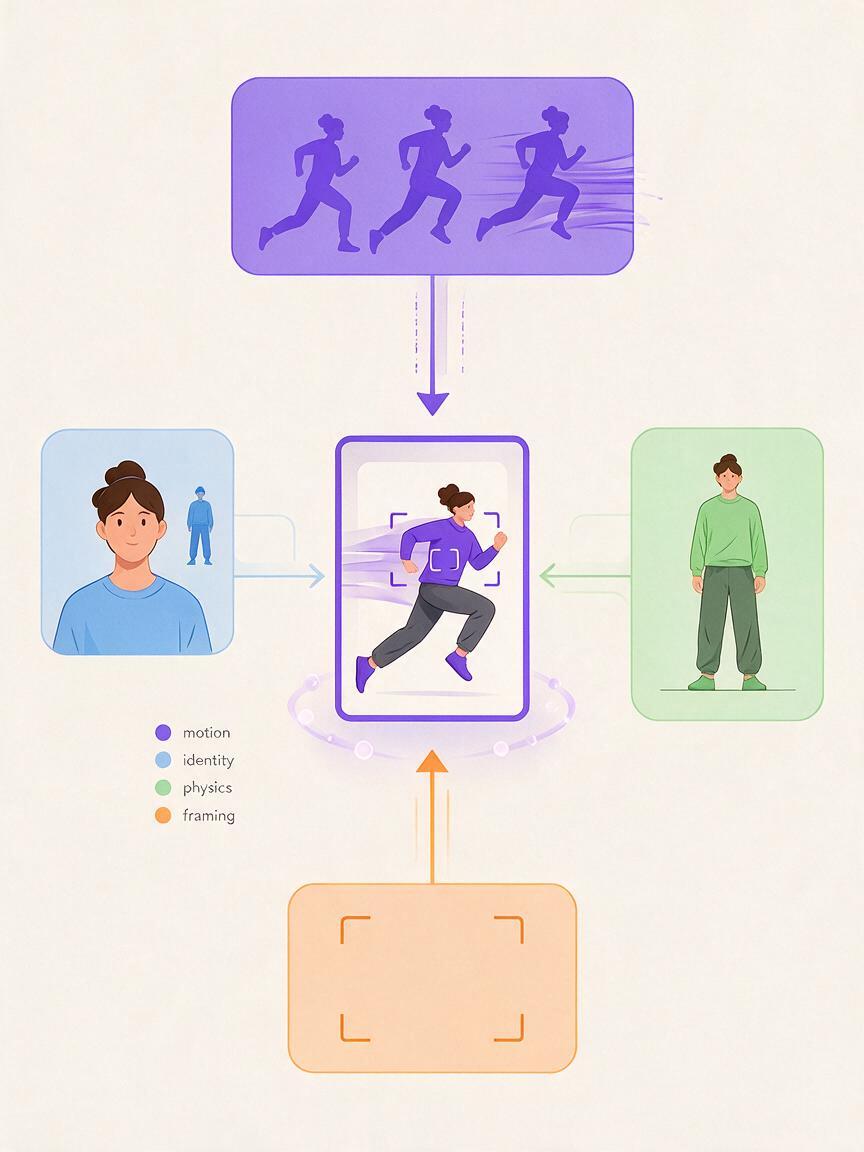
Separate the prompt into four control layers:
- Motion: Which actions and their order must survive?
- Identity: Which face, costume, and body traits must remain unchanged?
- Physics: How should weight, feet, fabric, and momentum behave?
- Camera: Which framing and movement rules are fixed?
Negative instructions should target visible failure modes rather than contain a long generic list. For this shot, unstable feet, fused hands, extra gestures, and unintended camera movement are the highest risks.
Step 5 — Generate Short Motion Units Before the Full Take
Test the scene as separate motion units before attempting the complete performance. Generate the entrance and recognition first, then the recoil and concealment, and finally the held decision pose. This isolates failures and prevents one weak transition from invalidating the whole scene.
- Test whether the character can enter and settle without sliding.
- Test whether the head turn leads the shoulder response naturally.
- Test whether the backward step preserves balance and framing.
- Test whether the hand can move behind the hip without merging into clothing.
- Test whether the final pose remains stable long enough to edit.
Compare candidates with the sound muted. Select for story clarity before facial detail. A beautiful render that obscures the hidden-hand action is less useful than a simpler take with readable blocking.
Once the reference frame and driving performance pass these tests, try these models for free with the same prompt package and compare the resulting motion, anatomy, and camera stability.
Step 6 — Edit Motion into Dramatic Beats
The generated take does not need to remain one continuous shot. Cut around the performance states so the audience receives one piece of information at a time.
| Edit unit | Best visual | Audio purpose |
|---|---|---|
| Entrance | Medium-wide movement | Establish footsteps and room tone |
| Recognition | Head turn or tighter reaction | Drop ambience or introduce an off-screen cue |
| Recoil | Torso and backward step | Emphasize breath or clothing movement |
| Concealment | Hand moving behind hip | Let dialogue pause so the action reads |
| Decision | Stable face and shoulders | Place the decisive line over the held pose |
If the hand transition breaks, cut before contact and resume after the hand reaches the hidden position. If the feet slide during the recoil, use a tighter crop on the upper body or cut to the unseen person's reaction. Editing should preserve the change in story state, not prove that every action happened in one uninterrupted generation.
For an AI series video, preserve the final pose as a continuity frame. The next shot can begin from the same shoulder angle, hidden-hand position, and emotional state even if it uses a different generation.
Step 7 — Repair Only the Failed Layer
Classify each failure before regenerating. This keeps successful parts of the scene intact.
- Motion failure: Simplify or slow the driving performance.
- Identity failure: Strengthen the character reference and reduce extreme head rotation.
- Anatomy failure: Separate limbs, change the crop, or divide the action into two shots.
- Camera failure: Restate the locked-camera rule and remove prompt language implying pursuit or dynamism.
- Story failure: Increase the pause between recognition and concealment so the motivation becomes visible.
Do not regenerate the whole sequence merely because one hand frame is weak. Replace the smallest failed unit, then hide the repair under a reaction cut, sound cue, or motivated change in shot size.
Final Checklist
- The driving performance contains one clear emotional turn.
- Every important action remains readable without dialogue.
- The source recording and character frame use compatible framing.
- Hands and feet are visible when they carry story information.
- The prompt separates motion, identity, physics, and camera controls.
- Short motion units are approved before the full take.
- The edit cuts on story beats rather than arbitrary clip lengths.
- Only the failed motion or visual layer is regenerated.
FAQ
What is motion transfer AI video?
It is a workflow in which movement from a driving video guides the performance of a generated or referenced character. Depending on the tool, the transferred information may include body movement, facial performance, pose changes, or a combination of these elements.
Should I record the motion horizontally or vertically?
Match the intended output whenever possible. A vertical source helps you plan side clearance, headroom, foot visibility, and gesture size for a vertical drama video without relying on a later crop.
Can motion transfer handle two actors?
It may be possible in some tools, but separate single-character passes are easier to control. Record each performance with a consistent eyeline and spatial relationship, then combine the shots through editing rather than demanding a complex interaction in one generation.
Why does the generated character slide across the floor?
Sliding often appears when foot contacts, camera movement, or body translation are ambiguous. Use a locked source camera, slower weight shifts, clearly visible feet, and shorter movement units. A tighter edit can also remove a damaged foot-contact moment.
Can this workflow create a complete short film?
Yes, but motion transfer is most useful as one production layer inside an AI short film generator workflow. Use it for performance-critical shots, while simpler establishing shots, inserts, and transitions can be generated separately.
Sources
Keywords
motion transfer ai video, ai microdrama, ai short drama, ai short film generator, ai drama generator, ai series video, vertical drama video