Motion Transfer AI Video: Animate a Mascot From Your Performance
Learn how to animate an illustrated brand mascot from a short, authorized reference performance while reducing pose drift and unstable limbs. This practical workflow also explains when true motion transfer is required and when prompt-guided image-to-video animation is a suitable alternative.
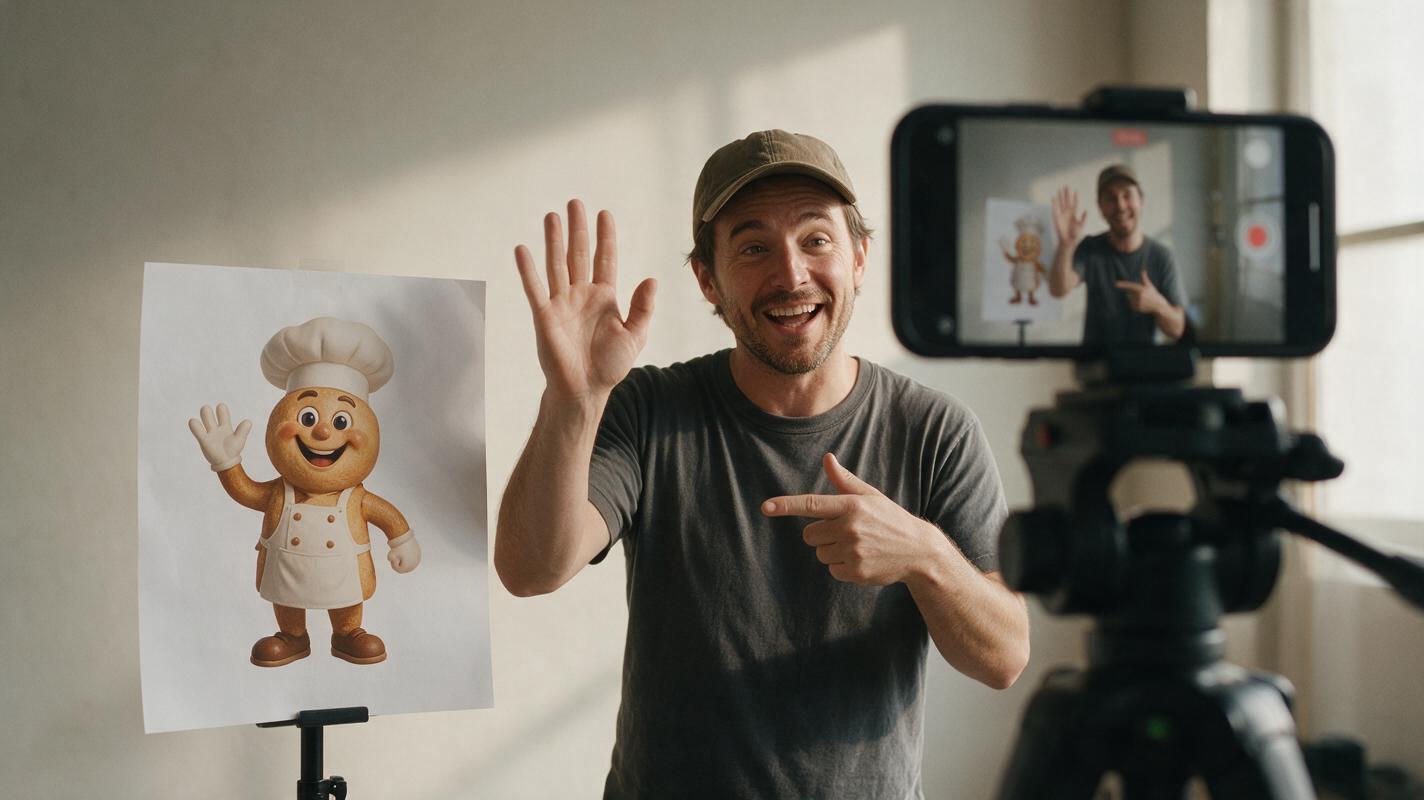
Table of contents
Turn a Simple Gesture Into a Reusable Mascot Clip
A short mascot animation can make a product announcement more memorable without requiring traditional character rigging. In this tutorial, a small business owner records a three-second wave-and-point gesture, transfers that performance to an original illustrated mascot, and prepares the result for a vertical promotional video.
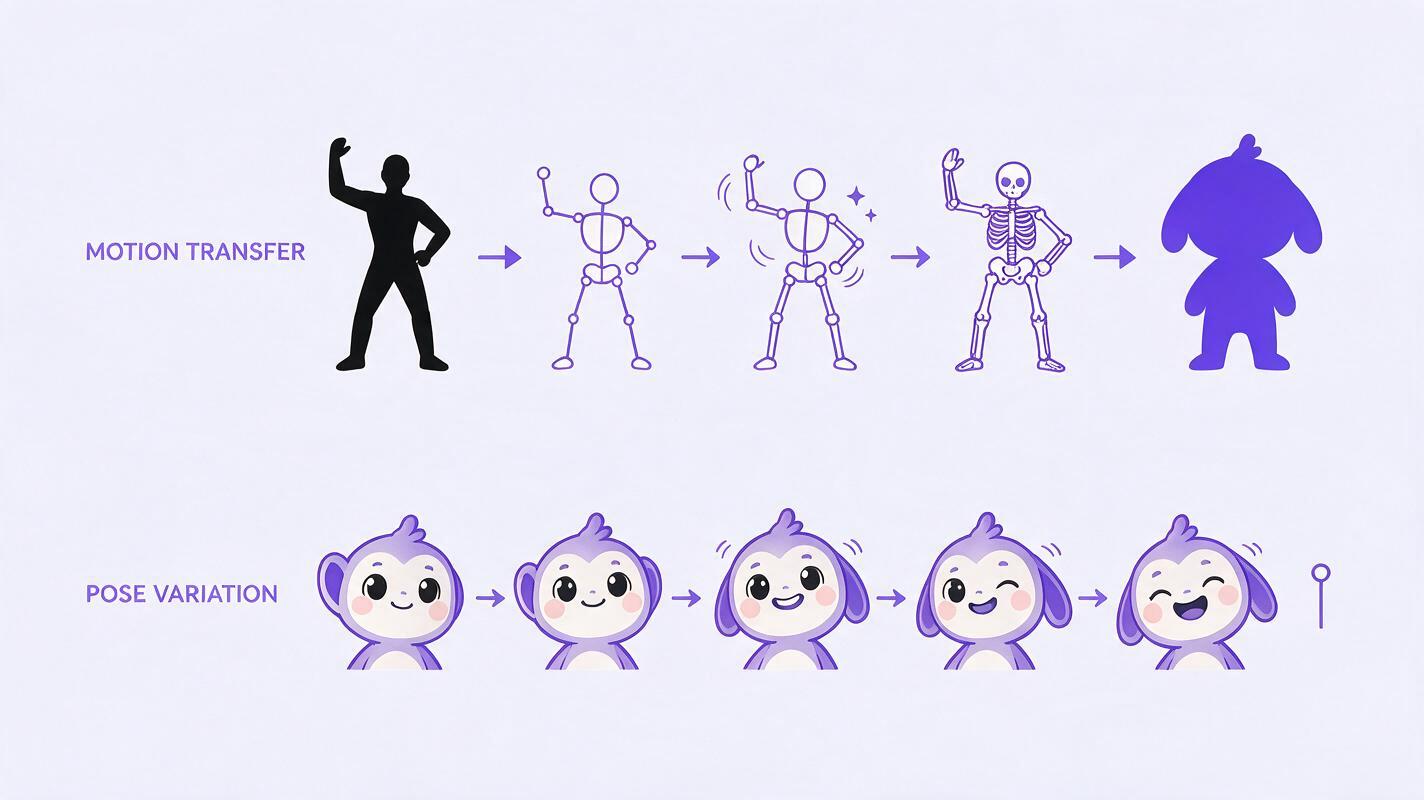
The important distinction is that motion transfer AI video and prompt-guided animation are not identical. True motion transfer follows a reference performance. Prompt-guided image to video creates movement from a still image and written direction, but it may interpret rather than precisely reproduce the reference motion.
Use only performances and character artwork that you created, licensed, or received permission to animate. Avoid presenting synthetic footage as a real person's performance.
Step 1 — Design a Transfer-Friendly Gesture
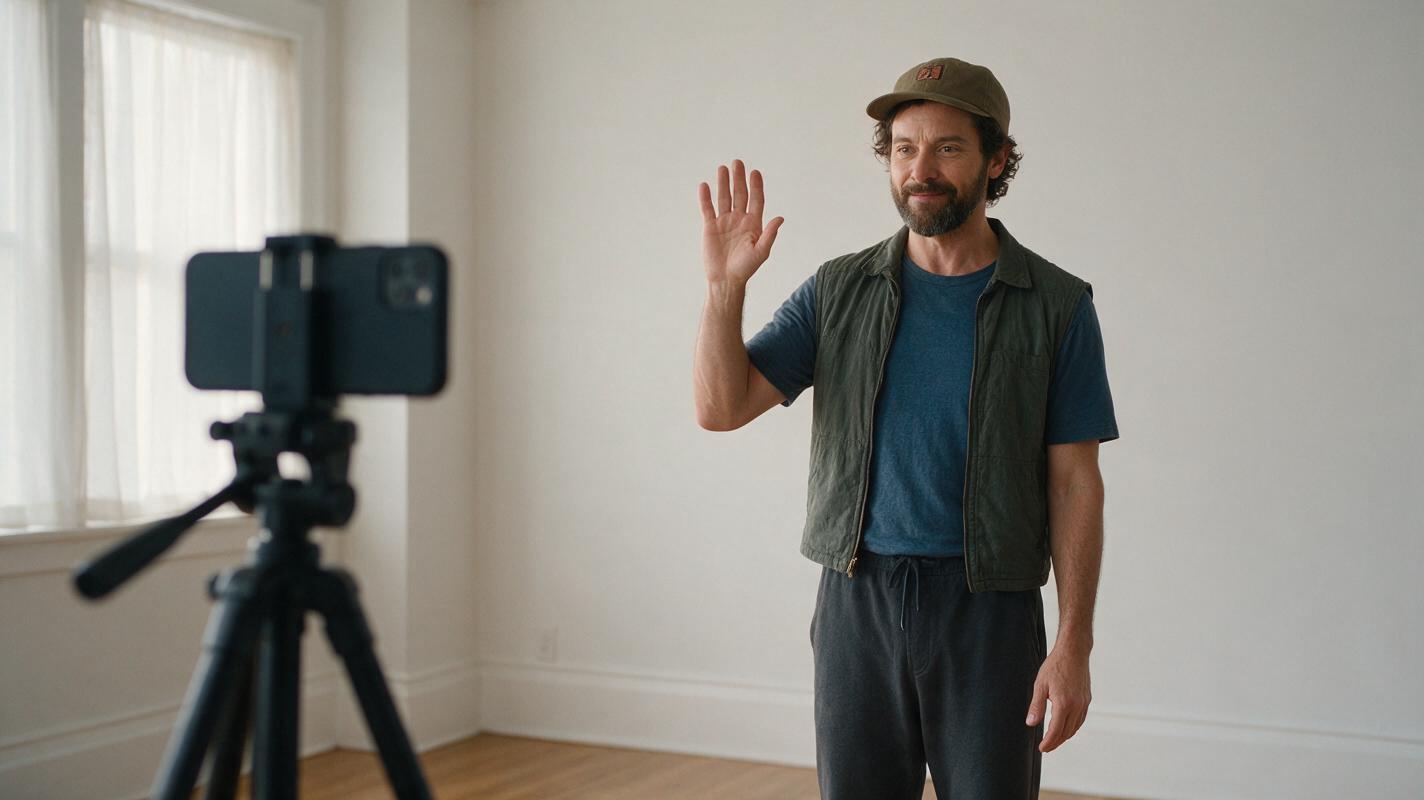
Keep the first reference motion short and readable. A useful product-launch gesture begins with the performer facing forward, raising one hand for a wave, and pointing toward an empty area where a product card can later appear.
Record the performer from head to toe if the mascot has a full body. Leave visible space around the hands and feet so the motion estimator does not lose them at the edge of the frame. A plain background and soft, even light make the silhouette easier to interpret.
- Duration: Aim for one complete action rather than several unrelated gestures.
- Camera: Keep it locked on a tripod or stable surface.
- Framing: Match the intended mascot composition.
- Movement: Avoid crossed arms, fast spins, and hands passing behind the torso.
- Timing: Pause briefly in the starting and finishing poses.
Wear clothing that contrasts with the background. The goal is not to make the reference attractive; it is to make the body mechanics unambiguous.
Step 2 — Prepare the Mascot as a Clean Source Image
The mascot should have a pose and proportions compatible with the performer. Motion becomes harder to map when the reference has human-length legs but the character has tiny feet, an oversized head, or no visible joints.
Start with a front-facing or three-quarter mascot image. Show both hands, both feet, and the full outline. Remove speech bubbles, floating decorations, and objects that overlap the limbs. Use a simple background or a transparent source if the selected tool accepts one.
If you still need an original character image, an ai image generator can produce a clean starting asset. Keep the design fictional and avoid copying a protected character or a real person's likeness.
Friendly original bakery mascot, full body, front-facing three-quarter pose, both hands visible, both feet visible, simple rounded proportions, cheerful expression, clean warm studio background, soft even lighting, centered composition, no words, no logo, no handheld objectsGenerate or draw a neutral pose rather than the final wave. A neutral stance gives the motion model room to articulate the shoulders and elbows.
Step 3 — Trim and Normalize the Reference Clip
Before using any video to video AI or motion mimic tool, cut the reference to the exact action. Remove the moment when the performer walks into position, checks the camera, or drops their arms after the gesture.
Keep the source frame rate consistent during editing and export. Do not use aggressive frame interpolation before transfer because invented in-between poses may create ambiguous wrists or elbows. If the phone footage is shaky, apply only mild stabilization and crop conservatively.
| Reference issue | Likely transfer problem | Practical correction |
|---|---|---|
| Hand leaves the frame | Missing or regenerated fingers | Re-record with wider framing |
| Fast body turn | Face or costume drift | Replace the turn with a smaller shoulder shift |
| Crossed limbs | Arm ownership becomes unclear | Keep hands separated from the torso |
| Moving camera | Character and background move together | Use a locked camera |
| Long sequence | Errors accumulate over time | Transfer one gesture per clip |
Step 4 — Choose Exact Transfer or Prompt-Guided Motion
Select the workflow according to how closely the output must follow the performance.
Use reference-based motion transfer when timing matters
A dedicated motion transfer system is the better choice when the mascot must wave on a specific beat, point in a precise direction, or reproduce a recognizable sequence. Supply the authorized performance clip and mascot image, then choose the least stylized motion setting available. Names and controls vary between real tools, so review the provider's documentation before uploading media.
Use prompt-guided animation for a similar action
If exact movement is unnecessary, an ai video generator can animate the mascot directly from its still image. Describe one action, the camera behavior, and the elements that must remain stable.
The mascot stands in place, gives one small friendly wave with the right hand, lowers the hand, then points gently toward the empty space on the left. Locked camera, stable body proportions, consistent face and costume, subtle natural secondary motion, clean background, no camera zoom, no scene change.This prompt asks for the same communication goal as the reference performance, but it does not promise frame-for-frame motion mimic. For a product teaser where only the wave-and-point concept matters, that difference may be acceptable.
Step 5 — Generate Short Variations Before Extending
Create several short candidates rather than one long clip. Judge the movement at normal speed and frame by frame. A strong opening frame does not compensate for a hand that merges into the body halfway through the gesture.
Keep the original mascot image beside every candidate and check:
- Does the head retain the same shape and facial features?
- Do the costume colors and major design details remain stable?
- Can you follow each hand through the entire gesture?
- Do the feet stay anchored instead of sliding?
- Does the pointing direction leave usable space for the product graphic?
If a candidate fails near the end, shorten it at the last clean pose. Extending a flawed clip usually preserves or amplifies the error.
Correction prompt for excessive movement
Reduce the motion amplitude. Keep the mascot centered with feet planted. One restrained wrist wave followed by a small pointing gesture. Preserve the original face, body shape, clothing details, colors, and background. No spinning, walking, camera motion, or new objects.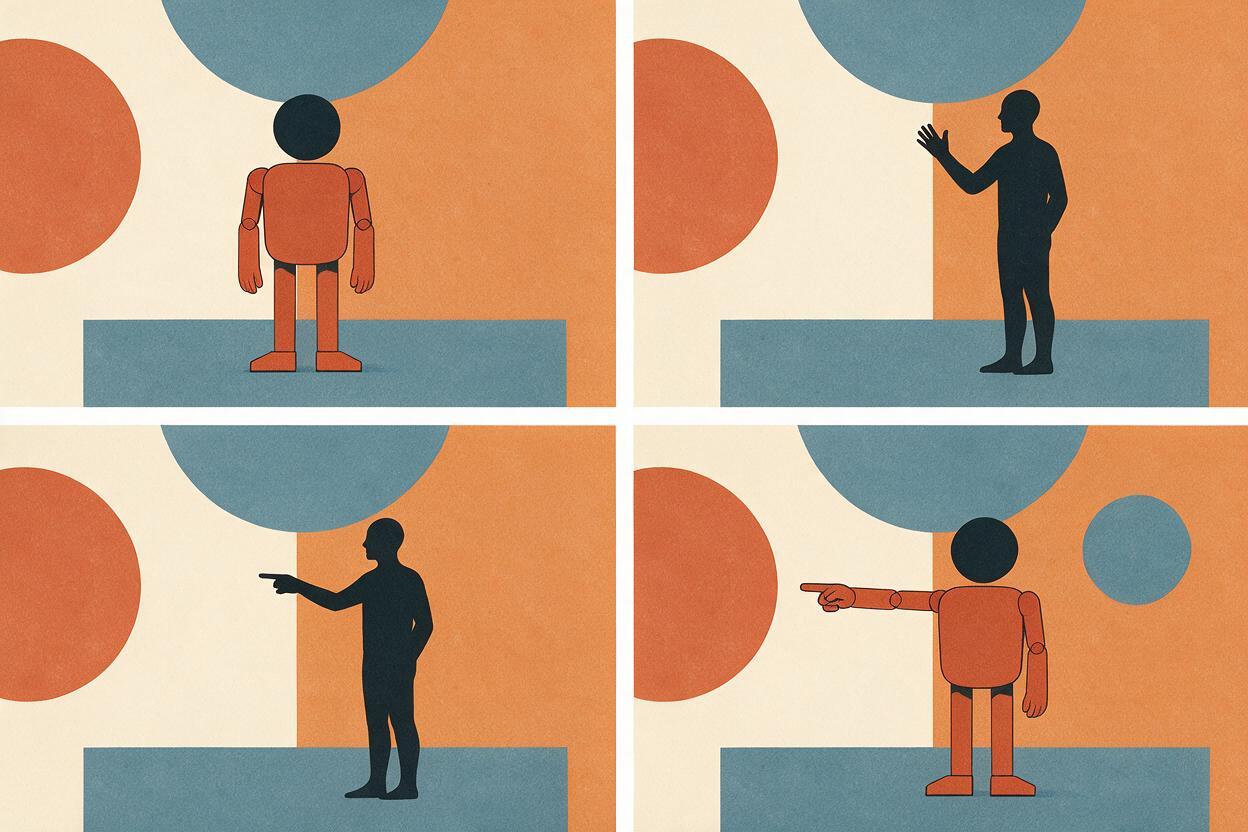
Step 6 — Build Honest Before-and-After Evidence
Before publishing, create a contact sheet that compares the actual inputs and output. This is more useful than a single attractive final frame because it exposes timing changes and identity drift.
Capture four pieces of evidence from your own files:
- The neutral mascot source image.
- The performer's authorized starting pose.
- A middle frame from the wave or pointing action.
- The final mascot frame at the corresponding moment.
Label the reference as a reference and the generated clip as generated when publishing the comparison. Do not describe prompt-guided animation as exact motion transfer if the tool did not ingest the performance video.
| Evidence check | Before | After | Pass condition |
|---|---|---|---|
| Character identity | Original mascot image | Generated frame | Face, colors, and costume remain recognizable |
| Gesture clarity | Reference key pose | Closest output pose | Viewers can read the intended wave or point |
| Edge stability | Clean source outline | Moving outline | No persistent extra limbs or broken silhouette |
| Background stability | Original background | Output background | No distracting pulsing or unexplained objects |
Step 7 — Polish Without Hiding Structural Errors
Apply enhancement only after selecting a structurally sound take. An ai video enhancer may help with modest softness or compression, while an ai video upscaler can prepare a clean small output for a larger delivery frame. Neither process reliably repairs incorrect anatomy, changing costume details, or a badly mapped gesture.
Use conservative settings. Compare the enhanced export with the unprocessed output at the same display size. Watch the hand edges, eyes, mouth, and high-contrast costume lines for halos or artificial sharpening.
Add the product card, price, or callout in a conventional editor after animation. Keeping typography outside the generative pass prevents letters from warping with the character. Place the graphic in the empty area indicated by the mascot's point.
Final Checklist
- The reference performer authorized the use of the recording.
- The mascot is original or properly licensed.
- The source image shows clear hands, feet, and joints.
- The reference contains one short gesture and a locked camera.
- The selected output has stable identity and readable motion.
- The before-and-after comparison uses frames from the real project.
- Enhancement was applied only after structural review.
- Synthetic footage is disclosed where viewers could mistake it for real footage.
If prompt-guided movement is sufficient for your mascot promo, try these models for free with the restrained wave-and-point prompt above.
FAQ
Is image-to-video the same as motion transfer?
No. Image-to-video animates a still image from a prompt or model interpretation. Motion transfer uses a reference performance to guide the character's movement. Some tools combine both inputs, but the terms should not be used interchangeably.
Why does the mascot's hand keep changing?
Hands often become unstable when they move quickly, cross the torso, leave the frame, or occupy very few pixels. Use a slower gesture, wider framing, separated limbs, and a shorter generation.
Can AI video presets fix a poor reference clip?
AI video presets can simplify configuration, but they cannot restore motion information missing from the reference. Re-recording a clear performance is usually more effective than stacking stronger processing.
Should I upscale before or after motion generation?
Use a sufficiently clear source image, generate the motion, select the stable take, and upscale near the end. Excessive pre-sharpening may emphasize outlines and textures that later flicker during animation.
Can I transfer motion from any online video?
Only use footage you own, footage licensed for this purpose, or footage used with the performer's permission. Public visibility does not automatically grant permission to reproduce a person's performance or likeness.
Sources
- Adobe After Effects Help: Roto Brush and Refine Matte
- Adobe Premiere Pro Help: Change Clip Speed and Duration
Keywords
motion transfer ai video, video to video AI, motion mimic, ai video tools, ai video enhancer, ai video upscaler, ai video presets