How to Turn a Graybox Into Concept Art With Nano Banana Pro
Transform a playable graybox screenshot into polished environment concept art without losing the level’s routes, landmarks, or spatial logic. This Nano Banana Pro workflow uses preservation-focused prompts, masked revisions, and design checks to keep the paintover useful for production.
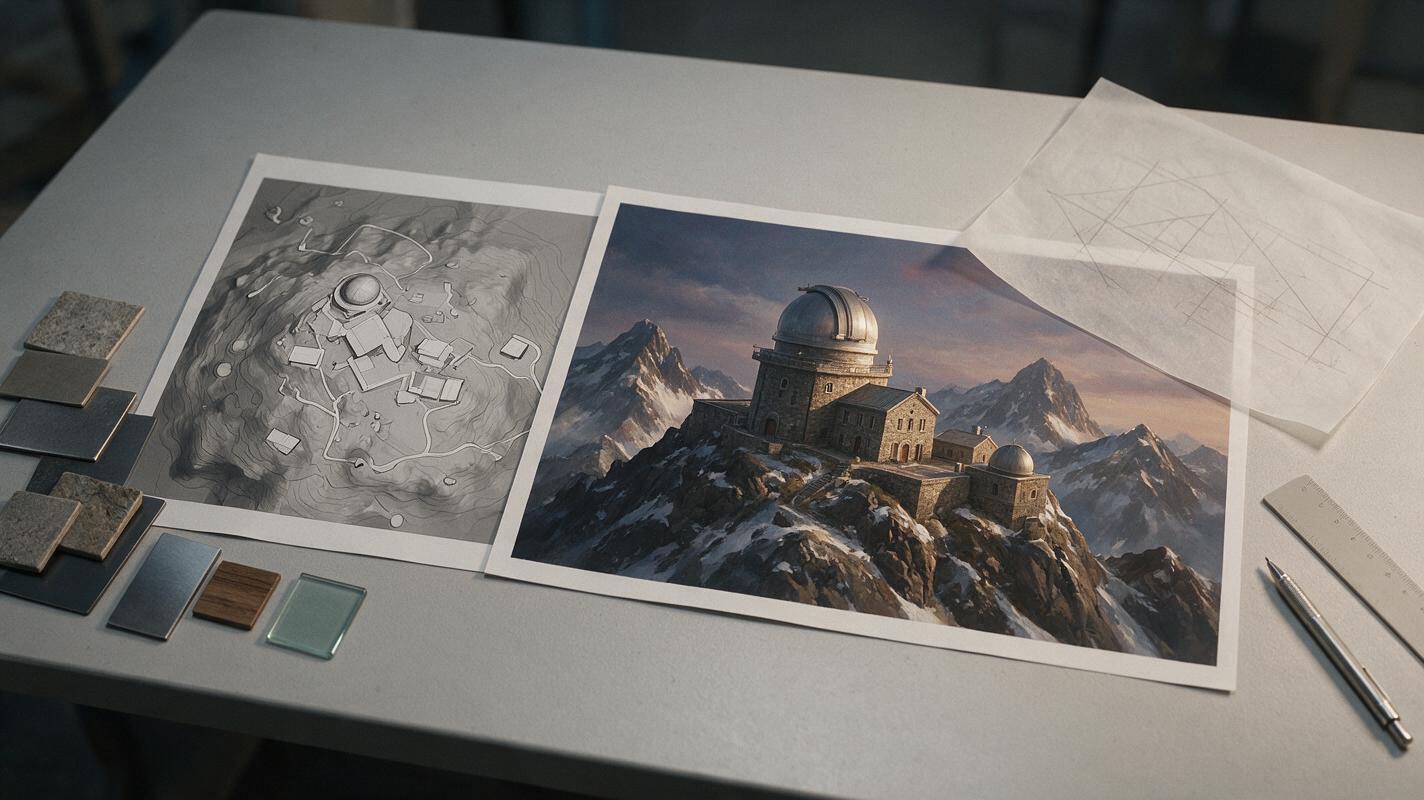
Table of contents
From Playable Blockout to Production-Useful Concept
A graybox paintover should improve the world’s visual identity without quietly redesigning the level. The challenge is preserving paths, cover, sightlines, elevation changes, and landmark positions while replacing primitive geometry with believable architecture, materials, vegetation, lighting, and atmosphere.
Nano Banana Pro can support this process when you treat the graybox screenshot as a structural reference rather than a loose source of inspiration. The workflow below separates fixed gameplay geometry from flexible art direction, helping environment artists and level designers explore a finished look before committing to expensive asset production.
The goal is not to make the most beautiful standalone image. The goal is to make an attractive image that still describes the same playable space.
Choose a Screenshot That Explains the Level
Begin with a clean capture from the camera position that matters most. For a third-person game, this might be a player-height exploration view. For a tactical arena, a higher angle may communicate routes and cover more clearly. Avoid extreme lenses because perspective distortion makes it harder to judge whether the generated result preserved the blockout.
Your source image should make the following information readable:
- Primary route: the path most players are expected to follow.
- Secondary routes: flanking paths, shortcuts, balconies, or alternate entrances.
- Traversal boundaries: walls, cliffs, railings, gaps, and inaccessible volumes.
- Gameplay objects: cover blocks, doors, bridges, stairs, platforms, or encounter spaces.
- Landmarks: silhouettes that help players orient themselves.
Hide debug overlays unless they contain information the artist needs. Neutral daylight is usually the best starting point because it exposes geometry instead of concealing it in dramatic shadow.
Separate Fixed Geometry From Flexible Art Direction
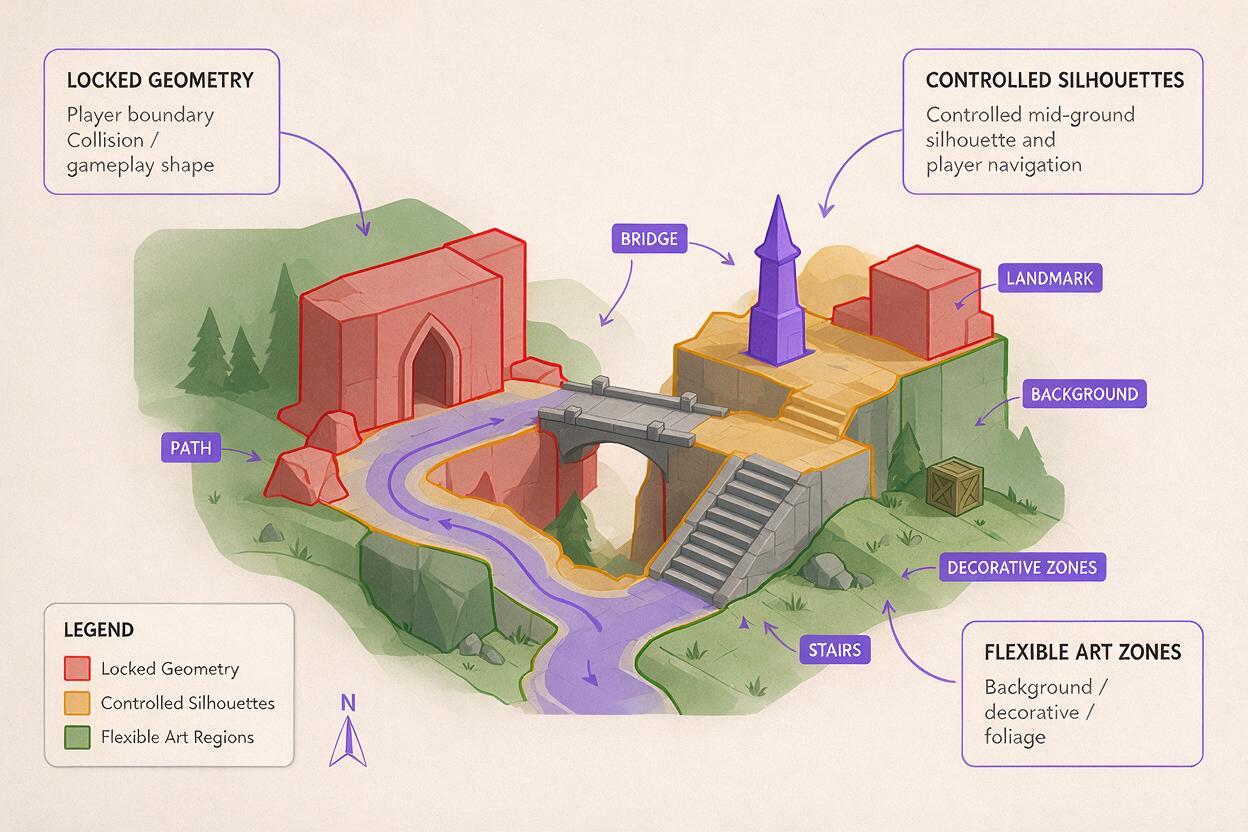
Before generating anything, annotate a copy of the screenshot. Use one color for geometry that cannot move, another for surfaces that may be reshaped cosmetically, and a third for open areas where new decorative elements are safe.
| Category | Typical elements | Allowed change |
|---|---|---|
| Locked | Paths, doors, stairs, cover, ledges | Materials and surface detail only |
| Controlled | Rooflines, wall profiles, cliff faces | Small silhouette changes within the same footprint |
| Flexible | Sky, distant background, foliage, signage | Broad visual exploration |
This simple constraint map prevents a common failure: receiving an impressive fortress, ruin, or village that no longer matches the playable layout. It also gives concept artists a shared language for discussing revisions with level designers.
Write a Preservation-First Prompt
Upload the unmarked graybox as the main visual reference. Keep the annotated version nearby for evaluation rather than feeding colored markup into the final render. In your prompt, describe preservation requirements before style, mood, or surface detail.
Transform this graybox level screenshot into polished environment concept art.

PRESERVE EXACTLY:
- the existing camera position and perspective
- the footprint, height, and position of all major structures
- the central path, left-side stairs, upper bridge, and right flanking route
- every doorway, platform edge, cover object, and traversal opening
- the current foreground, middle-ground, and background separation

ART DIRECTION:
- weathered mountain observatory built from dark basalt and aged brass
- readable modular construction suitable for a third-person action game
- restrained snow accumulation on non-walkable surfaces
- cold overcast daylight with warm amber light at entrances
- one distant astronomical tower as the orientation landmark

DO NOT:
- add new buildings over playable routes
- close openings or move stairs
- widen or narrow the paths
- introduce characters, vehicles, or foreground objects
- crop the image or change the lens
Use the ai image generator as a controlled paintover tool: ask for one coherent visual direction per generation rather than combining several biomes, architectural cultures, and lighting scenarios in the same prompt.
Concrete nouns are more useful than broad adjectives. “Basalt retaining walls with brass observatory mechanisms” provides clearer design material than “epic fantasy sci-fi environment.”
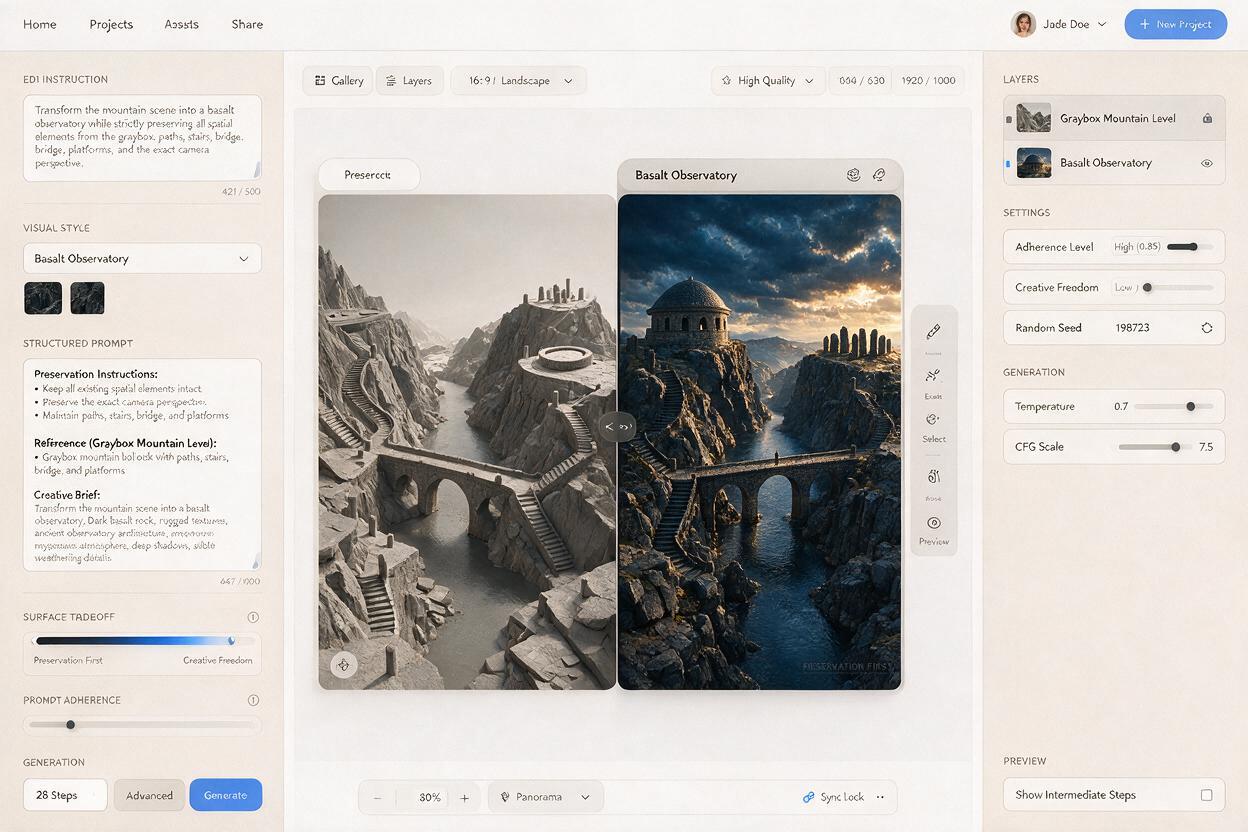
Generate the Broad Visual Direction Before Fine Detail
The first pass should solve large decisions: architectural language, material hierarchy, color palette, landmark treatment, and atmosphere. Do not spend time repairing tiny props while the overall world direction remains uncertain.
Create a small group of controlled alternatives by changing only one variable at a time:
- Material variation: basalt and brass versus pale limestone and oxidized copper.
- Climate variation: dry alpine air versus light snow and frozen runoff.
- Time variation: overcast morning versus late-afternoon side light.
- Condition variation: maintained facility versus abandoned observatory.
Keep the preservation block identical across these prompts. This makes the outputs easier to compare because differences come from art direction rather than accidental layout changes.
Approve the composition at thumbnail size. If the main route and landmark disappear when the image is small, additional texture detail will not restore their readability.
Refine One Region Without Rebuilding the Scene
Once a broad direction is approved, revise individual regions instead of repeatedly regenerating the full frame. A local edit can improve a gate, cliff wall, tower, or foreground material while protecting successful areas.
Edit only the selected upper bridge region.
Keep its current span, height, supports, walkable width, and connection points unchanged.
Replace the plain gray surface with modular basalt blocks, brass expansion joints,
and a low safety barrier that does not obscure the route.
Match the existing overcast lighting, perspective, scale, and material wear.
Do not modify the stairs, doorway, tower, sky, or surrounding terrain.
Describe the edit boundary in words even when using a selection or mask. Repeating the protected geometry helps prevent a local material request from turning into an architectural redesign.
For important interactive objects, request visual affordances rather than decoration alone. A climbable ledge might need a consistent edge material; an entrance may need warm light and a strong frame; a non-playable wall should avoid details that resemble ladders or handholds.
Check Gameplay Readability Against the Original
Place the graybox and paintover side by side, then overlay them at partial opacity in an image editor. The comparison should reveal matching horizons, openings, platform edges, and route widths. Small surface offsets are acceptable; displaced gameplay structures are not.
Review the concept with these questions:
- Can a player still identify the main route within a few seconds?
- Are entrances more readable, or did added detail camouflage them?
- Did vegetation, rubble, or snow appear on walkable surfaces?
- Do decorative silhouettes imply routes that do not exist?
- Does the landmark remain visible from the intended camera?
- Are cover objects still the same practical height and footprint?
- Could the material treatment be assembled from a realistic modular kit?
A successful concept may look less extravagant than an unconstrained generation. That restraint is valuable because the result can guide modeling, lighting, materials, VFX, and level dressing without invalidating the existing design.
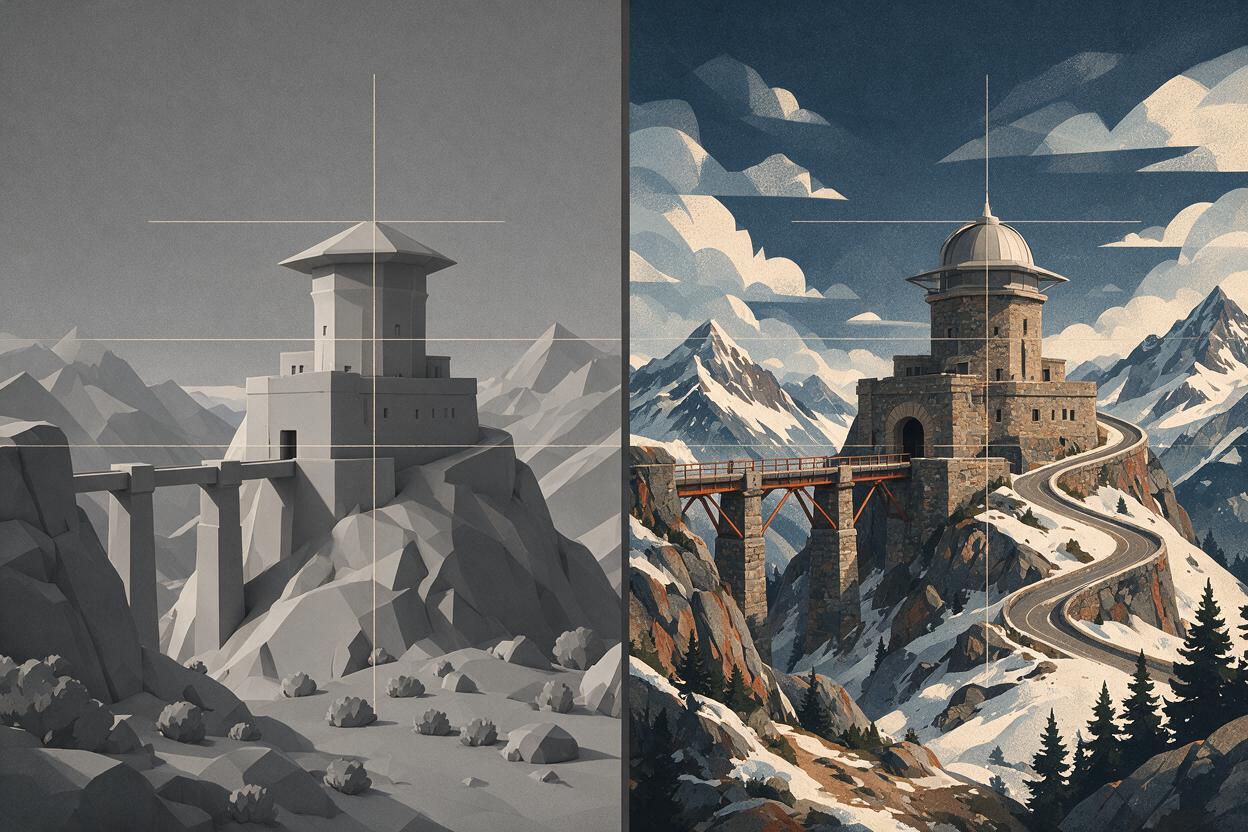
Fix Common Graybox Paintover Failures
The result changes the layout
Reduce the amount of stylistic information and strengthen the preservation block. Name every critical route and structure by location. If only one area is wrong, repair that region rather than regenerating the entire scene.
Everything becomes noisy
Request a clear material hierarchy: one dominant structural material, one secondary construction material, and one accent. Reserve high-frequency detail for focal areas and keep playable ground visually calm.
Doors and paths lose contrast
Specify functional lighting and value separation. Ask for brighter entrances, darker framing, or a controlled accent color around interactive architecture. Avoid applying equal contrast to every surface.
The world looks like a film set instead of a game level
Add production-oriented language such as modular wall bays, repeatable trim dimensions, reusable support pieces, controlled decal zones, and clear collision boundaries. These constraints encourage designs that can be translated into a buildable environment kit.
The image drifts during repeated edits
Return to the last approved full-frame result and make smaller regional changes. Repeatedly editing an already altered output can compound perspective and silhouette errors.
Turn the Approved Paintover Into a Useful Art Brief
The final image should not stand alone. Pair it with short notes that explain what the team should build and which features are only mood references.
- Label the hero landmark and the modular structures surrounding it.
- Extract a compact palette for structural, ground, accent, and emissive materials.
- Mark surfaces that communicate traversal or interaction.
- List reusable kit pieces visible in the concept.
- Separate playable foreground treatment from distant matte scenery.
- Record any generated detail that must not be interpreted as level geometry.
When the spatial match and visual direction are both working, create your own version using a screenshot from the current playable build. Keeping the source tied to the latest blockout reduces the chance that the concept team develops an obsolete layout.
Final Checklist
- The camera, lens impression, horizon, and crop match the graybox.
- Primary and secondary routes remain open and recognizable.
- Doors, stairs, bridges, cover, and platforms have not moved.
- Decorative elements do not create false traversal cues.
- The environment uses a clear material and color hierarchy.
- The landmark supports player orientation.
- Local corrections were made without degrading approved regions.
- The finished paintover includes notes for modular asset production.
Keywords
Nano Banana Pro, graybox paintover, environment concept art, level design, game environment, AI image editing, world visualization