Turn One Photo into Layered Collage Assets with Nano Banana Pro
Transform a single reference photo into separated, motion-ready collage elements with Nano Banana Pro. This practical workflow covers layer planning, clean-plate generation, prompt design, edge preparation, animation, and common consistency failures.
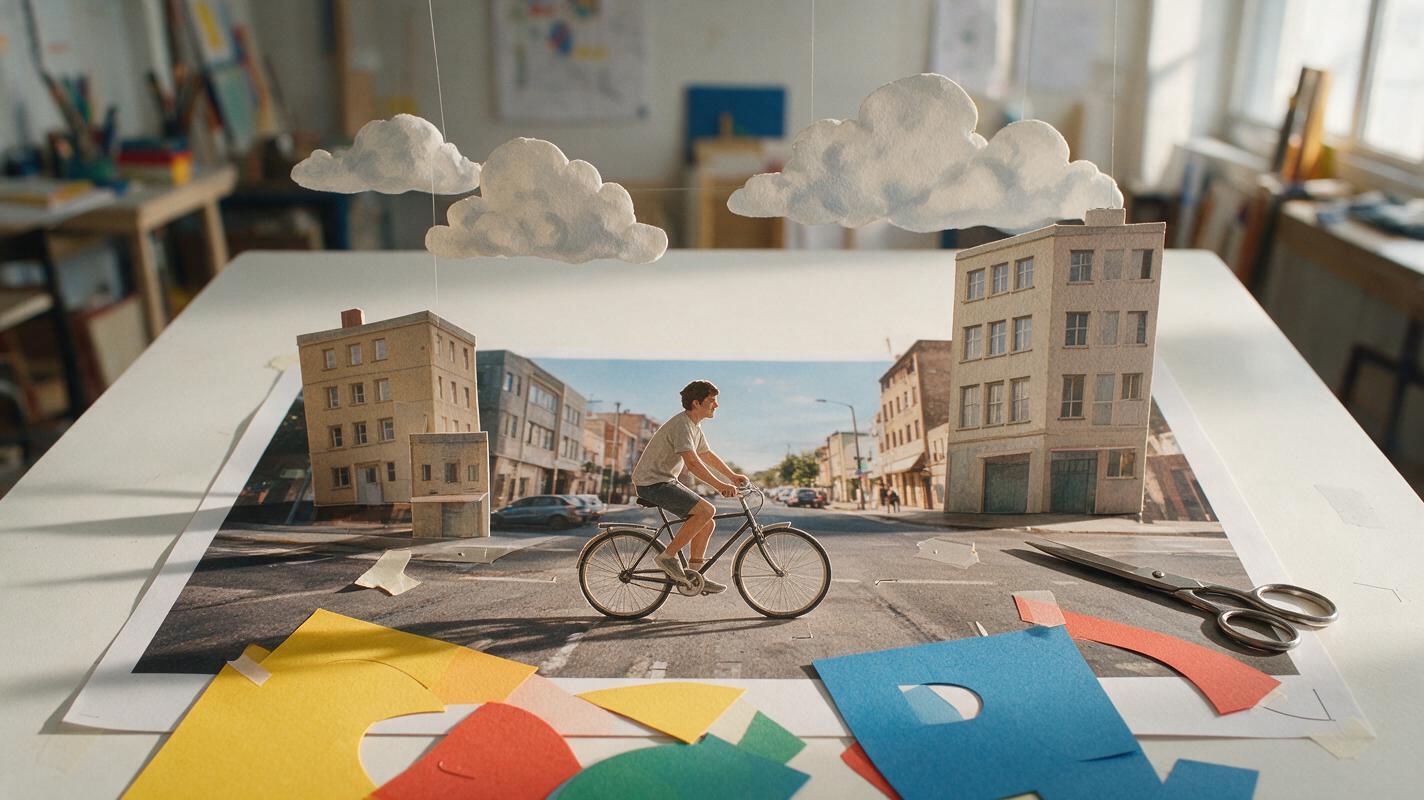
Table of contents
Build a Collage That Is Designed to Move
A convincing collage animation needs separated objects, clean hidden areas, and controlled texture—not one flattened stylized image.
Nano Banana Pro can help turn a reference photo into individual collage assets while preserving the source composition. The key is to treat it as an editing and asset-building tool rather than asking for a finished animation frame immediately.
This workflow is useful for title sequences, editorial explainers, social loops, music visuals, and mixed-media transitions. You will begin with one photo, define a layer map, generate missing background areas, create isolated paper elements, and assemble the results in a compositing application.
Choose a Photo with Clear Visual Hierarchy
The best source image is not necessarily the most dramatic one. It is the image whose major shapes can be separated without requiring the model to reconstruct complicated overlaps.
Look for:
- A dominant subject with a recognizable silhouette.
- Visible space around important edges, especially hands, hair, wheels, props, or clothing.
- A background with broad regions that can be rebuilt as paper, paint, or printed texture.
- Three to six depth zones rather than dozens of tiny overlapping details.
- Lighting that supports the intended style, even if the final result will be heavily stylized.
A portrait against a wall, a bicycle on an open street, or a product on a simple tabletop will usually be easier than a crowded concert photograph. If the original contains typography, logos, or small interface details, plan to rebuild them manually instead of relying on repeated generation.
Map the Photo into Motion-Friendly Layers
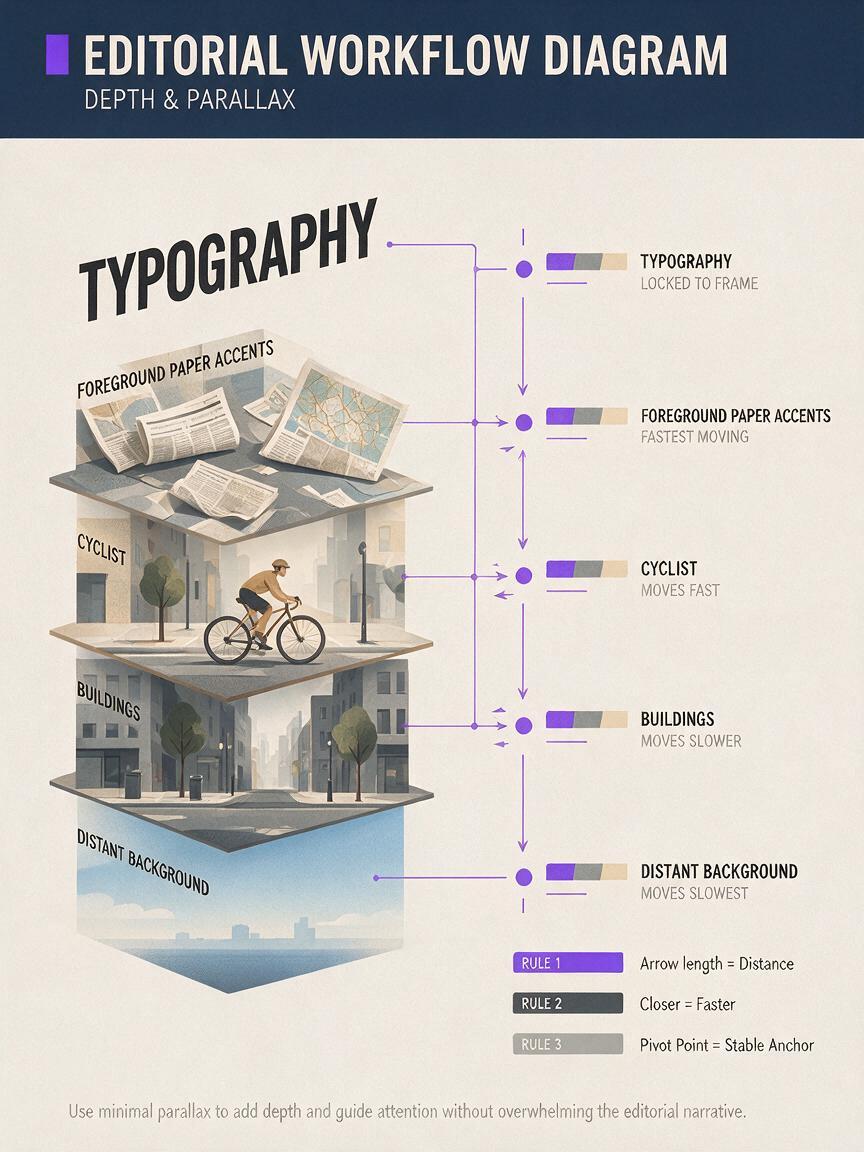
Before generating anything, sketch a layer map over the photo. Think in terms of what must move independently, not what objects happen to exist in the scene.
| Layer group | Typical contents | Possible motion |
|---|---|---|
| Far background | Sky, wall, distant landscape | Slow drift or scale |
| Midground | Furniture, buildings, foliage | Parallax and small rotation |
| Main subject | Person, object, vehicle | Position, rotation, puppet motion |
| Foreground accents | Leaves, tape, torn paper | Fast parallax or wipes |
| Graphic overlays | Type, arrows, ink marks | Pops, holds, and rhythmic reveals |
Keep the first pass simple. A five-layer composition that animates cleanly is more valuable than a twenty-layer composition filled with unstable edges.
Practical rule: separate an element only when independent motion will improve depth, timing, or storytelling.
Generate Clean Plates Before Decorative Variations
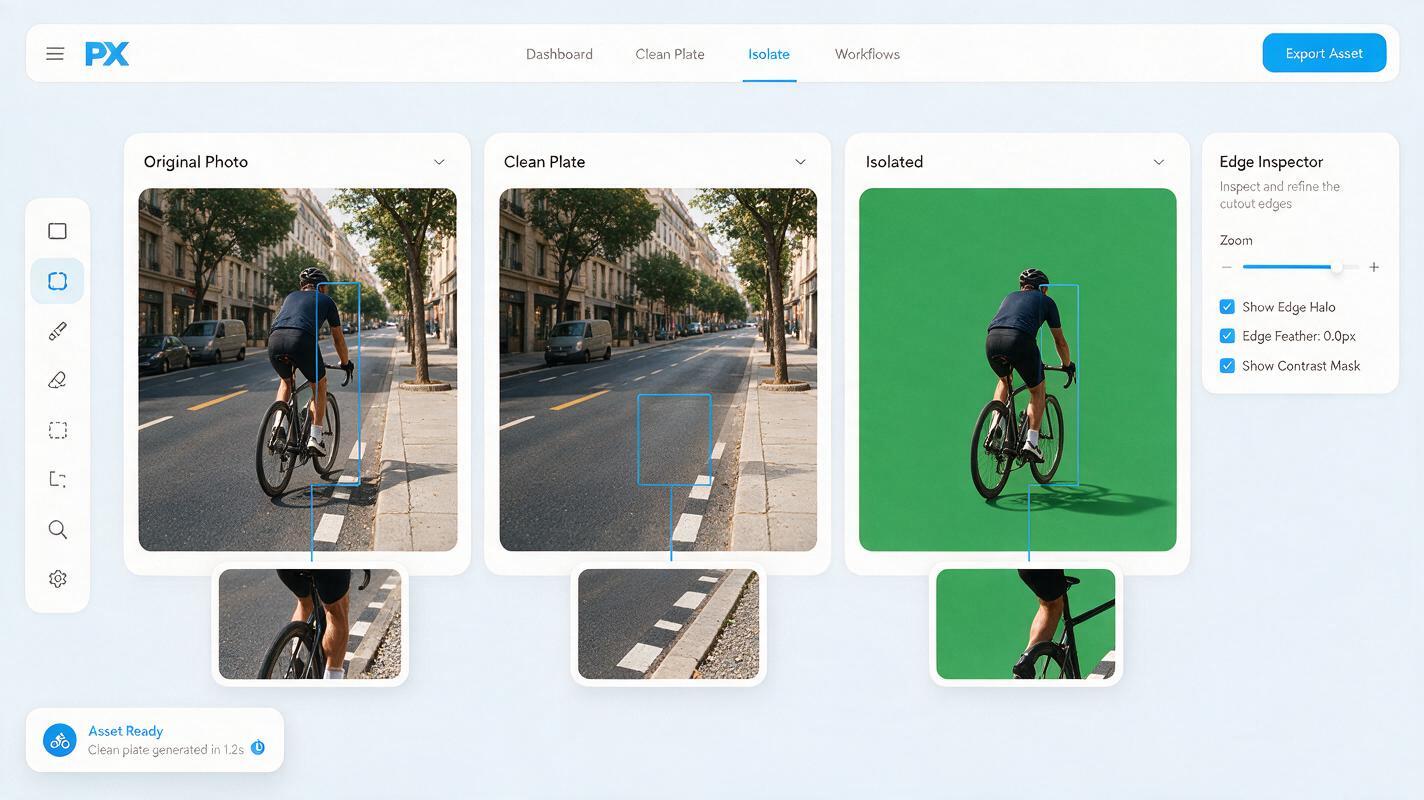
Start by creating the area that should exist behind the subject. This clean plate prevents holes from appearing when the foreground layer moves.
Upload the original photo to Nano Banana Pro and request a composition-preserving edit. Describe exactly what should be removed and what should replace it. Avoid asking for a new camera angle, dramatic restyling, or additional objects during this pass.
Remove the central cyclist while preserving the original street composition,
camera position, perspective, lighting direction, pavement markings, distant
buildings, and color balance. Reconstruct the hidden street and wall naturally.
Do not add people, vehicles, signs, or text.
Inspect the reconstruction at the exact location where the subject was removed. Minor imperfections can be hidden by fast motion or texture, but obvious perspective changes will become visible as soon as the subject shifts.
Next, use the same source to create the isolated subject. If transparent output is unreliable, request a flat, high-contrast matte background that is easy to remove later.
Isolate the cyclist and bicycle from the reference image. Preserve the original
pose, proportions, viewing angle, clothing colors, wheel geometry, and facial
direction. Place the complete subject on a uniform bright green background.
No cast shadow, no additional objects, no cropping.
This is where an ai image generator becomes most useful for motion design: it is producing controlled source material rather than deciding the entire final frame.
Convert Each Layer into a Consistent Paper Style
Once the clean plate and isolated subject are stable, generate stylized versions separately. Give every prompt the same material vocabulary so the assets appear to belong to one physical collage.
A useful style definition includes:
- The paper type: uncoated stock, newspaper, tissue, cardboard, or screen-printed paper.
- The edge treatment: hand-cut, torn, deckled, or precisely trimmed.
- The print behavior: flat ink, halftone dots, imperfect registration, or dry-brush paint.
- The shadow rule: no shadow inside the asset, or one consistent shallow paper shadow.
- The palette: named colors rather than broad requests for a “retro” appearance.
Transform only the isolated cyclist into a handmade editorial paper cutout.
Use matte uncoated paper, visible scissor-cut edges, limited navy, coral, cream,
and mustard inks, subtle halftone grain, and slightly imperfect print registration.
Preserve the exact silhouette, pose, bicycle structure, and viewing direction.
Flat green background, no scene, no typography, no extra shadow.
Run the background through a matching prompt, but describe it as a broad paper environment rather than an isolated object. Compare the palette, grain scale, edge language, and contrast before moving forward.
If the results feel too polished, replace vague terms such as “handmade” with visible production details: uneven ink coverage, fibers at torn edges, offset color plates, or folded paper creases. Concrete material instructions are easier to evaluate than style labels.
Prepare Generated Edges for Animation
Generated isolation is a starting point, not a final matte. Open each asset in an image editor and inspect it against black, white, and a saturated color.
- Remove colored spill from the temporary background.
- Repair missing gaps between limbs, spokes, hair, or thin props.
- Extend cropped edges before animation exposes them.
- Keep torn-paper texture outside the silhouette without creating random transparent holes.
- Save every layer at the same canvas dimensions and registration point.
For pivoting parts, create deliberate overlaps. A forearm rotating from the elbow needs enough hidden paper beneath the upper arm to avoid opening a seam. The same principle applies to hinged signs, wheels, leaves, jaws, and folding panels.
Do not bake large directional shadows into isolated layers. Add shadows in the compositing application so their angle and softness remain coherent as the pieces move.
Animate the Collage Without Losing the Handmade Feel
Import the cleaned assets into After Effects or another layer-based animation tool. Start with depth motion: move the foreground farther than the midground, and keep the distant plate restrained. Small differences in position and scale can create depth without distorting the source image.
Then introduce paper-like timing. Collage motion often benefits from short bursts, held poses, and slightly offset arrivals rather than perfectly smooth movement.
- Use brief overshoot on large cutouts.
- Offset related elements by two or three frames.
- Animate rotation from plausible attachment points.
- Add subtle posterized timing to selected accents, not the entire composition.
- Keep texture attached to each paper layer instead of letting grain slide independently.
For a loop, design a repeatable action such as a wheel rotation, a paper sun expanding, leaves crossing the frame, or the whole composition settling after a rhythmic jump. Establish the first and last pose in the compositor, where exact timing is easier to control than in a flattened generated clip.
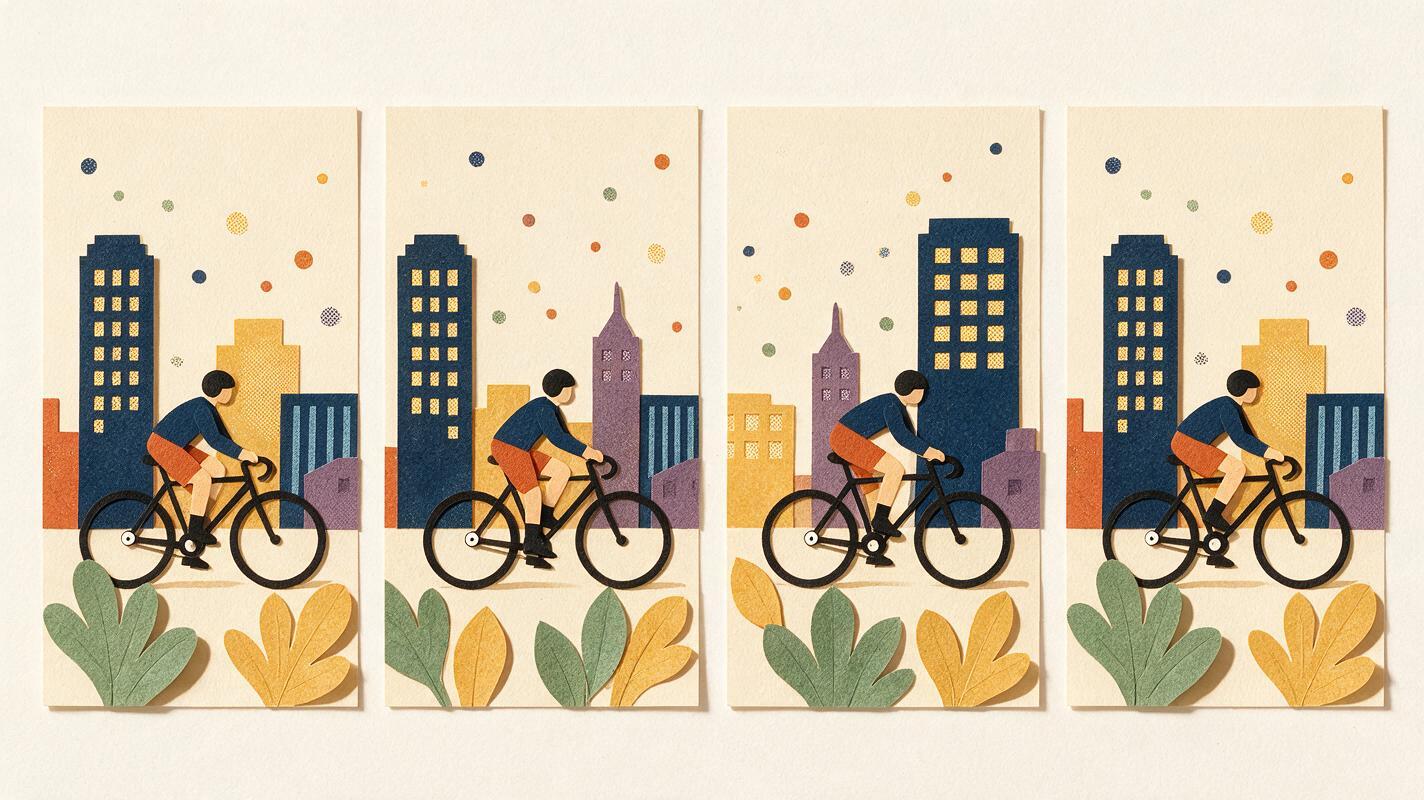
When the core layer set is working, create your own version with alternate paper palettes, ink treatments, and foreground accents rather than rebuilding the composition from scratch.
Fix the Most Common Collage Asset Failures
| Problem | Likely cause | Better correction |
|---|---|---|
| The subject changes identity or shape | The prompt gives style more priority than structure | Repeat the pose, silhouette, proportions, and viewing-angle constraints before describing texture |
| The clean plate changes perspective | The request is framed as a new scene | Ask for object removal while explicitly preserving camera position and composition |
| Assets look like different art styles | Material descriptions vary between prompts | Reuse one compact style block across every layer |
| Green or white halos appear | The temporary matte contaminated edge pixels | Defringe manually and regenerate thin structures when necessary |
| Motion reveals empty gaps | Hidden areas were never reconstructed | Extend backgrounds and overlapping joints before rigging |
| The result feels digitally smooth | Uniform easing and perfect alignment | Add held poses, controlled registration offsets, and selective frame-rate reduction |
Regenerate only the failed component whenever possible. Reprocessing the entire image can alter elements that were already working and create unnecessary matching work.
Final Checklist
- The source photo has a readable silhouette and manageable overlaps.
- Every independently moving object has a clear purpose.
- A clean background plate exists behind removed foreground elements.
- All generated layers share one material, palette, grain, and edge description.
- Thin details and cropped boundaries have been repaired manually.
- Layer canvases share the same size and registration.
- Shadows are controlled in the compositor rather than baked inconsistently into assets.
- The final motion uses deliberate holds, offsets, and plausible pivots.
Keywords
Nano Banana Pro, collage animation, layered animation assets, paper cutout animation, motion graphics, image editing, stylized animation