Nano Banana Pro Prompts to Remove Construction Clutter from Facade Photos
Construction fencing, stored materials, and temporary signs can obscure an otherwise useful facade photograph. These Nano Banana Pro prompts help architects create a cleaner presentation visual while preserving visible design details and clearly identifying any reconstructed areas.
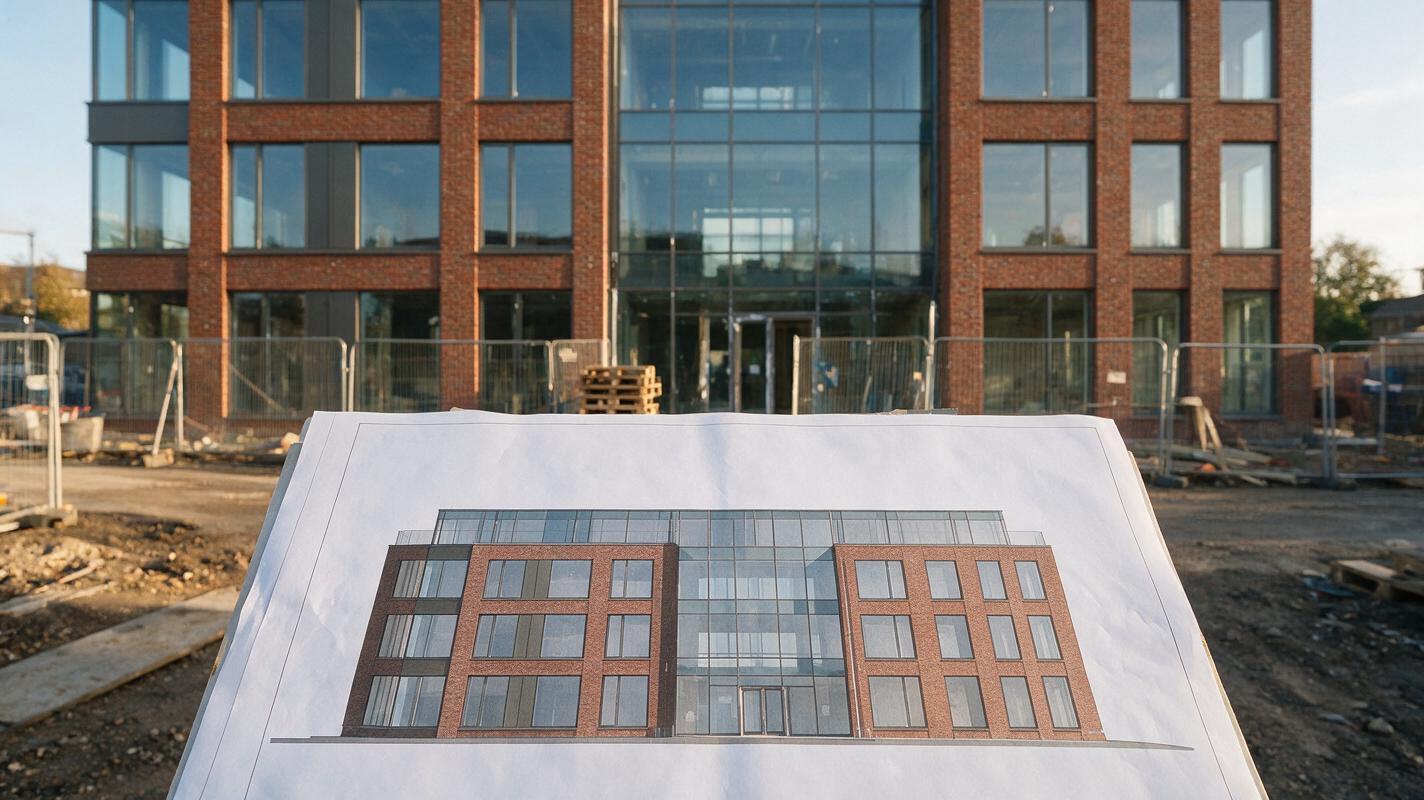
Table of contents
Construction clutter is hiding the facade
A nearly finished building may be ready for a design presentation but not for a clean photograph. Fencing crosses the entrance, pallets block the ground floor, and temporary signs distract from the elevation. Nano Banana Pro can help turn a reference photo into a clearer facade visualization—but removing an object is not the same as knowing what sits behind it. The useful result is a presentation image that keeps confirmed architecture intact and treats hidden details as uncertain.
The prompts below focus on three common obstructions: loose site materials, temporary fencing, and scaffolding. Each starts with the original photo rather than generating a new building from a text description.
Choose a reference photo with enough visible evidence
Start with the sharpest, least obstructed view of the facade. A straight-on or gently angled photograph makes it easier to inspect window spacing and floor lines than an extreme wide-angle shot. If you have a second verified view, an elevation, or a close-up of a concealed finish, keep it available as a reference for review. Do not assume the model can infer a hidden window, door, or material junction from context alone.
Before editing, identify what must survive unchanged:
- Geometry: roofline, corners, entrance position, floor levels, and opening sizes.
- Visible finishes: cladding pattern, mortar joints, panel seams, and glazing tint.
- Photographic cues: camera angle, daylight direction, cast shadows, and perspective.
- Uncertain areas: surfaces or openings fully concealed by site equipment.
If an obstruction hides a design-critical feature, obtain a verified reference or leave that area out of the final presentation image. A convincing invented detail is still invented.
Remove loose materials without redesigning the building
Loose objects are the best first test because they often cover pavement or other surfaces that remain visible nearby. Upload the photograph to an ai image generator that accepts a reference image, then ask for a localized edit. Keep the request narrower than “finish the building”: that broader instruction may change the facade as well as the clutter.
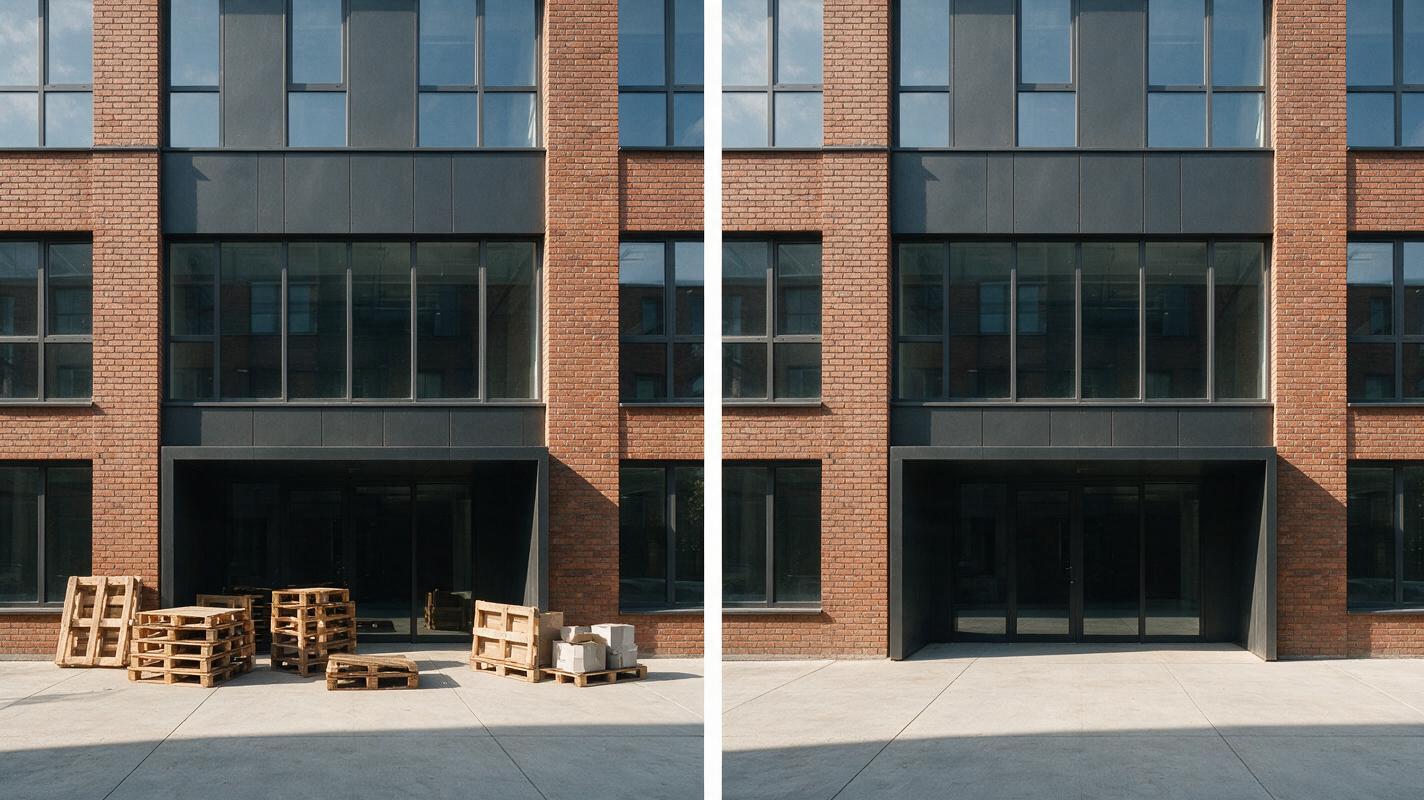
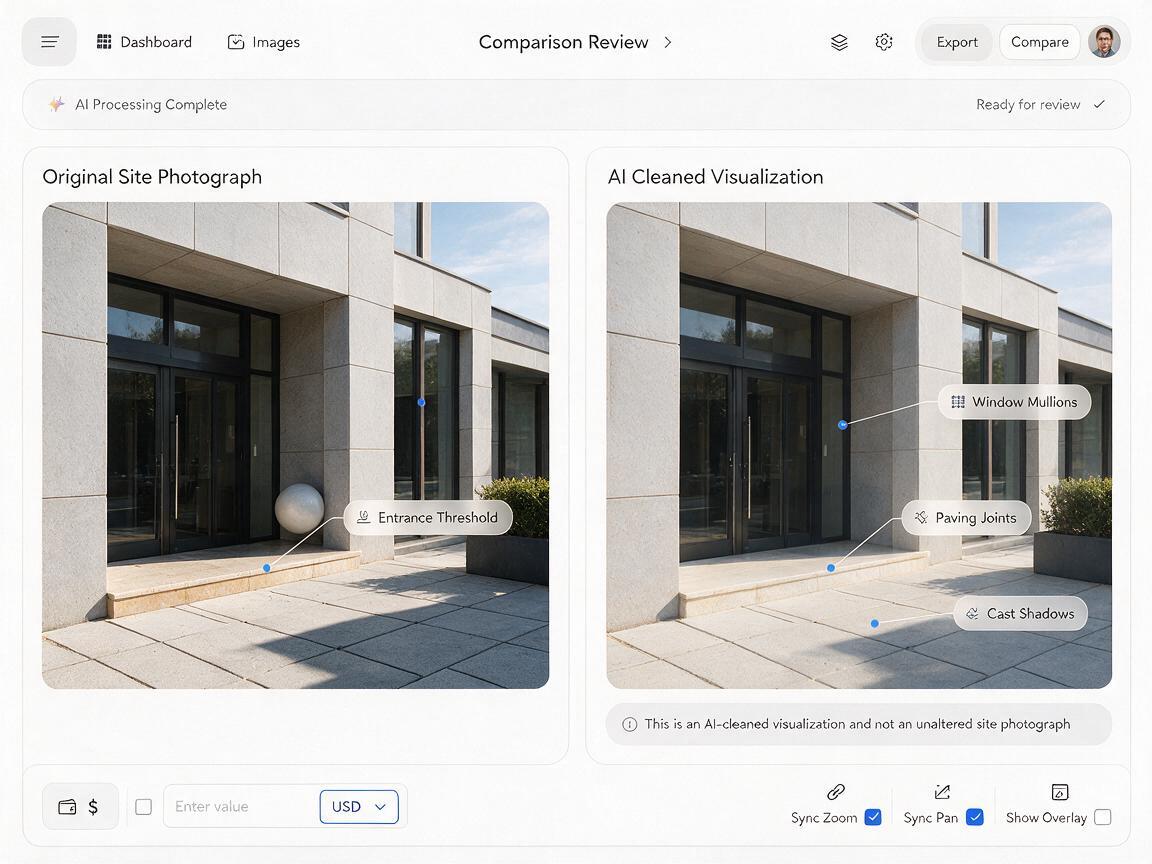
Using the supplied facade photograph as the primary reference, remove the stacked pallets, loose packaging, and temporary bins in the foreground. Reconstruct only the paving and ground surfaces needed to fill those areas, using visible adjacent surfaces as the reference. Preserve the building footprint, entrance, every visible window and door, facade materials, camera viewpoint, daylight, and existing shadows. Do not add landscaping, signage, furniture, people, or architectural features. Produce a realistic presentation visualization, not a claim of an unedited photograph.Inspect the original and result side by side at full resolution. Look especially at the base of columns, entrance thresholds, and paving joints: these are places where an apparently simple cleanup can quietly move an edge.
Clear temporary fencing while protecting the entrance
Site fencing frequently cuts across the most important part of an image. If the entrance is mostly visible behind it, ask Nano Banana Pro to continue only the details supported by the photograph. If the doors are fully hidden, use an approved elevation or another photograph rather than inviting a guess.
Edit the supplied building photograph by removing the temporary mesh fence, fence posts, and attached construction notices. Keep the existing entrance location, door proportions, glazing divisions, steps, and facade edges exactly as supported by the reference. Continue visible ground and wall finishes across the removed fence area without changing their scale or pattern. Match the original perspective and lighting. Where a detail is fully occluded and unsupported, avoid introducing a distinctive new design feature.A useful comparison is not simply whether the edited entrance looks polished. Check whether the door width, number of glazing divisions, and step geometry match verified drawings or photographs. If they do not, revise the edit or omit the image.
Treat scaffold removal as a reconstruction task
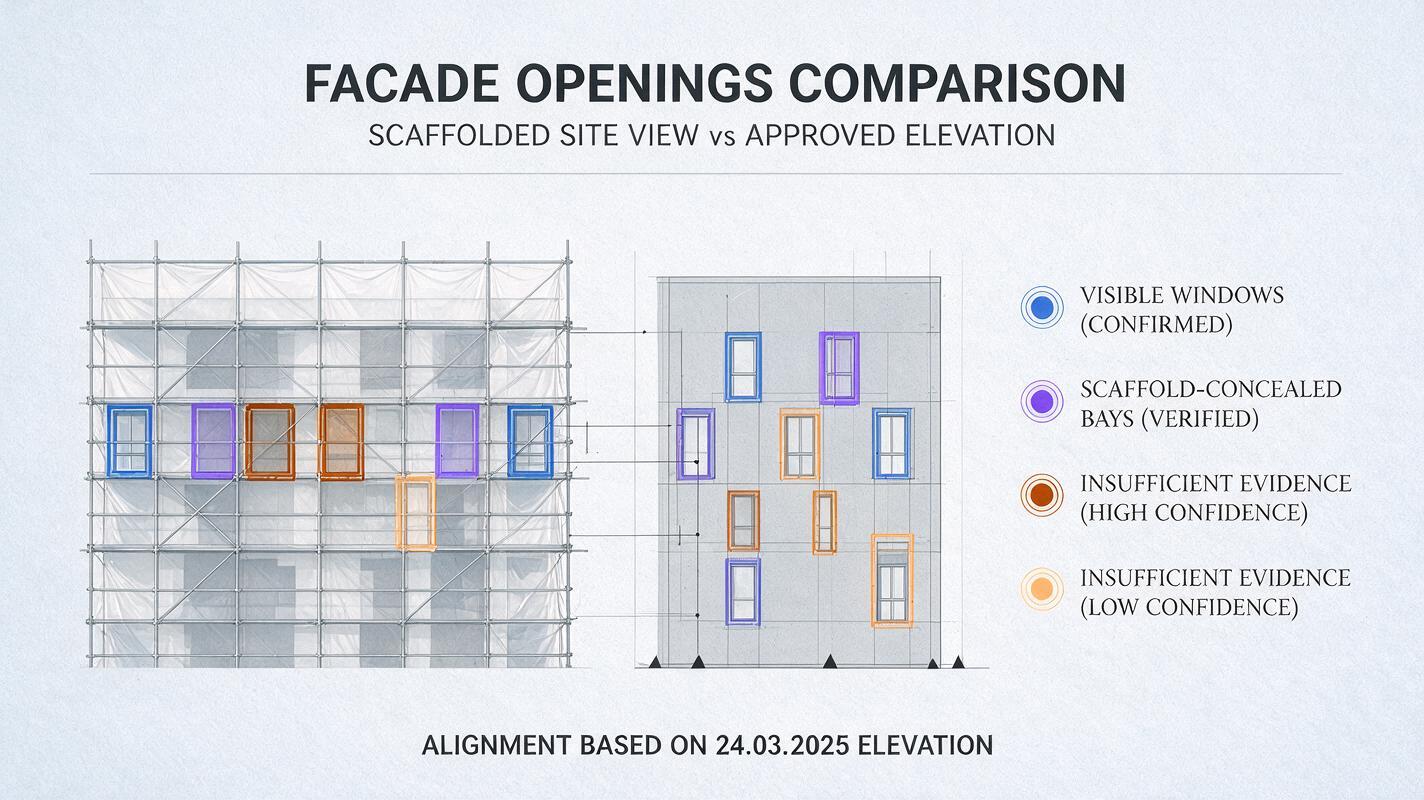
Scaffolding can conceal several floors at once. The larger the hidden area, the less defensible a photo-only edit becomes. For this case, pair the photograph with a confirmed elevation or an unobstructed view when your editing interface supports multiple references. If it does not, use the additional material to check the output manually.
Use the facade photograph as the camera and lighting reference. Remove the temporary scaffolding and protective sheeting only. Use the supplied approved elevation to guide the locations and proportions of openings concealed by the scaffolding; use facade finishes visible in the photograph to guide material appearance. Preserve all unobstructed architectural details exactly. Do not add floors, alter bay spacing, change the roofline, or replace the design with a generic facade. The result is a proposed cleaned visualization for design review.Without a verified reference for the concealed bays, make a different image: crop to the visible portion, retain the scaffold, or commission a render from the design model. Prompt wording cannot recover evidence that was never present.
Decide whether the cleaned image is fit to present
Review the edit against the original photograph and the approved design information—not against how plausible it looks in isolation.
| Check | What to compare | If it fails |
|---|---|---|
| Opening geometry | Window count, door position, mullions, and sill heights | Request a smaller edit or use a verified design reference. |
| Material continuity | Panel joints, brick courses, texture scale, and glazing color | Restore the original finish using a tighter reference area. |
| Perspective | Parallel edges, corner position, and ground-plane direction | Keep the original camera view and reduce the edited region. |
| Lighting | Shadow direction and brightness across repaired surfaces | Ask for lighting matched to adjacent, untouched areas. |
| Hidden details | Every reconstructed feature against drawings or another view | Remove or label unsupported design assumptions. |
For a client-facing deck, identify the result as an AI-assisted visualization based on a site photograph. Retain the original beside it in the project record. If the image will document construction progress or an as-built condition, use the unaltered photograph instead.
Final checklist
- Use the clearest available photo and verified references for concealed architecture.
- Remove one category of obstruction at a time.
- Keep facade geometry, viewpoint, and lighting explicit in the prompt.
- Compare the result with the original at full resolution.
- Label the cleaned image as a visualization, not documentary photography.
Have a facade photo with a small, well-defined obstruction? Test this prompt yourself on the loose-material example before attempting a heavily scaffolded elevation.
Keywords
nano banana pro, facade photo cleanup, architectural visualization, construction clutter removal, facade visualization, reference image editing, architecture render prompts