Nano Banana Pro Prompts for Faceless Explainer Video Graphics
Make process diagrams, comparisons, and timeline graphics that viewers can understand quickly in a faceless video. These Nano Banana Pro prompts leave labels for your editor, where you can keep every word accurate and readable.
Table of contents
Graphics that explain before you speak
A faceless explainer needs visuals that clarify the narration, not decorative images that force viewers to pause and decode them. If your generated diagrams come back crowded, mislabeled, or too detailed for a phone screen, change the assignment: ask Nano Banana Pro for a clean visual structure, then add the exact words in your editor.
The prompts below produce three useful graphics for YouTube explainers: a process, a comparison, and a timeline. Each includes a concrete example and guidance for making the result readable in motion. You can replace the example topic while keeping the same layout instructions.
Give the graphic one job
Before opening an ai image generator, finish this sentence: “After seeing this frame, the viewer should understand ___.” If the answer contains three separate ideas, make three frames. A diagram that explains one relationship clearly is more valuable than a poster that includes every detail from your script.
Choose a wide canvas for a standard YouTube video. Keep the main shapes away from the outer edges so you can crop or animate the graphic later. Request no words, numbers, logos, or lettering in the generated image. Then place labels, arrows, and captions as editable elements in your video editor.
Use generated graphics to establish composition and visual hierarchy. Use your script and editor to establish facts.
A process graphic for explaining a transformation
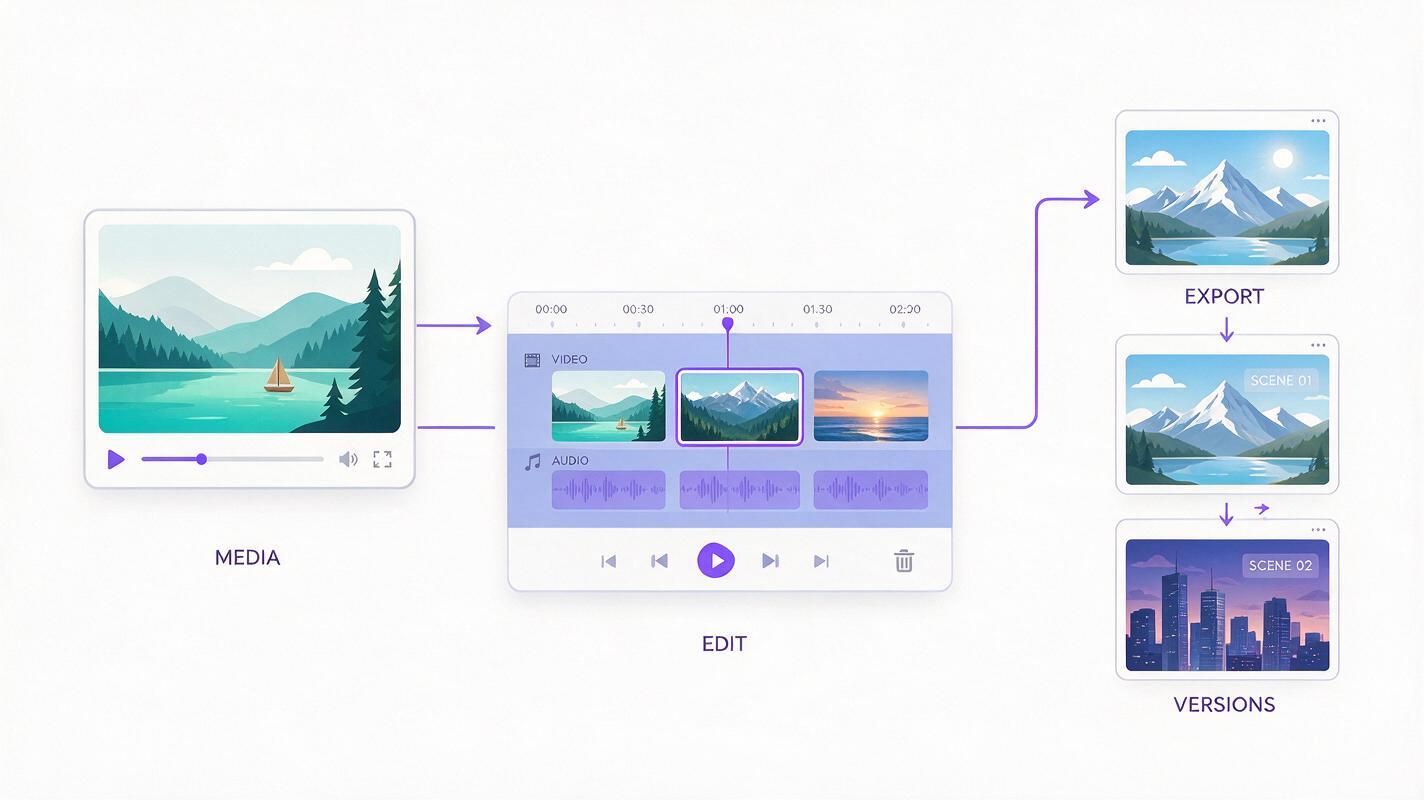
Use a process graphic when the narration moves from one input through a small number of actions to a clear result. For example, a creator explaining repurposing can show one long recording becoming several short clips. The viewer should recognize the source, the change, and the outputs without reading a paragraph.
Create a clean 16:9 editorial explainer graphic showing one long landscape video recording on the left, a simple editing workspace represented by a scissors-and-timeline visual in the center, and three distinct vertical video clips on the right. Arrange the objects in an obvious left-to-right sequence with generous space between them. Use a restrained cream, charcoal, and violet palette; crisp shapes; clear contrast; and a plain background. Leave an empty strip beneath each stage for labels I will add later. No text, numbers, letters, logos, watermarks, or decorative interface details.In the edit, add short labels such as “Original recording,” “Select moments,” and “Short clips.” Introduce the stages as the voiceover mentions them rather than showing the whole graphic at once. If the model adds an extra output or makes the center visually busy, regenerate with “exactly one input, one middle stage, and three outputs.”
For a different subject, replace the objects but preserve the structure. A cooking explainer might show ingredients, preparation, and a finished dish. Check every implied action against your actual script; a polished diagram can still communicate the wrong sequence.
A comparison graphic that makes the difference visible
When the point is “this version works better than that one,” create two panels with the same underlying scene. Changing the subject, camera angle, and colors at the same time makes the comparison hard to judge.
This prompt illustrates caption legibility for a faceless video. Generate the visual arrangement without asking the model to write captions; add the real caption text yourself afterward.
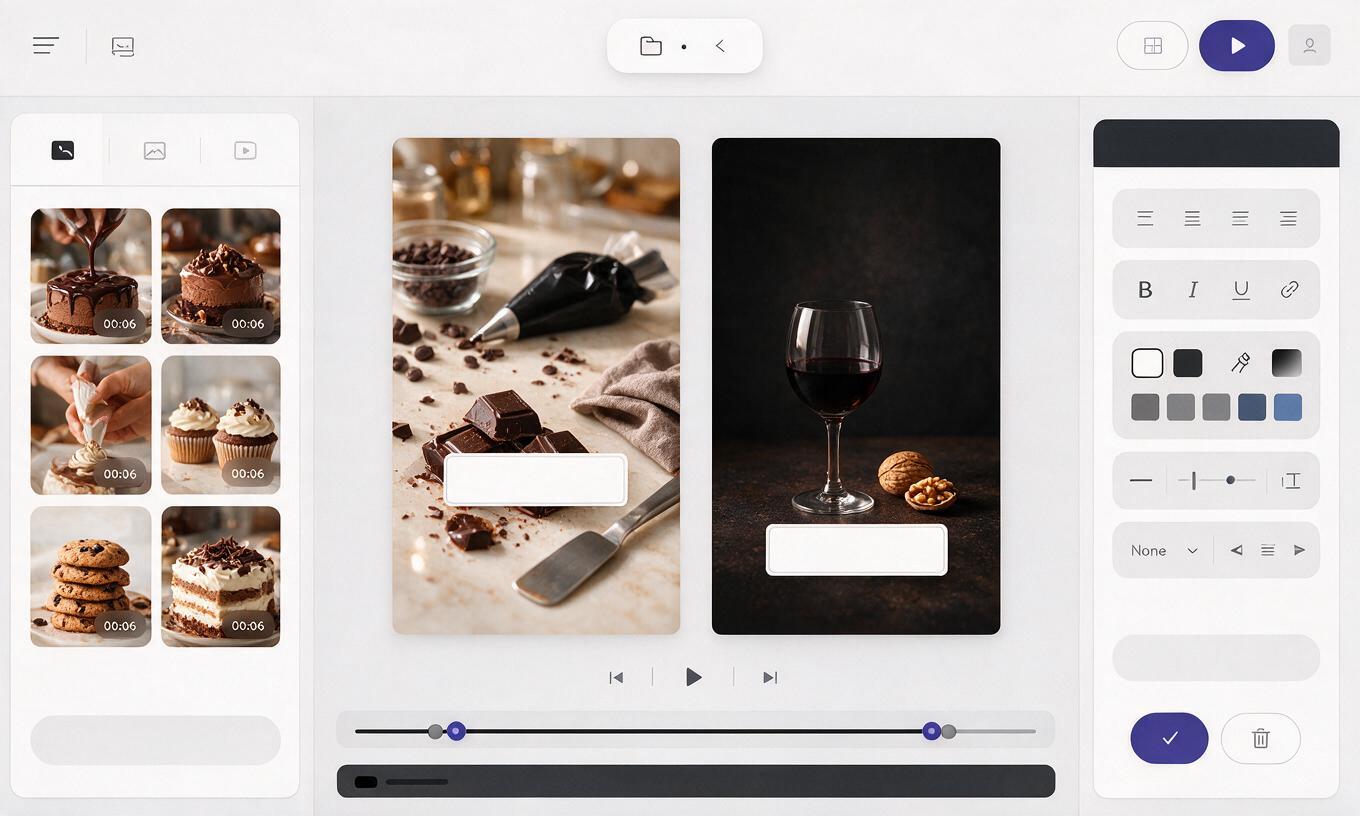
Create a side-by-side 16:9 comparison graphic with two equal panels. Both panels show the same vertical video frame: a close-up of hands preparing a simple meal at a kitchen counter. In the left panel, reserve a narrow caption area over visually busy ingredients; in the right panel, reserve a clear caption area over an uncluttered dark region. Keep the hands, food, crop, lighting, and camera angle consistent across both panels. Add a subtle dividing line and generous empty space for labels outside the video frames. Do not draw any text, numbers, letters, logos, watermarks, or fake subtitles.Add identical caption wording to both panels in your editor, then explain why one placement is easier to read. If the generated frames do not match closely enough for a fair comparison, use a single real frame twice and build the two layouts manually. The comparison matters more than proving it came entirely from a prompt.
| Check | Useful comparison | Misleading comparison |
|---|---|---|
| Scene | Same subject and framing | Different subjects or camera angles |
| Variable | One caption-placement change | Placement, color, and scene all change |
| Labels | Added accurately in the editor | Generated as unreliable image text |
A timeline graphic for a short narrative
For a story or tutorial recap, a simple strip of visual beats can show how the explanation unfolds. This is useful when introducing a faceless video’s structure or reminding viewers where they are. Treat the result as an ai storyboard draft, not as a finished production plan: each image should correspond to a real moment in your script.
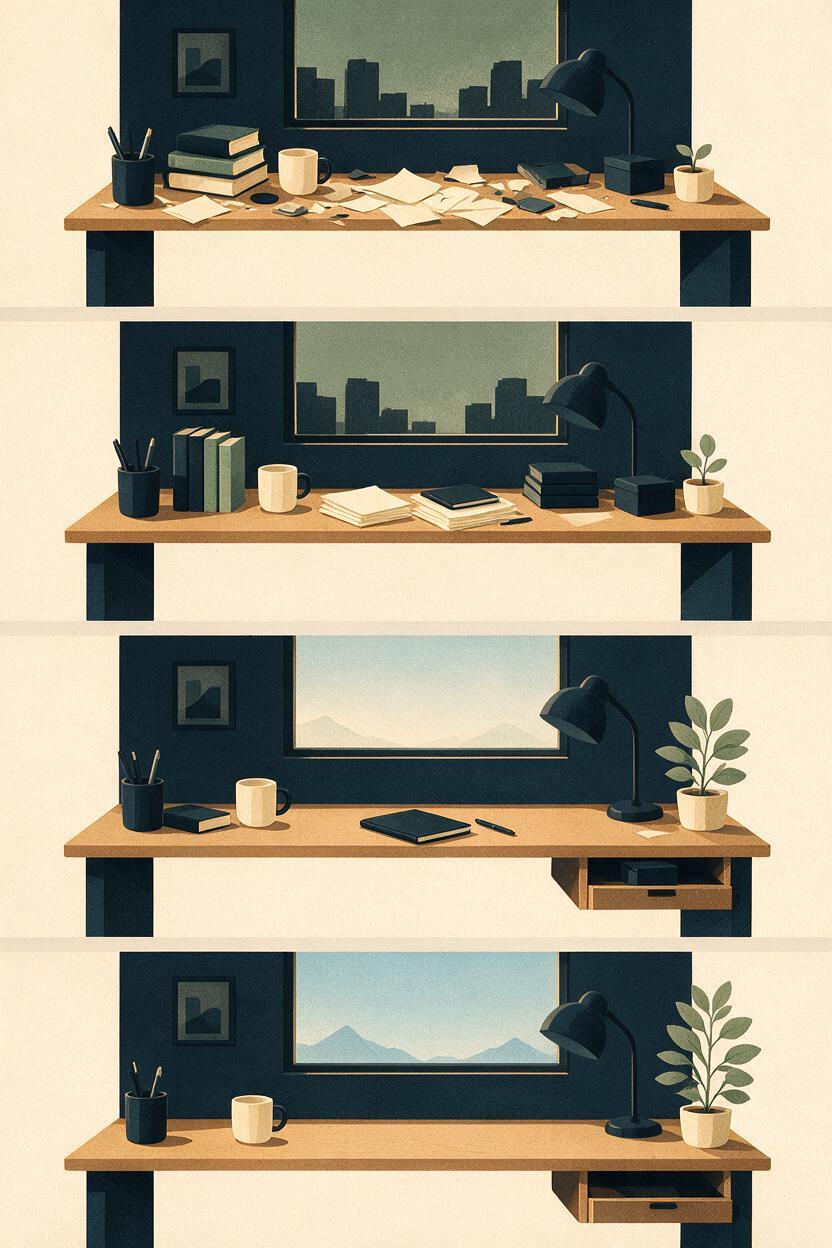
Create a wide, clean storyboard strip for a faceless 30-second explainer about improving a cluttered desk setup. Show exactly four distinct visual panels in chronological order: cluttered desk, sorting items into small groups, arranging the essential objects, and a clear final workspace. Keep the desk, room, objects, lighting, and viewpoint consistent across all four panels. Make the change between panels easy to identify at a glance. Leave empty space below each panel for editable captions. No people, text, numbers, letters, logos, watermarks, or extra panels.If your script contains only three beats, request three panels. Do not keep an attractive fourth panel that suggests an action the video never shows. When the generated desk changes shape or objects appear from nowhere, use the strip only as a layout reference and replace the inconsistent panels with your own footage or approved stills.
Make the graphic work at video speed
Open each result at the size it will occupy in the final video, then check it on a phone. You should be able to identify the main objects immediately. If not, remove detail before increasing text size.
- Keep labels brief: Prefer a few words per stage. Let the voiceover carry the explanation.
- Preserve contrast: Put labels over calm areas or add a solid backing in the editor.
- Reveal information with narration: Show only the stage or panel the viewer needs at that moment.
- Inspect the edges: Keep essential objects and labels clear of crops and player overlays.
- Check factual relationships: Confirm that arrows, order, quantities, and before-and-after claims match your source material.
If a graphic fails, revise the specific constraint. “Make it better” gives the model little direction; “remove the extra stage and leave more space between the three remaining objects” tells it what to fix. Once the still reads clearly, animate a gentle crop or reveal in your editor rather than adding movement that competes with the explanation. You can test this prompt yourself with a single sentence from your next script.
Final checklist
- Can a viewer identify the graphic’s main point at phone size?
- Does each object, panel, or stage match the script?
- Are all labels editable and spelled correctly?
- Is the comparison fair, with only the intended variable changed?
- Does the visual appear long enough to understand, but not longer than the narration needs?
Keywords
nano banana pro prompts, faceless explainer graphics, ai diagrams for videos, faceless youtube videos, explainer video visuals, youtube video graphics