Nano Banana Pro Prompts for Product Colorways That Keep Labels Intact
Create colorway variations from a commercial product photograph without letting AI redraw the label, alter the shape, or invent a new finish. These Nano Banana Pro prompts and review checks help photographers make useful concept images while keeping unverified variants out of product listings.
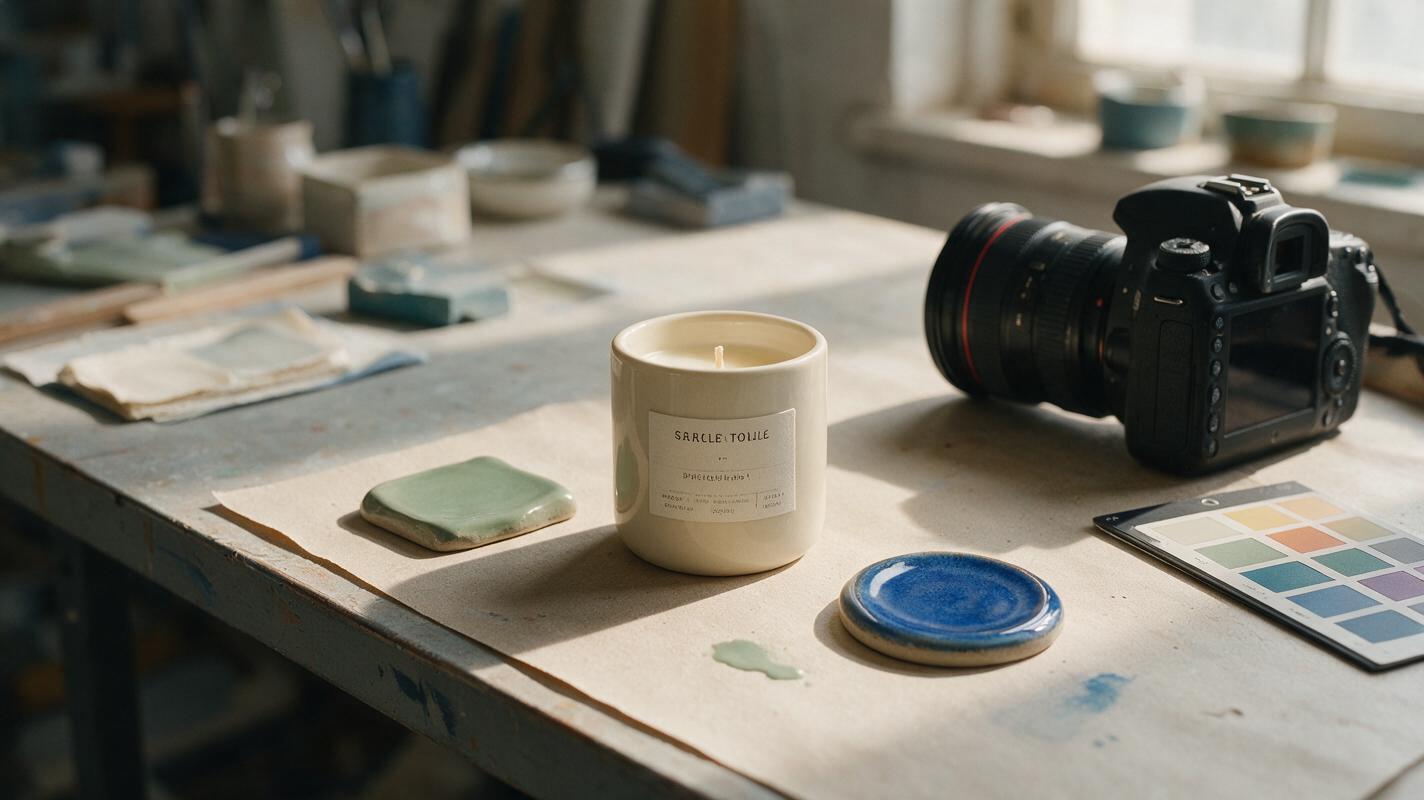
Table of contents
A new color should not create a new product
A client has approved several colors for a candle jar, but the studio photographed only one. You need images that show the proposed finishes while keeping the jar’s shape, printed label, lid, reflections, and camera angle intact. A broad prompt such as “make this jar blue” can quietly redraw all of them. The safer approach is to treat color as a tightly bounded edit—and to review the result against both the source photograph and a real color reference.
Nano Banana Pro is useful here as an image-editing option, not as a substitute for photographing a finished SKU. The prompts below are designed for commercial photographers preparing concepts, internal approvals, or carefully verified product imagery.
Choose a source photo that can survive a color change
Start with a clean, high-resolution photograph of the actual product. A near-front view makes it easier to compare the edited label and silhouette with the original. Keep the full-resolution source, a flattened working copy, and any client-approved color or material references separate.
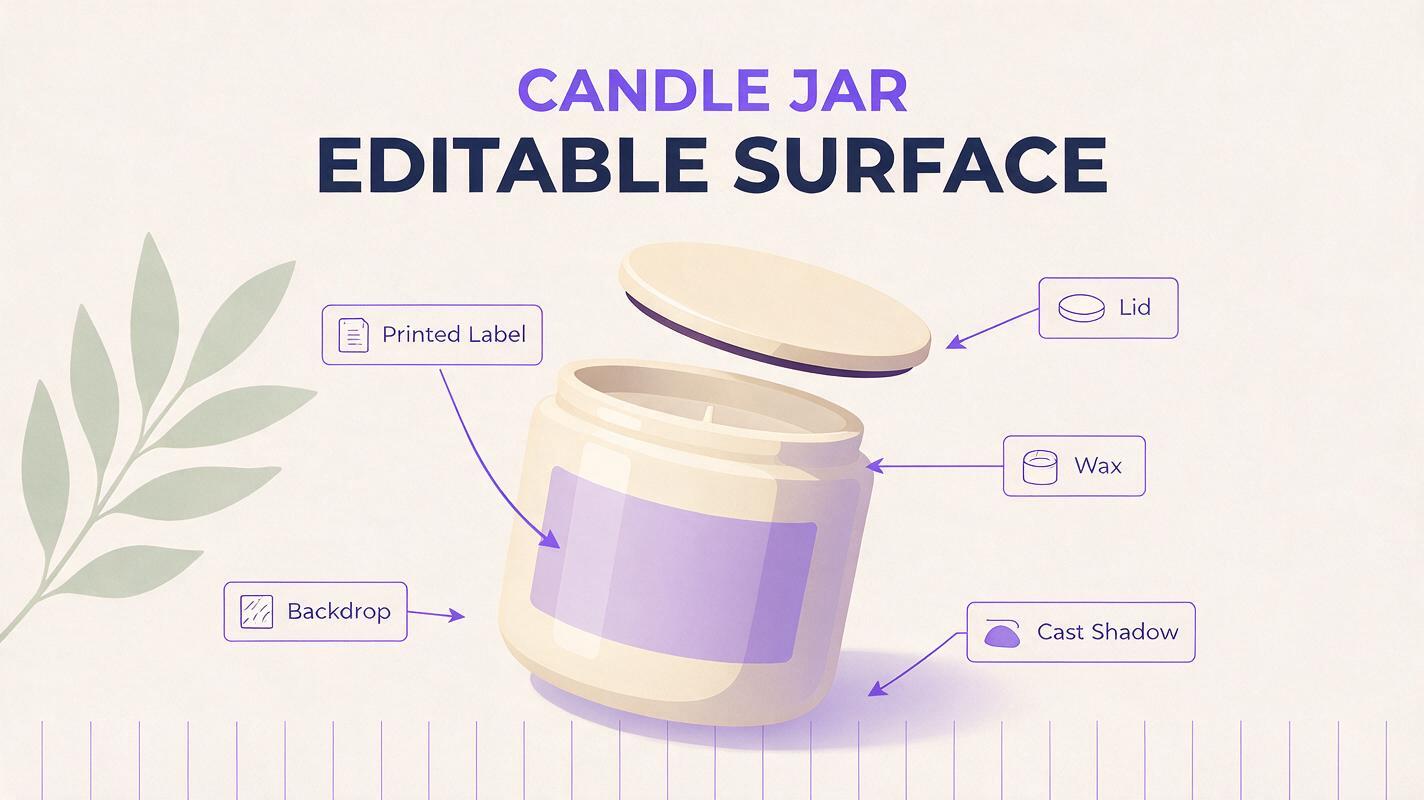
Before editing, identify exactly what may change. For a ceramic candle jar, that might be the glazed body only. The paper label, printed text, wax, wick, metal lid, backdrop, and cast shadow remain photographed elements. If the new finish should be glossy rather than matte, request that separately: a finish change also affects how highlights behave.
Important: A color swatch defines a target, but screen previews do not prove that a generated image matches a manufactured finish. Confirm the color and material against a physical sample before using the result as a factual product listing.
Build a protected-area brief
Write a short edit brief before opening ai image generator and selecting Nano Banana Pro, if it is available in your workspace. Describe the editable surface, the areas to preserve, and the evidence the model should use. If your editor supports a selection or mask, restrict it to the jar body and keep the selection off the label, lid, and narrow edges where the background shows through.
For a matte sage-green version, use a prompt like this:
Using the uploaded product photograph as the source, change only the visible ceramic body of the candle jar from cream to matte sage green. Use the supplied approved sage-green reference for color direction. Preserve the jar's exact silhouette, perspective, surface texture, label placement, every printed character, lid, wax, wick, background, cast shadow, and camera framing. Keep existing highlights and shading consistent with a matte ceramic surface. Do not add, remove, or redesign any product detail.The phrase “change only the visible ceramic body” establishes the edit boundary. The preservation instructions are equally important: without them, a plausible-looking result may no longer depict the photographed product.
Prompt separately for each approved finish
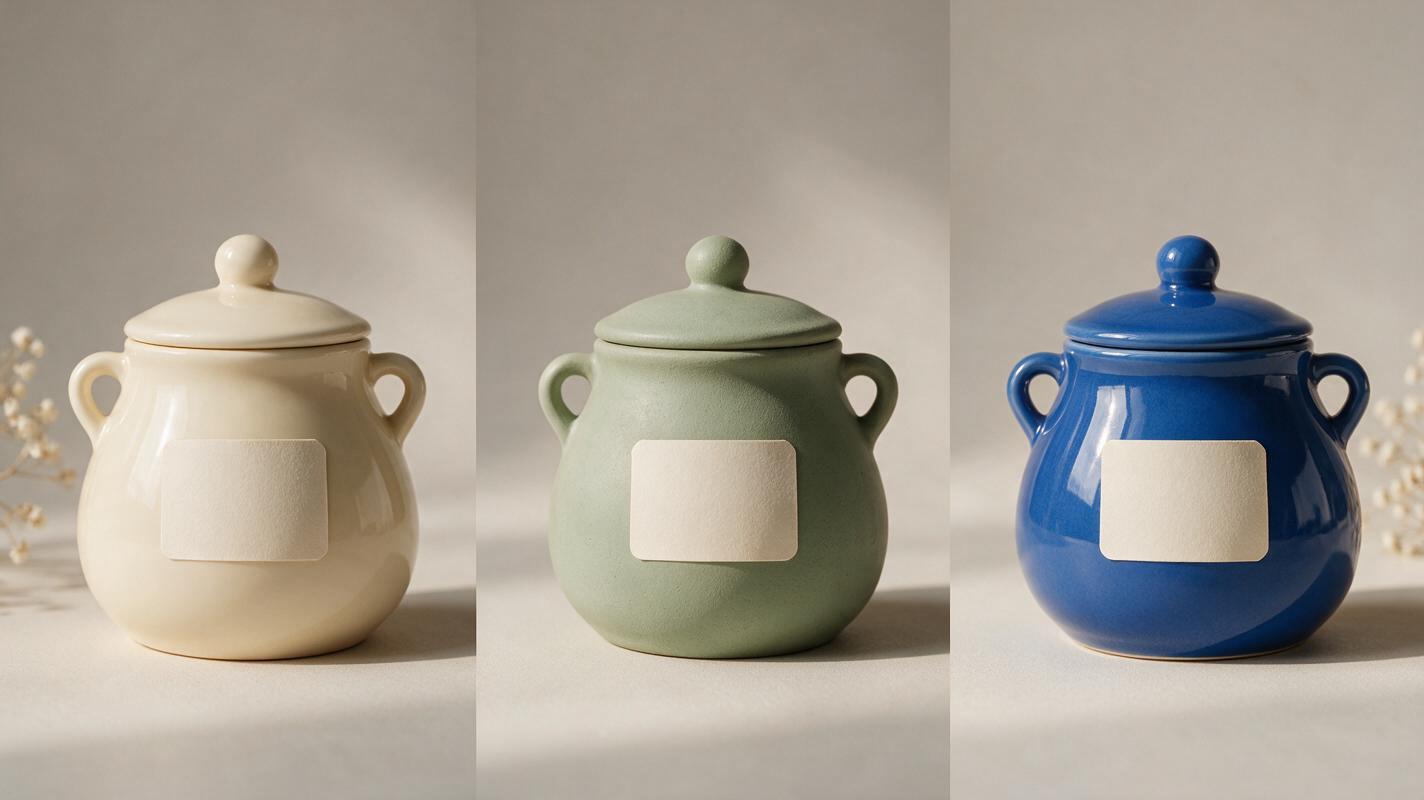
Do not ask for six colors in one image and crop the results into individual listings. Generate each requested variant from the same untouched source photograph. That gives every result the same starting label, geometry, and lighting, and makes differences easier to inspect.
For a second matte color, replace only the color name and reference in the first prompt. A glossy finish needs a more specific instruction:
Using the uploaded product photograph as the source, change only the visible ceramic body to the approved deep cobalt-blue gloss finish shown in the supplied reference. Preserve the photographed jar shape, label and all its text, lid, wax, wick, background, framing, and shadow. Adjust reflections only on the ceramic body to read as glossy glaze under the existing studio lighting. Do not place new reflections across the label or invent a different room or light source.Keep the original and each output side by side. A convincing cobalt color is not enough if the gloss has produced an impossible highlight or changed the edge of the jar. When a reference is approximate rather than approved, label the output as a concept rather than an exact colorway.
Check the label, shape, and light at full size
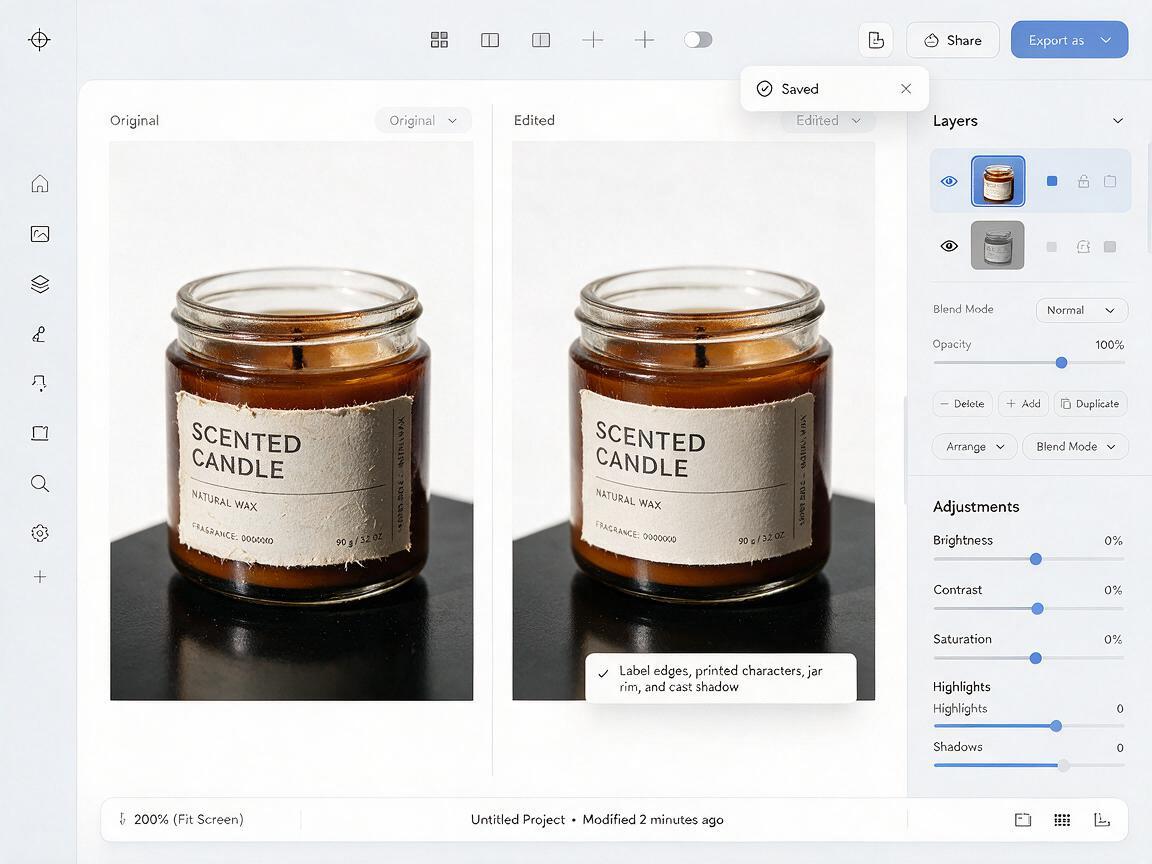
Inspect every generated image at 100% before showing it to a client. Small errors often disappear in a thumbnail, particularly on curved packaging.
| Check | Compare against the source | Reject or repair when |
|---|---|---|
| Label | Letter shapes, spelling, size, alignment, and paper edges | Any text is redrawn or the label shifts |
| Product shape | Rim, base, wall curvature, and lid position | The jar grows, narrows, or changes perspective |
| Material | Texture and highlights appropriate to the requested finish | Matte glaze looks plastic or gloss creates implausible reflections |
| Scene | Background, contact shadow, and color spill | The surface or lighting changes without a reason |
A useful practical test is to align the generated image over the original in an image editor and toggle visibility. The product contour and protected details should stay put. If the body color is good but the label has changed, composite the original photographed label area back over the edit with a careful mask. Check the transition around its edges; a pasted-on rectangle is not a finished repair.
Know when to stop generating
Regeneration is worthwhile when the first output changes the background or misses the requested color. Tighten the selection and restate the protected areas. If several attempts keep altering tiny type, intricate embossing, or a reflective logo, stop asking the model to reproduce those details. Retain the photographed regions through compositing, or photograph the physical colorway instead.
Keep an edit record for the client: source filename, requested color reference, edited surface, and whether the result was checked against a manufactured sample. That distinction matters when concept images move from a pitch deck into a catalog. If the colorway does not exist or has not been verified, do not present the generated image as documentary product photography.
Have a suitable product shot and an approved swatch? test this prompt yourself on one colorway first, then compare its label and silhouette with the untouched photograph before producing the rest of the set.
Final checklist
- The source is a photograph of the actual product.
- The prompt names the editable surface and protects the label and other fixed details.
- Each colorway starts from the same untouched source.
- Text, contour, material, and lighting pass a full-size comparison.
- The image is identified as a concept until its color and finish are verified against the real product.
Keywords
Nano Banana Pro, product colorway prompts, AI product photo editing, product photography, label preservation, commercial photography