Nano Banana Pro Prompts for Overhead Scene Blocking Diagrams
Turn a script scene into a practical overhead blocking diagram with Nano Banana Pro. This guide provides reusable prompts for mapping actors, cameras, eyelines, entrances, props, and movement while avoiding misleading spatial continuity.
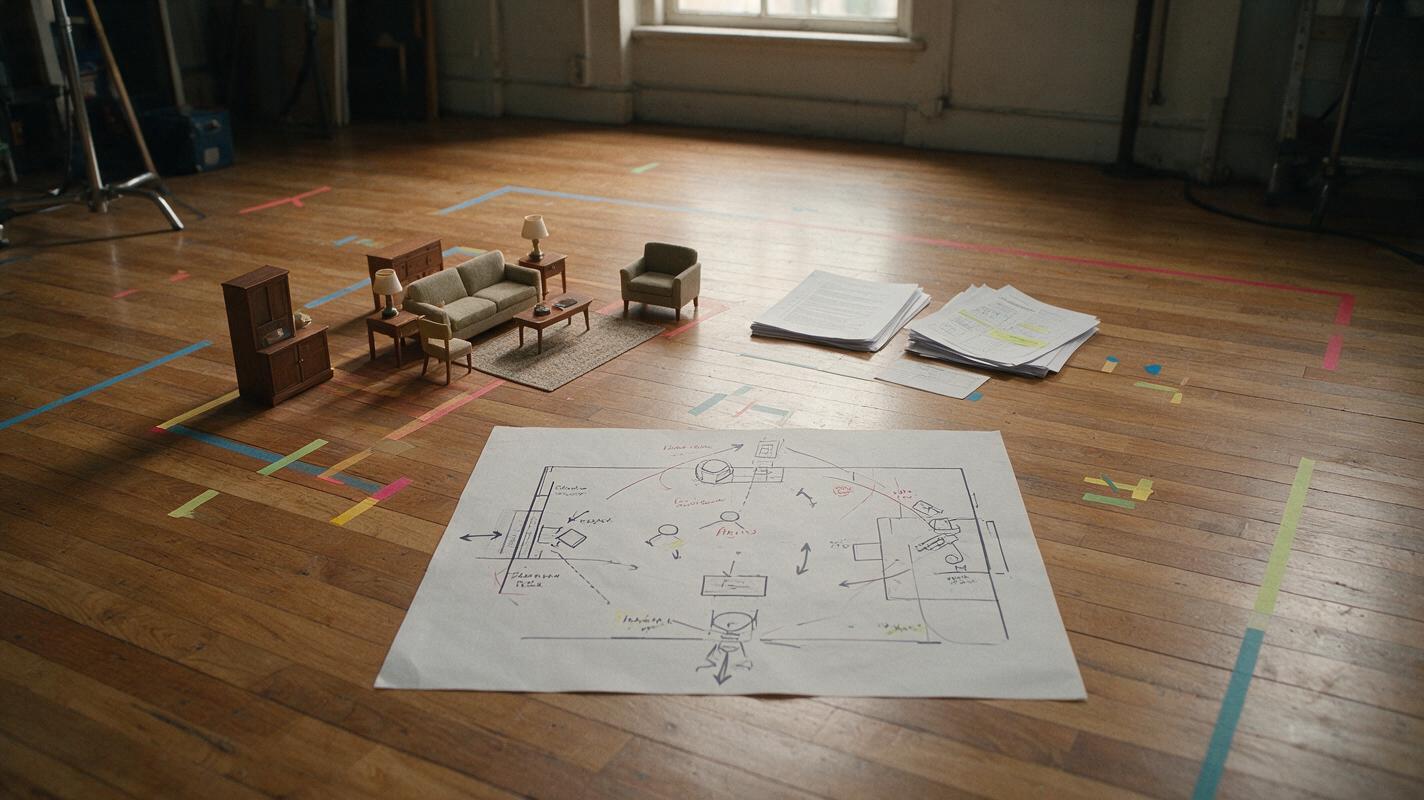
Table of contents
Plan actor and camera movement before the shoot
An overhead blocking diagram can reveal crossed eyelines, awkward camera positions, and impossible actor movement before those problems reach the set. With Nano Banana Pro, you can turn a concise scene description into a visual draft showing entrances, marks, props, cameras, and movement paths. The result should not replace a measured floor plan. It should help directors and cinematographers test staging ideas quickly, communicate intent, and decide which spatial questions require a real location scout.
Treat every generated diagram as a planning hypothesis. Verify dimensions, access routes, lens clearance, and safety requirements on the actual location.
Why an overhead diagram belongs before the shot list
A conventional storyboard shows what the audience sees. A blocking diagram shows how the scene can physically produce those images. It is especially useful when a scene contains multiple entrances, seated performers, prop interactions, or a camera that must cross the room.
The diagram can help the team answer practical questions:
- Where does each performer begin and end?
- What motivates a character to move?
- Which side of the action line holds the planned coverage?
- Can the camera reach every position without intersecting furniture?
- When should a prop, doorway, or window become visible?
- Does a tracking move preserve useful foreground and background depth?
Create the spatial plan before generating polished frames. That keeps the ai storyboard grounded in one repeatable arrangement instead of allowing every image to invent a different room.
Convert the script into a spatial brief
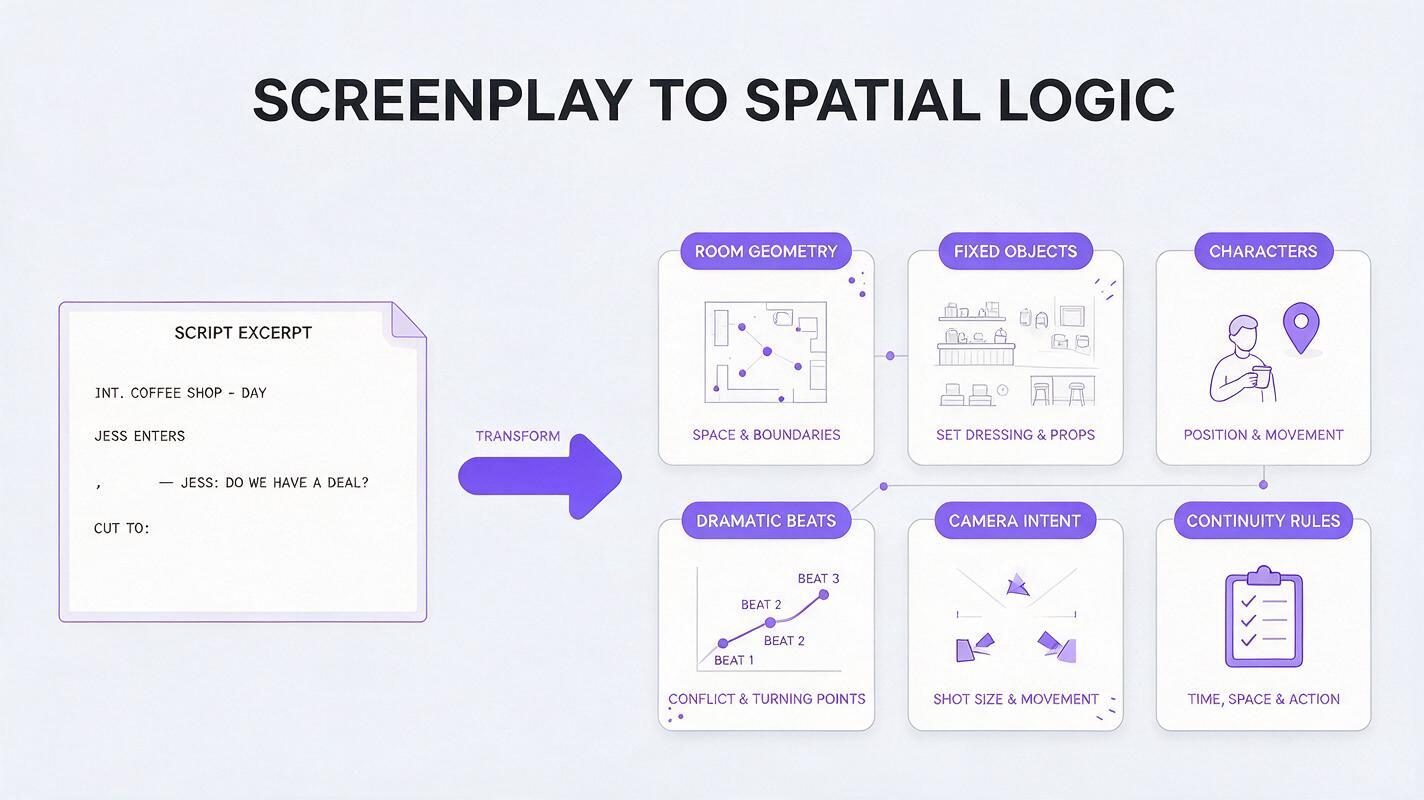
Nano Banana Pro needs a controlled description rather than the full screenplay pasted without interpretation. Start by extracting only the information that affects geography. Separate confirmed facts from staging choices so the model does not treat every suggestion as fixed production design.
| Input category | What to include | Example |
|---|---|---|
| Room geometry | Shape, openings, fixed architecture | Rectangular kitchen, door west, window north |
| Fixed objects | Furniture and props that cannot move | Island, sink, dining table, refrigerator |
| Characters | Simple labels and starting positions | A at sink, B entering through west door |
| Dramatic beats | Actions that change staging | A hides letter; B circles the island |
| Camera intent | Coverage positions or movement | Master from southeast, dolly toward table |
| Continuity rule | Screen direction or action axis | Keep cameras south of the A–B line |
Do not invent exact measurements if you do not have them. Use relative language such as “narrow passage,” “two-person clearance,” or “table close to the east wall.” A false measurement can make a clean diagram look more authoritative than it is.
Use a prompt that prioritizes clarity over atmosphere
Blocking diagrams are information graphics, not cinematic frames. Ask for a strict top-down view, flat shapes, limited colors, a legend, and unambiguous arrows. Avoid words such as “dramatic,” “photorealistic,” or “cinematic lighting,” which can pull the image away from readable planning.
Create a clean overhead scene-blocking diagram for a film rehearsal.

SPACE:
Rectangular apartment kitchen. Entry door on the west wall, window on the north wall, sink below the window, island in the center, dining table near the east wall.

CHARACTERS:
A begins at the sink facing north.
B enters from the west door and stops at the southwest corner of the island.
A crosses clockwise around the island and ends beside the dining table.

CAMERAS:
C1 is a static two-shot from the southeast corner.
C2 is an over-the-shoulder position behind A, remaining south of the action axis.
C3 tracks parallel to A's movement from west to east.

GRAPHIC RULES:
Strict 90-degree top-down view.
White background, black walls, pale gray furniture.
A is a blue circle; B is an orange circle.
Camera positions are purple camera icons with numbered labels.
Solid arrows show actor movement; dashed arrows show camera movement.
Draw the A–B action axis as a thin red line.
Include a compact legend outside the room.
No perspective, no people illustrations, no decorative objects, no shadows.
Replace only the space, character beats, and camera intent when testing variations. Keeping the graphic rules unchanged makes alternate diagrams easier to compare. You can test this prompt yourself with a short two-character scene before attempting a crowded ensemble sequence.
Build complex blocking in separate passes
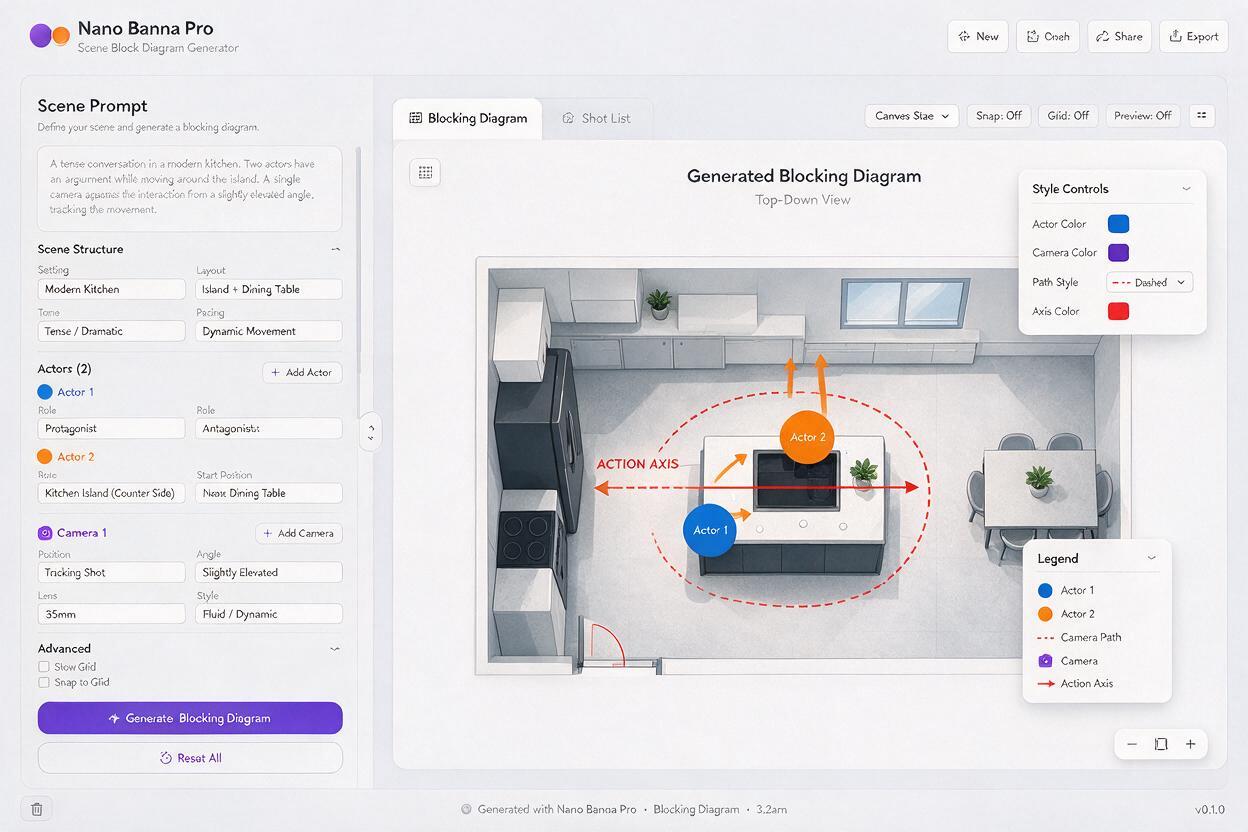
A single prompt containing architecture, six performers, props, camera paths, labels, and timing can become unreadable. Instead, divide the design into passes while preserving the same room arrangement.
Establish the empty room
Generate the room shell first. Confirm door swing, windows, fixed furniture, usable walkways, and orientation. Add a north arrow or a clearly named wall so later revisions do not rotate the plan accidentally.
Add actor marks and motivated movement
Place performers at the beginning and end of each dramatic beat. Use one arrow per uninterrupted movement. If someone pauses, handles a prop, or changes intention, create a new mark rather than drawing one complicated looping path.
Add cameras after the action axis is stable
Place the master first, followed by the minimum coverage needed for the scene. Camera icons should include viewing cones or short directional arrows. When a camera deliberately crosses the axis, mark the crossing move instead of silently placing coverage on both sides.
Move precise text outside the generated image
If labels become misspelled or overlap, retain the useful geometry and add final labels in a presentation, drawing, or floor-plan application. The generated image is most valuable as a spatial draft; production-critical notation should remain editable.
Adapt the prompt to different scene types
Dialogue scene with controlled eyelines
Show two seated characters at a rectangular table. Draw the action axis through both character centers. Place a master camera and two matching over-the-shoulder cameras on the same side of the axis. Add viewing cones and label the intended screen direction for each character. Keep the diagram minimal and strictly top-down.Walk-and-talk with a moving camera
Map a corridor walk-and-talk from west to east. Show both performers moving at equal pace, with one half-step ahead. Add a backward tracking camera, its dashed travel path, starting clearance, ending clearance, and two possible cutaway positions. Keep doorways and obstacles visible.Suspense reveal around a practical obstacle
Stage a suspense reveal in a workshop divided by tall shelving. Character A searches along the south aisle while Character B remains concealed in the northeast corner. Show sightlines blocked by shelving, the moment A gains visibility, and a camera move that delays the reveal until the final mark.Three-person power shift
Create three blocking states for one office scene: opening triangle, confrontation line, and final isolation. Preserve the room and furniture across all states. Use small labeled panels, identical scale, simple character circles, and arrows only where positions change.Check the diagram against coverage and continuity
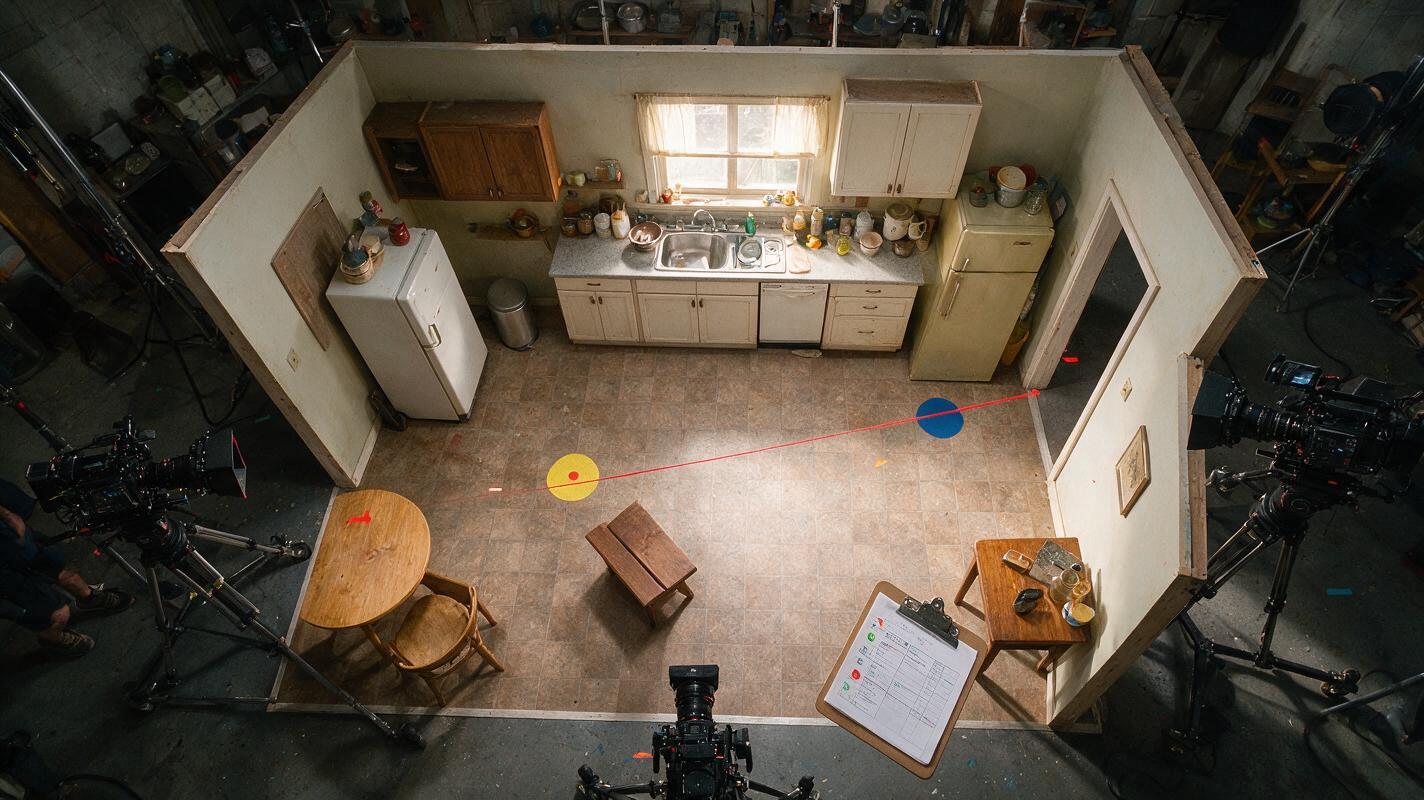
Once the diagram is readable, compare it with the intended shots. A beautiful plan can still fail if the coverage implies different geography. Check the master, mediums, close-ups, inserts, and moving shots against the same character marks.
- Eyelines: Confirm that each close-up looks toward the other performer’s established screen position.
- Screen direction: Track whether entrances and exits preserve the intended left-to-right or right-to-left movement.
- Prop continuity: Mark where a prop begins, changes hands, and ends.
- Background continuity: Identify which doorway, window, or practical light should appear behind each performer.
- Camera clearance: Flag walls, tables, mirrors, and crew zones that could prevent the planned angle.
- Editorial options: Ensure important actions have a clean cut point or usable overlapping coverage.
For a complicated scene, make separate diagrams for major blocking states rather than forcing the full timeline into one image. Label them with dramatic beats such as “before the confession,” “after the letter is revealed,” and “final separation.”
Fix common diagram failures
| Failure | Likely cause | Prompt correction |
|---|---|---|
| The room appears in perspective | Visual language suggests a rendered set | Repeat “strict 90-degree orthographic top-down diagram” and remove cinematic terms |
| Actor and camera arrows look identical | No graphic hierarchy | Specify solid actor arrows and dashed camera arrows with separate colors |
| The room rotates between versions | No fixed orientation | Lock named walls, door locations, and a north arrow in every prompt |
| Camera positions cross the axis | The model is optimizing layout, not continuity | Draw the axis first and state which side must contain all coverage |
| Labels are unreliable | Too much small text inside the image | Use short codes such as A, B, C1, and C2; add full labels later |
| Movement paths pass through furniture | Actor motion was added before clearance was checked | Ask for walkable zones and collision-free paths before adding cameras |
Turn the draft into a production-ready rehearsal sheet
Export the selected diagram and add confirmed measurements, shot numbers, lens notes, timing, and safety restrictions in an editable layout. Include a revision date and distinguish proposed blocking from locked blocking. During rehearsal, update marks based on performer rhythm and the physical location rather than forcing actors to reproduce an AI-generated path.
The most useful final sheet usually contains:
- A room outline with named entrances and fixed obstacles
- Character start, pause, and end marks
- Simple movement arrows tied to dramatic beats
- Camera positions, directions, and movement paths
- The action axis and any intentional crossing point
- A legend, orientation marker, and revision label
Use the diagram as a shared conversation between direction, cinematography, production design, sound, and assistant direction. Its value is not perfect illustration; it is making spatial assumptions visible early enough to change them.
Final checklist
- Reduce the script to spatial facts and dramatic beats.
- Lock the room orientation before generating variations.
- Use short labels and visually distinct movement paths.
- Establish the action axis before adding coverage.
- Split complex scenes into separate blocking states.
- Verify dimensions, clearance, access, and safety on location.
- Move final production notes into an editable document.
Keywords
nano banana pro, scene blocking diagram, overhead shot diagram, camera blocking, film previsualization, director shot planning, ai storyboard