How to Turn a Phone Clip into an AI Video with Motion Transfer
Use motion transfer to map movement from a clean phone recording onto a designed AI character, then refine the result with a restrained prompt and short test generations. This workflow covers source preparation, character design, model selection, artifact checks, and multi-shot extensions.
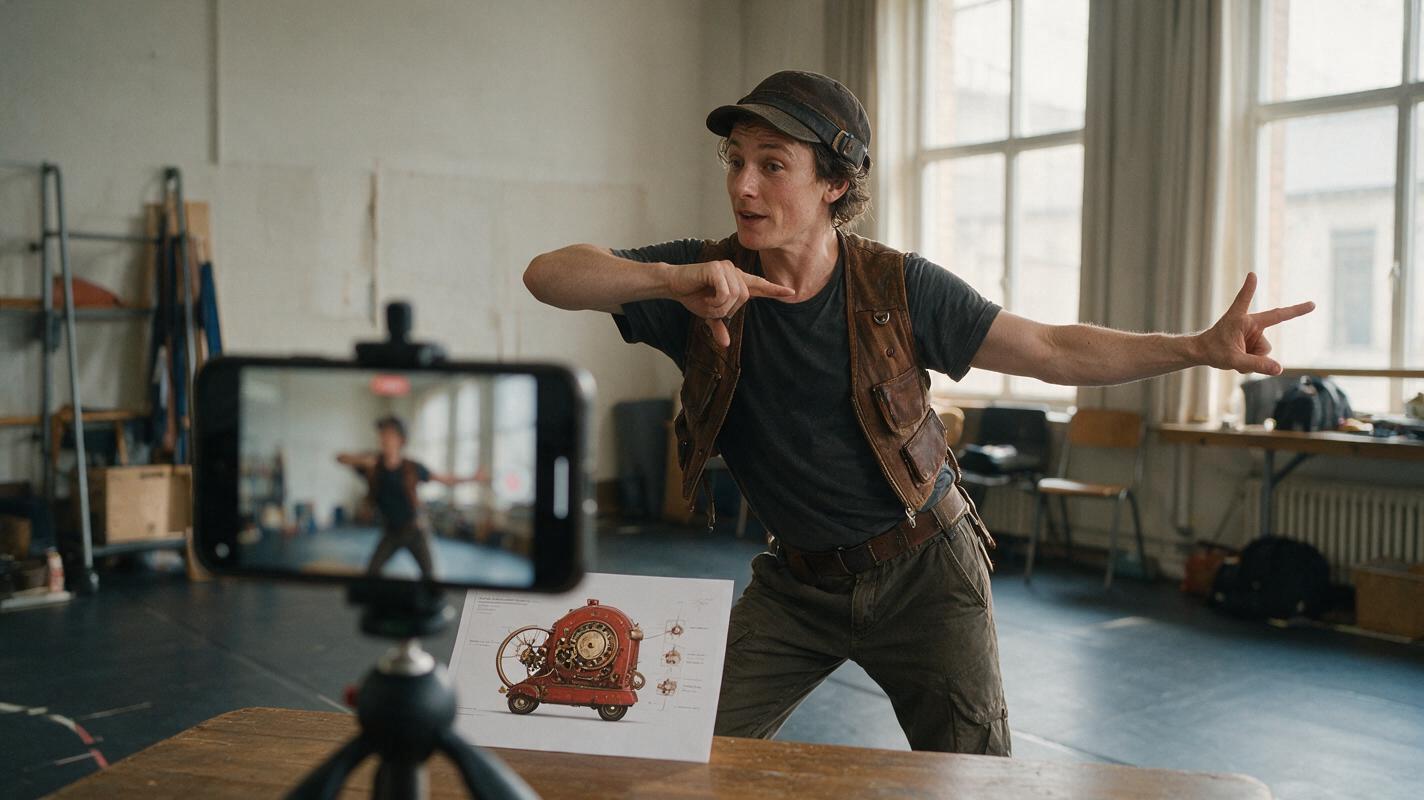
Table of contents
Turn recorded movement into a new character performance
TL;DR: Record one person performing a short action with their full body visible, create a clean full-body character image, and use motion transfer to apply the recorded performance to that character. The fastest reliable workflow uses a fixed camera, an unobstructed silhouette, a simple background, and a prompt that describes appearance and scene rather than inventing additional movement.
This approach is useful for dance clips, mascot performances, fashion concepts, fantasy characters, stylized presenters, and social videos. Unlike generating an action entirely from text, it gives the model a concrete timing reference: when the performer turns, pauses, raises an arm, or shifts weight, the generated character has a movement pattern to follow.
Why motion transfer videos often break
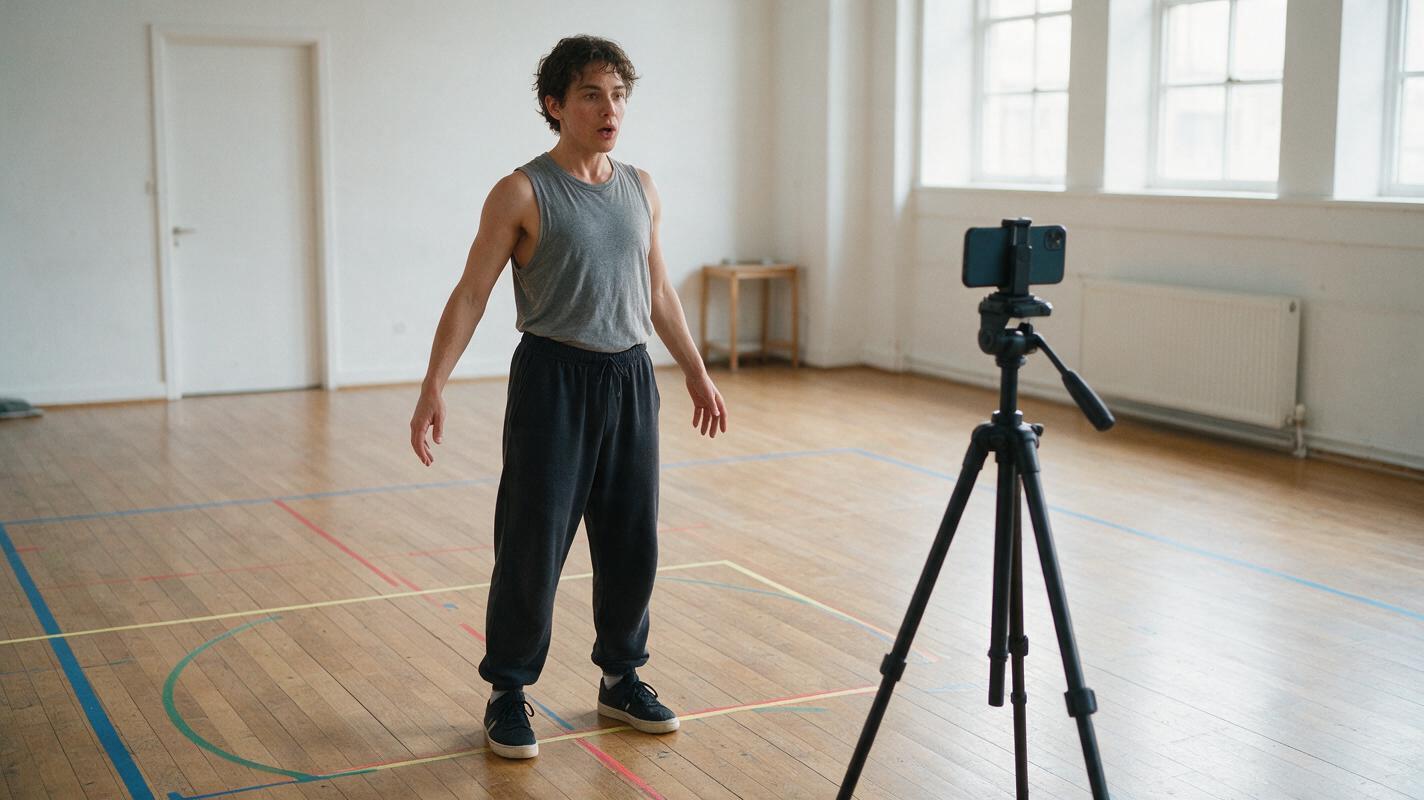
A human viewer understands that a hand briefly crossing a torso still belongs to the same arm. A generative video model must infer that structure from pixels. If the source footage hides a limb, leaves the frame, or contains strong motion blur, the model may resolve the uncertainty by changing anatomy or clothing.
Common symptoms include:
- Sliding feet: the character travels across the floor even though the performer stays in place.
- Unstable hands: fingers merge when the hands cross, clap, or pass near the face.
- Changing costume details: buttons, belts, pockets, or patterns move between frames.
- Body-shape drift: the character becomes taller, shorter, wider, or less stylized during a turn.
- Background wobble: walls and floor lines bend because the prompt implies camera motion that is absent from the source.
- Action substitution: the result resembles the source pose but does not preserve its exact timing.
The best input is not necessarily the most cinematic recording. It is the recording in which the performer’s pose, limbs, and contact with the ground are easiest to read.
Three ways to animate a character from a phone clip
| Approach | Best for | Main trade-off |
|---|---|---|
| Direct motion transfer | Fast tests using an existing character image | The reference may not match the source framing |
| Designed-reference transfer | Costumes, mascots, fantasy figures, and branded characters | Requires a preparation pass for the reference image |
| Hybrid transfer and continuation | Multi-shot edits with close-ups or scene changes | Needs separate generations and careful editing |
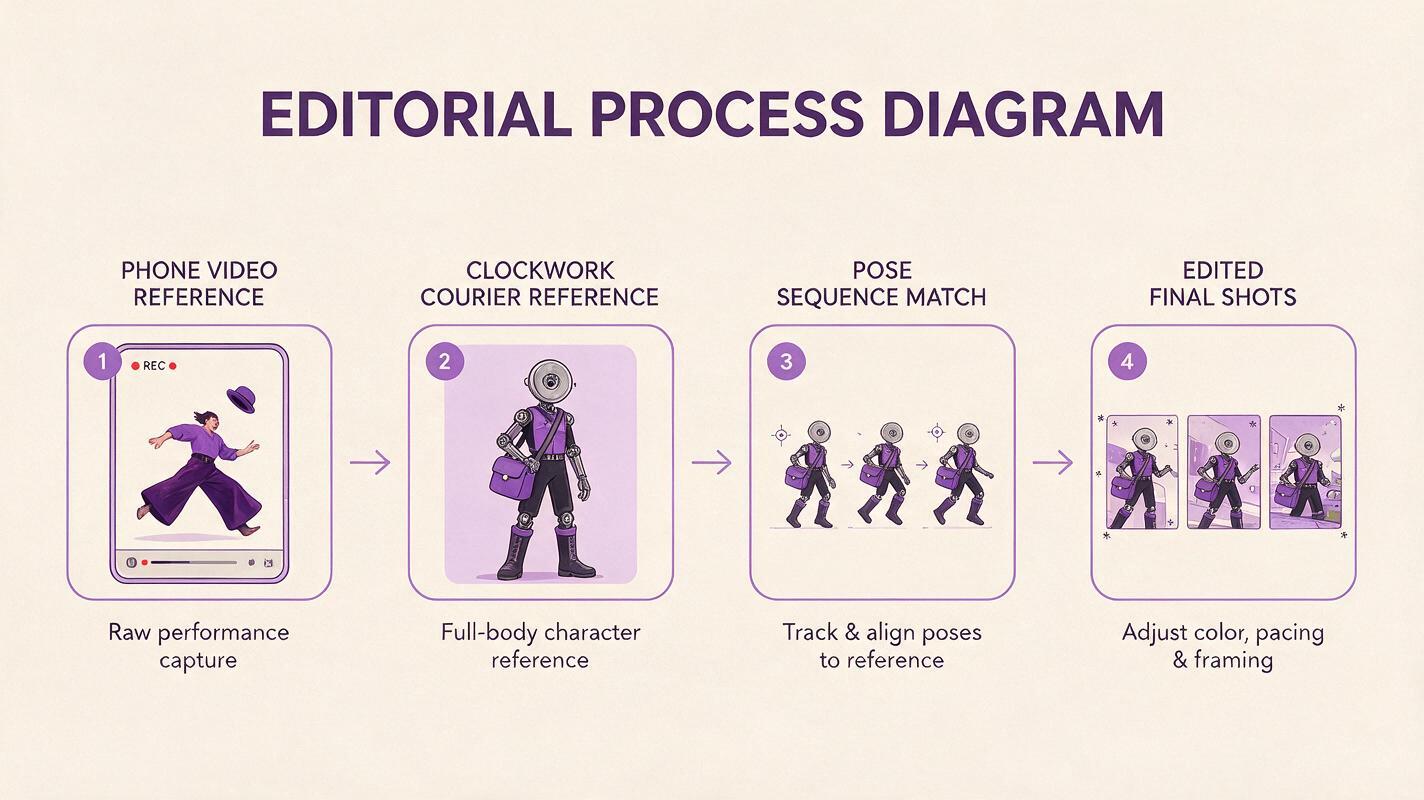
The tutorial below uses the designed-reference approach because it offers the most control. You will align the reference character with the source performer before asking the video model to animate anything.
How MagicBoat handles a motion-driven AI video workflow
MagicBoat brings image and video generation routes into one account, making it practical to design a character, animate it, and compare outputs without rebuilding the project across unrelated services. You can prepare a reference with image models such as Seedream, Flux, or GPT Image, then test an image to video route using available video models such as Seedance, Kling, or Veo.
Model availability and controls can change, so the workflow should not depend on a version-specific setting. The stable structure is:
- Record a readable driving performance.
- Create a reference that matches its framing and proportions.
- Transfer the performance with minimal extra direction.
- Inspect anatomy, identity, costume, ground contact, and camera stability.
- Extend the successful shot with separate generations when needed.
Different models may interpret the same reference differently. Instead of treating the first model as a permanent choice, run short tests and select the one that best preserves the feature most important to your shot: motion fidelity, character design, texture, or environmental stability.
Step 1 — Record a clean driving performance
Place the phone on a tripod or stable surface and record one uninterrupted action. Use even light, avoid backlighting, and keep the performer’s full silhouette inside the frame. For full-body animation, include the feet and leave visible space above the head and beside the hands.
A strong first test is five to eight seconds long and contains one movement phrase, such as:
- Two steps forward, stop, and wave.
- Turn halfway, point to the side, and return to neutral.
- Perform one dance combination without leaving the frame.
- Raise an object, present it, and lower it.
Avoid fast spins, floor work, crossed limbs, loose props, reflective mirrors, and other people in the background during the first attempt. Wear clothing that separates the torso, arms, and legs from the background.
Source recording checklist
Camera: fixed
Framing: full body, including feet
People visible: one
Cuts: none
Lighting: even and bright
Action: one short movement phrase
Occlusion: minimal
Motion blur: minimal
Expected result: a stable clip in which you can pause at any moment and identify the performer’s head, torso, hands, knees, and feet without guessing.
Step 2 — Extract a pose and framing reference
Choose a frame near the beginning where the performer stands in a neutral or clearly readable pose. Use it as a composition guide rather than as the final character image. Note the body position, camera height, crop, viewing angle, and empty space around the performer.
If the source begins in motion, select a frame from the first second that clearly establishes the body. A reference character shown from the waist up will not provide enough information for a full-body dance, even if the face and costume look excellent.
Match these structural properties:
- Shot scale: full body, three-quarter body, or close-up.
- Viewpoint: front, side, or three-quarter view.
- Body proportion: realistic, heroic, compact, or exaggerated.
- Floor relationship: both feet should visibly contact a simple ground plane.
- Aspect ratio: compose the reference for the final horizontal or vertical output.
Expected result: a composition plan that lets the generated character occupy approximately the same region of the frame as the source performer.
Step 3 — Create a motion-ready character image
Generate or prepare one full-body character image with a simple silhouette. Distinctive colors and broad costume shapes usually survive animation more reliably than tiny embroidery, text, jewelry, or repeating patterns.
Use this reusable image prompt:
Full-body editorial character portrait of an adult clockwork courier,
standing in a relaxed neutral pose, three-quarter view, both arms clearly
separated from the torso, both hands visible, both feet fully visible and
firmly touching the floor. Rust-red fitted jacket, dark charcoal trousers,
plain leather boots, one broad brass shoulder panel, short black hair.
Simple warm-gray studio background, soft directional daylight, realistic
fabric texture, coherent anatomy, sharp facial features, no text, no props,
no extra people. Vertical composition with clear space around the body.
Replace the character description while retaining the structural instructions. If your subject is a mascot or nonhuman figure, keep its limb layout close enough to the performer for the intended movement. A character with very short legs, wings instead of arms, or a long trailing tail requires the model to reinterpret more of the source.
Before continuing, reject images with hidden hands, crossed ankles, asymmetric footwear, illegible facial features, or decorative elements that appear attached to the background.
Expected result: a single, clean character reference whose whole body is visible and whose design remains recognizable when viewed at thumbnail size.
Step 4 — Run a short motion transfer test
Use the phone clip as the movement source and the generated character image as the appearance reference. Preserve the source aspect ratio unless you deliberately designed the character for a different crop. If duration can be selected, begin with the shortest segment that contains the complete action.
Keep the generation prompt restrained:
The clockwork courier performs the movement from the driving video with
natural balance and stable ground contact. Preserve the rust-red jacket,
charcoal trousers, brass shoulder panel, face, hairstyle, and body
proportions. Fixed camera, warm-gray studio, soft daylight, coherent hands,
consistent clothing, no additional gestures, no camera movement.
The phrase no additional gestures matters because the source already defines the action. Avoid adding instructions such as “runs dramatically,” “spins rapidly,” or “camera circles the character” unless those events exist in the driving clip.
For model comparison, keep the same source, reference, prompt, duration, and aspect ratio. Change only the video model. This reveals whether a difference comes from the model rather than from an altered setup.
Expected result: a short video that follows the source performer’s major poses while retaining the character’s silhouette, costume colors, and environment.
Step 5 — Diagnose the first output frame by frame
Do not judge only from normal-speed playback. Pause at the beginning, at the largest gesture, during any turn, and at the final pose. These checkpoints expose failures that motion blur can hide.
| Problem | Likely cause | Next change |
|---|---|---|
| Hands merge with the body | Source arms cross the torso | Use a cleaner take or trim before the crossing action |
| Feet slide | Feet are cropped or the floor is unclear | Use full-body footage and emphasize stable ground contact |
| Costume changes | Design contains too many small details | Simplify patterns and keep one or two signature elements |
| Face changes during a turn | Reference shows only one facial angle | Reduce the turn or use a separate identity correction pass |
| Background bends | Scene is too detailed or camera instructions conflict | Use a simpler setting and explicitly request a fixed camera |
| Timing feels different | Prompt adds an action not present in the source | Remove action adjectives and preserve source timing |
Change one variable per retry. If you simultaneously replace the character, rewrite the prompt, crop the source, and choose another model, you will not know which correction worked.
Expected result: a specific diagnosis and one controlled revision rather than a sequence of random reruns.
Step 6 — Build a multi-shot sequence without overloading one clip
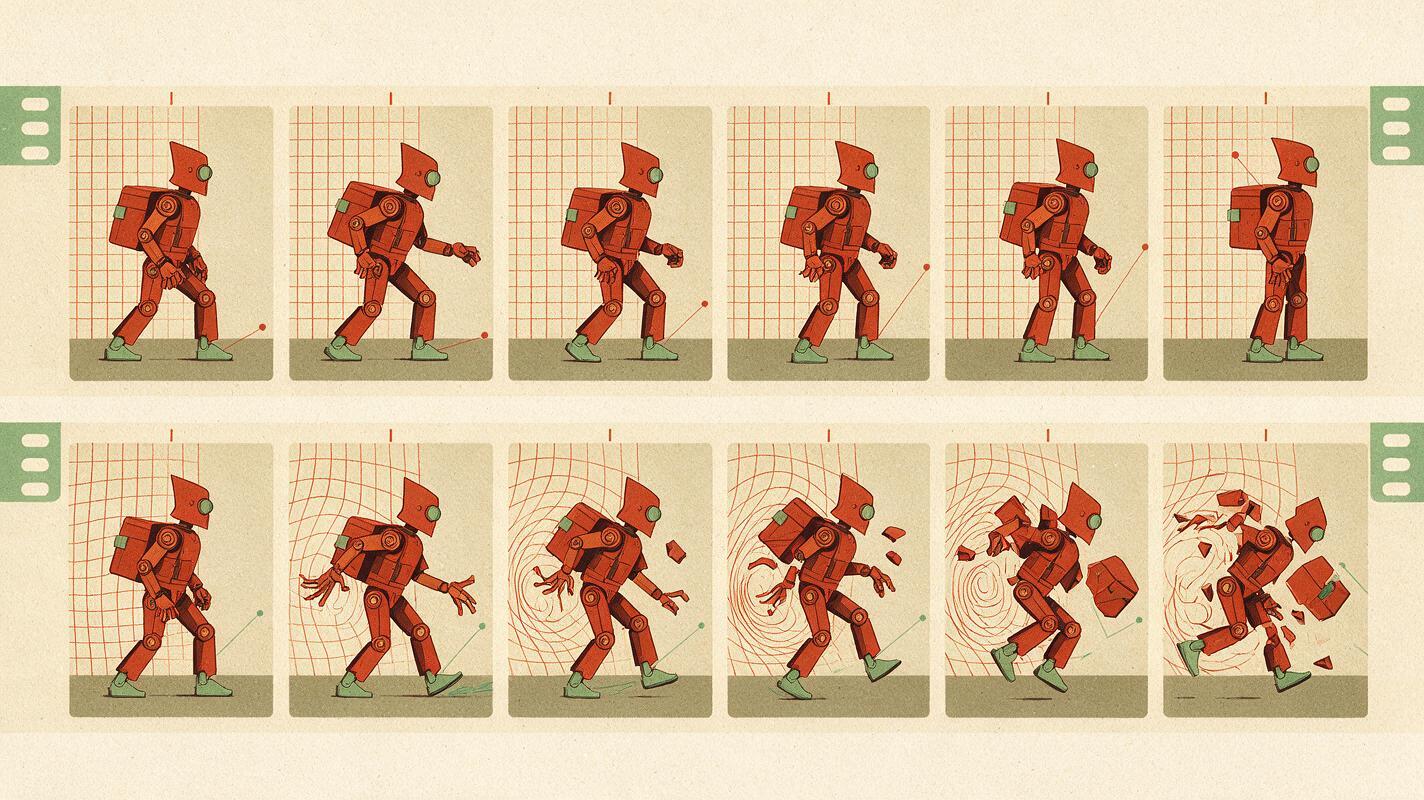
Motion transfer is strongest when one shot has one clear job. For a finished edit, separate the performance into shots instead of asking a single generation to preserve a character, execute choreography, move the camera, change location, and produce a close-up.
A practical three-shot structure is:
- Establishing shot: generate the character in the environment with minimal movement.
- Performance shot: use motion transfer for the phone-recorded action.
- Reaction shot: use the last clean frame as the starting image for a subtle close-up or pose continuation.
For the continuation, describe only the new motion:
The courier holds the final pose, looks toward the camera, and gives a
small confident nod. Preserve the same face, rust-red jacket, brass shoulder
panel, lighting direction, and warm-gray setting. Subtle natural movement,
stable framing, no costume change.
Cut between the outputs in an editor. A deliberate edit usually looks cleaner than forcing a model to create multiple camera setups inside one clip.
Expected result: a short sequence with a readable beginning, performance, and ending while each generation remains narrowly defined.
Keep the same movement language across projects
Save the source clips that produce clean results. A small movement library can include a neutral presentation, walk-in, turn, wave, product reveal, dance phrase, and seated gesture. Record every clip with similar framing and lighting so that it can be reused with different character designs.
Also keep a compact character specification beside each project:
Character: clockwork courier
Signature colors: rust red, charcoal, brass
Hair: short black hair
Silhouette: fitted jacket, straight trousers, plain boots
Fixed detail: broad brass panel on right shoulder
Avoid: text, small chains, patterned fabric, loose coat tails
This is not a request to repeat an identical seed or regenerate a previous frame. It is a design constraint that makes future references easier to compare and helps prompts emphasize the same recognizable features.
Alternative: use image-to-video for camera-led shots
Choose a conventional image-driven generation when camera movement matters more than exact body timing. It works well for a slow push-in, wind moving through clothing, a character turning their head, or a product-style reveal.
Use motion transfer for choreography and performance timing; use a standard image-driven shot for atmosphere and camera direction. Combining the two avoids asking one technique to solve incompatible goals.
Alternative: use face swap for a realistic identity
If the body movement is successful but a realistic face changes during the clip, a separate face swap workflow may be more efficient than regenerating the entire performance. Use a clear, authorized face reference and choose footage where the head remains visible.
Face replacement cannot repair broken anatomy, missing frames, severe blur, or a head that turns completely away. It is a finishing option for identity, not a substitute for a clean transfer.
Where the workflow falls short
- Occlusion remains difficult. Crossed arms, props covering the torso, and floor work can confuse limb structure.
- Extreme proportions require reinterpretation. A tiny cartoon mascot cannot reproduce every human joint position literally.
- Fast rotations reduce facial stability. One front-facing reference contains limited information about the side and back of the head.
- Fine costume details may flicker. Small lettering, jewelry, stripes, and repeated patterns are especially fragile.
- Physical contact is demanding. Two-person dancing, handshakes, and object manipulation introduce changing contact points.
- A successful transfer is not automatically a finished film. Sound design, editing, color matching, and shot selection still shape the final result.
Motion transfer FAQ
Can I use handheld phone footage?
Yes, but camera shake becomes another motion signal the model must interpret. Stabilize the recording when possible, especially if the desired output should look like a locked studio shot.
Does the source performer need to resemble the AI character?
No, but similar framing and broadly compatible proportions help. Large differences in limb length, body shape, or joint layout increase the amount of motion the model must reinterpret.
Should the prompt describe every movement?
No. The driving clip already supplies timing and pose information. Use the prompt to preserve the character, environment, camera behavior, and physical qualities such as stable ground contact.
Why does the character’s face change when turning?
A single image provides incomplete information about unseen facial angles. Reduce the turn, prepare a more suitable reference, select the cleanest output, or apply an identity-focused finishing method when appropriate.
Can motion transfer animate a product or animal?
It works best when the target has a motion structure compatible with the source. A humanoid robot can follow a person relatively naturally; a bottle or four-legged animal may require a specialized reference or a conventional video-generation approach.
Should I generate one long clip or several short clips?
Several short clips are easier to diagnose and edit. Keep each shot focused on one action, then assemble the strongest outputs into a sequence.
Final checklist
- Record one performer with a fixed camera and no cuts.
- Keep the head, hands, knees, and feet visible.
- Create a full-body character reference that matches the source framing.
- Favor broad colors and simple costume shapes over tiny details.
- Let the driving clip define movement; do not overload the prompt.
- Compare models with identical inputs and change one variable per retry.
- Inspect turns, hand crossings, floor contact, and the final pose frame by frame.
- Build complex edits from several focused shots.
Ready to animate your own performance? Create your first ai video free with MagicBoat and test the motion-ready prompt above.
Keywords
motion transfer, ai video tutorial, character animation, image to video, phone video, prompt engineering, ai video workflow