PixVerse Talking Course Avatar: Fix Lip Sync and Stiff Motion
A course avatar can save recording time, but mismatched mouth movements, frozen expressions, and excessive head motion quickly distract learners. This guide shows how to prepare a clean portrait, create restrained motion with PixVerse, synchronize short narration segments, and review the result for clarity and accessibility.
Table of contents
Create a course avatar that speaks without distracting learners
A talking course avatar should direct attention to the lesson—not to drifting lips, mechanical blinking, or a head that never stops moving. The most reliable approach is to separate the job into two controlled tasks: use PixVerse to create a restrained base performance, then synchronize short, well-paced narration segments. This gives course creators more control than asking one generation to invent the face, motion, speech, and camera behavior at once.
The method works well for course welcomes, module transitions, training reminders, vocabulary demonstrations, and short recap clips. It is best suited to a fictional guide, an authorized presenter, or a clearly disclosed digital character.
Why course avatar lip sync looks wrong
Lip-sync errors are not always caused by the synchronization tool. They often begin with the portrait, animation, or narration. A small problem in each input can combine into an obviously artificial performance.
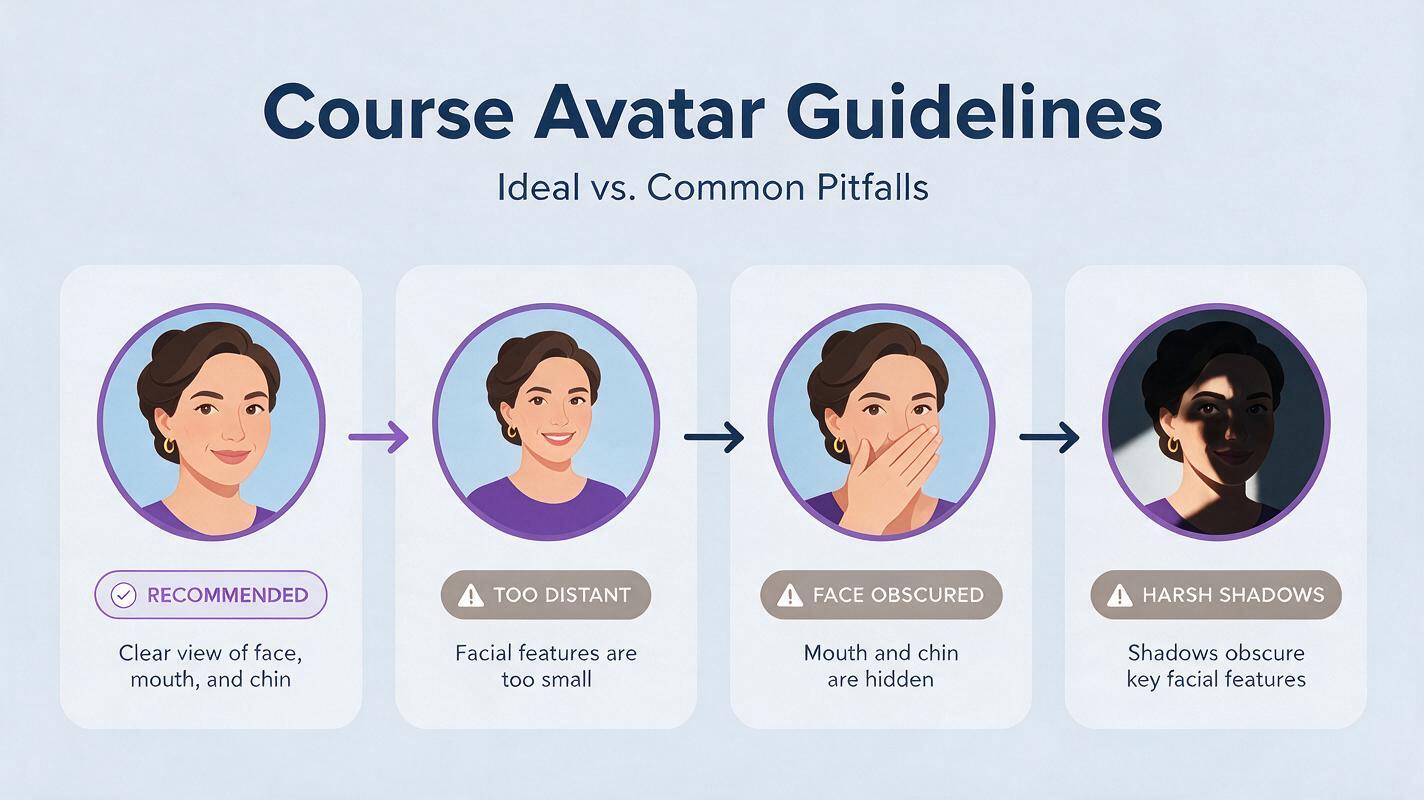
- The mouth is too small: A distant face gives the system too few visible pixels for readable articulation.
- The base clip already moves the lips: Random mouth motion competes with the synchronized performance.
- The narration is too fast: Dense sentences, acronyms, and abrupt pauses create difficult timing transitions.
- The head turns away: A profile or three-quarter turn hides important mouth shapes.
- The clip is too long: Small timing errors can accumulate and become more noticeable near the end.
- The expression conflicts with the lesson: A constant smile can feel inappropriate during safety, compliance, or assessment instructions.
For educational video, believable restraint is usually more useful than dramatic performance. The learner must be able to hear the message, read the captions, and interpret the presenter without visual competition.
Prepare a portrait that supports clear articulation
Start with a front-facing or slightly three-quarter portrait. Keep the entire mouth visible, leave space around the chin, and avoid hands, microphones, scarves, or hair crossing the lips. A medium close-up usually provides a useful balance between readable facial movement and room for captions.
The expression should be attentive and neutral-positive. Avoid a wide open-mouth smile in the source image because it gives the animation less freedom to form closed-mouth sounds. Use soft frontal lighting so the lip boundary remains visible without harsh shadows.
If you need to generate the presenter portrait, specify the composition and teaching context rather than requesting a generic avatar:
Create a fictional adult course guide in a medium close-up, facing the camera with a calm attentive expression, lips gently closed, both eyes clearly visible, shoulders relaxed, simple navy teaching outfit, soft frontal studio light, clean warm-gray background, realistic facial proportions, unobstructed mouth and chin, space below the shoulders for captions, 16:9 composition. Do not include text, logos, microphones, hands near the face, or exaggerated emotion.Review the portrait at its intended display size. If the mouth becomes indistinct in a mobile preview, crop closer before creating any motion.
Generate a restrained PixVerse base performance
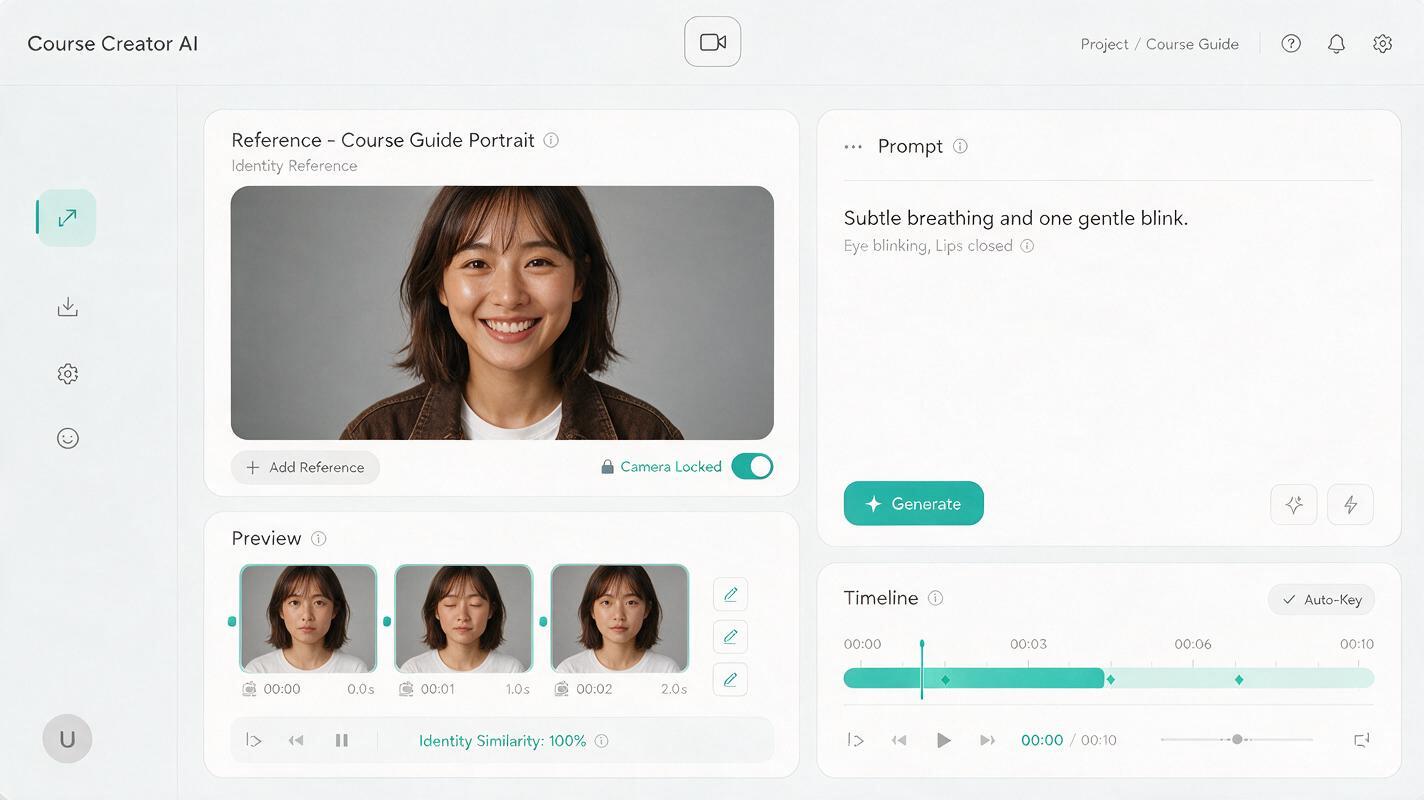
Use PixVerse for image to video with the portrait as the visual reference. At this stage, the goal is not speech. Generate a quiet listening pose with subtle breathing, an occasional natural blink, and minimal head movement. Keeping the lips closed or nearly still gives the later synchronization pass a cleaner foundation.
The course guide maintains direct eye contact with the camera. Subtle natural breathing, one gentle blink, very small posture adjustment, calm professional presence. The head remains mostly centered and the lips stay closed. Locked camera, no zoom, no scene change, no hand gestures, no dramatic expression, no talking motion.Generate a short clip first. Reject results with face reshaping, wandering gaze, continuous blinking, shoulder warping, camera drift, or spontaneous mouth movement. It is faster to regenerate a weak base clip than to repair those problems after adding speech.
Rewrite narration for visible, teachable speech
A written course introduction may look concise while still being difficult to synchronize. Break long sentences at natural meaning boundaries and replace punctuation-heavy phrasing with spoken language. Pronounce abbreviations as learners should hear them, and decide in advance how numbers, symbols, and technical terms will be read.
| Harder to synchronize | Better spoken version | Reason |
|---|---|---|
| “Complete sections A–C, then submit Q4.” | “Complete sections A through C. Then submit question four.” | Removes ambiguous symbols and adds a clean pause. |
| “PPE must be inspected pre-use.” | “Inspect your personal protective equipment before use.” | Expands the acronym and improves rhythm. |
| “In this module, we’ll analyze, compare, evaluate, and apply…” | “In this module, we will compare two methods. Then you will apply the safer one.” | Reduces list density and clarifies the learning action. |
A practical segment contains one instructional idea and one natural pause. Record or generate each segment separately whenever possible. This also makes it easier to replace a changed sentence without rebuilding the entire introduction.
Synchronize speech in short segments
Apply ai lipsync to one short narration segment at a time. Use clean audio without background music, room echo, or sound effects. Leave a brief quiet margin before and after the spoken line so the mouth can begin and return to rest naturally.
Watch the first result without sound. The mouth should appear purposeful rather than constantly active. Then listen without watching and confirm that the pacing remains easy to follow. Finally, review picture and sound together at normal speed and on a small screen.
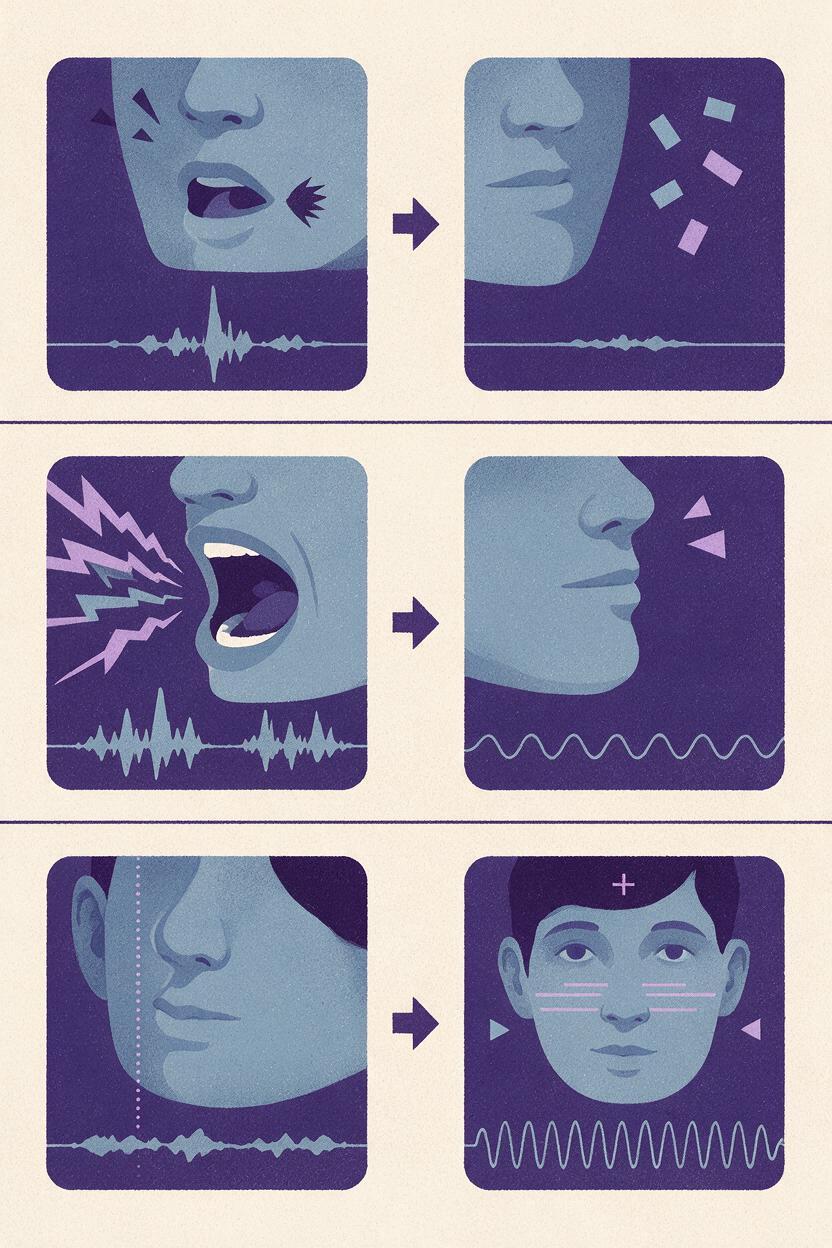
Do not assume stronger facial motion will improve realism. If the mouth shapes are accurate but the result still feels unnatural, reduce head motion and expression intensity before changing the voice. A stable upper face often makes synchronized mouth movement look more convincing.
Diagnose the failure before regenerating
| Visible problem | Likely cause | Targeted correction |
|---|---|---|
| The mouth moves before speech begins | Insufficient silence at the start or existing mouth motion in the base clip | Add a short audio lead-in or regenerate the base with closed lips. |
| Words appear late | Audio contains a delayed attack, echo, or long breath | Trim and clean the audio before synchronizing again. |
| The jaw moves excessively | Speech is too fast or expression strength is too high | Slow the narration slightly and use a calmer source expression. |
| The face changes during the line | Large head movement or an unstable base generation | Return to a locked, front-facing base clip. |
| Blinks look mechanical | Too many requested micro-actions | Remove blink instructions or request only one subtle blink. |
| Synchronization degrades near the end | The segment is too long | Split the narration at a sentence boundary and render separate clips. |
Change only one variable per test. For example, keep the portrait and base clip unchanged while testing a slower narration. If you alter the image, animation, audio, and synchronization simultaneously, you will not know which correction worked.
Assemble the avatar into useful learning content
Keep the avatar brief and purposeful. A course guide can welcome learners, introduce an objective, explain navigation, pose a reflection question, or summarize the next action. It should not replace diagrams, demonstrations, source footage, or instructor explanation when those formats teach the concept more directly.
- Add edited captions rather than relying on unreviewed automatic text.
- Place captions away from the mouth and important on-screen controls.
- Check technical vocabulary, names, units, and acronyms manually.
- Keep background music lower than the narration, or omit it for dense instructions.
- Identify a synthetic presenter when disclosure is appropriate for the learning context.
- Obtain permission before using a real person’s face or voice.
Export each approved segment separately before assembling the complete intro. This preserves replaceable units for future course updates. When you are ready to compare a restrained base animation with synchronized speech, test this prompt yourself.
Final checklist
- The presenter is fictional, authorized, or appropriately disclosed.
- The mouth and chin are unobstructed and large enough to inspect.
- The PixVerse base clip has minimal head and lip movement.
- Each narration segment communicates one clear instructional idea.
- Audio begins and ends with a small clean margin.
- Lip timing has been checked with sound on and off.
- Captions have been edited for terminology and readability.
- The avatar supports the lesson instead of replacing a better visual explanation.
Keywords
PixVerse course avatar, AI lip sync, talking course avatar, course intro video, training video avatar, image to video, learning content