How to Change Clothing Color in a Portrait With GPT Image
Changing an outfit’s color can help an editorial or commercial client compare styling options, but a simple recolor may flatten fabric texture or alter the person wearing it. This tutorial shows how to use GPT Image for controlled portrait variations, then check and composite the result before sharing it.
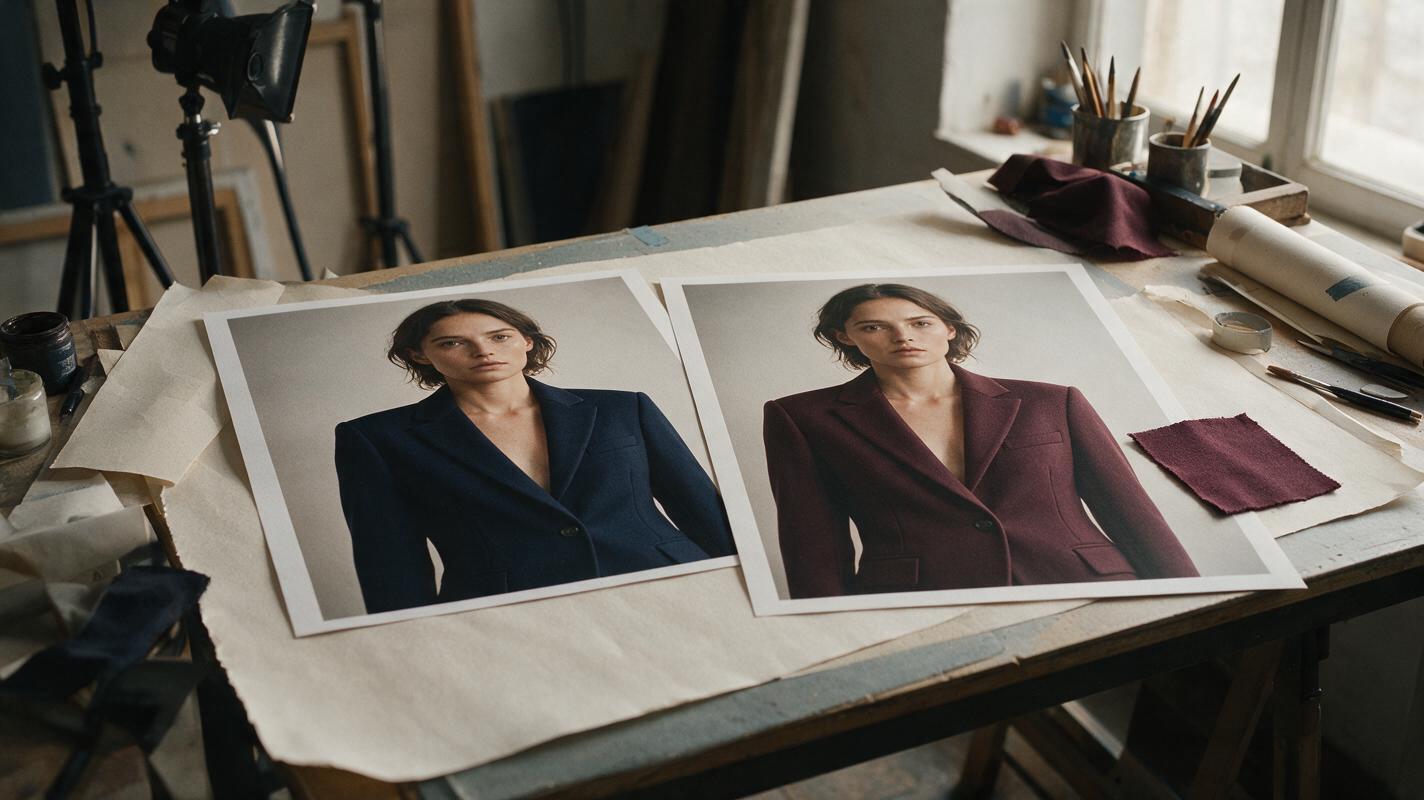
Table of contents
Change the color, not the portrait
A client loves the portrait but wants to see the jacket in burgundy instead of navy. The useful result is not a newly invented outfit: it is the same jacket, on the same person, with its seams, folds, shadows, and fit intact. GPT Image can help create that color variation, but you should treat its output as an edit to inspect and composite—not as an automatically faithful replacement for the original photograph.
This approach is best for editorial concepts, commercial styling previews, and approved portrait variations. If clothing color is a factual part of an event photograph, label any altered version clearly and obtain the appropriate approval before delivery.
Step 1 — Choose a portrait with a clear clothing boundary
Start with the highest-quality approved file you can use for editing. A jacket separated from the background is easier to recolor than a sheer sleeve overlapping hair or a patterned garment disappearing into deep shadow. Keep the original untouched and make a working copy.
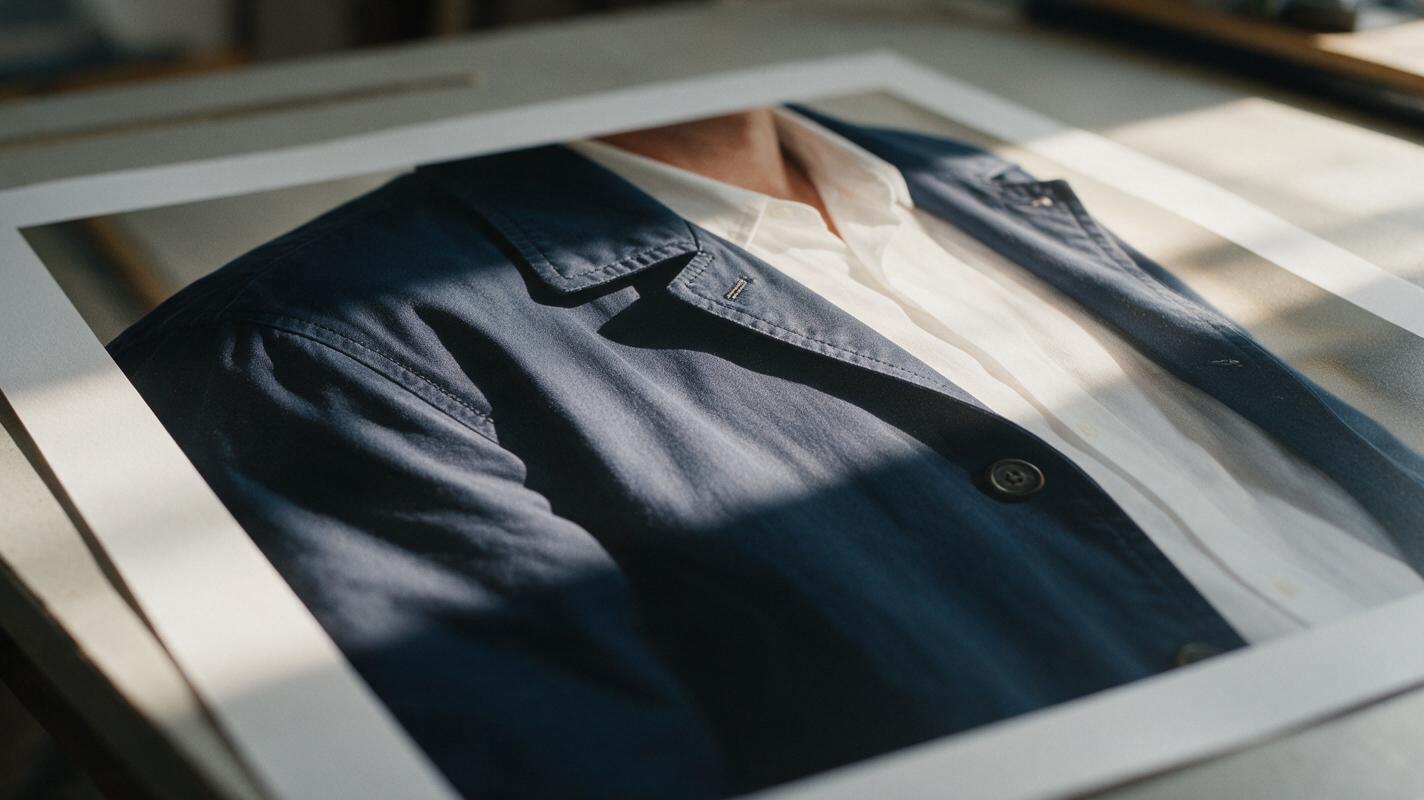
Before generating anything, decide exactly which material should change. In a portrait with a navy jacket, white shirt, and dark tie, “change the outfit to burgundy” is ambiguous. “Change only the navy jacket fabric” gives the model a much narrower job.
- Inspect edges: check where the garment meets skin, hair, jewelry, and the background.
- Note physical details: lapels, stitching, buttons, embroidery, and fabric grain should remain recognizable.
- Define the target color: use a swatch or a specific descriptive reference, such as muted wine burgundy rather than bright red.
- Identify color spill: a strongly colored jacket may cast a subtle reflection onto nearby skin or a white shirt; decide whether that should remain untouched.
For client-facing work, confirm whether the variation is a styling mockup or an approved alteration to a deliverable. Those are different uses of the same technique.
Step 2 — Generate one controlled color variation
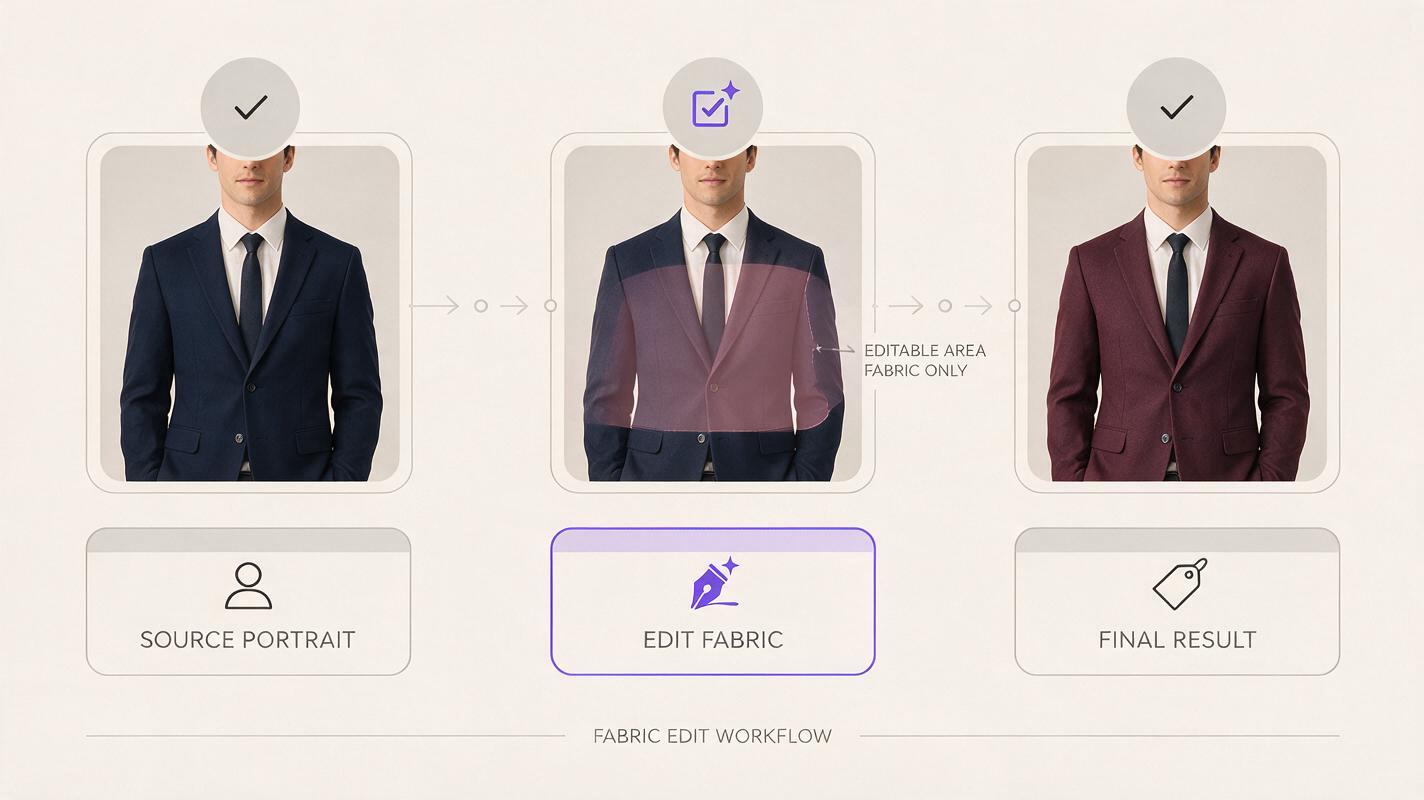
Upload the working portrait to an ai image generator that supports reference-image editing, such as a GPT Image-powered editor. If the interface offers a selection or mask, select the jacket fabric while excluding buttons, skin, hair, and surrounding clothing. If it does not, describe the editable region precisely and expect to do more cleanup afterward.
Ask for a single color change rather than combining it with retouching, relighting, and a new backdrop. That makes it easier to identify what caused an unwanted change. Use this prompt as a starting point:
Edit the supplied portrait. Change only the navy jacket fabric to a muted wine-burgundy color. Preserve the jacket's exact cut, lapels, seams, buttons, stitching, folds, fabric texture, and existing light and shadow. Do not change the person's face, skin, hair, hands, pose, white shirt, tie, accessories, background, camera angle, or crop. Keep the result photographic and consistent with the original image.If you have a client-approved color swatch, include it as a reference where the editor permits and add: “Use the attached swatch as the target for the jacket fabric; adapt its brightness naturally to the existing shadows and highlights.” A swatch clarifies hue, but it does not replace visual judgment: the color should still respond to the portrait’s lighting.
Test this prompt yourself on one approved image before processing a series. Save the original, prompt, target swatch, and chosen result together so you can repeat the decision across the set.
Step 3 — Compare the result at three viewing sizes
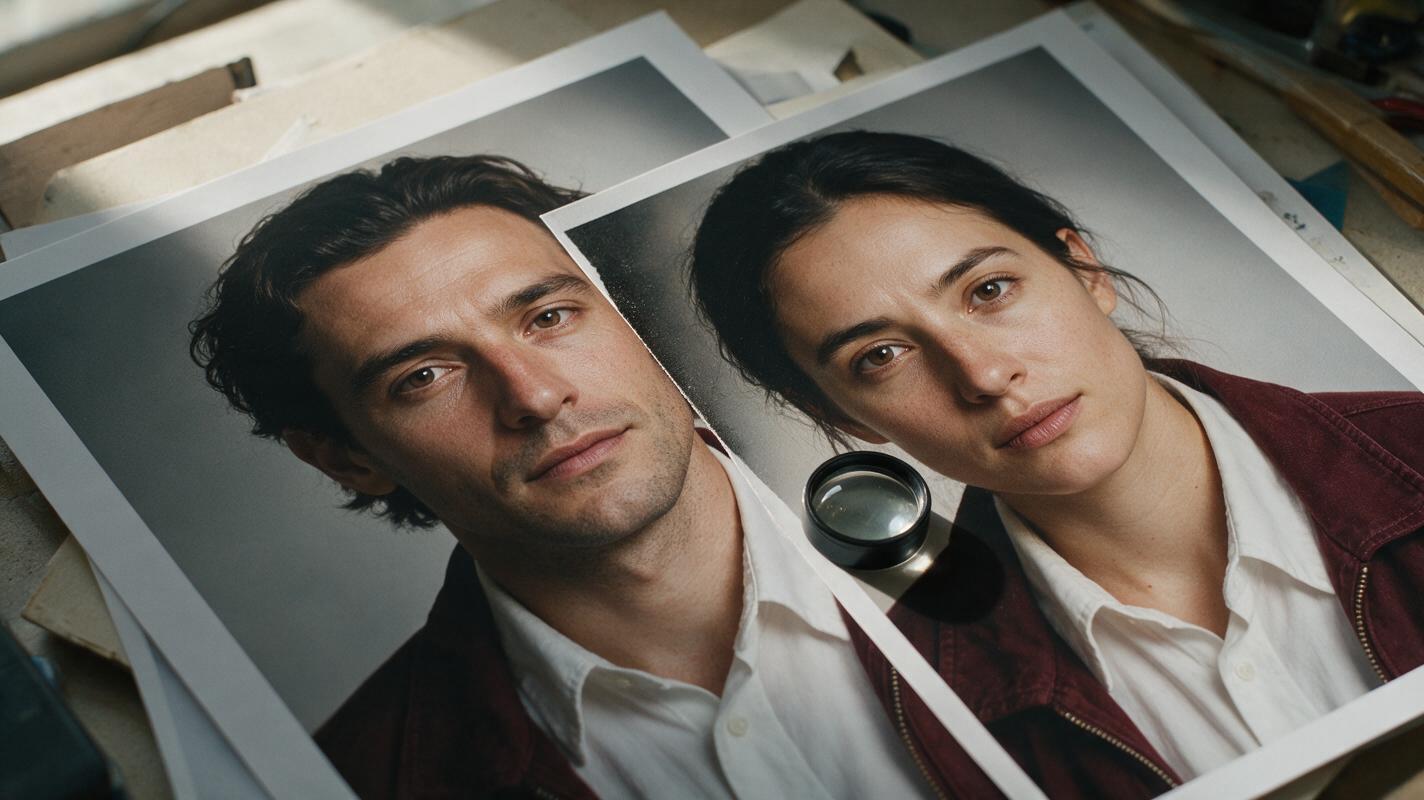
A variation can look convincing as a thumbnail and fail at 100% zoom. Compare the generated image with the original in the same crop, moving between the full frame, a waist-up view, and detail views of garment edges.
| View | What to check | Typical failure |
|---|---|---|
| Full frame | Does the color feel plausible under the original lighting? | The jacket is uniformly saturated, including its deepest shadows. |
| Mid-size | Are fit, folds, and silhouette unchanged? | A lapel, sleeve, or shoulder has been reshaped. |
| Close-up | Are texture, buttons, hair edges, and nearby skin intact? | Stitching vanishes or color bleeds onto fingers. |
Also compare the face against the source, even if the edit was requested only for clothing. A small change to expression, makeup, or skin texture makes the image a different portrait. Reject that result or use only its garment area in a composite.
Step 4 — Composite the garment back onto the original portrait
For a controlled final image, place the selected variation above the original photograph in your editor. Align both layers exactly, then reveal only the recolored garment with a layer mask. This keeps the original face, hands, background, and unedited wardrobe visible beneath the generated result.
- Set the generated variation over the original at the same dimensions. If the framing changed, align stable landmarks before masking.
- Mask in the recolored fabric, beginning well inside the garment boundary.
- Refine the edge around hair, fingers, collars, buttons, and translucent material at high zoom.
- Compare the original and edited layers by toggling visibility. Look for seams that jump position or folds that no longer match.
- Check the image in color and temporarily in grayscale. The grayscale view helps reveal flattened highlights and shadows that a strong new hue can disguise.
If the generated jacket has changed shape significantly, do not try to rescue it with a complicated mask. Regenerate with a tighter instruction or use a conventional color adjustment on the original garment selection. The goal is a believable color study, not proof that every pixel must come from a generative edit.
Step 5 — Match a series without making every frame identical
When the client needs three or four portraits in the same alternate color, edit each frame from its own original. Reusing one generated jacket across different poses usually creates mismatched folds and lighting. Keep the target swatch and garment description consistent, but let the brightness vary naturally between frames.
Build a small comparison sheet containing each original beside its proposed variation. Review the series for hue consistency, then inspect the individual files for edge errors. A useful delivery label is “burgundy jacket concept—digitally recolored,” rather than a filename that could be mistaken for an untouched capture.
When the color will not stay in the jacket
If the edit spreads to the shirt or background, narrow the requested area: name the garment, its original color, and adjacent objects that must stay unchanged. Use a selection if available. If the result looks painted, explicitly ask to preserve weave, fold contrast, and specular highlights. If faces or hands drift, composite only the acceptable garment region over the original; if that region also changes shape, reject the output.
For wedding photographs, take particular care with attire that carries personal or documentary significance. A recolored outfit may be useful as a private styling preview, but it should not silently replace the record of what someone wore.
Final checklist
- The prompt names one garment and one target color.
- The fabric retains its texture, folds, seams, and original lighting.
- Face, hands, other clothing, and background match the source.
- The final composite has clean edges at full resolution.
- Client-facing variations are approved and clearly identified as edits.
Keywords
portrait clothing color, GPT Image editing, editorial portrait variations, ai image generator, fabric texture, portrait retouching, commercial photography