How to Turn One Portrait Into a Dance Video With Motion Transfer
Create a convincing dance video from one portrait by separating identity design, motion preparation, transfer, and repair into distinct stages. This workflow uses a motion-safe character reference, a clean driving clip, and short comparison renders to reduce face drift, warped limbs, and unstable clothing.
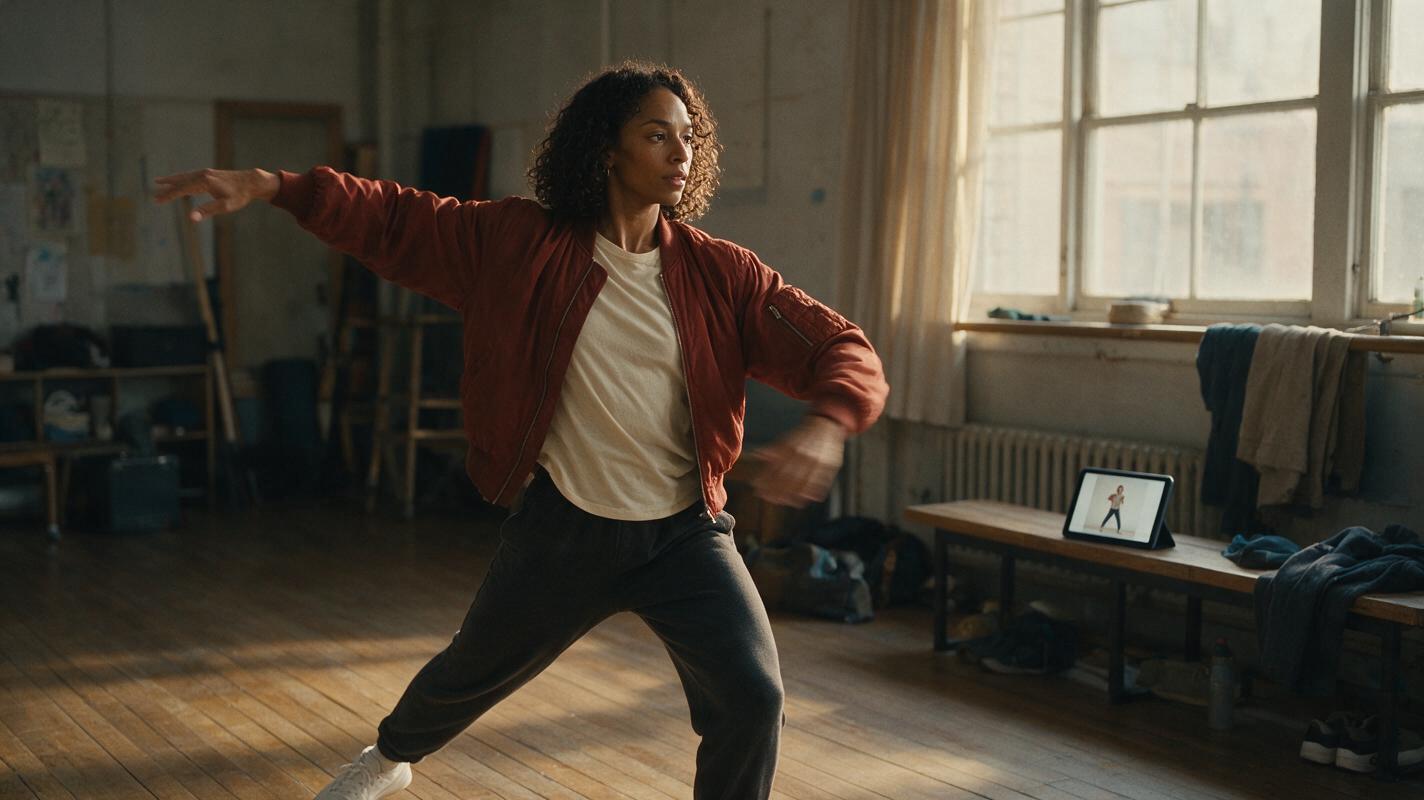
Table of contents
TL;DR
The fastest way to animate one portrait is to use motion transfer: prepare a full-body character reference, choose a clean driving clip, transfer the movement in a short test, and repair only the unstable sections. Do not ask a text prompt to invent the identity, choreography, camera movement, and location simultaneously; locking those decisions separately produces a more controllable dance video.
Best beginner setup: one visible dancer, fixed camera, simple clothing, unobstructed arms and legs, a five-to-eight-second motion clip, and a background with clear floor contact.
Why Portrait-to-Dance Videos Often Break
A good portrait proves that a model can render a face, but it does not explain the character's full body. When animation begins, the system must infer the subject's height, proportions, shoes, clothing construction, hidden limbs, and appearance from new angles. That uncertainty causes familiar failures: the face changes during a turn, sleeves grow between frames, feet slide across the floor, fingers merge, or the dancer briefly becomes a second person.
Motion sources create a second set of problems. Fast spins, crossed arms, floor work, motion blur, and cuts hide important joint positions. If the driving performer leaves the frame or passes behind furniture, the generated character may inherit the occlusion as a distorted limb rather than a natural movement.
The solution is not simply a longer prompt. A reliable AI video workflow gives the model three unambiguous inputs:
- Identity: a character whose face, body, hair, outfit, and footwear are visible.
- Motion: a readable performance with continuous timing and clear joints.
- Scene: a stable environment with believable scale, lighting, and floor contact.
Three Ways to Animate a Portrait
| Approach | Best for | Main trade-off |
|---|---|---|
| Direct text to video | Exploring choreography without a source clip | Least control over exact movement and identity |
| Image to video | Subtle gestures, camera movement, and short performance beats | Large poses may reveal missing body information |
| Motion transfer | Following a specific dance or body performance | Quality depends heavily on the driving clip |
This tutorial focuses on the third approach, while using image generation and image-to-video tests to prepare and refine the result.
How MagicBoat Handles the Workflow
MagicBoat brings image and video generation options into one account, making it practical to test a reference-first workflow without rebuilding the project across unrelated tools. You can use image models such as Seedream, Flux, or GPT Image to develop the character and location, then compare integrated video options such as Seedance, Kling, or Veo for the animation stage where available.
The useful advantage is model choice rather than assuming one model will solve every shot. A prompt that gives natural fabric motion in one model may preserve facial structure better in another. MagicBoat's ai video workflow lets you evaluate those differences using the same prepared reference and motion plan.
For this tutorial, keep the process model-neutral:
- Create a motion-safe full-body reference.
- Establish a simple performance location.
- Prepare a clean driving clip.
- Generate a short transfer test.
- Compare identity, anatomy, and timing.
- Extend or repair only after the test succeeds.
Step 1 — Build a Motion-Safe Character Reference
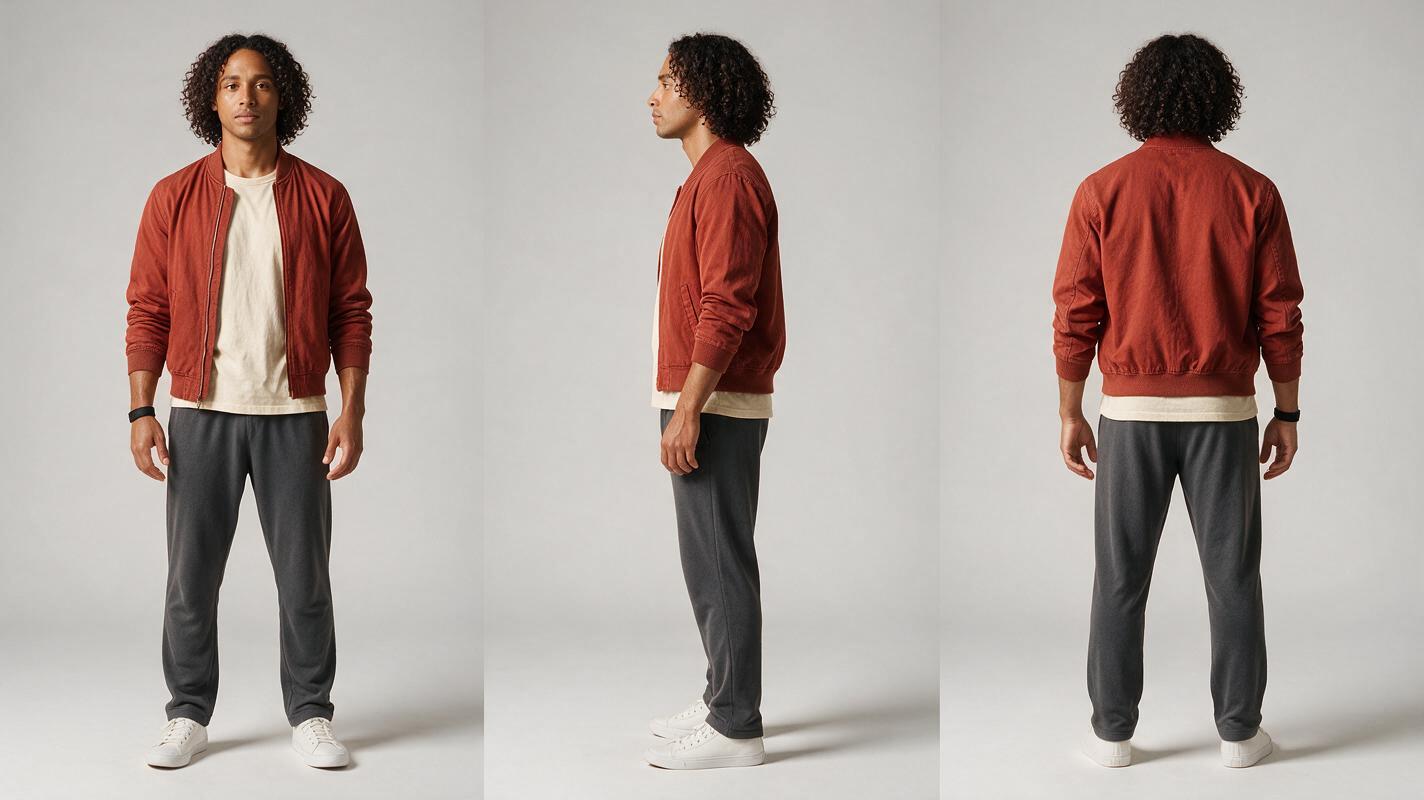
Start from the portrait, but do not send a tightly cropped headshot directly into a demanding full-body dance. Generate a three-panel reference sheet showing the same person from the front, side, and back. Keep the outfit asymmetrical enough to reveal orientation—for example, one wristband or a jacket pocket on only one side—but avoid loose scarves, translucent fabric, complicated patterns, or oversized sleeves.
Use a neutral expression and relaxed standing posture. The character sheet is an identity document, not an action frame. Hands should remain visible and separated from the torso, while the shoes and floor line must be included.
Photorealistic three-panel character reference sheet of the same fictional adult dancer in every panel, warm brown skin, oval face, dark brown eyes, shoulder-length natural curls, athletic medium-height build, wearing a rust-red fitted bomber jacket over a plain cream T-shirt, charcoal straight-leg dance trousers, white low-top sneakers, and one narrow black wristband on the right wrist. Panel one: full-body front view. Panel two: exact full-body left side profile. Panel three: exact full-body back view. Neutral relaxed stance, arms slightly separated from the torso, hands fully visible, feet fully visible, consistent face, body proportions, hairstyle, clothing, and footwear across all panels. MANDATORY LAYOUT: three equal vertical panels in one landscape 16:9 image, front / side / back in that order, no cropped body parts. MANDATORY CAMERA: eye-level camera, full-body framing, approximately 70mm portrait-lens perspective, no wide-angle distortion. Neutral light-gray seamless studio background, soft even editorial lighting, realistic skin and fabric texture, no text, no labels, no props, no extra people.Expected result: one readable sheet that defines the dancer from all major directions. Regenerate if any panel changes the hairstyle, shoe design, jacket length, or body proportions.
Step 2 — Create a Stable Performance Scene
Build the location as a separate still rather than asking the video model to design it during the dance. A modest rehearsal studio works well because the floor line and vertical walls make sliding feet and changing scale easy to detect. Avoid mirrors at first; reflections can create apparent duplicates or inconsistent poses.
Cinematic editorial-realism photograph of a small lived-in dance rehearsal studio in late afternoon, pale warm-gray plaster walls, matte honey-colored wooden floor with visible plank direction, one tall industrial window on the left casting soft natural light, a wooden bench and folded gray sweatshirt against the back wall, subtle scuff marks from regular use, open uncluttered performance space in the center. MANDATORY CAMERA: locked eye-level medium-wide shot from the front-right corner, true three-quarter view, camera height 1.4 meters, natural 35mm lens perspective, no tilt, no Dutch angle. MANDATORY COMPOSITION: landscape 16:9, empty center stage, clear floor-to-wall boundary, realistic scale, no mirrors, no people, no text, no logos, no surreal objects.If the dancer will be composited into the scene before animation, match the direction of light on the character to the window. Keep the character large enough to inspect hands and feet but leave space around raised arms.
Expected result: a believable 16:9 stage with stable perspective, visible floor contact, and enough negative space for the complete movement.
Step 3 — Prepare the Driving Motion Clip
The driving clip determines the choreography. Select a continuous shot with one performer whose whole body remains visible. A fixed camera is safer than a handheld or orbiting camera because the transfer should not have to separate body motion from camera motion.
Before using the clip, check it frame by frame for:
- Hands disappearing behind the torso for long periods.
- Feet leaving the bottom of the frame.
- Another person crossing in front of the performer.
- Hard cuts, speed ramps, or abrupt zooms.
- Extreme motion blur during spins.
- Floor work that completely hides the face.
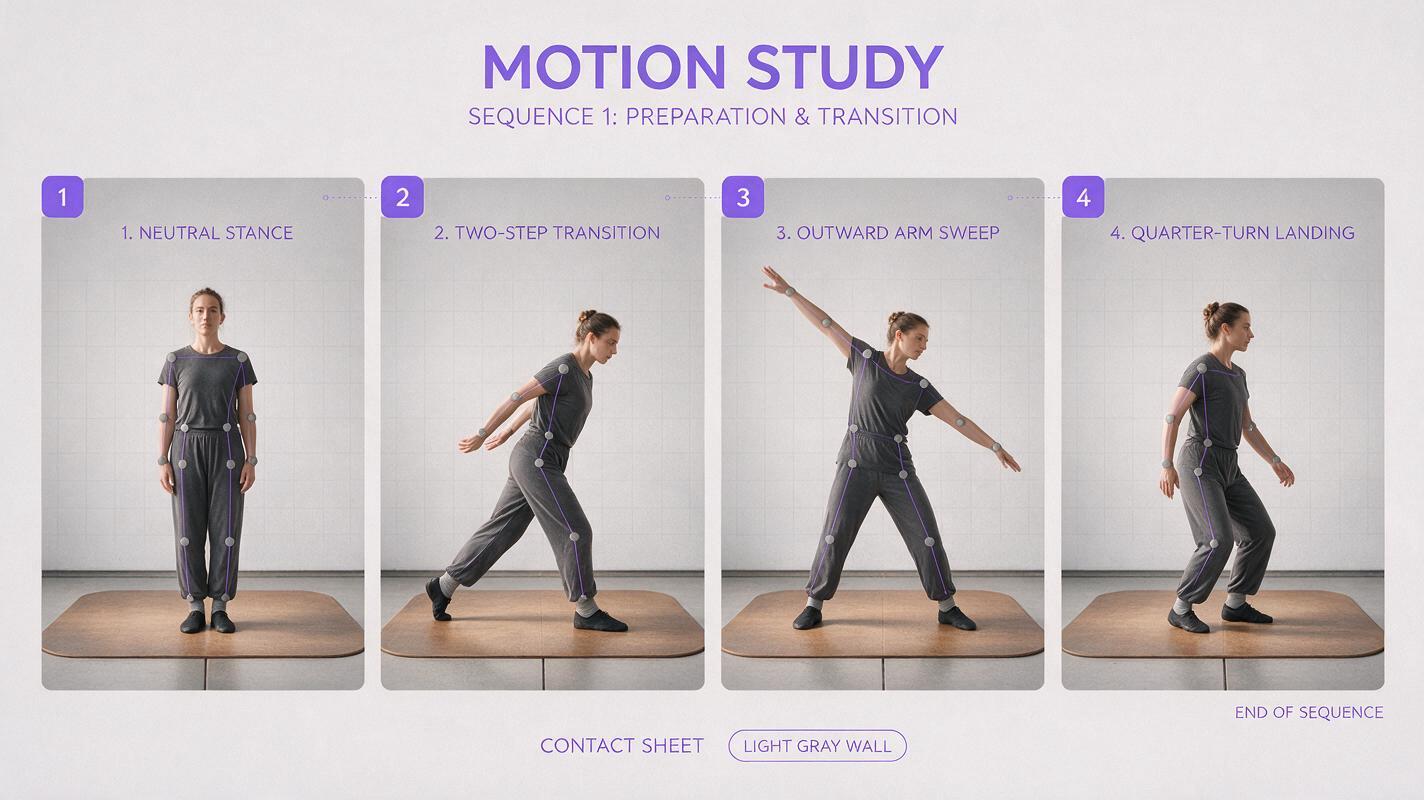
For a first test, trim the motion to one short phrase: two side steps, an arm sweep, a quarter turn, and a settled final pose. A clean five-second phrase is more useful than a complicated thirty-second routine that fails halfway through.
DRIVING CLIP SPECIFICATION: one adult performer, full body visible continuously from head to shoes, fixed eye-level camera, landscape 16:9, even lighting, plain high-contrast clothing, uncluttered background, continuous real-time movement, no cuts. ACTION: begin in a neutral stance, take two controlled side steps to camera-right, sweep both arms outward at shoulder height, make one slow quarter turn to the left, return the hands near the waist, and finish in a balanced still pose. Keep fingers naturally separated, avoid crossed wrists, keep both feet readable, and remain centered with clear space above the hands.Expected result: an uninterrupted source clip in which a viewer can identify every major pose without guessing where the elbows, wrists, knees, or ankles are.
Step 4 — Run a Short Motion Transfer Test
Use the prepared character as the identity reference and the trimmed performance as the motion source. If the workflow accepts a scene image, use the rehearsal studio established earlier. Otherwise, describe the room briefly and prioritize identity and anatomy over decorative details.
Keep the camera instruction static. Camera movement adds another transformation and makes it harder to diagnose whether a failure came from the character, motion, or virtual cinematography.
Transfer the driving performer's body motion and timing to the fictional dancer shown in the character reference. Preserve the dancer's exact face, shoulder-length natural curls, athletic body proportions, rust-red fitted bomber jacket, cream T-shirt, charcoal trousers, white low-top sneakers, and black wristband on the right wrist throughout the entire shot. Place the dancer in the established small rehearsal studio with the same left-side window light and wooden floor. Full body remains visible from head to shoes. Maintain realistic balance, stable floor contact, natural joint articulation, coherent fingers, consistent garment length, and physically plausible fabric response. MANDATORY CAMERA: locked eye-level medium-wide shot, front-right three-quarter view, natural 35mm perspective, landscape 16:9, no zoom, no pan, no orbit, no cuts. One dancer only; no reflection, duplicate person, outfit change, background transformation, or added props.If the selected model accepts negative guidance, add only concrete exclusions such as “duplicate person, missing fingers, extra limbs, sliding feet, changing outfit.” Long lists of vague quality words can compete with the actual performance instructions.
Expected result: a short clip that follows the source timing while preserving the fictional dancer's recognizable face, outfit, and body scale.
Step 5 — Compare, Repair, and Extend the Best Take
Do not choose a result based only on the first frame. Review the start, largest pose, turn, and final landing. A useful comparison grid places four frames from the driving clip above four matching generated frames, making timing and structural errors visible.
Create a photorealistic editorial comparison board with two horizontal rows and four equal columns. TOP ROW: four sequential full-body frames of a plainly dressed driving performer executing side step, arm sweep, quarter turn, and final balanced pose. BOTTOM ROW: the matching generated fictional dancer with warm brown skin, shoulder-length natural curls, rust-red bomber jacket, cream T-shirt, charcoal trousers, white sneakers, and right-wrist black band performing the same four poses in a small wooden-floor rehearsal studio. MANDATORY LAYOUT: landscape 16:9, eight equally sized frames aligned by time, thin neutral-gray dividers, no interface, no logos, no decorative graphics. MANDATORY CAMERA IN EVERY FRAME: locked eye-level medium-wide full-body view, consistent 35mm perspective, head and shoes visible. Show one subtle failure in the third bottom frame—a slightly drifting face and softened right hand—while the fourth bottom frame shows the corrected identity and natural hand anatomy. Realistic lighting, readable motion, no text labels.Score each take using a simple review table:
| Check | Accept when | Repair when |
|---|---|---|
| Identity | Face and hair remain recognizable through the turn | Features change, age shifts, or hair length jumps |
| Anatomy | Limbs bend naturally and hands remain attached | Fingers merge or elbows reverse |
| Wardrobe | Jacket, trousers, wristband, and shoes persist | Colors, lengths, or accessories change |
| Contact | Weight transfers between planted feet | Feet skate, hover, or sink into the floor |
| Timing | Major poses align with the driving clip | The result skips, repeats, or delays an action |
When only one section fails, regenerate or replace that short section instead of restarting the full routine. Extend the shot only after the opening test has stable identity, clean floor contact, and a usable final pose.
Expected result: one approved base take plus a clear list of localized corrections, rather than several longer clips with unidentified defects.
Step 6 — Add Camera Motion Only After the Dance Works
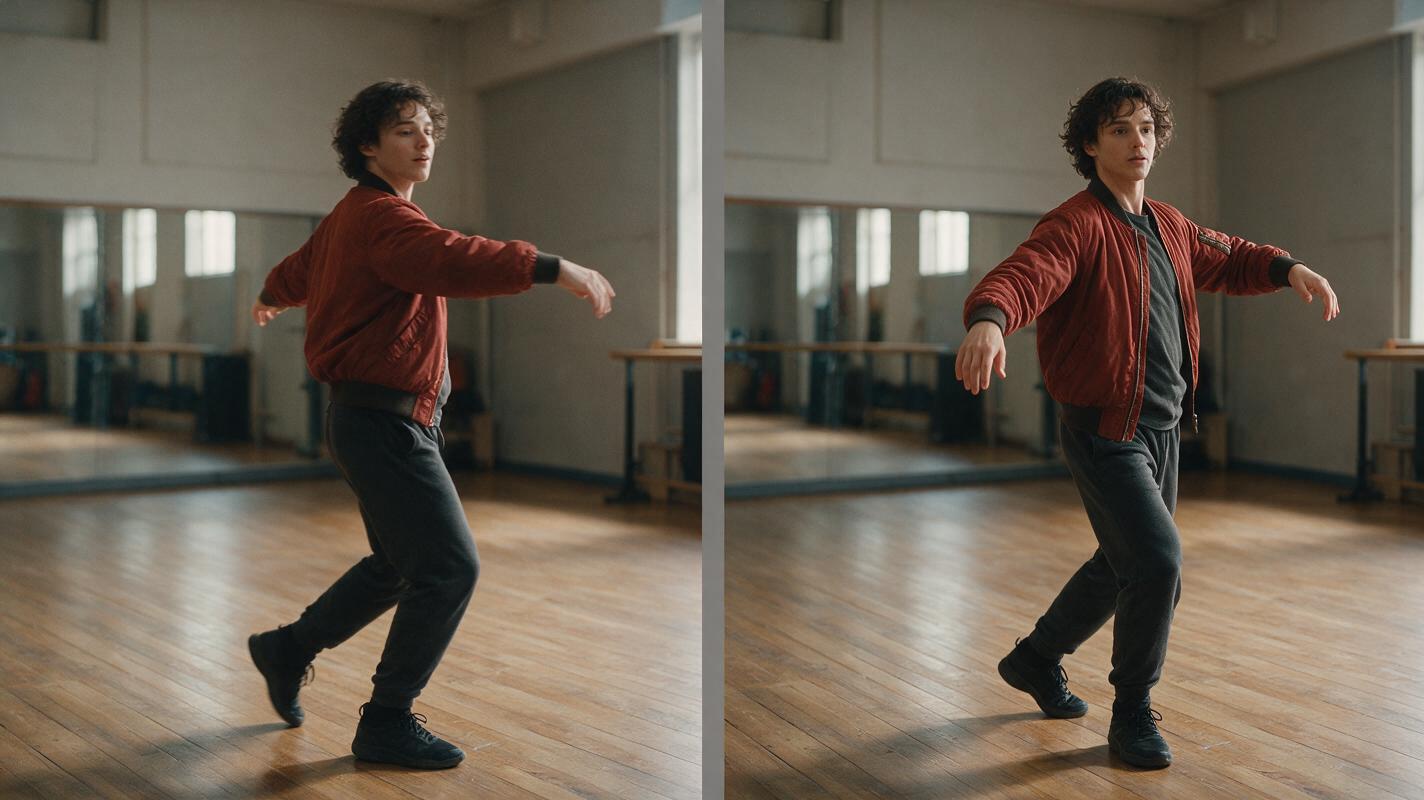
A locked shot is ideal for validation but may feel too observational for the finished edit. Once the body performance is stable, create a second pass with one restrained camera instruction. Good options include a slow push-in, a gentle lateral track, or a small arc that never hides the dancer's feet.
Preserve the approved dancer, choreography, timing, rehearsal studio, lighting, body proportions, clothing, and floor contact exactly. Add one subtle cinematic camera move only: a slow ten-percent push-in over the complete shot, beginning medium-wide and ending slightly closer while the full body and both feet remain visible. No cuts, no orbit, no handheld shake, no focal-length jump, no change to dance timing.Expected result: the same approved performance with added visual energy, not a newly interpreted routine.
Keep the Same Dancer Across Projects
Archive the original portrait, three-panel sheet, outfit description, scene still, approved opening frame, and final frame. Reuse the same wording for permanent traits, including which wrist carries the band. Changing “natural curls” to “curly hair,” for example, may invite a different silhouette.
For a new location, preserve the dancer reference while changing only the scene prompt. For a new outfit, first make a replacement character sheet in all three views; do not rely on a single fashion image to define how the clothing looks from behind.
Alternative: Use Image to Video for Simpler Movement
If the character only needs to breathe, shift weight, look toward camera, or make a small hand gesture, a dedicated image to video pass may be simpler than motion transfer. Start from a full-body scene image and describe one action in chronological order. Keep the clip short and avoid combining a gesture, walk, spin, expression change, and camera orbit in one request.
Alternative: Repair Identity With Face Swap
Face replacement can help when the body motion is excellent but facial identity drifts in a mostly front-facing section. It is less reliable for heavy motion blur, hair crossing the face, extreme profiles, or hands covering the features. Treat it as a targeted repair, not a substitute for a strong reference and clean motion source.
Where This Workflow Falls Short
- Extreme choreography: flips, rapid floor work, and severe self-occlusion can still produce broken anatomy.
- Long continuous shots: small identity and wardrobe errors tend to accumulate over time.
- Loose garments: skirts, coats, tassels, and scarves require motion that may not match the source body precisely.
- Finger-focused movement: detailed hand choreography may need closer references or separate repair shots.
- Moving source cameras: motion transfer may reproduce unwanted framing changes or confuse camera movement with body movement.
The practical response is to divide a complex routine into edit-friendly phrases. End each phrase on a balanced pose that can serve as the reference for the next shot.
FAQ
Can I animate a headshot without making a full-body reference?
Yes, but the model must invent everything below the crop. A full-body sheet gives you more control over proportions, outfit construction, shoes, and appearance during turns.
What kind of dance clip works best for motion transfer?
Use a single performer, continuous take, fixed camera, visible hands and feet, moderate speed, and minimal self-occlusion. Plain clothing that contrasts with the background makes body positions easier to read.
Should the source performer have the same body type as the generated dancer?
Similar proportions help. Large differences in limb length, height, flexibility, or center of gravity can make the transferred movement look less natural even when the poses are technically followed.
How do I stop the feet from sliding?
Use a scene with a visible floor plane, keep the camera fixed, choose motion with clear planted steps, and explicitly request stable floor contact and realistic weight transfer. Reject takes where scale or floor perspective changes.
Which video model should I choose?
Test the same short reference package in the available models before committing to a long render. Compare identity through turns, hand structure, fabric behavior, timing, and floor contact rather than judging only overall sharpness.
Can I add lip sync to the same shot?
It is usually safer to complete the body performance first and apply facial or dialogue work to an approved take. Simultaneously changing body motion, mouth movement, expression, and camera direction increases the chance of facial drift.
Final Checklist
- The character sheet shows the same dancer from front, side, and back.
- Hair, outfit, wristband, trousers, and shoes are explicitly defined.
- The driving clip contains one performer with visible hands and feet.
- The first test is short and uses a locked camera.
- Identity, anatomy, clothing, timing, and floor contact are reviewed separately.
- Only the failed segment is regenerated when possible.
- Camera motion is added after the choreography succeeds.
Ready to animate your own reference? Create your first AI video free on MagicBoat and test the short motion-transfer prompt before expanding the routine.
Keywords
motion transfer, image to video, character consistency, AI video tutorial, dance video, prompt engineering, AI video workflow